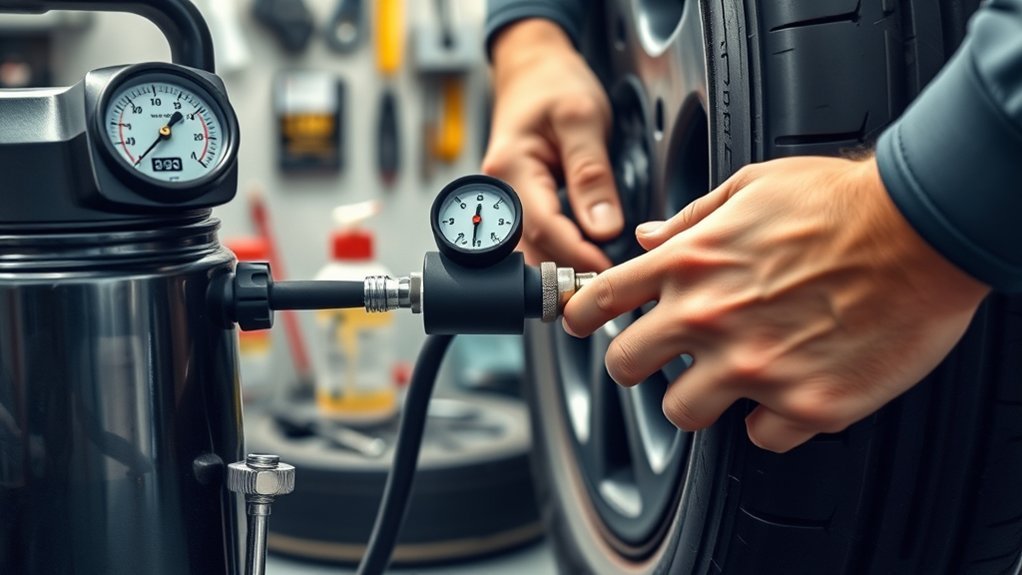
Seating a tubeless bicycle tire bead is mostly about compatibility, preparation, and airflow. When the tire and rim match, the tape and valve seal correctly, and both beads sit in the rim’s center channel, a fast burst of air can push the beads onto their seats. Work carefully, stay below every pressure limit, and inspect both sides before riding.
Quick Answer
To seat a tubeless tire bead, confirm that the tire and rim are compatible, place both beads in the rim’s center channel, remove the valve core for more airflow, wet the beads lightly with soapy water, and inflate quickly. Stop if the bead line becomes uneven or you approach the lowest tire or rim pressure limit.
Key Takeaways
- Most failed seating attempts are caused by air escaping faster than the pump can replace it. Remove the valve core, center both beads, and use a high-flow air source.
- Use only a compatible tubeless-ready tire, rim, tape, valve, and sealant. Hookless systems require especially careful tire-width and pressure checks.
- Soapy water helps a tight bead slide and makes leaks visible, but it cannot fix damaged tape, an incompatible tire, or a leaking valve base.
- After seating, confirm that the molded bead line is even on both sides, add the maker-recommended sealant amount, distribute it, and recheck pressure before riding.
At a Glance
| Time Required | About 20–40 minutes for a clean, compatible setup; longer if the rim must be retaped |
| Difficulty | Moderate |
| Tools Needed | High-flow pump, booster canister, or regulated compressor; valve-core tool; pressure gauge; plastic tire lever if needed; rag; soapy water |
| Cost | Low if you already own the inflation tools; higher if you need new tape, valves, sealant, or a booster |
Warning: Use the lower maximum pressure stated by the tire or rim manufacturer. Keep your face and body out of the tire’s sidewall plane while inflating. If the bead line rises unevenly, the tire begins to bulge, or the bead has not seated near the allowed limit, stop, deflate fully, and correct the problem. Never use fire or a flammable propellant to seat a bicycle tire.
Confirm Tire, Rim, and Pressure Compatibility
Before adding sealant or reaching for a compressor, confirm that the tire and rim are intended to work together. A tire marked tubeless ready, TLR, TLE, TCS, or another manufacturer-approved tubeless designation should be paired with a compatible rim of the correct bead-seat diameter. Also check the tire direction arrow, rim internal width, approved tire-width range, and the pressure limits printed on the components or listed by their makers.
Park Tool’s tubeless compatibility guidance explains why the rim profile, bead dimensions, tape, valve, and sealant all matter. A setup that is not approved as tubeless may leak, unseat, or fail even if it appears to inflate.
Extra Check for Hookless Rims
Hookless, or tubeless straight-side, rims do not have the inward bead hook found on a traditional hooked rim. Use only tires and widths approved by the wheel maker, and follow the lowest listed pressure limit. Schwalbe’s current hookless guidance lists a 5 bar/72.5 psi maximum for many 25–29 mm road combinations, with lower limits for wider tires. That is not a universal permission to inflate every hookless setup to 72.5 psi.
Note: A pressure printed on a booster tank is the tank’s storage pressure, not necessarily the pressure that belongs in the tire. The tire must remain below the lowest applicable tire, rim, and wheel-system limit.
Quick Steps to Seat a Tubeless Tire Bead
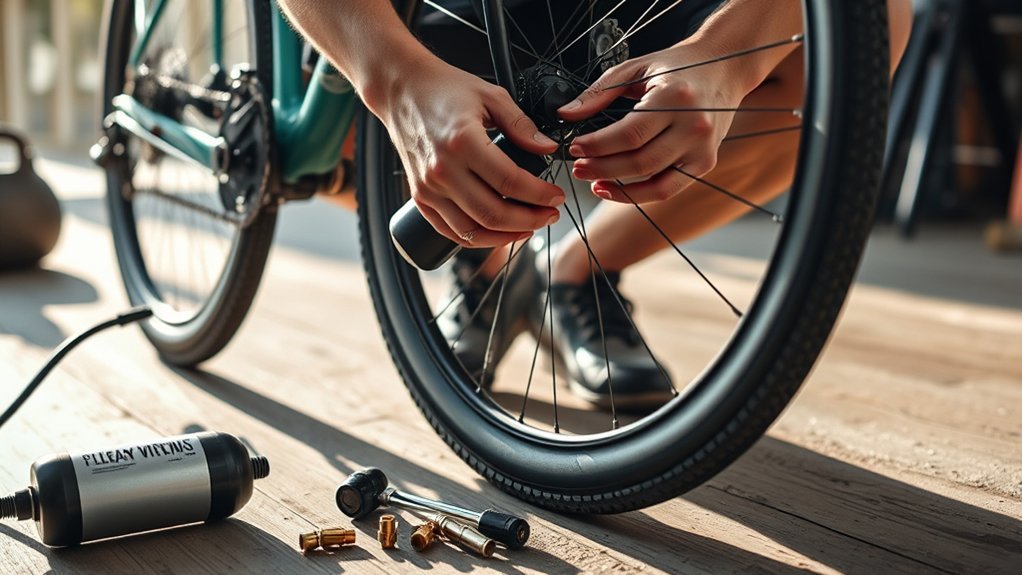
- Inspect the parts. Confirm tire-rim compatibility and check the tire bead, rim, tape, and valve for cuts, dents, wrinkles, gaps, or dried sealant.
- Center both beads. Work the tire evenly into the rim’s deepest center, or drop, channel. Make sure the valve sits between the beads rather than trapped under one.
- Remove the valve core. Use a valve-core tool to open the stem and increase airflow.
- Lubricate lightly. Brush a small amount of dish-soap-and-water solution onto both bead areas. Do not use oil, grease, or a solvent-based lubricant.
- Inflate quickly. Use a tubeless booster, regulated compressor, or high-volume floor pump. Short, controlled attempts are safer than continuing to add pressure to a bead that is not moving.
- Inspect the bead line. Check the molded line above the rim on both sides. It should remain an even distance from the rim around the full wheel.
- Add sealant and finish. Inject or pour in the maker-recommended amount, reinstall and snug the core, set the riding pressure, then spin, shake, and tilt the wheel.
- Check again. Look for bubbles, hissing, wet sealant trails, or overnight pressure loss before the first ride.
Pro Tip: If air rushes out around the full circumference, push each bead outward toward the rim wall near the valve, then work around the wheel by hand. This reduces the initial gap the air source must overcome.
Tubeless Tools You Need
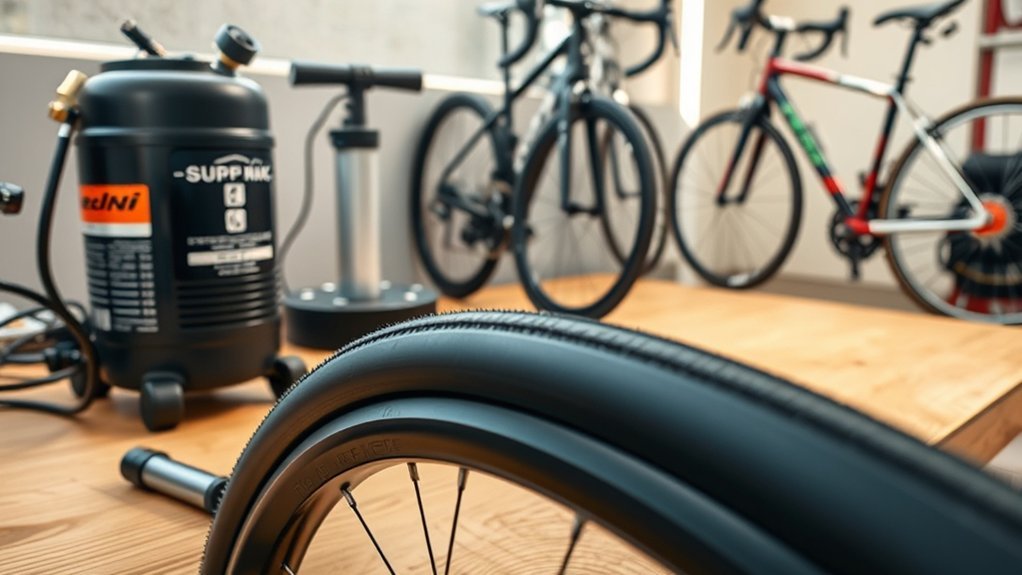
A reliable inflator is essential because bead seating often depends on moving air into the tire faster than it escapes. A compressor is not always required. A compatible tire and rim may seat with a standard floor pump, while a loose or high-volume setup may need a tubeless booster or a regulated compressor.
Pump, Booster, or Compressor
- High-volume floor pump: The simplest option for a well-matched setup. Use firm, fast strokes.
- Booster canister or charge pump: Stores compressed air and releases it quickly without requiring a workshop compressor.
- Regulated air compressor: Provides strong airflow for stubborn beads. Use a gauge and controlled valve rather than an unregulated blast.
Choose an inflator with a readable gauge so you can stop before reaching the component limit. The goal is fast airflow, not the highest possible pressure.
Valve Core Tool and Spare Cores
Use a valve-core remover to pull the removable Presta core for rapid inflation or for injecting sealant. Once the bead is seated, reinstall the core and snug it with the tool. Do not overtighten it. Carrying a spare core is useful because a bent, clogged, loose, or damaged core can cause a slow leak.
Sealant, Plugs, and Small Tools
Sealant closes small punctures and tiny leaks at the casing or bead. A plug is used when a tread puncture is too large for liquid sealant to close by itself. Keep the following items available:
- Fresh sealant in the amount recommended for the tire and sealant formula
- Valve-core remover and one or two spare valve cores
- Sealant injector or measuring cup
- Plastic tire lever for use only when hands are not enough
- Tubeless plugs and insertion tool
- Tire boot, spare inner tube, and portable pump or CO₂ inflator for trail emergencies
Sealant quantities vary by formula and tire volume. For example, Stan’s current sealant chart lists about 59 ml/2 oz for a 700c × 32 mm tire and about 118 ml/4 oz for a 29 × 2.3-inch tire. Follow the chart or bottle for the exact product you use rather than copying one amount across every brand and tire.
Stan’s Original Tubeless Sealant guidance says its liquid performance commonly lasts about 2–7 months, with more frequent checks needed in hot or dry conditions. Other formulas and brands can use different service intervals.
Prepare the Wheel and Valve for Tubeless Inflation
Preparation determines whether the bead seats and whether the system remains airtight afterward. Remove old sealant lumps, dirt, oil, and tape residue from the bead seat and rim channel. Inspect the tire’s bead closely; a cut, stretched, kinked, or exposed bead should not be reused for tubeless operation.
Clean and Inspect the Rim Bed
Wipe the rim bed with isopropyl alcohol and a lint-free rag, then let it dry. Tubeless tape should be smooth, firmly bonded, resistant to sealant, and wide enough to seal the complete rim bed without climbing so far up the sidewall that it interferes with the bead. It must cover every spoke hole and should have a secure overlap near the valve area.
If the tire will not hold air and you hear air escaping from a spoke hole or through the rim cavity, the tape is usually compromised. Deflate the tire, remove it, and retape the rim rather than trying to seal a tape failure with extra pressure.
Check the Valve and Core
- Confirm that the valve base matches the shape of the rim channel and sits flat against the tape.
- Inspect the stem and rubber base for cuts, distortion, looseness, or dried sealant.
- Tighten the external valve nut by hand while pressing the valve base into the rim. Do not crush the rubber seal with pliers.
- Remove the core for maximum airflow during seating.
- After seating, reinstall the core, inflate to the target pressure, and test the core and valve base with soapy water.
Note: Air heard at the valve hole does not always mean the valve itself is leaking. Air can enter the hollow rim through damaged tape and then escape around the valve opening.
Seat the Bead: Pour and Injection Methods
Seating the bead turns a mounted tire into an airtight tubeless setup. You can add sealant before the second bead is fully installed, or you can seat the tire first and inject sealant through a removable valve core. The injection method is cleaner and lets you test the tape, valve, and bead seal before adding liquid.
Pour Method
- Mount the first bead and most of the second bead.
- Rotate the open section to the top so sealant does not spill.
- Measure the recommended sealant amount and pour it into the tire.
- Rotate the wheel so the sealant pools away from the open section, then finish mounting the bead.
- Center both beads, remove the valve core if the sealant formula permits inflation through the open stem, and inflate until the bead seats while staying within the tire and rim pressure limits.
Injection Method
- Mount both beads and place them in the rim’s center channel.
- Remove the valve core and seat the tire with fast airflow.
- Inspect the bead line and briefly check whether the dry setup holds air.
- Deflate without unseating the beads, place the valve around the 3 or 9 o’clock position, and inject the measured sealant through the stem.
- Reinstall the core, inflate to the riding pressure, and distribute the sealant.
After either method, rotate and tilt the wheel so sealant reaches the tread, sidewalls, bead, rim interface, and valve area. Check for leaks with soapy water, then confirm that the molded bead line looks even on both sides.
What If You Do Not Hear a Pop?
A loud pop is common, but it is not the test for success. Some tire-rim combinations seat quietly. The correct check is the molded bead line: it should be visible and even around both sides, with no low section, high section, bulge, or exposed bead.
The bead line, not the sound, confirms that a tubeless bicycle tire is seated correctly.
Tubeless Pressure Guide for Road, Gravel, and Mountain Bikes
There is no single correct PSI for every tubeless tire. Tire width, measured tire volume, total rider-and-bike weight, front-to-rear weight distribution, casing, rim width, terrain, speed, and whether the rim is hooked or hookless all change the answer. Use the wheel or tire maker’s calculator as the starting point, then adjust in small steps.
The ranges below are broad starting references, not universal prescriptions or pressure limits:
| Use | Common Tire Size | Broad Starting Area | How to Fine-Tune |
| Road | 28–32 mm | Often roughly 50–75 psi, subject to the system limit | Lower slightly for rough roads or a harsh ride; raise slightly if the tire feels unstable or bottoms on the rim |
| Gravel | 40–50 mm | Often roughly 28–42 psi | Lower for loose or rough surfaces; raise for heavier loads, hard impacts, or tire squirm |
| Trail MTB | 2.3–2.5 inches | Often roughly 22–28 psi | Lower for grip if the casing remains stable; raise after rim strikes, burping, or folding in corners |
These ranges overlap because rider weight and equipment change the result. SRAM’s tire-pressure guidance uses tire width, bike and rider weight, wheel details, and riding conditions to calculate separate front and rear values. The rear is often higher because it carries more weight, but use the calculated values rather than applying a fixed percentage.
Warning: Pressure used briefly to seat a bead must still stay below the lowest tire or rim maximum. On hookless systems, compatibility and maximum pressure can change with tire width. Never treat a generic PSI table as permission to exceed your component instructions.
Check the Seal and Distribute Sealant Evenly
Once the tire is inflated, spin the wheel and tilt it so sealant can coat the inside. Hold the wheel horizontally, rock it, rotate it a section, and repeat on both sides. This moves liquid across the tread, porous sidewalls, bead, valve base, and rim interface.
- Spin, shake, and tilt the wheel to distribute sealant across the interior.
- Inspect the bead, rim edge, valve core, valve base, and spoke holes for escaping air.
- Use soapy water to reveal leaks by watching for growing bubbles.
- Top up sealant only if the amount is low or the remaining liquid has dried.
- Reinflate, repeat the distribution process, and check again after several hours and the next day.
A few tiny bubbles at a fresh bead may stop as sealant reaches the gap. A steady stream of bubbles, air from spoke holes, or a tire that goes flat usually needs a mechanical fix rather than more sealant. After the tire holds air and the bead line remains even, inflate the tire to your target PSI.
Troubleshooting: Won’t Seat, Slow Leaks, and Burping
| Symptom | Likely Cause | Fix |
| Air escapes around the whole bead | Beads are too deep in the channel or airflow is too low | Remove the core, center the tire evenly, push the beads outward near the valve, add soapy water, and use a higher-flow source |
| One section stays low | Dry or twisted bead, tape edge interference, or a tight tire-rim fit | Deflate fully, unseat that section, inspect it, lubricate lightly, and reinflate |
| Air or sealant appears at spoke holes | Rim-tape leak | Remove the tire and replace or repair the tape; do not keep increasing pressure |
| Bubbles at valve core | Loose, dirty, clogged, or damaged core | Clean, snug, or replace the core |
| Bubbles around valve base | Valve base not seated, nut loose, or tape damaged at valve hole | Press the valve inward and hand-tighten the nut; inspect the tape if the leak remains |
| Slow overnight loss | Fresh casing seepage, low sealant, small puncture, core leak, or tape leak | Distribute sealant again, test with bubbles, top up if needed, and repair the exact leak |
| Burping in corners | Pressure too low, tire casing folding, incompatible or damaged bead, or excessive side load | Raise pressure slightly, verify compatibility and bead seating, and inspect for damage |
If the tire still will not seat after the bead is centered, the valve core is removed, and a suitable high-flow source is used, stop and inspect the rim tape, valve base, bead condition, and tire-rim compatibility. More pressure is not the correct answer to a damaged or mismatched system.
Burping means the bead briefly moves away from the rim and releases air under side load. Fresh sealant may close tiny leaks afterward, but it does not prevent the bead from unseating. Proper pressure, compatible parts, an undamaged bead, and stable tire support are the main controls.
Trail Fixes and Tubeless Repair Kit Checklist
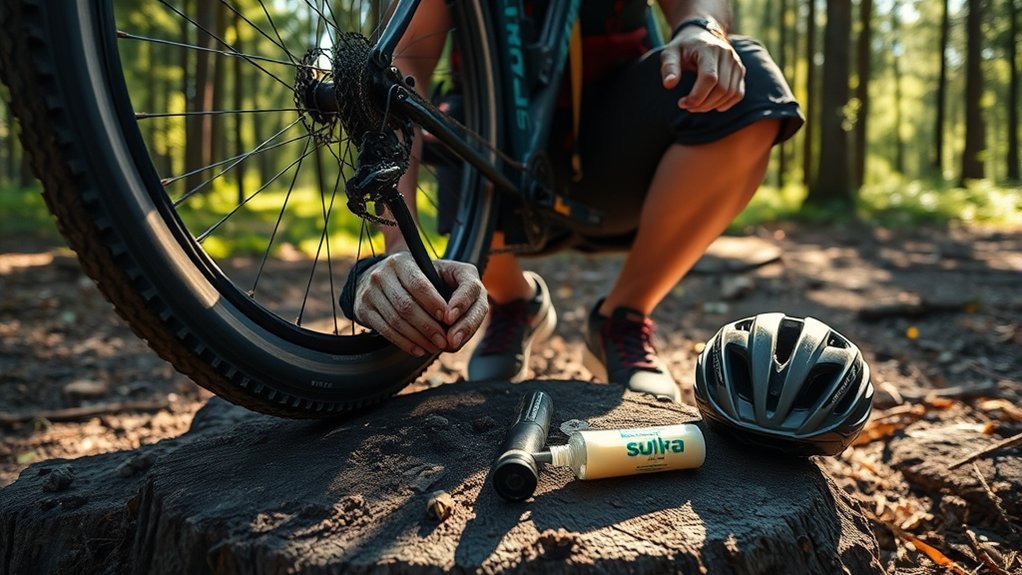
When a puncture is too large for sealant, stop with the hole near the ground so sealant can reach it. Remove the object only if necessary, insert a tubeless plug according to the plug maker’s instructions, and reinflate. Trim excess plug material only when the product instructions permit it.
If the bead will not hold, the sidewall is cut, the rim is damaged, or a plug only slows the leak, install a spare inner tube. Before fitting the tube, remove thorns, nails, or loose plug material from inside the tire. Use a tire boot behind a larger casing cut so the tube does not push through it.
- Compact repair pouch with organized slots
- Tubeless plugs and insertion tool
- Valve-core tool and spare core
- Small sealant bottle if appropriate for the ride
- Plastic tire lever and tire boot
- Spare inner tube
- Portable pump or CO₂ inflator
Pro Tip: After using CO₂ for an emergency inflation, follow the sealant maker’s guidance. Some sealant brands recommend replacing the CO₂ with normal air and checking the liquid soon after the ride.
Frequently Asked Questions
How do you air up a tubeless tire?
Confirm compatibility, place both beads in the rim’s center channel, remove the valve core for maximum airflow, and inflate quickly until the beads move onto their seats. Stop below the lowest component limit, inspect the bead line, reinstall the core, set the riding pressure, and distribute the sealant.
Why won’t my tubeless tire take air?
Air is probably escaping around the bead, valve base, or rim tape faster than it enters. Recenter both beads, remove the valve core, use soapy water, and try a higher-flow source. Air heard through a spoke or valve hole can indicate damaged rim tape.
Why won’t my tubeless tire bead seat?
Common causes include low airflow, dry or poorly centered beads, a leaking valve, damaged or incorrectly sized tape, an incompatible tire-rim combination, or a damaged bead. Correct the cause instead of continuing to raise pressure.
Why does my tubeless tire keep deflating?
Possible causes include dried or insufficient sealant, casing seepage, a small puncture, a loose core, a poorly seated valve base, or damaged rim tape. Use soapy water to locate the leak, then repair that part rather than relying only on extra sealant.
Can you seat a tubeless tire with a normal floor pump?
Yes, many well-matched tubeless tires and rims will seat with a floor pump. Remove the valve core, center the beads, and pump rapidly. A booster or regulated compressor is useful when the initial bead gap leaks too much air.
Do both tubeless beads need to pop?
No. Some beads seat with a loud pop and others move quietly. Inspect the molded bead line on both sides. It must be even around the full rim before you ride.
Should you add sealant before or after seating the bead?
Either method can work. Pouring sealant before closing the second bead requires fewer tools. Seating the tire dry and injecting sealant through a removable valve core is cleaner and makes it easier to identify tape or valve leaks first.
Conclusion
To seat a tubeless tire bead reliably, start with compatible parts, a clean and airtight rim bed, a properly seated valve, and both beads centered in the drop channel. Remove the valve core, use light soapy water and controlled high airflow, then inspect the bead line instead of relying on popping sounds. Add the correct sealant volume, check every likely leak point, and recheck pressure before riding.
Keep sealant fresh and carry plugs, a valve tool, a pump, a tire boot, and a spare tube. Those items cover most small punctures and provide a safe backup when a bead, sidewall, tape, or rim cannot be repaired on the trail.
Sources
- Park Tool: Tubeless Tire Removal and Installation — tools, bead preparation, valve-core removal, sealant methods, seating checks, and leak diagnosis
- Trek: How to Set Your Tires Up Tubeless — rim preparation, bead seating, maximum-pressure warning, and sealant distribution
- Stan’s: Sealant Refresh Reminder — current example sealant volumes by bicycle tire size
- Stan’s Original Tubeless Sealant — product-specific sealant service interval and hot/dry-condition guidance
- Schwalbe: Hookless Rims — hookless compatibility and width-based maximum-pressure guidance
- SRAM/Zipp: How to Calculate Tire Pressure — pressure factors and calculator-based front/rear starting values
