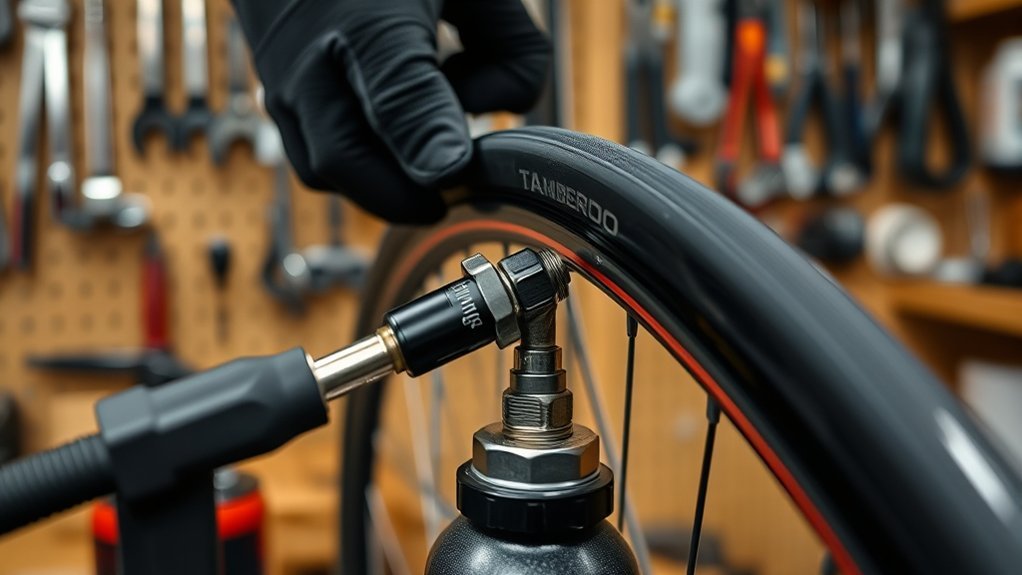
The fastest safe way to seat a tubeless bicycle tire bead is to prepare an airtight, compatible tire-and-rim system, remove the valve core for maximum airflow, lubricate the beads, and release a controlled burst of air. Correct setup matters as much as air volume. A damaged bead, leaking tape, blocked valve, or incompatible hookless combination will not become safe simply because you add more pressure.
Quick Answer
Remove the valve core, coat both beads with mild soapy water or tire-mounting fluid, and release a controlled high-volume burst from a tubeless booster or regulated compressor. Keep both beads in the rim’s center channel first. Stop immediately if the bead rises unevenly or you approach the tire or rim pressure limit.
Key Takeaways
- Confirm that the tire, rim, tape, and valve are tubeless-compatible before adding pressure.
- Remove a removable valve core to increase airflow, then reinstall it before setting the final riding pressure.
- Use mounting fluid or mild soapy water. Do not use WD-40, grease, oil, or solvent-based lubricants.
- A booster or regulated compressor is fastest, but many well-matched systems will seat with a strong floor pump.
- Never exceed the lower pressure limit stated by the tire or rim manufacturer.
At a Glance
| Time Required | About 10–20 minutes when the rim is already taped; longer if the tape or valve needs replacement |
| Difficulty | Easy to moderate |
| Tools Needed | Valve-core tool, mild soapy water or mounting fluid, pressure gauge, floor pump, booster, or regulated compressor, sealant, rag, and eye protection |
| Cost | Consumables only if you already own an inflation tool; equipment cost varies if you need a booster or compressor |
Warning: Wear eye protection, keep your face and fingers away from the tire sidewall, and use a regulated air source. Never use fire, starting fluid, aerosol propellant, or another flammable substance to seat a tire. If the bead rises above the rim, the tire blows off, or the tire or rim appears damaged, release the pressure and stop.
Fastest Method to Seat a Tubeless Tire Bead
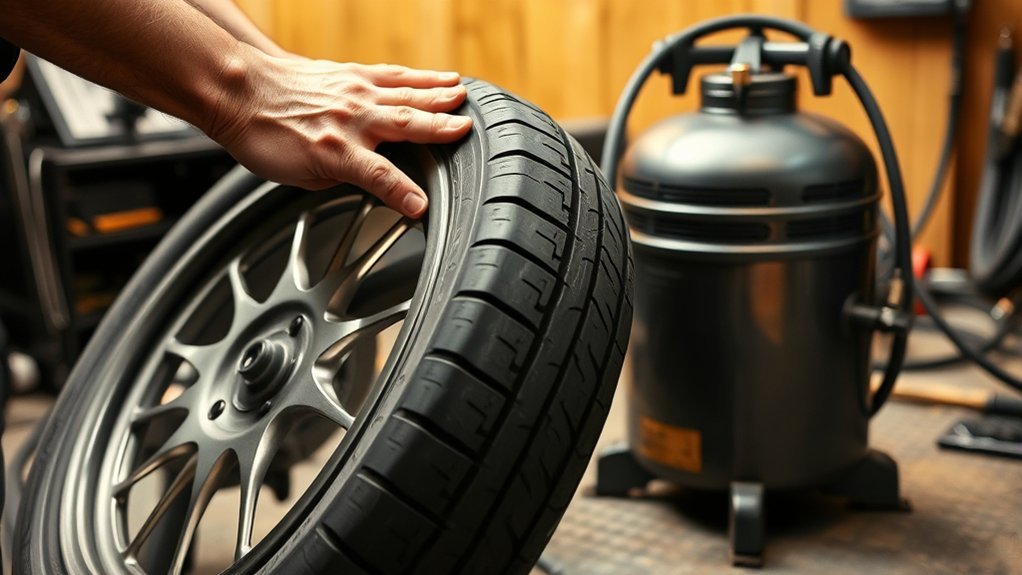
For the fastest and most repeatable result, use a tubeless booster tank, a charge-chamber floor pump, or a regulated air compressor. These tools release a larger volume of air in a short time, helping the tire sidewalls move outward and begin sealing against the rim.
- Check the pressure limits. Find the maximum pressure printed on or specified for both the tire and rim. Use the lower limit.
- Move both beads into the center channel. Work around the entire wheel with your hands. The center channel gives the tire enough slack to position evenly.
- Position the valve correctly. Make sure the valve base sits between the two beads and is not trapped under either bead.
- Remove the valve core. Use a valve-core tool if the core is removable. This creates a less restricted air path.
- Lubricate both beads. Apply purpose-made mounting fluid or a light solution of water and dish soap around the tire beads and rim shoulders.
- Release a controlled air burst. Keep the wheel stable and introduce air while watching the tire from a safe position.
- Stop when the beads seat. Do not continue adding pressure simply to produce a louder pop.
- Inspect both sides. The molded bead line should remain an even distance from the rim around the full wheel.
- Release the air and reinstall the valve core. Add sealant if you seated the tire dry, then inflate to the recommended riding pressure.
Schwalbe’s tubeless guidance also recommends mounting fluid, removing the valve core for increased airflow, and using a compressor or tire booster for stubborn combinations.
Pro Tip: Before reaching for a compressor, push the sidewalls outward by hand near the valve and around the loosest parts of the tire. Creating even partial bead contact can reduce the amount of air that escapes during the first burst.
Check Tubeless Compatibility Before Inflating
A fast air source cannot correct an incompatible or damaged setup. Confirm all of the following before trying to seat the tire:
- Tire: The sidewall must identify the tire as tubeless, tubeless-ready, TLR, TR, TCS, UST, or another manufacturer-approved tubeless designation.
- Rim: The rim must be designed or specifically approved for tubeless use.
- Tire size and rim width: The tire must fall within the rim maker’s permitted size range.
- Hookless approval: A hookless rim requires a tire approved by the tire and rim manufacturers for hookless use.
- Rim tape: Tubeless tape must be intact, airtight, and the correct width for the rim bed.
- Valve: The tubeless valve must fit the rim profile, seal against the tape, and have a functional core.
- Condition: Do not inflate a tire with a cut, stretched, kinked, exposed, or visibly damaged bead.
Stan’s tubeless-kit guidance advises using tubeless-ready rims and tires and selecting tape based on the rim’s internal width. Tape should form an airtight barrier without interfering with the bead seat.
Note: “Tubeless-ready” does not automatically mean “approved for every hookless rim.” Check the current compatibility information from both manufacturers. The maximum pressure marked on a rim is a safety limit, not a target seating or riding pressure.
Inspect the Rim Tape and Valve
Look for wrinkles, tears, lifted edges, sealant under the tape, deep spoke-hole dimples, or tape that does not cover the required portion of the rim bed. Air bubbling from a spoke hole usually points to a tape leak rather than a tire-bead problem.
Check that the valve base matches the shape of the rim channel. Tighten the valve nut by hand until the base seals, but do not crush the tape or use pliers to force the nut tighter. A valve that spins freely, sits at an angle, or leaks around its base may need to be removed and reseated.
Clean the Bead and Rim Seat
Wipe away dried sealant, grit, adhesive, and other debris. Inspect the tire bead for cuts or distortion and the rim for dents, cracks, sharp edges, or impact damage. Replace damaged parts instead of trying to force them together with extra pressure.
Choose When to Add Sealant
You can add sealant before seating the final section of bead, or you can seat the tire dry and inject sealant through a removable-core valve afterward. Dry seating is usually cleaner and lets you confirm that the tire and rim can hold their shape before adding liquid.
Park Tool’s tubeless installation guide describes both the direct-pour and valve-injection methods. Follow the sealant maker’s quantity chart for the exact tire size.
Seat the Tire With a Floor Pump
A floor pump often works when the tire and rim fit closely, the tape and valve are airtight, and the beads are prepared correctly.
- Mount both beads. Check the tire’s rotation arrow before finishing installation.
- Center the beads. Push them into the deepest part of the rim channel around the entire wheel.
- Check the valve. The valve should be between the beads, not trapped beneath one.
- Apply mounting fluid. Coat both bead surfaces lightly and evenly.
- Remove the valve core. Confirm first that the pump head can seal over the open valve stem.
- Support the loose sidewalls. Gently push them outward near the valve and any visible gaps.
- Pump rapidly. Use full, fast strokes so airflow enters faster than it escapes.
- Stop and inspect. Check the bead line as soon as the tire holds its shape.
- Reinstall the valve core. Inflate to a low inspection pressure first, check both sides, and then move to the recommended riding pressure.
If air rushes out faster than the pump can replace it, stop. Repeatedly pumping harder will not fix a large leak at the tape, valve, or unsealed bead.
Compressor vs. Booster vs. Floor Pump vs. CO₂
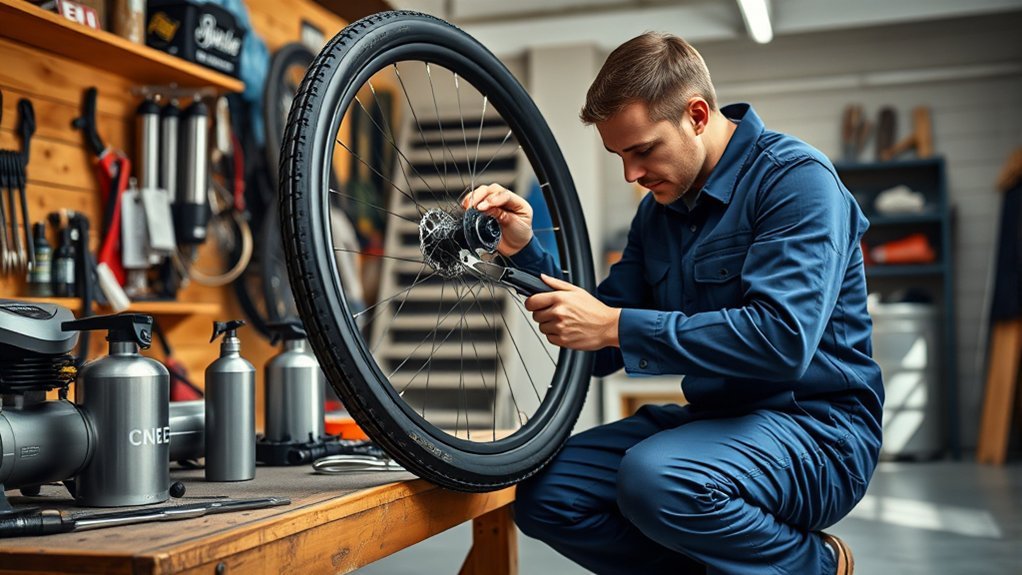
- Regulated air compressor: Usually the most consistent option for a stubborn bead. Use a gauge, regulator, and short controlled bursts.
- Tubeless booster tank: Stores air from a floor pump and releases it rapidly. It provides compressor-like airflow without requiring an electric compressor.
- Charge-chamber floor pump: Combines a regular pump and stored-air chamber. It is portable and well suited to home workshops.
- Standard floor pump: Often enough for a close-fitting, properly prepared system, but it cannot always overcome large bead gaps.
- CO₂ inflator: Compact and useful during a ride, but sealant compatibility varies by formula.
Does CO₂ Damage Tubeless Sealant?
There is no single answer for every sealant. Stan’s advises treating CO₂ as an emergency option and replacing it with regular air because prolonged exposure may cause its sealant to separate or lose service life. Other formulas, including several Muc-Off tubeless sealants, are labeled CO₂-compatible.
Check the instructions for the sealant inside your tire. When compatibility is unknown, use CO₂ only when necessary, keep the cartridge outlet away from pooled sealant when possible, and replace the CO₂ with normal air afterward.
Use an Air Compressor Safely
Compressed air can inflate a bicycle tire very quickly. Prepare the wheel completely before connecting the air source.
- Use a regulator and an accurate pressure gauge.
- Set the regulator below the lower maximum pressure stated by the tire or rim maker.
- Keep your head, hands, and body out of the tire’s sidewall plane.
- Use short bursts rather than holding the trigger open.
- Watch the bead line on both sides as pressure builds.
- Stop if one section rises higher than the rest, the bead line disappears above the rim, or the tire develops a bulge.
- Do not leave an inflating wheel unattended.
- Never use a flammable substance or ignition to create an air burst.
For hookless wheels, use only an approved tire and follow the rim maker’s pressure limit. Zipp explains that its rim maximum is a safety limit rather than a recommended riding pressure, and that pressure selection also depends on tire size, load, terrain, and the exact wheel model.
Troubleshoot a Tubeless Bead That Will Not Seat
When the tire will not build pressure, find where the air is escaping before trying a stronger air source. Brush mild soapy water around the bead, valve, sidewalls, and spoke holes. Growing bubbles reveal the leak location.
| Symptom | Likely Cause | What to Do |
| Air escapes around most of the bead | Beads are deep in the channel or the fit is loose | Lubricate the beads, push the sidewalls outward, remove the valve core, and use a booster if needed |
| Bubbles form at the valve base | Valve base is misaligned, loose, damaged, or sitting on wrinkled tape | Deflate, remove the valve, inspect the tape, and reinstall the valve by hand |
| Bubbles appear at spoke holes | Rim-tape leak | Remove the tire and replace or repair the tape according to the rim maker’s instructions |
| One bead section remains low | Dry bead, debris, or uneven tension | Deflate, unseat that section, clean and lubricate it, then inflate again |
| Bead rises above the rim | Incorrect seating, incompatibility, or bead damage | Release pressure immediately and inspect the tire and rim before trying again |
| Tire seats but loses air quickly | Insufficient sealant, porous casing, loose core, or hidden tape leak | Check the core, add the recommended sealant amount, distribute it, and repeat the bubble test |
Apply More Mounting Fluid
Reapply a small amount of mounting fluid or mild soapy water to dry areas. Lubrication helps the bead slide into its correct position. Do not soak the rim or use a product that leaves an oily residue.
Pre-Seat the Tire With an Inner Tube
Install a suitable inner tube and inflate only within the approved tire and rim limits. Allow both beads to seat evenly. Deflate the tube, remove one bead carefully, take out the tube, install the tubeless valve, and leave the opposite bead seated while reinflating.
On a hookless rim, the tire must still be approved for hookless use even when an inner tube is installed.
Use an Extra Rim-Tape Layer Only When Approved
Schwalbe notes that an additional tape layer can sometimes help when a tubeless fit is too loose. However, this is not a universal fix. Use only the tape type, width, and number of layers permitted by the rim manufacturer. Tape that is too thick, too wide, wrinkled, or pushed into the bead seat can interfere with safe seating.
Use a Center Strap Cautiously
A lightly tensioned strap around the tire’s circumference can push some flexible sidewalls outward long enough to start a seal. Use only light pressure, keep the strap centered, and remove it once the tire begins holding its shape. Do not use a strap to force an incompatible, kinked, or visibly distorted tire onto a rim.
Bring the Tire to Room Temperature
A cold, folded tire can be less cooperative. Let it return to normal indoor temperature and reshape it by hand. Do not use an open flame, heat gun, boiling water, or another high-temperature source.
Check the Bead After It Seats
A popping sound can occur as the bead moves into place, but sound alone does not confirm safe seating. Some tires make several noises, while others seat quietly.
- Inflate to a low inspection pressure within the tire and rim limits.
- Rotate the wheel slowly and examine the molded bead line on both sides.
- Confirm that the line remains an even distance from the rim.
- Look for bulges, dips, twists, exposed bead material, or a section rising above the rim.
- If the line is uneven, deflate the tire fully before adjusting that section.
- Once the bead is even, set the recommended riding pressure and check it with a separate gauge when possible.
If a tire has blown off the rim, inspect the bead and rim carefully before reuse. Replace the tire if the bead is stretched, cut, kinked, exposed, or otherwise damaged.
Aftercare for a Freshly Seated Tubeless Tire
Set and Recheck Tire Pressure
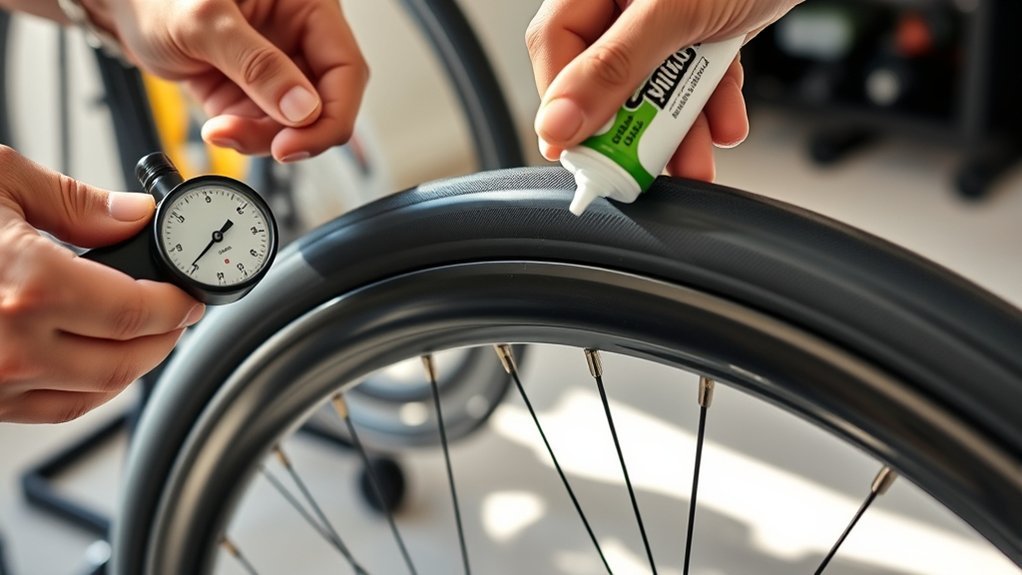
Set the tire to the pressure recommended for your tire, rim, rider weight, terrain, and wheel design. Do not use the maximum printed pressure as the normal target unless the manufacturer specifically instructs you to do so.
A new setup may lose some pressure while sealant closes small pores and bead leaks. Check it again after several hours and before the next ride. Rapid or repeated pressure loss requires a leak check rather than repeated top-ups.
Add the Correct Sealant Amount
Sealant quantity depends on tire volume and product formula. As examples, Stan’s lists about 50–60 mL for several common 700c road and gravel sizes and roughly 100–140 mL for many larger mountain-bike sizes. Other manufacturers publish different quantities.
Use the chart for your exact sealant and tire size. Too little sealant may not coat the casing or remain available for punctures. Adding far more than recommended increases rotating weight and can create unnecessary mess without correcting a tape or compatibility problem.
Stan’s Original Sealant guidance says liquid life commonly varies with temperature, humidity, storage, casing thickness, riding frequency, and previously sealed punctures. Check the level periodically instead of relying only on a calendar.
Distribute the Sealant
After installing the valve core and inflating the tire, rotate and shake the wheel so sealant reaches both sidewalls and the bead area. Hold the wheel horizontally, tilt it through several positions, flip it, and repeat. A short ride can further distribute the sealant once the bead is confirmed safe and the tire is holding pressure.
Frequently Asked Questions
How do you seat a tubeless tire bead quickly?
Center both beads in the rim channel, position the valve between them, remove the valve core, apply mounting fluid, and release a controlled high-volume burst from a booster or regulated compressor. Inspect the bead line before setting the final pressure.
Can you seat a tubeless tire without a compressor?
Yes. A strong floor pump can seat many compatible tire-and-rim combinations. Removing the valve core, lubricating the beads, closing visible gaps by hand, and pumping rapidly improve the chance of success. A booster is useful when the pump cannot build pressure.
How do you seat a stubborn tubeless tire bead?
First check compatibility, tape, valve position, and bead condition. Apply mounting fluid, remove the core, and try a booster. If the tire still will not seal, pre-seat it with an inner tube while leaving one bead in position for the tubeless attempt.
Why does air escape before the tire builds pressure?
Common causes include beads sitting too deep in the rim, a valve trapped beneath a bead, loose valve hardware, damaged or wrinkled rim tape, a clogged valve, or a tire-and-rim fit that is too loose. Use soapy water to identify the leak location.
Should you add sealant before seating the bead?
Either method can work. Adding sealant before closing the final bead is simple but can be messy. Seating the tire dry and injecting sealant through a removable-core valve makes it easier to test the fit and avoid spills.
Can CO₂ seat a tubeless bead?
Yes, but check the sealant instructions. Some formulas are labeled CO₂-compatible, while Stan’s recommends using CO₂ as an emergency measure and replacing it with regular air because prolonged exposure may shorten sealant life.
Can you use WD-40 to seat a tire bead?
No. Use purpose-made tire-mounting fluid or mild soapy water. Petroleum-, solvent-, grease-, and oil-based products may contaminate or damage tire and rim materials and can leave a slippery residue.
Do tubeless beads always make two pops?
No. A tire may make one sound, several sounds, or no clear sound. Confirm seating by checking that the molded bead line is evenly spaced from the rim on both sides of the wheel.
Can you use any tubeless tire on a hookless rim?
No. The tire must be approved for the hookless rim, size, and pressure involved. Check both manufacturers’ current compatibility information and observe the lower tire or rim pressure limit.
Can fire or starting fluid seat a tubeless tire?
Do not use an ignition-based method. It can cause burns, uncontrolled pressure, hidden tire or rim damage, fire, and sudden tire failure. Use a pump, tubeless booster, or regulated compressor instead.
Conclusion
The fastest reliable method is not simply adding more pressure. Start with compatible and undamaged components, center the beads, place the valve correctly, remove the valve core, apply safe mounting fluid, and introduce a controlled burst of air. Inspect the bead line on both sides before setting riding pressure.
If the tire still will not seat, find the leak rather than forcing the setup. Repair the tape or valve, pre-seat the tire with a tube, or confirm the tire-and-rim combination with the manufacturers. Stop immediately if the bead becomes uneven, the tire blows off, or any component appears damaged.
Sources
- Park Tool: Tubeless Tire Removal and Installation — valve-core removal, mounting fluid, sealant installation, bead inspection, and post-installation sealing.
- Schwalbe: Tubeless Fitting and Troubleshooting — valve position, mounting fluid, added airflow, booster use, tape condition, and tube pre-seating.
- Stan’s: Tubeless Guide — tubeless components, valve-core airflow, sealant installation, and maintenance.
- Stan’s: Sealant Support — sealant quantity, service life, and CO₂ precautions.
- Zipp: Hookless Tire Pressure Recommendations — rim pressure limits and system-specific pressure selection.
- Continental: Tire Mounting Technical Service Bulletin — prohibited lubricants and the danger of flammable ignition-based bead seating.
