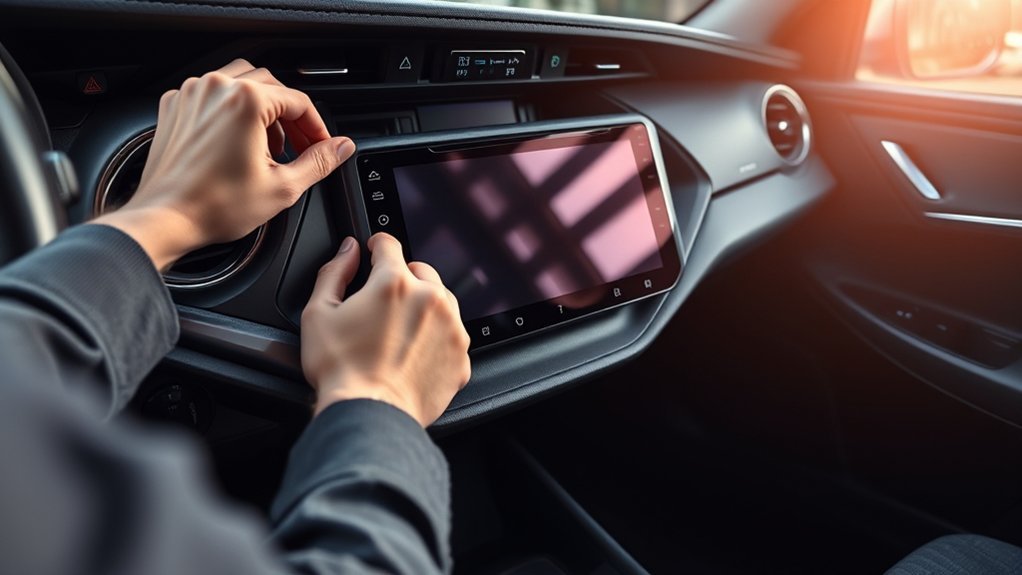
To change the screen on a Toyota RAV4, you normally replace the whole head unit: disconnect the battery, remove the dash trim, unbolt the old unit, unplug the harness, connect the new unit through a vehicle-specific adapter and refit the trim. Use a unit and harness made for your model year, because the connectors, the steering-wheel controls and the camera inputs differ. If you only want to change what the screen shows, see the settings menu. Related: how to reset the Toyota RAV4 touch screen.
Why Change the Screen in Your Toyota RAV4?
Owners replace the screen for a damaged display, to add features such as Apple CarPlay or Android Auto, or to get a larger display. Check whether a repair or a software update would solve the problem first.
Tools You’ll Need for the Installation
- Plastic trim removal tools
- Screwdrivers and a socket set
- A vehicle-specific wiring harness adapter and dash kit
- Electrical tape or connectors as directed by the kit
How to Change the Screen on a Toyota RAV4: Removing the Dash Trim
Disconnect the negative battery terminal and wait a few minutes. Pry the trim panels carefully with plastic tools, and remove the screws. The trim order differs by model year, so use a guide for your year.
How to Remove the Old Stereo From Your Toyota RAV4
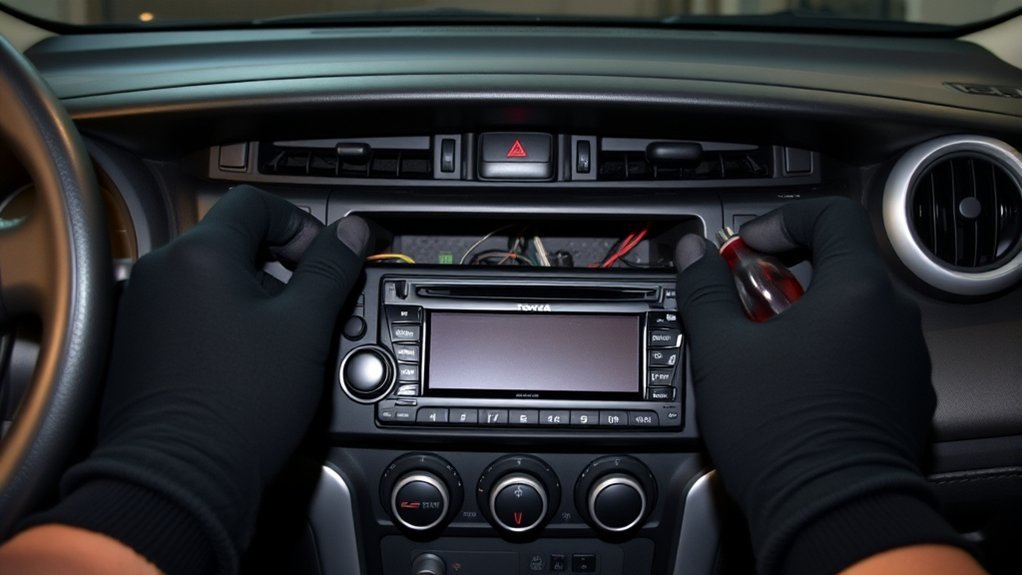
Unscrew the head unit, pull it forward, label and unplug the connectors, and keep the old unit in case you need to go back.
Connecting the New Screen: Wiring Made Easy
Plug the adapter harness into the car connectors and into the new unit. Match the connectors rather than cutting wires, and follow the kit instructions for the antenna, the camera and the steering-wheel control module.
Common Installation Issues and Their Solutions
Test the unit before you refit the trim, to avoid taking it apart again.
Wiring Harness Compatibility Issues
Use an adapter made for your model year. A harness for another year may not fit or may leave out features.
Air Vent Alignment Problems
If the trim does not fit, check that the dash kit is for your year and that the unit sits fully back in its bracket.
Putting Your Dashboard Back Together: Final Steps
Reconnect the battery, test the unit, then snap the trim back in place and tighten the screws.
How to Test Your New Screen for Functionality?
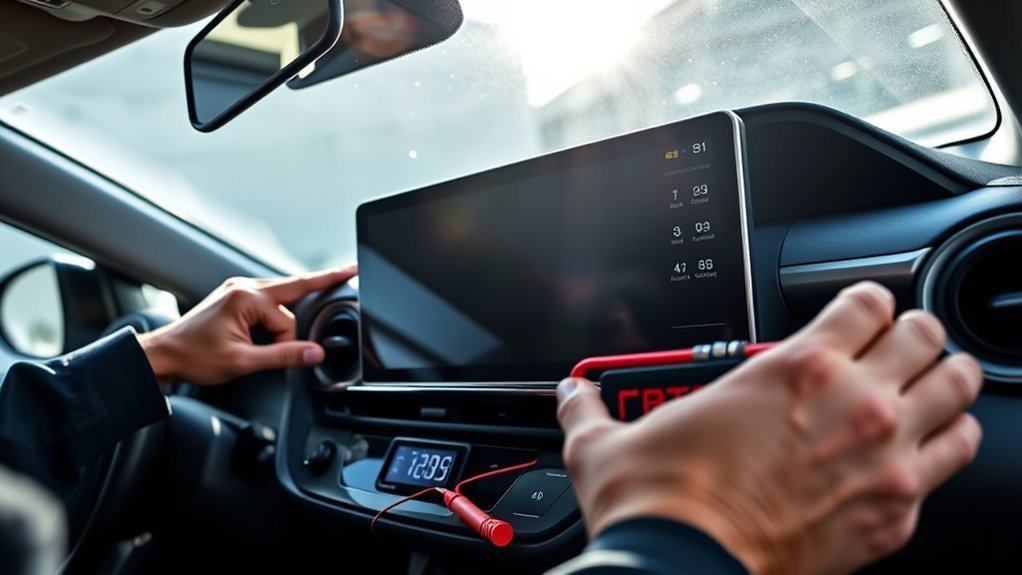
Check the audio, the touch response, the backup camera, the steering-wheel buttons and the clock. Reset the clock and your presets.
Related reading:
Frequently Asked Questions
How to Change Dashboard Display on Toyota RAV4?
Use the display settings in the infotainment menu for the brightness and the mode. Check the owner manual for your model year.
How to Change RAV4 Home Screen?
On many systems, you can rearrange the home screen shortcuts in the settings or by holding an icon. The steps depend on your system.
How to Change Toyota Dashboard Screen?
To change settings, use the menu. To replace the screen, replace the head unit as above.
What Are the Display Options for the Toyota RAV4?
Screen size and features depend on the model year and trim. Check the specifications for your car.
Conclusion
To change the screen on a Toyota RAV4, use a head unit and harness made for your model year, and test it before you refit the trim.