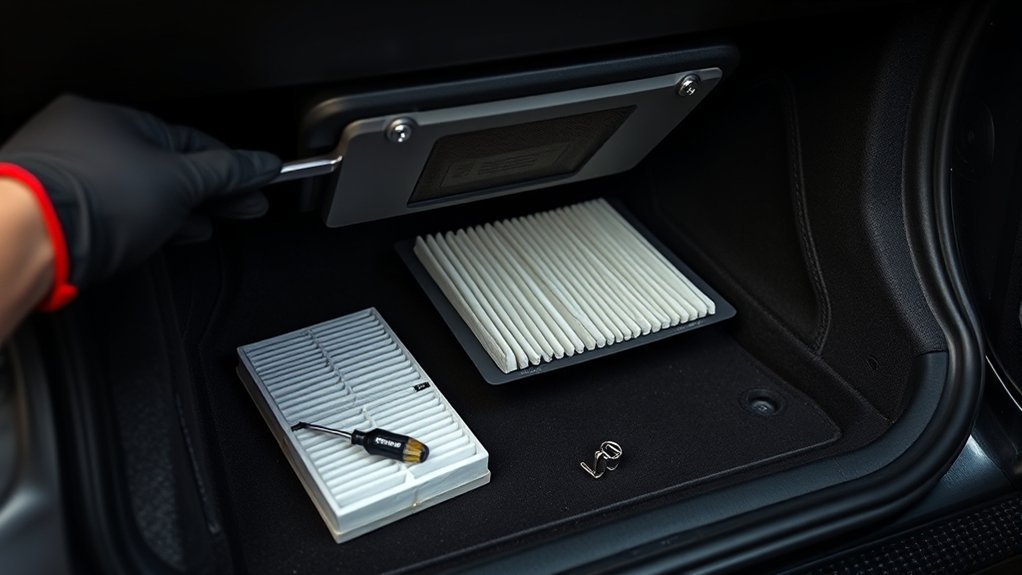
To replace the cabin air filter in a Toyota Supra, first check which generation you have: if your car has a factory filter, follow the owner manual or a service guide for its location and the interval. Some earlier Supras are commonly said to have no factory cabin filter, and owners add one with a retrofit, which means cutting plastic under the glove box and is a permanent modification. This guide covers that retrofit approach. Related: when to replace the cabin air filter in a Toyota Supra.
What’s in This Article
- How to Install a Cabin Air Filter in Your Toyota Supra
- Tools and Materials Needed for Your Cabin Filter Installation
- Preparing Your Toyota Supra for Cabin Filter Installation
- Cutting the Opening for Your Cabin Filter Under the Glove Box
- Adapting the Lexus Bracket for Secure Filter Placement
- Step-by-Step Guide to Installing Your Cabin Filters
- What to Do After Installing Your Cabin Air Filter?
- How to Prevent Rattling or Leaking After Installation?
- How to Maintain Your Cabin Air Filter for Longevity
- Common Mistakes to Avoid During Cabin Filter Installation
- Frequently Asked Questions
- Conclusion
Quick Answer
To install a cabin air filter in a Toyota Supra that needs a custom retrofit, you cut an access opening under the glove box, fit a suitable bracket, slide the filters into the blower box channels, and secure the cover. Measure first, cut slowly, and test the HVAC fan before you reinstall trim panels.
Key Takeaways
- Check your exact Supra model and HVAC layout before you cut any plastic.
- Use clean cuts, smooth edges, and correct filter alignment to protect airflow.
- Secure the bracket and cover tightly so the filter does not rattle while driving.
- Clean the blower box while you have access to reduce dust inside the cabin.
- Inspect the filter every few months if you drive in dusty or high-pollen areas.
How to Replace the Cabin Air Filter in a Toyota Supra: Retrofit Overview
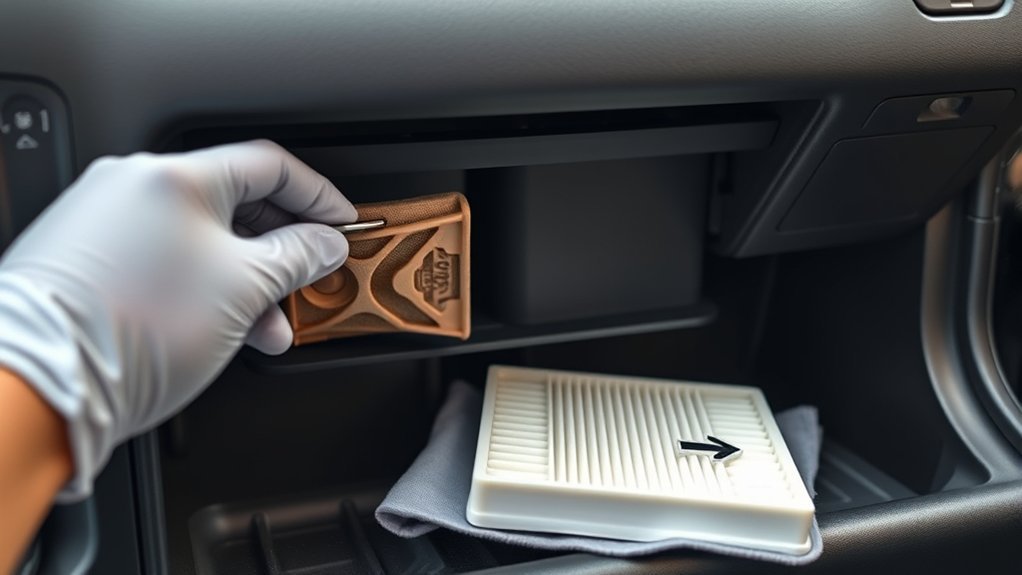
A cabin filter traps dust and pollen before it reaches the vents. If your car has no factory filter, a retrofit adds one in the blower box path. This is a custom job that is not a Toyota-approved procedure, so measure twice, cut once, and expect to adapt parts. Owners sometimes adapt a bracket from another Toyota or Lexus model, but fit is not guaranteed.
Tools and Materials Needed for Your Cabin Filter Installation
- A utility knife or small saw for the plastic, a screwdriver and pliers
- A measuring tape and a marker
- Safety glasses
- A bracket or cover, filters of the right size, and foam or felt for sealing
- A vacuum or brush to clean the blower box
Recommended Filter Types
Choose filters that match the size of your bracket and cover. Check the length, width and thickness before ordering, and avoid filters that bend heavily, because that reduces airflow.
3D Printed Cover Details
Some retrofit kits use a 3D printed cover to hold the filters. Test-fit it before tightening the hardware, and add thin foam or felt to the edge to reduce leaks and rattles.
Preparing Your Toyota Supra for Cabin Filter Installation
Park on level ground with the ignition off, and move the passenger seat back. Look for wiring, clips and ducts near the planned opening, and check the position against a guide for your generation.
Cutting the Opening for Your Cabin Filter Under the Glove Box
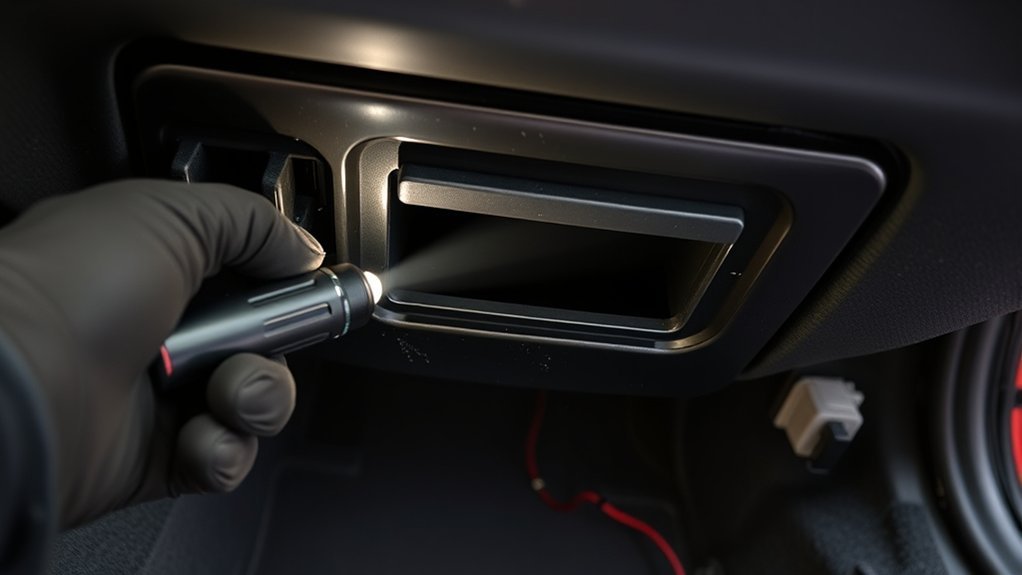
Mark the opening, cut slowly and smooth the edges so the filters sit flat. Do not cut until you have confirmed the size and checked for wiring. A cut cannot be undone.
Adapting the Lexus Bracket for Secure Filter Placement
If you adapt a bracket from another model, test-fit it against the blower box first, and trim it so that it does not block airflow. Secure it firmly.
Step-by-Step Guide to Installing Your Cabin Filters
- Clean the blower box and the blower motor.
- Fit the bracket.
- Slide the filters into the channels.
- Fit and secure the cover.
- Run the fan on each speed and listen for rattles.
What to Do After Installing Your Cabin Air Filter?
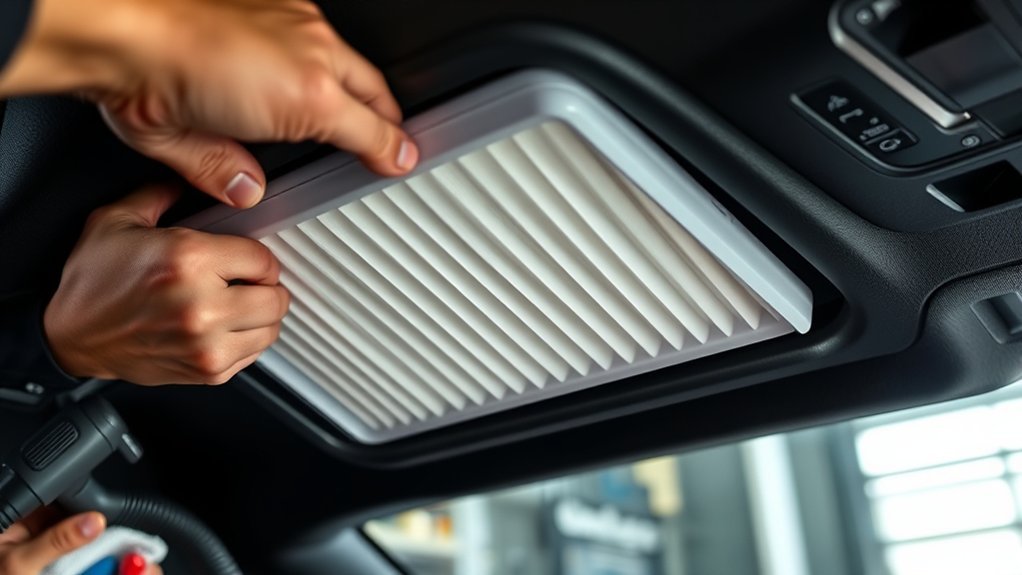
Check the fit, clean the area and run the HVAC fan. Look at the filter every few months.
How to Prevent Rattling or Leaking After Installation?
Add foam or felt around the cover edge, tighten the hardware and check that the filters sit in their channels.
How to Maintain Your Cabin Air Filter for Longevity
Inspect the filter regularly, and replace it when it is dirty or if the airflow falls. Dusty or high-pollen areas need more frequent changes.
Common Mistakes to Avoid During Cabin Filter Installation
- Cutting before measuring
- Blocking the airflow path
- Leaving gaps where dust can bypass the filter
- Loose covers that rattle
Frequently Asked Questions
How to Replace a Toyota Cabin Air Filter?
On most Toyotas, you open the housing (often behind or under the glove box), slide out the old filter and slide in the new one, with the airflow arrow pointing the right way. Check the owner manual for your model.
How to Change Supra Air Filter?
For the cabin filter, see above. The engine air filter is a separate part, covered in our engine air filter guide.
What Are Three Symptoms of a Clogged Cabin Air Filter?
Weak airflow from the vents, musty or dusty smells, and a noisy blower fan.
Can I Replace a Cabin Air Filter Myself?
Where a factory filter exists, it is usually a simple job. A retrofit needs more skill.
Should I Use One Filter or Two Filters in This Supra Install?
It depends on the retrofit design. Follow the kit or the bracket layout you have, and make sure airflow is not restricted.
Conclusion
To replace the cabin air filter in a Toyota Supra, find out whether your car has a factory filter, and plan any retrofit carefully.
References
- No external references were added because this edit followed the instruction not to browse, search, or research outside the supplied HTML.