How to Replace a Toyota Supra Engine Air Filter
What’s in This Article
- Symptoms of a Failing Engine Air Filter
- Why You Need to Change Your Engine Air Filter
- What You’ll Need to Replace the Engine Air Filter
- Step-by-Step Guide to Replacing Your Engine Air Filter
- Choosing the Right Engine Air Filter for Your Toyota Supra
- Avoid These Common Air Filter Replacement Mistakes
- When to Seek Professional Help for Air Filter Replacement?
- Frequently Asked Questions
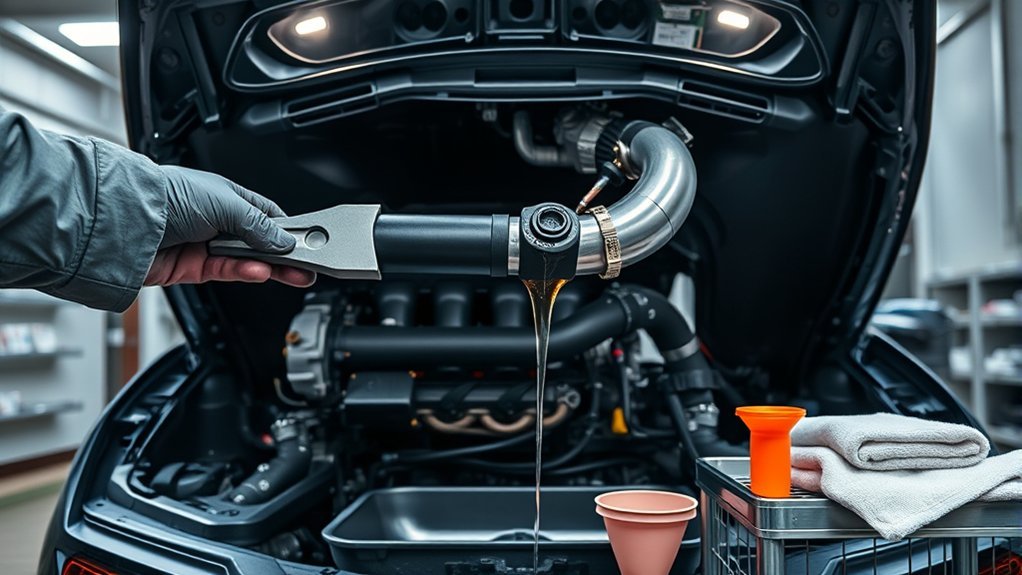
A dirty engine air filter can make your Toyota Supra feel slower, thirstier, and less responsive. The good news: this job usually takes little time and only basic hand tools. This guide shows you how to spot a bad filter, choose the right replacement, and install it without letting dirt into the intake housing.
Quick Answer
To replace your Toyota Supra engine air filter, open the air intake box, remove the old filter, clean loose debris from the housing, and install the new filter in the same orientation. Secure every clip, screw, or latch before you start the engine. Use a filter that matches your Supra’s model year and engine type.
Key Takeaways
- A clogged engine air filter can reduce airflow and hurt acceleration.
- You should match the replacement filter to your Supra’s model year and engine type.
- You should clean loose dirt from the housing before you install the new filter.
- You should check the filter seal after installation to help prevent unfiltered air from entering the intake.
- You should get professional help if the intake box looks damaged or difficult to access.
Estimated time: 10 to 20 minutes for most drivers.
Symptoms of a Failing Engine Air Filter
When your engine air filter starts to fail, you may notice several changes in how your Supra drives. A clogged engine air filter restricts airflow, which can reduce power and hurt fuel economy. You may feel the engine hesitate when you accelerate or struggle to hold speed.
Low airflow can also contribute to rough idling, poor throttle response, and engine misfires. Listen for whistling or unusual intake sounds during acceleration. Those sounds can point to an air leak or airflow problem that needs inspection.
Check the filter during routine maintenance. A dirty filter can affect engine performance, fuel use, and emissions. Timely replacement helps your Supra breathe better and run more smoothly.
Why You Need to Change Your Engine Air Filter
A dirty engine air filter can limit the air your engine needs for clean combustion. When airflow drops, the air-fuel mixture may lose balance, which can reduce efficiency and performance. Dirt and debris can also shorten the life of intake parts if they get past a damaged or poorly sealed filter.
Many drivers replace the engine air filter about once a year or every 15,000 to 30,000 miles, but your best interval depends on driving conditions. Dusty roads, heavy traffic, and frequent short trips can make the filter dirty sooner. Check your owner’s manual for the maintenance schedule that applies to your exact Supra.
A high-quality filter that matches the original specifications helps maintain proper fit and filtration. Original equipment manufacturer (OEM) filters usually offer the most direct fit. Some aftermarket filters also work well, but you should compare size, seal design, and compatibility before buying.
What You’ll Need to Replace the Engine Air Filter
Replacing the engine air filter in your Toyota Supra requires a few basic tools and the right replacement filter. Gather everything before you open the air intake box, so the housing stays exposed for less time.
- Flat screwdriver
- Phillips screwdriver
- Pliers for stubborn clips
- Ratchet and socket set, if your intake box uses bolts
- Protective gloves
- Clean shop rag or cloth
- New engine air filter that fits your Supra’s model year and engine type
Prepare a clean workspace and let the engine cool before you start. Wipe loose dirt from around the air filter housing before you open it. This helps keep debris out of the intake path.
Step-by-Step Guide to Replacing Your Engine Air Filter
Follow these steps in order to replace the filter safely and cleanly. Work slowly, and avoid dropping screws, clips, or dirt into the intake box.
- Park your Supra on a level surface and turn off the engine.
- Open the hood and locate the air intake box near the intake tube.
- Inspect the area around the housing for loose dirt, leaves, or debris.
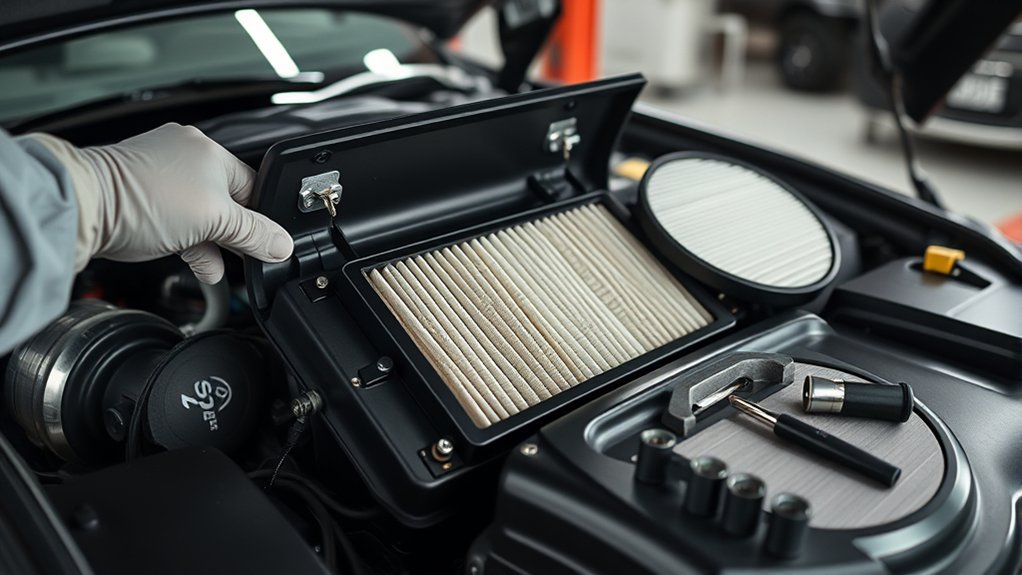
- Release the clips, screws, or bolts that hold the air intake box cover in place.
- Lift the cover carefully without pulling hard on nearby hoses or wiring.
- Remove the old air filter and note its airflow direction or installed position.
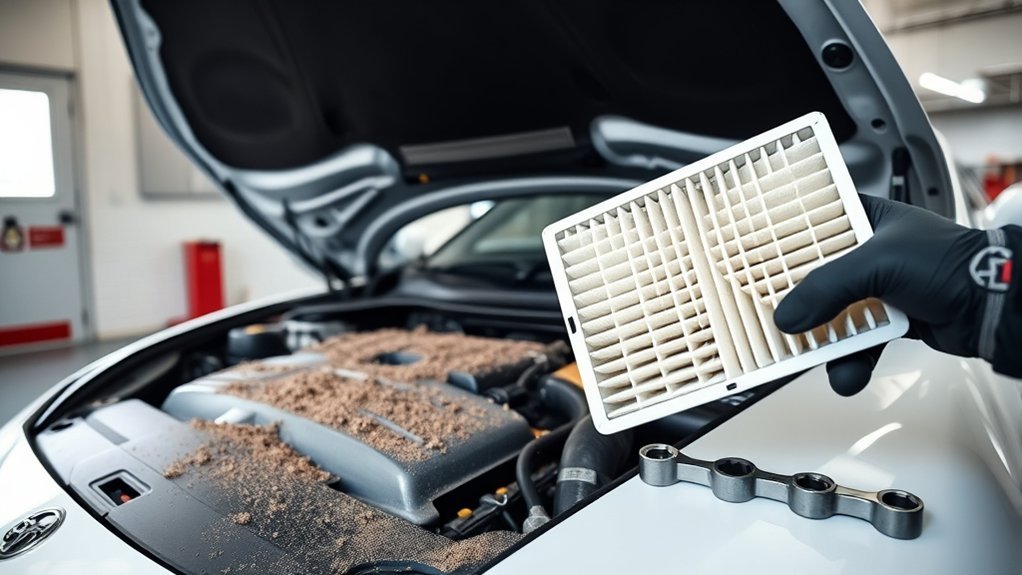
- Wipe loose debris from the housing with a clean cloth.
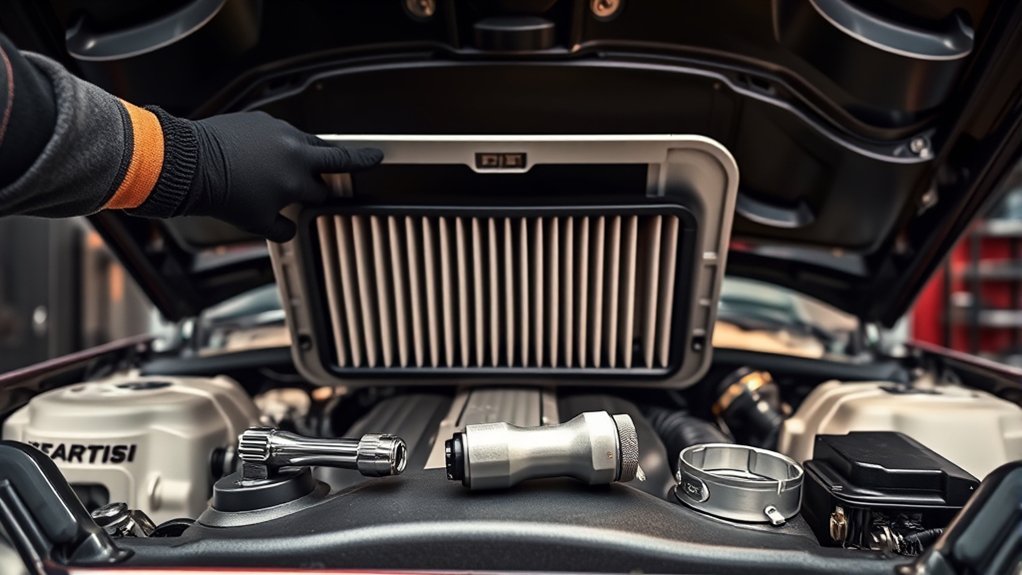
- Install the new filter in the same orientation as the old one.
- Seat the filter fully so the edges seal evenly inside the housing.
- Secure the cover with every clip, screw, or bolt you removed.
- Start the engine and listen for unusual intake noise or air leaks.
Warning: Do not run the engine while the air filter is removed because dirt can enter the intake.
Necessary Tools Required
The tools you need depend on how your Supra’s air box fastens together. Some covers use clips only, while others use screws or bolts. Keep a small tray nearby so you don’t lose fasteners.
| Tool | Purpose | Notes |
|---|---|---|
| Flat screwdriver | Remove screws or help release clips | Use light pressure to avoid damage |
| Phillips screwdriver | Remove Phillips fasteners | Match the tip size to the screw head |
| Pliers | Grip and pull stubborn clips | Avoid squeezing plastic clips too hard |
| Ratchet and socket set | Remove bolts, if equipped | Confirm the socket size before turning |
| Protective gloves | Keep your hands clean | Useful around dusty housings |
| Cloth or shop rag | Clean loose debris from the housing | Use a dry, lint-free cloth when possible |
| New engine air filter | Replace the old filter | Verify compatibility before installation |
With these tools ready, you can remove the old filter and install the new one without rushing. A clean, careful process helps protect the intake system.
Common Installation Mistakes
Even a simple filter change can cause problems if the filter doesn’t sit correctly. Install the new filter in the correct orientation, using any airflow marks or the old filter’s position as a guide. A reversed or poorly seated filter can restrict airflow or leave gaps around the seal.
Do not install the new filter into a dirty housing. Loose debris can enter the intake when you restart the engine. Also, don’t clean and reuse a disposable paper filter when it needs replacement.
Check the filter size before you close the air box. A filter that looks close but doesn’t match the housing can create air leaks. After you secure the cover, tug gently on the housing to confirm every fastener sits tight.
Choosing the Right Engine Air Filter for Your Toyota Supra
When you choose an engine air filter for your Toyota Supra, match the filter to your exact model year and engine type. The right filter should seat flat, seal cleanly, and fit the housing without bending. Check your owner’s manual or parts catalog before you buy.
High-quality filters support proper airflow while trapping dust and debris. A poor fit can let unfiltered air pass into the intake. That risk matters more than a small price difference.
OEM Versus Aftermarket Options
OEM engine air filters match Toyota specifications and usually offer a direct fit. They help reduce guesswork because manufacturers design them for the intended air box. This makes OEM filters a safe choice for routine maintenance.
Aftermarket filters can cost less, and some offer good filtration and airflow. Quality varies by brand and design, so compare the filter dimensions, seal shape, and listed vehicle compatibility. Avoid filters that require forcing, trimming, or bending to fit.
Compatibility With Your Model
Selecting an engine air filter that matches your Toyota Supra’s model year and engine type helps maintain reliable performance. Before buying, confirm these details:
- Check your owner’s manual for the correct filter type or part number.
- Match the filter to your exact model year and engine.
- Compare aftermarket filters against OEM specifications.
- Inspect the seal design before installation.
If the new filter doesn’t sit flat, stop and recheck the part number. Forcing the wrong filter can damage the housing or create an air leak.
Quality Assurance Considerations
Choose a filter with clean pleats, firm edges, and an even seal. The pleated design helps increase surface area while trapping dirt and debris. A weak frame or uneven gasket can reduce filtration quality.
Inspect the filter before installation. Do not use a filter with crushed pleats, torn media, or damaged edges. A quick check can prevent a second repair later.
Avoid These Common Air Filter Replacement Mistakes
When you replace your engine air filter on a Toyota Supra, a few small errors can hurt performance. Avoid these common mistakes:
- Installing the filter backward: Match the airflow direction or original filter position.
- Skipping the housing cleanup: Wipe loose dirt away before you install the new filter.
- Using the wrong filter: Confirm the part fits your Supra’s model year and engine.
- Reusing a worn paper filter: Replace a dirty disposable filter instead of trying to clean it.
- Leaving clips loose: Secure every fastener before you start the engine.
After installation, inspect the air filter housing and seals. A secure seal helps prevent unfiltered air from reaching the engine. This simple check can help your Supra run more smoothly.
When to Seek Professional Help for Air Filter Replacement?
Call a professional if the air intake box looks cracked, damaged, or hard to reach. You should also get help if you hear whistling, notice misfires, or see warning lights after installation. These symptoms may point to an intake leak or another issue beyond the filter.
If you’re unsure which filter fits your Supra, a technician can confirm the correct part. Many shops can replace the engine air filter during routine service. This can make sense if you already plan an oil change or inspection.
| Symptom or Concern | What It May Mean | Recommended Action |
|---|---|---|
| Reduced horsepower | Restricted airflow or another engine issue | Schedule an inspection |
| Whistling noise | Possible intake leak | Contact a technician |
| Misfires | Airflow, ignition, or fuel issue | Get professional diagnosis |
| Hard-to-access housing | Risk of broken clips or parts | Request expert help |
| Compatibility concerns | Wrong part may not seal | Verify the part number |
Frequently Asked Questions
How Do You Change a Supra Air Filter?
Open the hood, locate the air intake box, and release the fasteners that hold the cover. Remove the old filter, clean loose debris from the housing, install the new filter, and secure the cover.
How Do You Replace a Toyota Engine Air Filter?
Most Toyota engine air filters sit inside an air intake box under the hood. You remove the cover, swap the old filter for the correct new one, then close the housing and secure the fasteners.
How Do You Change an Air Filter in a Car Step by Step?
Let the engine cool, open the air filter housing, remove the old filter, clean the housing, and install the new filter in the correct direction. Close the cover and check that every clip or screw sits tight.
Is It Easy to Replace an Engine Air Filter Yourself?
Yes, many drivers can replace an engine air filter with basic tools. The job becomes harder if the air box sits in a tight space or the clips and screws have damage.
What Happens If You Install the Engine Air Filter Wrong?
A poorly seated or backward filter can restrict airflow or allow unfiltered air into the intake. If the engine sounds unusual after replacement, shut it off and recheck the filter and housing seal.
Conclusion
Replacing your Supra’s engine air filter helps protect airflow, efficiency, and everyday drivability. Check the filter during routine maintenance, and replace it when it looks dirty or no longer fits the service interval. Use the correct filter, keep the housing clean, and secure every fastener. A few careful minutes under the hood can help your Supra feel sharper on the road.