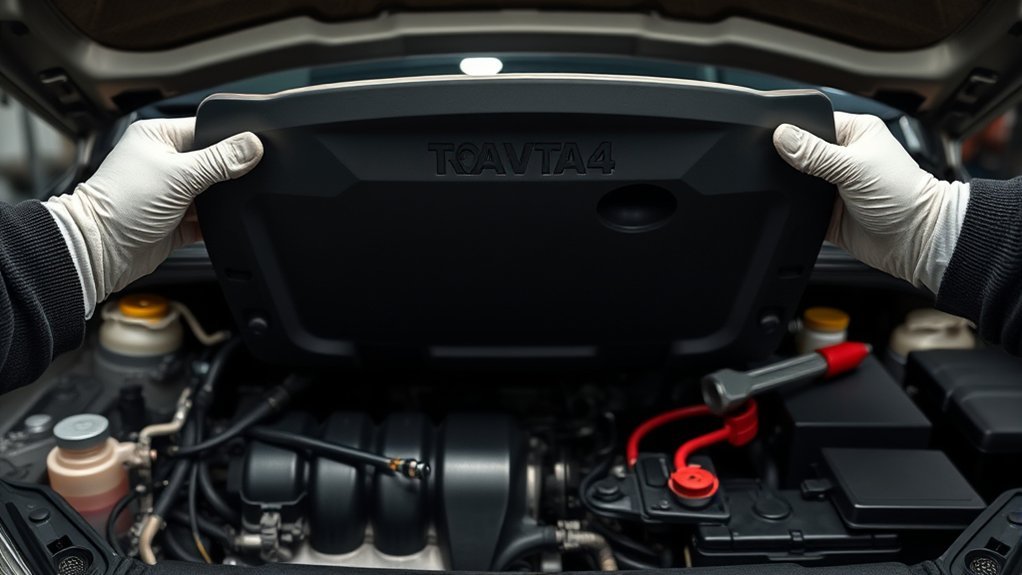
If your Toyota RAV4 engine cover feels stuck, do not pry it with a screwdriver or pull every corner at once. The safe removal method depends on the model year, engine, and type of fastener. Many 2019–2025 2.5-liter RAV4 covers release from the two front mounts first and then the rear mount, while older and redesigned models may use a different layout.
Last updated: July 31, 2026
Editorial note: Written by the editorial team and updated against current Toyota owner resources and factory service-information guidance. Engine-cover mounting points vary by model year, engine, production location, trim, and market. Check the manual or repair information for your exact RAV4 if its cover does not match the descriptions below.
This guide explains how to identify the correct cover, remove it without cracking the plastic, inspect the parts underneath, and reinstall it without broken clips or engine-bay rattles.
Quick Answer
Shut the RAV4 off, let it cool, and inspect the cover for nuts, bolts, clips, hoses, or wiring. On many 2019–2025 2.5-liter models, release the two front mounts first and then the rear mount. Never pull every mounting point at once. Other years and engines may use different fasteners.
Key Takeaways
- Confirm that you are removing the plastic top appearance cover, not the valve cover or underbody splash shield.
- Turn the vehicle fully off, confirm the READY indicator is off on hybrid models, and let hot parts cool.
- Inspect for visible nuts, bolts, clips, wiring, hoses, and oil-cap interference before lifting.
- For many 2019–2025 2.5-liter RAV4s, release the front mounts first and the rear mount second.
- Stop if the cover still feels locked after all identified fasteners and mounts have been released.
- Reseat or replace damaged rubber grommets and clips before reinstalling the cover.
At a Glance
| Time Required | About 5–10 minutes for a simple clip-on top cover; longer if fasteners are corroded, hidden, or damaged |
| Difficulty | Easy after the mounting method is identified |
| Tools Needed | Work gloves, flashlight, clean rag, and the correct socket or plastic trim tool only when the cover uses a confirmed fastener |
| Cost | Usually $0 if no tool or replacement hardware is needed; clip and grommet prices vary |
Which Engine Cover Are You Removing?
Owners often use the term “engine cover” for three different parts. Identify the part before following any removal instructions.
| Part | Where it is | Does this guide cover it? |
|---|---|---|
| Top engine appearance cover | A removable plastic panel on top of the engine | Yes. This is the part covered by the main procedure. |
| Valve or cylinder-head cover | A sealed engine component beneath the appearance cover | No. Removing it requires a repair procedure, new seals, and specified fastener torque. |
| Engine under cover or splash shield | A panel beneath the vehicle | No. It uses separate bolts, screws, or clips and may require safely raising the vehicle. |
Note: If your RAV4 does not have a separate plastic panel over the top of the engine, there may be no removable appearance cover for this task. Do not mistake a sealed metal or molded engine component for a clip-on cosmetic cover.
Before You Remove the Cover
RAV4 engine-cover layouts vary by model year, engine, production location, trim, and market. Gasoline, hybrid, plug-in-hybrid, and older diesel versions may not use the same cover shape or mounting points.
Park on a flat surface, apply the parking brake, and turn the vehicle completely off. On a hybrid or plug-in hybrid, confirm that the READY indicator and power-on messages are off. Keep the key away from the vehicle while you work, and wait for the engine and nearby parts to cool.
Warning: The electric cooling fan may start when the vehicle is powered on or when operating conditions call for cooling. Keep your hands, clothing, hair, and tools away from the fan. Do not work in the engine bay while the READY indicator is on.
Before pulling, inspect the cover from every side. Look for visible nuts, bolts, screws, trim clips, wiring, hoses, sensor connectors, or an oil filler cap passing through the cover. If anything differs from a simple removable top panel, check your year-specific Toyota owner resources or the model-specific repair procedure in the Toyota Technical Information System.
Warning: On hybrid and plug-in-hybrid RAV4 models, never touch, disconnect, remove, or pry near orange high-voltage cables, connectors, service plugs, or labeled high-voltage covers. Toyota’s hybrid-system precautions identify orange cables as high-voltage components. Leave unidentified hybrid parts alone and contact a qualified technician.
| What you see | What it may mean | What to do before lifting |
|---|---|---|
| Simple plastic top cover with no visible fasteners | It may be held by clips, rubber grommets, or pins | Identify the mounting sequence for the model year and engine. |
| Visible nuts, bolts, screws, or unusual clips | The cover uses mechanical fasteners | Confirm and remove the correct fasteners before applying upward force. |
| Oil filler cap passes through the cover | The cap may block removal on that design | Remove it only when the manual or visible layout confirms it is necessary. Protect the open filler neck and reinstall the cap promptly. |
| Orange cables, orange covers, or hybrid warning labels | High-voltage components are nearby | Do not touch them. Verify the correct procedure or ask a qualified technician. |
| Older diesel cover with D-4D markings | A non-U.S. market-specific diesel layout | Use the repair information for that exact engine and market. |
RAV4 Engine Cover Mounting Differences by Model Year
Do not assume that a procedure shown for one RAV4 generation applies to another. Toyota changed the engines, covers, and mounting hardware across generations.
| RAV4 group | Typical concern | Safe approach |
|---|---|---|
| 2019–2025 2.5-liter gas and hybrid applications | Many use two front mounts and one rear mount | Lift the front edge enough to release the two front mounts, then release the rear mount. Do not try to detach all mounts together. |
| 2026 sixth-generation RAV4 | All-new hybrid and plug-in-hybrid design | Do not assume the 2019–2025 mounting sequence applies. Check the 2026 manual or Toyota TIS for the exact configuration. |
| Older gasoline models | Some covers use nuts, studs, different clips, or multiple pieces | Remove confirmed fasteners first and release one mounting point at a time according to the repair procedure. |
| Older non-U.S. diesel models | D-4D covers and engine layouts differ from U.S. gasoline and hybrid models | Use the manual for the exact diesel engine, year, and market. |
Note: Toyota introduced the redesigned sixth-generation RAV4 for 2026 with hybrid and plug-in-hybrid powertrains. Treat its engine-bay layout as a new configuration rather than an extension of the 2019–2025 design.
Essential Tools for Engine Cover Removal
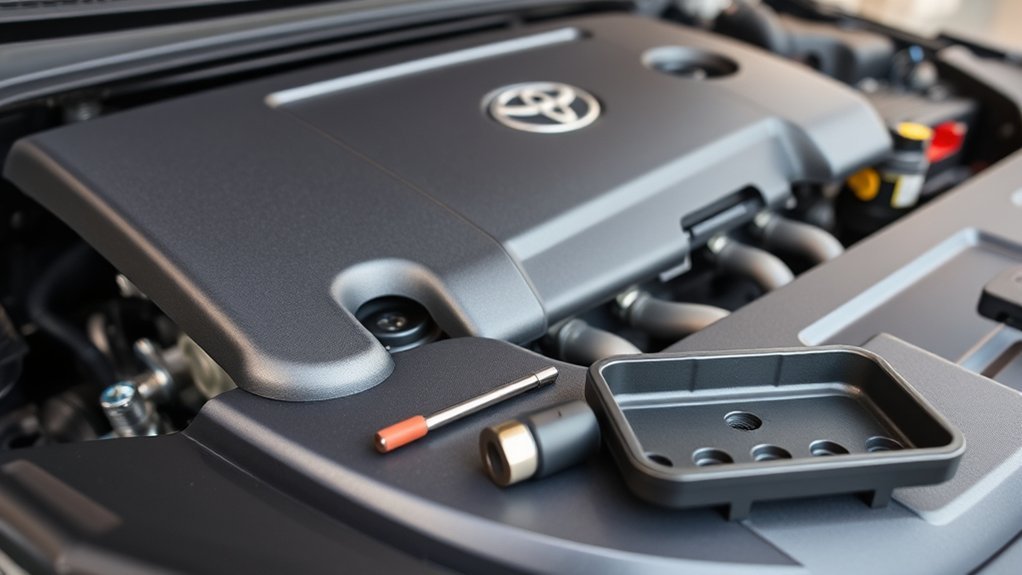
Most clip-on top covers do not require a special tool. Your hands normally release the mounts after you identify the correct sequence. Keep a few basic items nearby so you do not reach for a metal screwdriver and damage the plastic.
Work in good light and keep the engine bay clean. Hot plastic, metal, coolant lines, and engine parts can burn your hands.
What You’ll Need
- Work gloves for grip and hand protection
- A flashlight to locate hidden clips, mounts, fasteners, wiring, and hoses
- A clean rag for the cover and mounting points
- The correct socket or nut driver if visible nuts or bolts are confirmed
- A plastic trim tool only for a confirmed trim-style clip that requires it
- A small tray to keep removable fasteners organized
Estimated total time: About 5–10 minutes for a simple top appearance cover after the mounting method is confirmed.
If the cover feels locked, stop pulling. A stuck grommet is cheaper than a cracked engine cover.
How to Remove a Toyota RAV4 Engine Cover
Use the following steps only for a removable plastic top appearance cover. If the cover has a different layout, follow the model-specific repair procedure instead of forcing it.
- Park and shut down the vehicle: Park on level ground, apply the parking brake, turn the vehicle fully off, and confirm the READY indicator is off on hybrid models.
- Let the engine bay cool: Wait until the cover and nearby metal, hoses, coolant parts, and power-control components are safe to touch.
- Inspect the entire cover: Look for nuts, bolts, screws, trim clips, attached wiring, hoses, sensor connectors, and oil-cap interference.
- Remove confirmed fasteners: If the cover uses visible nuts, bolts, or clips, remove only those identified by the correct manual or clearly visible mounting design. Keep the hardware organized.
- Handle the oil filler cap correctly: If the cap passes through the cover and blocks removal, remove it only after confirming the design. Keep dirt away from the opening and reinstall the cap as soon as the cover clears it.
- Release applicable 2019–2025 covers front first: On many 2.5-liter gas and hybrid applications, grip the front edge near the mounting points and lift with controlled pressure until the two front mounts release.
- Release the rear mount: Support the loosened cover, move to the rear mounting point, and lift only enough to release it. Do not bend or twist the panel.
- Use a model-specific sequence on other covers: If the cover is older, redesigned, diesel, multi-piece, or uses different hardware, release one confirmed mounting point at a time according to the correct repair information.
- Set the cover aside: Place it on a clean surface with the underside facing up. This keeps dirt from falling onto the engine and makes the grommets easier to inspect.
Warning: Do not try to release the front and rear mounts at the same time on a cover designed for sequential removal. Do not continue if the plastic bends sharply, a corner remains fixed, or resistance continues after every identified fastener has been removed.
Common Mistakes to Avoid When Removing the Engine Cover
The most damaging mistake is applying force before identifying the mounting system. A cover may look like a simple pull-off panel while still being secured by a rear clip, nut, stud, oil cap, or market-specific fastener.
- Do not pull every corner upward together. Some RAV4 procedures require the front mounts to release before the rear mount.
- Do not pull before checking for fasteners. A missed nut, bolt, screw, or clip can crack the cover.
- Do not twist the cover to break it loose. Twisting can damage plastic tabs, mounting posts, and rubber inserts.
- Do not pry beneath the cover with a metal screwdriver. It can gouge the plastic, damage wiring, or scratch nearby components.
- Do not leave the oil filler opening exposed. Prevent dirt, hardware, or debris from entering the engine.
- Do not touch orange hybrid cables or labeled high-voltage parts. These are not part of engine-cover removal.
- Do not reinstall the cover over a trapped wire, hose, rag, or tool. Trapped parts can be damaged when the cover is pressed down.
- Do not reuse a mount that is split or missing. A damaged grommet or clip can cause movement and rattling.
Pro Tip: Photograph the cover before removal and inspect its underside afterward. The photo records the original position, while the underside shows the number and location of the mounts you must align during installation.
Key Components to Inspect After Removing the Engine Cover
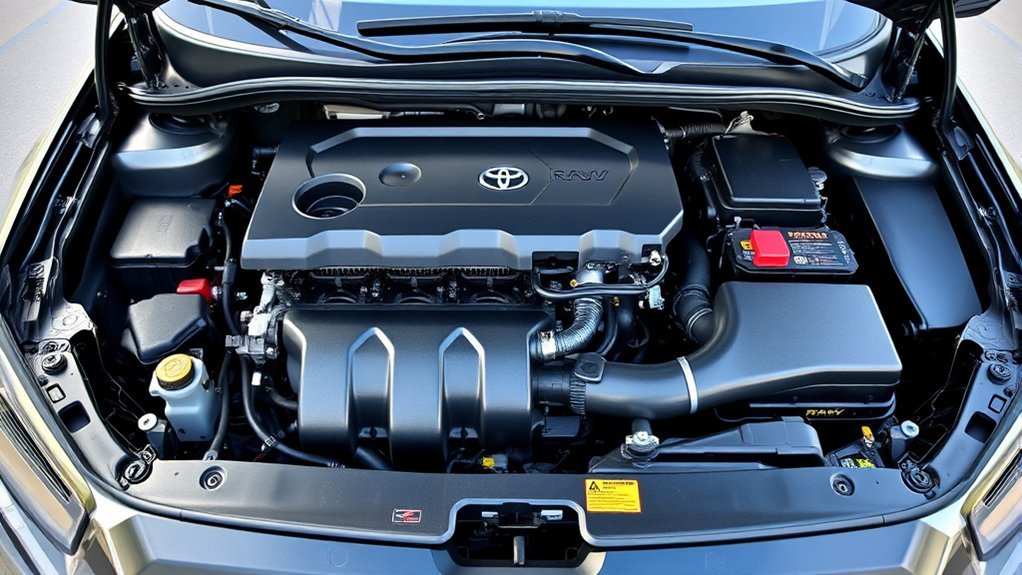
Once the cover is off, inspect the area it normally hides. Do not disconnect parts merely to get a better view. Look for fresh wet spots, heavy residue, cracked rubber, damaged insulation, displaced grommets, and anything that appears loose.
- Engine oil area: Check around the oil filler cap, visible seams, and nearby surfaces for fresh oil or heavy buildup.
- Air-intake system: Look for loose clamps, cracked ducts, missing retainers, or gaps at connections.
- Wiring harnesses: Check for frayed insulation, loose plugs, broken retainers, rodent damage, or rub marks.
- Vacuum lines and hoses: Look for cracks, loose ends, collapsed sections, swelling, or brittle rubber.
- Coolant and fluid areas: Watch for wet spots, dried colored residue, unusual smells, or staining around hoses and fittings.
- Mounting posts: Check that each stud or pin is straight and undamaged.
- Rubber grommets: Confirm that each grommet is seated in the cover or in its intended mounting location. A grommet may remain on a stud when the cover comes off.
- Cover underside: Look for cracks, missing insulation, worn contact marks, and damaged mounting sockets.
Old dry staining does not automatically mean there is an active leak. Fresh fluid, a strong fuel or coolant smell, smoke, warning lights, damaged wiring, or residue that returns after cleaning should be inspected by a qualified mechanic.
Note: Do not move a rubber grommet blindly. First compare the underside of the cover with the engine mounting posts so you know whether the grommet belongs in the cover or on the vehicle-side mount.
How to Reinstall the Engine Cover
Reinstallation should reverse the confirmed removal sequence. Clean the mounting points and make sure every grommet, clip, nut, and spacer is present before pressing the cover into place.
- Check the work area: Remove tools, loose hardware, rags, and debris from the engine bay.
- Reinstall the oil filler cap: If it was removed, reinstall it securely before dirt can enter the engine, unless the cover must pass over the opening first on that exact design.
- Position every grommet: Reseat displaced rubber inserts by hand and replace any that are split, hardened, enlarged, or missing.
- Align the cover: Match each socket or opening with the correct stud, clip, pin, or fastener point.
- Seat the mounts in the correct order: Press directly above one mounting point at a time. On a sequential three-mount cover, align all mounts and seat them without bending the panel.
- Reinstall mechanical fasteners: Refit any confirmed nuts, bolts, screws, or clips using the specified procedure. Do not overtighten plastic-mounted hardware.
- Check the fit: Confirm that the cover sits flat, does not rock, and has even clearance from hoses, wiring, and moving parts.
- Perform a final engine-bay check: Make sure no tool, rag, loose cap, or disconnected part remains under the hood.
- Listen for movement: Start the vehicle only after the cover is secure. Keep clear of the fan and listen briefly for rattling or tapping.
If the cover rocks, rattles, or will not sit flat, turn the vehicle off and inspect it again. Do not force it down over a misaligned mount.
Troubleshooting Issues During Engine Cover Removal
Match the symptom to the likely cause before applying more force.
| Issue | Potential cause | Safest response |
|---|---|---|
| Front lifts but rear remains attached | Rear clip or grommet is still engaged | Support the front and release the rear mount separately without twisting the cover. |
| Cover flexes but no mount releases | Missed fastener, wrong lifting point, trapped edge, or oil-cap interference | Lower the cover and inspect every edge and opening again. |
| One corner will not move | A nut, bolt, or model-specific clip may still be installed | Do not pry. Confirm the exact model-year procedure. |
| Rubber grommet comes off with the stud | The grommet is dry, displaced, or stuck | Inspect it for damage and return it to its intended position before installation. |
| Clip or mounting socket cracks | Brittle plastic, excessive force, or incorrect sequence | Stop and replace the damaged part. Do not secure the cover with improvised wire or loose hardware. |
| Loose fit after reinstallation | A mount is missed, dirty, damaged, or incorrectly positioned | Remove the cover using the correct sequence, inspect every mount, and reinstall it. |
| Rattle after installation | The cover is not seated flat or is contacting another component | Turn the vehicle off, let it cool, and check alignment and clearance. |
| Resistance near orange cables or hybrid equipment | The cover or your hand is approaching high-voltage components | Stop immediately. Do not touch or move the high-voltage parts. |
If a clip, mounting socket, grommet, or stud breaks, replace it before treating the job as complete. A loose cover can vibrate, rub wiring or hoses, and create noise under the hood.
Get professional help if: the cover remains fixed after all identified fasteners are released, the plastic begins cracking, wiring is attached to the cover, orange high-voltage parts obstruct access, a mounting stud breaks, or you find fresh fuel, coolant, or heavy oil leakage.
Frequently Asked Questions
How do I remove the engine cover on a Toyota RAV4?
Turn the vehicle fully off, let the engine bay cool, and inspect the cover for fasteners and attached parts. On many 2019–2025 2.5-liter RAV4s, release the two front mounts first and then the rear mount. For other models, follow the confirmed fastener layout instead of pulling every corner together.
Why won’t my RAV4 engine cover come off?
A rear mount, hidden clip, nut, bolt, oil filler cap, or trapped edge may still be holding it. Lower the cover and inspect every side. Do not pry or increase force until you have confirmed the mounting system for that model year and engine.
Do all Toyota RAV4 engine covers use the same clips?
No. Mounting systems vary by model year, engine, market, and production configuration. Some covers use rubber-mounted clips or pins, while others use nuts, bolts, separate trim clips, or multiple cover pieces.
Do I need to remove the oil filler cap first?
Only if the cap passes through the appearance cover and prevents removal on your exact design. Keep the filler opening clean, do not allow dirt or hardware to enter it, and reinstall the cap promptly. Do not remove it merely because it is close to the cover.
Can I remove the engine splash shield?
Yes, but the underbody splash shield is a separate job from removing the top engine appearance cover. Work on level ground and use correctly rated lifting and support equipment when access requires raising the vehicle. Never work beneath a vehicle supported only by a jack. Keep the bolts, screws, and clips organized and reinstall the shield securely.
How do I open the engine bay on my RAV4?
Pull the hood-release lever inside the cabin. Move to the front of the vehicle, lift the hood slightly, release the secondary safety latch, and raise the hood. Secure it with the support rod if your model uses one, and confirm that the rod is fully seated before working underneath.
Should I drive without the engine cover?
A confirmed cosmetic top cover may not be required for the engine to run, but do not drive until every cap, hose, connector, fastener, and loose item is secure. Do not drive if you find damaged wiring, a fluid leak, a broken mount that could contact another part, or uncertainty about whether the removed cover has a functional role.
What should I check before buying a used RAV4?
Review maintenance records and the vehicle history, inspect for leaks and warning lights, and arrange a pre-purchase inspection. Check the VIN through the Toyota recall lookup and the NHTSA recall lookup. Also inspect the engine cover and its mounts for cracks, missing hardware, or signs of careless prior work.
Conclusion
Removing a Toyota RAV4 top engine cover is usually a simple task after you identify the correct mounting system. The most important rule is not to treat every RAV4 cover as a panel that can be pulled upward from all sides. On many 2019–2025 2.5-liter models, the front mounts release first and the rear mount releases second. Older and redesigned models may use different fasteners.
Before closing the hood, confirm that every grommet and fastener is present, the cover sits flat, the oil filler cap is secure, and no tools or rags remain in the engine bay. Repair fresh leaks, damaged wiring, cracked mounts, or an insecure cover before returning the vehicle to normal use.
Sources
- Toyota Owner Manuals and Warranty Resources — provides model-year-specific owner manuals and maintenance guidance.
- Toyota Technical Information System — provides Toyota repair manuals, service bulletins, wiring information, and model-specific service procedures.
- Toyota RAV4 Hybrid System Precautions — supports the warnings about orange high-voltage cables, connectors, and hybrid components.
- Toyota Debuts the All-New 2026 RAV4 — supports the sixth-generation redesign and current hybrid and plug-in-hybrid model context.
- Toyota UK RAV4 D-4D Archive — supports the note about the 2001–2006 UK-market D-4D diesel RAV4.
- NHTSA Recall Lookup — supports VIN-based checks for unrepaired vehicle safety recalls.
