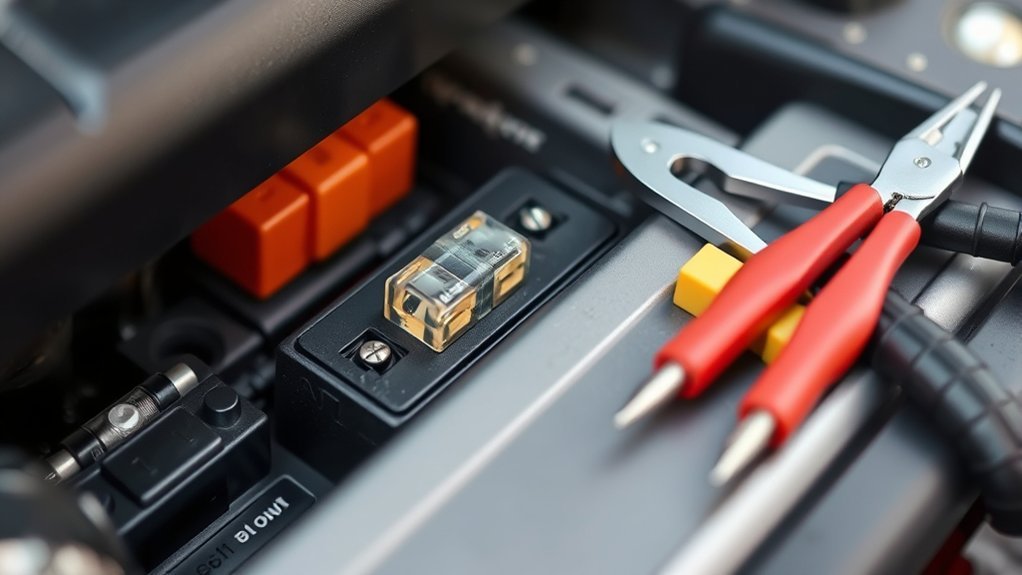
Last updated: July 31, 2026. If your tire inflator blows the cigarette-lighter or 12V accessory-outlet fuse, stop using the inflator until you identify the cause. The problem may be a simple blown fuse, but it can also come from an overloaded outlet, a damaged plug, a shorted cord, a loose socket connection, or an inflator that requires a direct battery connection.
Quick Answer
If a tire inflator blows the vehicle’s 12V outlet fuse, stop using it. Check the outlet rating and the inflator’s maximum amp draw, inspect the vehicle fuse and any fuse shown in the inflator plug, then replace only with the exact type and amperage listed in the owner’s manual. A second blown fuse means the overload or short needs diagnosis.
Key Takeaways
- Never replace a vehicle fuse with one that has a higher amp rating.
- Check the vehicle outlet rating and the inflator’s maximum amp draw before reconnecting it.
- A good fuse normally produces a continuity beep and a low resistance reading; a blown fuse normally shows no beep and an open-circuit reading.
- Use a battery connection only when the inflator or its approved power lead was designed for that connection.
- If a replacement fuse blows again, stop replacing fuses and diagnose the outlet, cord, plug, wiring, or inflator.
At a Glance
| Time Required | About 10–30 minutes for basic fuse and outlet checks |
| Difficulty | Easy for fuse inspection; moderate or professional-level for wiring faults |
| Tools Needed | Vehicle owner’s manual, flashlight, fuse puller, exact replacement fuse, and an optional digital multimeter |
| Cost | Usually the cost of a matching replacement fuse; socket or wiring repair costs vary |
Warning: Never install a higher-amp fuse, wrap a fuse in metal, bypass the fuse, or connect an outlet-powered inflator directly to the battery with improvised wiring. These changes can remove the protection from the vehicle’s wiring and create a fire risk.
Quick Check: Is a Blown Fuse the Problem?

If your 12V tire inflator stops running, do not assume the vehicle fuse is the only possible cause. First, switch the inflator off and unplug it. Then check whether the outlet powers a small device that you know works, such as a phone charger.
- Nothing works in the outlet: Check the ignition position, outlet fuse, and socket.
- A charger works but the inflator does not: Check the inflator’s plug, cord, internal protection, maximum amp draw, and operating instructions.
- The fuse blows as soon as the inflator is connected or switched on: Suspect excessive current draw, a shorted plug or cord, socket debris, or an internal inflator fault.
- The inflator stops after running for several minutes but the fuse remains good: The thermal protector may have opened because the duty cycle was exceeded.
- The plug or outlet becomes hot: Stop immediately. A loose, dirty, worn, or undersized connection may be creating excess resistance.
Note: Some vehicles energize the 12V outlet only when the ignition is in accessory or run mode. Check the vehicle owner’s manual before deciding that the outlet has failed.
Compare the Inflator’s Draw With the Outlet Rating
Before replacing a fuse, find two specifications:
- The maximum current or watt rating of the vehicle’s 12V outlet
- The inflator’s maximum amp draw and required power connection
The vehicle rating may be printed near the outlet or listed in the owner’s manual. The inflator rating may appear on its label, packaging, product manual, or manufacturer’s website. Do not assume that every outlet is protected by a 20A fuse.
If a device is rated in watts instead of amps, you can make a basic comparison with this formula:
Approximate amps = watts ÷ volts
For example, 180 watts divided by 12 volts is approximately 15 amps. However, do not use this calculation to justify a larger fuse. Startup current, connector condition, wiring size, and the manufacturer’s instructions also matter.
VIAIR states that its outlet-powered portable compressors require a 15A or 180W outlet, while higher-draw products may be designed for battery clamps instead. Always match the specific inflator to the intended power source rather than changing the vehicle circuit. See the manufacturer’s portable-compressor power guidance.
Find and Test the Cigarette-Lighter Fuse
Locate the Correct Fuse Box
Turn the inflator off, unplug it, switch the ignition off, and remove the key if applicable. Check the vehicle owner’s manual for the correct fuse-box location. A vehicle may have fuse panels under the dashboard, behind a trim panel, in the engine compartment, or in more than one location.
Use the fuse-box diagram to identify labels such as:
- CIG
- CIGAR
- P/OUTLET
- POWER OUTLET
- ACC SOCKET
- 12V
Do not rely on color alone. Fuse colors usually correspond to amperage, but the fuse style and exact circuit assignment must also match the vehicle manual.
Inspect the Fuse
Use the fuse puller supplied with the vehicle or a suitable insulated fuse puller. A blown transparent blade fuse may show a broken or melted metal element, but visual inspection is not always conclusive.
Check for discoloration, melted plastic, or heat damage around the fuse cavity. Heat damage can indicate a loose terminal or a problem that requires professional repair rather than another fuse.
Test the Fuse With a Multimeter
For a definitive test, remove the fuse and set the multimeter to continuity or resistance mode. Touch one probe to each fuse blade.
- Good fuse: The meter normally beeps and shows very low resistance.
- Blown fuse: The meter normally does not beep and displays OL, infinite resistance, or a very high reading.
Do not perform a continuity or resistance test on a powered circuit. Fluke’s automotive continuity-testing guide explains the correct meter setup and reading.
Pro Tip: Touch the meter probes together before testing the fuse. The meter should beep and show a low reading. This quick check confirms that the meter and leads are working.
Test the Outlet and Other Vehicle Power Ports
After checking the fuse, test the outlet without reconnecting the inflator.
- Set the ignition to the position required by the vehicle manual.
- Plug in a known-working, low-draw device.
- If available, test a second 12V outlet in the vehicle.
- Use a multimeter in DC-voltage mode if you are comfortable identifying the center positive contact and outer ground contact.
A working outlet should show approximately the vehicle’s battery-system voltage. The exact reading changes with battery condition, ignition mode, and whether the charging system is operating.
Switch the ignition off before visually inspecting the socket. Use a flashlight to look for coins, foil, dirt, corrosion, bent contacts, melted plastic, or a broken center contact. Never insert a screwdriver, probe, or other metal object into a powered socket.
If cleaning is necessary, follow the vehicle service information. Disconnecting the negative battery terminal may be appropriate when exposing or cleaning electrical contacts, but some vehicles require special battery-disconnection and reconnection procedures. Consult the owner’s or service manual first.
Check the Inflator Plug, Cord, and Plug Fuse
Inspect the inflator’s entire power cord before plugging it back in. Look for cuts, crushed insulation, exposed copper, loose strain relief, bent contacts, melted plastic, or dark marks around the plug tip.
Some 12V inflator plugs contain a small replaceable fuse beneath a threaded plug tip. Open the plug only if the inflator manual shows a user-replaceable fuse. Small springs and contact parts may be inside. Replace that fuse only with the exact type and rating specified by the inflator manufacturer.
Make sure the plug fits firmly in the vehicle outlet. A plug that rocks, loses power when moved, or becomes unusually warm may have poor contact. Stop using it until the plug and socket are inspected.
Replace a Blown Fuse Safely
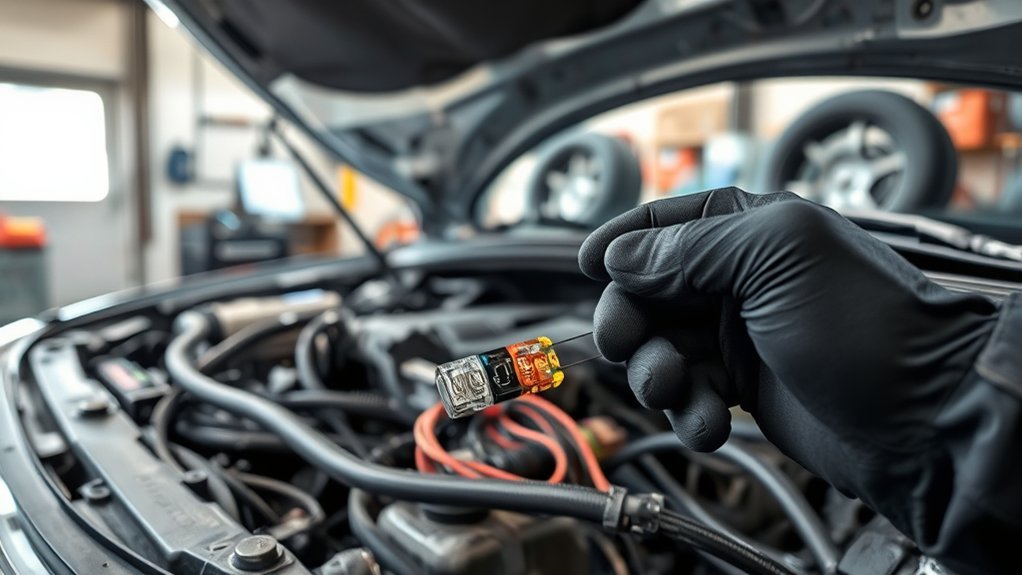
Once you confirm that the vehicle fuse is blown, replace it with the exact fuse type and amp rating listed in the owner’s manual and shown on the original fuse.
- Switch the ignition off and unplug all devices from the affected outlet.
- Remove the blown fuse with a fuse puller.
- Compare the replacement fuse’s style, voltage rating, and amp rating with the original.
- Insert the replacement fully without forcing it.
- Restore the required ignition mode and test the outlet with a low-draw device first.
- Reconnect the inflator only after confirming that its maximum draw is compatible with the outlet.
Eaton’s automotive fuse guidance states that the replacement amp rating must match the original fuse. Review the manufacturer’s automotive fuse-selection information for additional details.
Warning: If the replacement fuse blows immediately or during the next inflation attempt, stop. Do not keep installing fuses. Repeated fuse failure indicates an overload, short circuit, damaged connection, or equipment fault that must be corrected.
Use a Manufacturer-Designed Battery Connection for High-Draw Compressors
A compressor that draws more current than the accessory outlet can safely provide should not be operated through that outlet. Use a compressor designed for battery connection or a manufacturer-approved battery lead.
For example, VIAIR’s EVC88P compressor is designed with battery clamps and a specified inline fuse as part of its power system. That is different from cutting the plug off an outlet-powered inflator and adding homemade clamps.
Fuse Holder Selection
Do not choose an inline fuse by simply selecting a value slightly above the compressor’s steady current. A proper battery circuit must account for the manufacturer’s maximum current, startup current, wire size, wire length, insulation, connector rating, fuse type, and installation environment.
If the compressor did not come with a battery lead or an approved conversion kit, do not improvise one. Ask the manufacturer whether an approved lead exists or have a qualified automotive electrician design the circuit.
Safe Battery Wiring
When using a compressor that was designed for battery clamps:
- Follow the compressor manual’s connection and disconnection order.
- Confirm that the supplied inline fuse is installed and undamaged.
- Keep the cable away from belts, fans, exhaust components, sharp edges, and hot surfaces.
- Keep clamps from touching each other or nearby metal.
- Do not use damaged, undersized, or extended leads unless the manufacturer approves them.
- Operate the inflator only in a dry, stable location with adequate ventilation.
Manufacturers do not give identical engine-running instructions. VIAIR says some compressors need charging-system voltage while operating, while Slime recommends leaving the engine off for its inflators. Follow the manual for your exact model. Never run an engine in a garage or other enclosed space.
Why Tire Inflators Trip Fuses
A fuse opens when current through the protected circuit exceeds what the fuse can tolerate for long enough. Common reasons include:
- Inflator draw exceeds the outlet rating: The compressor is not compatible with that outlet.
- Damaged power cord or plug: Crushed insulation or loose internal conductors can create a short.
- Foreign material in the socket: Coins, foil, or damaged contacts can short the outlet.
- Poor plug contact: A loose or corroded connection can create heat and voltage drop.
- Internal compressor fault: A failing motor, switch, capacitor, or control board can draw excessive current.
- Incorrect fuse: A fuse with the wrong type, rating, or physical fit may not protect or operate as intended.
- Use of an unapproved adapter or extension: Extra connections can add resistance or exceed the adapter’s rating.
Duty cycle is related but different. It describes how long the compressor may run before it must rest and cool. Exceeding the duty cycle can activate thermal protection or damage the compressor, but it does not prove that the vehicle fuse has blown. Check the manufacturer’s duty-cycle explanation and the specification for your exact model.
Prevent Blown Fuses and Overheated Connections
- Match the inflator’s maximum amp draw to the outlet rating before purchase or use.
- Use the connection type specified by the inflator manufacturer.
- Keep the plug fully seated and stop if it becomes hot or intermittent.
- Inspect the cord, plug, hose, and clamps before each use.
- Follow the stated duty cycle and cooling period.
- Do not cover the inflator’s cooling vents.
- Keep the unit away from water, loose clothing, and moving vehicle parts.
- Carry matching spare fuses, but do not treat repeated replacement as a repair.
- Inflate to the pressure on the vehicle placard or in the owner’s manual.
Use the vehicle manufacturer’s recommended cold tire pressure from the driver-door placard or owner’s manual, not the maximum pressure molded on the tire sidewall.
See the NHTSA tire-safety guide for correct pressure-checking guidance.
When to Get Professional Help
Stop troubleshooting and contact a qualified technician when:
- A correctly rated replacement fuse blows again
- The fuse box, socket, plug, or wiring shows melting or discoloration
- The outlet remains dead with a confirmed good fuse
- Voltage is intermittent when the harness or plug moves
- You find damaged insulation or exposed wiring
- The inflator exceeds the outlet rating and no approved battery lead exists
- The vehicle manual requires trim, module, or battery procedures beyond your experience
Frequently Asked Questions
Can I just replace a blown cigarette-lighter fuse?
Yes, if you replace it with the exact fuse type and amp rating specified by the vehicle manufacturer. Before reconnecting the inflator, confirm that its maximum current draw is compatible with the outlet. If the new fuse blows, stop and diagnose the circuit or inflator.
Can I replace a 15A outlet fuse with a 20A fuse?
No. A larger fuse may allow more current through the wiring than the circuit was designed to carry. Use only the rating listed in the vehicle owner’s manual and shown on the original fuse.
Why does the fuse blow immediately when I switch on the inflator?
An immediate failure may indicate that the inflator exceeds the outlet rating, the cord or plug is shorted, debris is inside the socket, or the compressor has an internal fault. Do not install another fuse until the cause is found.
Does a tire inflator have its own fuse?
Some 12V inflators have a replaceable fuse inside the accessory plug or power lead. Check the inflator manual before opening the plug, and use only the exact replacement specified by the manufacturer.
How do I reset a portable tire inflator?
Switch it off, disconnect its power source, and let it cool for the time stated in the manual. A thermal protector may reset after cooling. A blown fuse does not reset and must be replaced with the correct type after the cause is addressed.
What are common causes of portable inflator failure?
Common causes include overheating, exceeding the duty cycle, damaged cords, loose connections, worn motors, faulty switches, pressure-sensor problems, and internal electronic faults. There is no single cause that applies to every inflator.
Conclusion
Start by unplugging the tire inflator and checking whether the vehicle’s 12V outlet works with another device. Compare the outlet rating with the inflator’s maximum amp draw, identify and test the correct fuse, and replace it only with the exact type and amperage specified by the vehicle manufacturer.
If the replacement fuse holds, inspect the plug and cord, follow the inflator’s duty cycle, and use only its approved power connection. If the fuse blows again, the circuit or inflator has an overload, short, damaged connection, or internal fault. Stop replacing fuses and have the problem diagnosed before further use.
Sources
- Fluke Automotive Continuity Testing Guide — continuity-test safety, meter setup, and reading interpretation
- Eaton Bussmann Fuse Catalog — replacement fuse type, voltage, and amp-rating guidance
- VIAIR Compressor FAQ — outlet requirements, operating voltage, amp draw, and duty-cycle guidance
- VIAIR EVC88P Specifications — example of a manufacturer-designed battery-clamp and inline-fuse system
- Slime Tire Inflator Operating Guidance — model-specific engine and ignition instructions
- NHTSA Tire Safety Guide — recommended cold tire-pressure and vehicle-placard guidance
