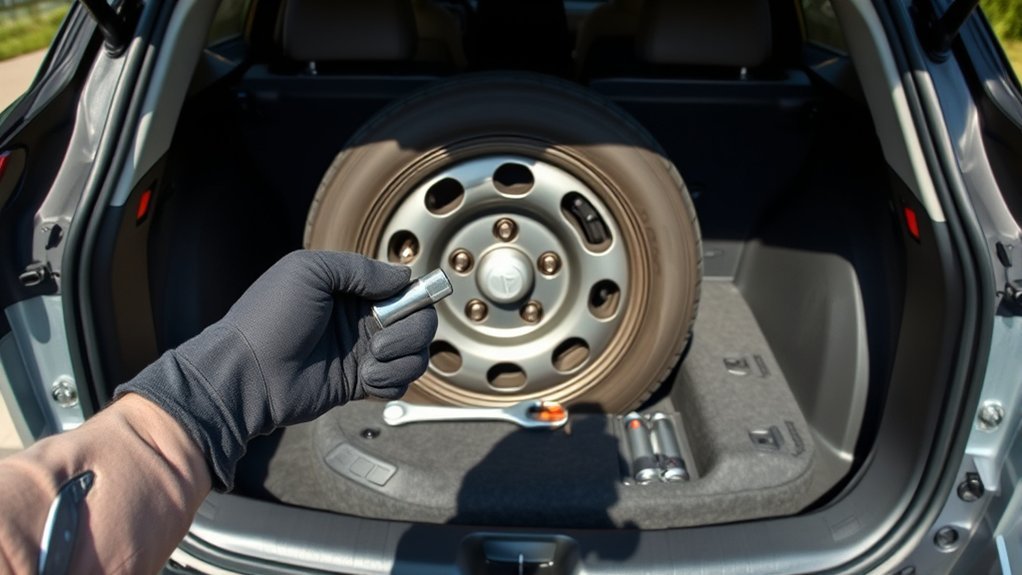
On a 2013 and newer Toyota RAV4 that came with a spare, the tire sits under the cargo floor. Open the liftgate, lift the floor panel and remove the tool tray, then loosen the center fastener holding the tire by turning it counterclockwise and lift the tire out. Not every RAV4 has a spare, and older models can carry it differently, so check which setup you have first.
First: Does Your RAV4 Have a Spare?
Toyota has not built every RAV4 the same way. A Toyota Owners Club thread about a 2021 RAV4 in the UK says that version came with a tire repair kit instead of a spare wheel, and owners there bought space-saver spares separately. The rule is to check your vehicle, not assume.
- Lift the cargo floor. If you see a tire, a jack and a tool bag, you have a spare. If you see a repair kit or empty storage, you do not.
- Older models (2006-2012). Many of these carry the spare on the rear door instead of under the floor. A Toyota Owners Club thread covers the rear-door spare on this generation. Your manual shows how yours is held.
- Space-saver spares. Where a spare is fitted, it is often a temporary compact tire. Follow the speed and distance limits printed on its sidewall and in your manual.
What You Need
- The jack, handle or wrench, and tool bag stored with the spare. Toyota’s 2013 quick reference guide says the jack and tools are stored together with the spare tire.
- Your owner’s manual, for jack positions and the tightening procedure for your year. Toyota’s guide itself refers you to the manual for tire changing and jack positioning.
- Wheel wedges or chocks, gloves and a flashlight if you have them.
- A tire pressure gauge for the spare.
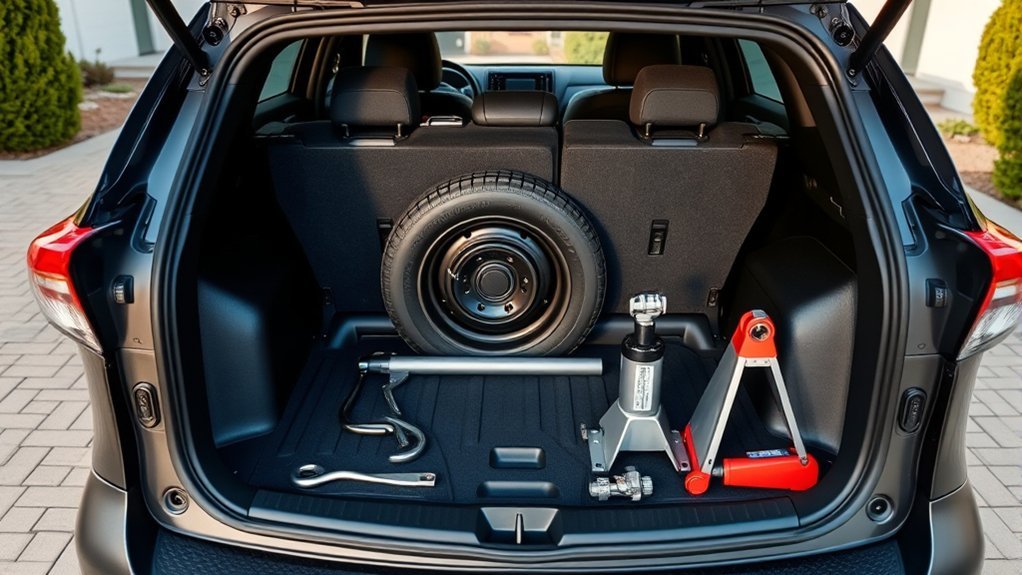
Step-by-Step: Taking the Spare Out From Under the Floor
- Park on level, firm ground away from traffic, turn on the hazard lights, apply the parking brake and switch the vehicle off.
- Open the liftgate and unload any cargo.
- Lift the cargo floor panel. One guide describes a looped tab in the middle of the floor next to the opening that you pull up.
- Remove the tool tray, as Toyota’s 2013 guide instructs.
- Loosen the center fastener holding the spare by turning it counterclockwise. Toyota’s 2013 guide says to loosen it, and one guide notes the retaining bolt can be unscrewed by hand.
- Lift the spare out and roll or carry it to the wheel that needs changing. Keep your back straight; a full wheel and tire is heavy.
- Take out the jack and tools.
The fastener is long, so expect to turn it several times before it comes free.
After the Spare Is Out
This guide covers getting the spare out and putting it back. The jacking and tightening steps differ between model years, so follow the procedure in your own owner’s manual. Key points that apply to every vehicle:
- Loosen the wheel nuts a little while the flat tire is still on the ground.
- Place the jack only at the jacking points shown in the manual.
- Raise the vehicle just enough for the flat to clear the ground.
- Remove the nuts, swap wheels, and snug the nuts in a star pattern.
- Lower the vehicle and tighten the nuts fully with the wrench. Have the tightness checked with a torque wrench at a shop soon after, using the figure in your manual.
Check the Spare Before You Need It
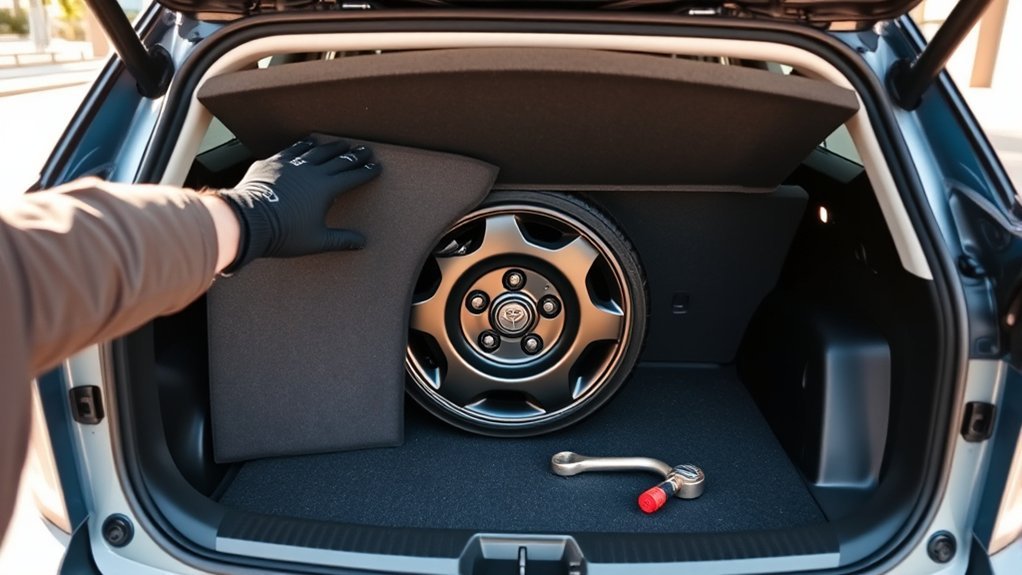
A spare that has been in the car for years is often low on air. Take it out now and then and check the pressure with a gauge. The correct pressure for a compact spare is printed on its sidewall or in your manual and is usually higher than the pressure for your regular tires, so do not assume the door-jamb label applies. Toyota’s 2013 guide points to the door-jamb load label and the manual for inflation figures on the regular tires.
Putting the Spare Back Under the Floor
- Place the tire in its well, facing the way it came out.
- Thread the center fastener in by hand, then tighten it firmly so the tire does not rattle or shift.
- Refit the tool tray and stow the jack and bag where they were.
- Close the floor panel.
The flat tire will not fit the same space in most cases. Carry it in the cargo area and have it repaired or replaced soon.
Tire Pressure Light After the Swap
A compact spare may not have a sensor. Toyota’s 2013 guide says that after adjusting pressures or rotating tires you should reset the tire pressure monitor by holding the SET button until the indicator blinks three times, then wait a few minutes for initialization. It also says that if the indicator flashes for more than 60 seconds and then stays on, you should take the vehicle to a Toyota dealer. Procedures for other model years can differ, so use your manual.
Safety Notes
- Never get under the vehicle while it is on the jack.
- Do not change a tire on a slope, soft ground or the shoulder of a busy road. Call roadside assistance instead.
- Use the jack only for lifting during a tire change, never to support the vehicle while you work.
- Drive a compact spare slowly and only as far as needed to get the tire fixed.
Frequently Asked Questions
Where is the spare tire on a RAV4?
On 2013 and newer models that include one, under the cargo floor with the jack and tools. On many 2006-2012 models it is mounted on the rear door. Some recent models come with a repair kit instead.
Which way do I turn the center fastener?
Counterclockwise to loosen it. Toyota’s guide calls it the center fastener that secures the spare.
Is the RAV4 spare a full-size tire?
It varies. Many vehicles with spares use a temporary space-saver. Read the sidewall and your manual.
Where is the jack kept?
With the spare, in the center of the tire with the tool bag beside it, according to one guide, and stored together with the spare in Toyota’s 2013 guide.
What if my RAV4 has no spare?
Check the cargo floor for a tire repair kit. A repair kit can seal some punctures but not sidewall damage, so have the tire inspected after using one, or call roadside assistance.
