How To Change Screen On Toyota RAV4
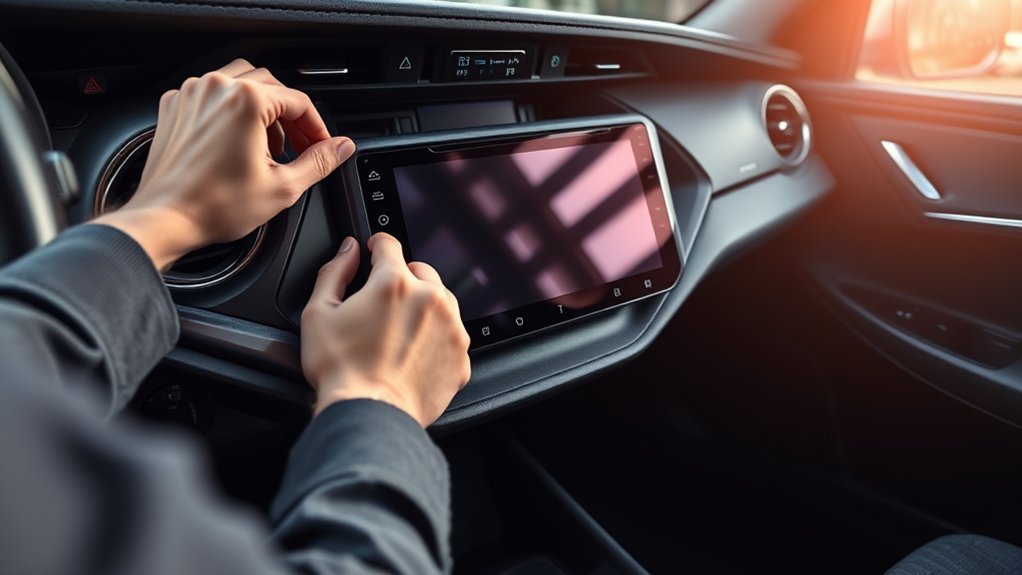
To change the screen in your Toyota RAV4, start by gathering essential tools like a plastic trim removal tool and a socket wrench. Carefully disassemble the dashboard and remove the old stereo by unscrewing the bolts and disconnecting the wiring harness. Connect your new screen’s wiring, ensuring all plugs match, then reassemble the dashboard. Finally, test functionalities like Bluetooth and navigation. Stick around for more detailed steps and tips for a smooth installation process.
Why Change the Screen in Your Toyota RAV4?
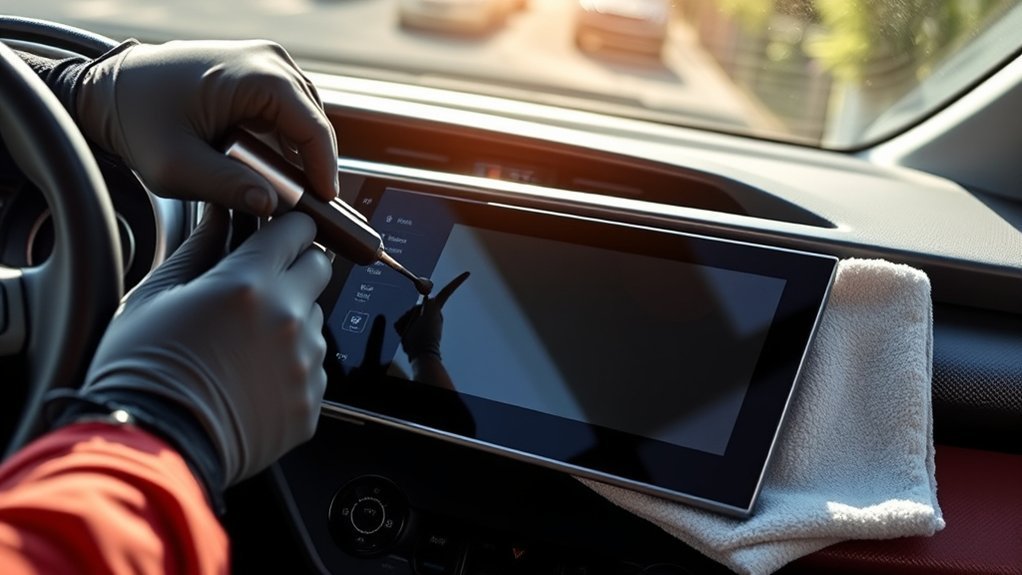
If you’re looking to enhance your driving experience, changing the screen in your Toyota RAV4 is a smart move. Upgrading to a modern screen offers features like Bluetooth connectivity and smartphone integration, making your commutes more enjoyable. If your original screen is cracked or malfunctioning, a new one improves visibility and responsiveness, allowing for easier navigation and multimedia access. Make sure you consider larger, higher-resolution options, as they facilitate clearer visuals. Additionally, newer screens often come equipped with updated software, providing functionalities such as real-time traffic updates and enhanced vehicle diagnostics that can be essential on the road. Not only will you enjoy a more connected experience, but replacing the screen can also increase your RAV4’s resale value. In a market that values modern tech, that’s a win-win. So, if you want to elevate your driving experience, don’t hesitate—make the change today!
Tools You’ll Need for the Installation
Upgrading your Toyota RAV4’s screen requires the right tools to guarantee a smooth installation process. Here’s a concise list to help you get started:
| Tool | Purpose |
|---|---|
| Plastic Trim Removal Tool | Safely disassemble the dashboard without damage |
| Socket Wrench with 10mm Socket | Unscrew bolts securing the old stereo unit |
| Phillips Screwdriver | Remove screws securing various dashboard components |
| Wiring Harness Adapter | Assure compatibility with the new stereo |
| USB Adapter | Facilitate connection with the factory USB slot |
Before diving in, familiarize yourself with the screen specifications of your new unit. Keep these installation tips handy and be prepared for potential troubleshooting techniques. Having the right tools will not only simplify the process but also enhance your overall experience.
Step-by-Step Guide to Disassembling the Dashboard
Disassembling the dashboard of your Toyota RAV4 involves a methodical approach to guarantee you don’t damage any components. Start by using a plastic tool or knife to detach the upper part, focusing on the clip locations along the sides. Carefully pull the lower parts of the dashboard forward to pop them out from their secure clips.
Next, disconnect the clock unit by pushing the clips from behind and unplugging the connector at the back to achieve complete removal. As you proceed, make sure to carefully note the locations of all clips and screws; this will simplify reassembly later on. Handle all dashboard components with care, as damaging any clips or electrical connections could affect functionality. By following these steps, you’ll prepare your RAV4 for the next phase of your screen replacement project efficiently and effectively.
How to Remove the Old Stereo From Your Toyota RAV4
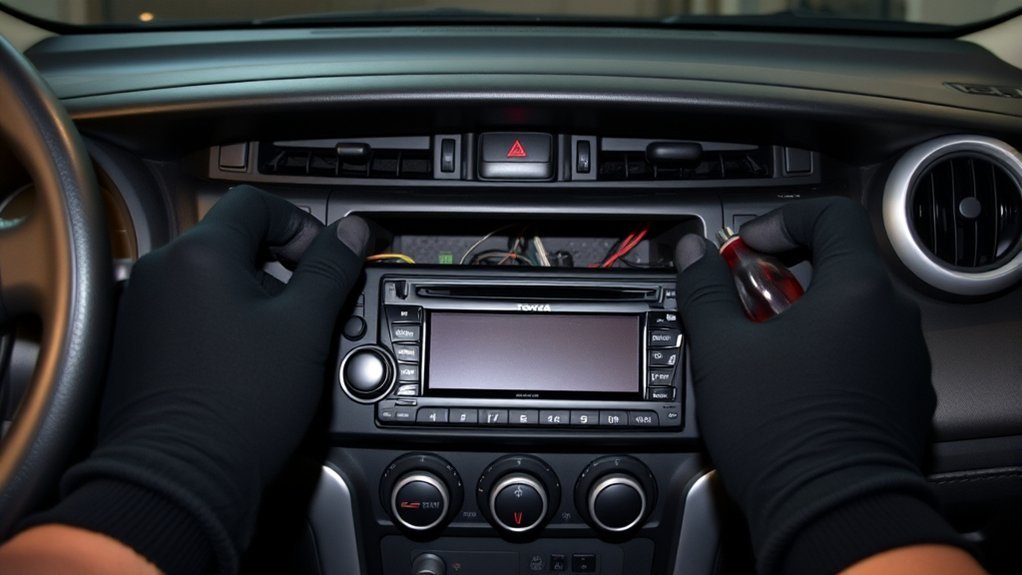
Before you start removing the old stereo from your Toyota RAV4, gather the required tools, including a socket wrench for the bolts. Make sure you take proper safety precautions, like disconnecting the battery, to prevent electrical shocks. Now, follow the step-by-step disassembly guide to efficiently remove the stereo unit without damaging any components.
Required Tools Overview
To successfully remove the old stereo from your Toyota RAV4, you’ll need a few essential tools. These tools will guarantee a smooth shift as you prepare for your screen upgrade benefits.
- Socket Wrench: This is vital for unscrewing the four 10mm bolts that secure the stereo unit.
- Trim Removal Tool: Use this to carefully pry out the stereo without damaging surrounding components.
- Wire Cutters: Handy for any necessary adjustments to the wiring harness during installation.
Following these installation tips will help you avoid common pitfalls. Remember to track the clips for the new stereo and verify each plug has the correct wiring connection. This troubleshooting advice will streamline your installation process, making it efficient and rewarding.
Safety Precautions Needed
Ensuring your safety is paramount when removing the old stereo from your Toyota RAV4. Start by turning off the vehicle and removing the keys from the ignition to maintain electrical hazard awareness. This simple step prevents unexpected shocks. When handling tools, utilize a plastic tool or knife to detach the upper dashboard portion, following dashboard safety tips to avoid unsightly damage. As you unscrew the four 10mm bolts securing the stereo unit, maintain a firm grip and be cautious of falling debris. Disconnect the old stereo’s wiring harness by identifying each plug and removing it gently; don’t force any connections. Finally, keep any clips from the old unit, as they’re essential for securing the new stereo during installation.
Step-by-Step Disassembly Guide
Removing the old stereo from your Toyota RAV4 involves several precise steps to guarantee a smooth process. Follow these steps for efficient disassembly:
- Carefully detach the upper dashboard using a plastic tool or knife to remove the clips along the sides.
- Pop out the lower dashboard components from their clips, allowing access to the stereo unit.
- Unscrew the four 10mm bolts securing the stereo, then disconnect the wiring harness, ensuring not to damage any wires.
Retain any clips from the old unit, as they may be essential for securing your new aftermarket screen options. This process will prepare your vehicle for screen resolution upgrades and touchscreen sensitivity adjustments, enhancing your driving experience.
Connecting the New Screen: Wiring Made Easy
Connecting the new screen in your Toyota RAV4 involves a few straightforward steps that guarantee a seamless integration with your vehicle’s systems. Start by disconnecting the old screen’s wiring harness to confirm a safe removal process. Next, carefully connect the new screen’s wiring harness, matching the correct plugs to their respective sockets using your wiring color codes for guidance. It is crucial to utilize the included cam bus box for maintaining functionality and adhering to screen compatibility tips.
Don’t forget to connect the USB adapter to confirm seamless integration with the factory USB slot. As you work, employ harness connection techniques to secure the wiring without damaging any components. After installation, double-check that all connections are secure, and finally, test the new screen for proper operation. This meticulous approach will confirm your new screen functions effectively, enhancing your driving experience.
Common Installation Issues and Their Solutions
During installation, you might encounter wiring harness compatibility issues that can lead to malfunctions; it’s critical to guarantee each connection is correct. Additionally, air vent alignment problems can arise, which may require you to trim or modify the plastic components for a snug fit. Addressing these issues promptly will help guarantee a smooth installation process.
Wiring Harness Compatibility Issues
Installing a new stereo in your Toyota RAV4 often involves managing wiring harness compatibility issues, which can greatly impact the functionality of your new unit. Here are some common wiring compatibility challenges and solutions:
- Verify Matching Connections: Verify that the wiring harness for your new stereo matches the factory harness. Incorrect connections can lead to malfunctions.
- Use the Can Bus Box: Install the included cam bus box to maintain features like steering wheel controls and reverse camera integration.
- Consider Additional Adapters: If you’re using an aftermarket stereo, remember that you might need extra adapters for the antenna plug and subwoofer connections.
Remember to double-check all connections, especially the eight-pin canvas plug, to guarantee Bluetooth and Wi-Fi work seamlessly after installation.
Air Vent Alignment Problems
When you replace the stereo in your Toyota RAV4, you might encounter air vent alignment problems that can affect both aesthetics and airflow. A common issue arises from stereo positioning; if it’s not seated correctly, the left air vent can misalign. To resolve this, make certain all clips are secured and the stereo is firmly in place. If a gap persists, you may need to perform some dashboard modifications, such as removing any obstructing pieces to allow for better air vent adjustments. After installation, inspect the air vent’s fit by gently adjusting it to make certain it sits flush against the dashboard. Finally, test the functionality of the air vents to confirm that your adjustments have effectively resolved any alignment issues.
Putting Your Dashboard Back Together: Final Steps
As you prepare to reassemble the dashboard, carefully align the upper part back into place, making certain that all clips fit securely along the edges. This step is essential for achieving proper dashboard alignment. Once secured, proceed with the lower parts; push them back into their respective clips until they snap into place.
Before finalizing everything, remember these key steps:
- Reconnect the clock unit by plugging it in and securing it with clips from behind.
- Conduct screen functionality checks, making certain Bluetooth and navigation features work seamlessly.
- Address any gaps, particularly in the left air vent—remove any obstructing piece for a snug fit.
Following these dashboard alignment tips and stereo compatibility advice will guarantee your new screen and overall dashboard function correctly. With everything secured, you’re on your way to a fully operational Toyota RAV4 setup!
How to Test Your New Screen for Functionality?
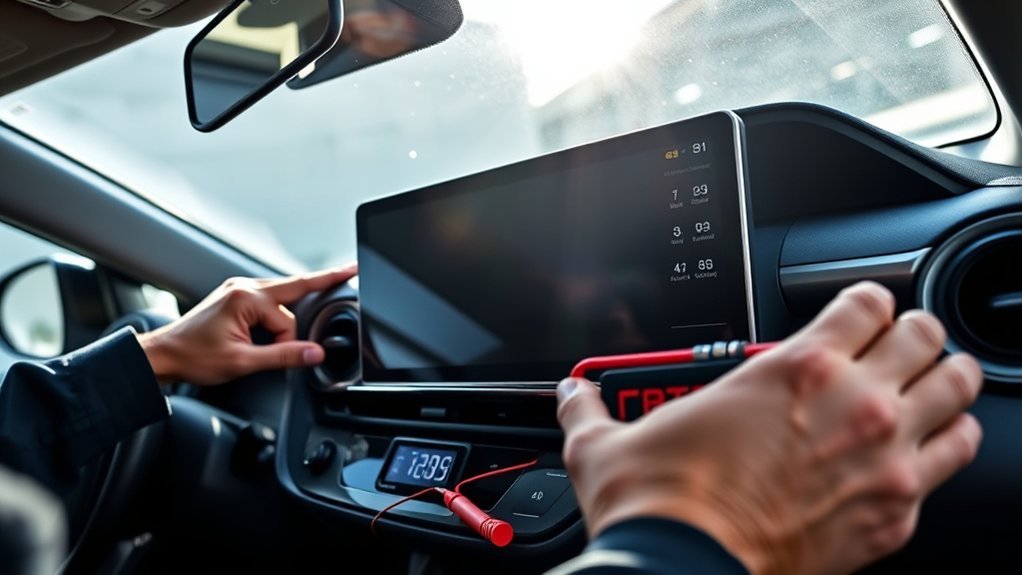
With the dashboard reassembled and everything securely in place, it’s time to verify your new screen operates correctly. Start by powering on your vehicle; the screen should light up, confirming it’s receiving power. Next, perform touchscreen responsiveness checks by maneuvering through menu options. If it responds promptly, you’re on the right track.
Next, test Bluetooth and Wi-Fi functionalities by connecting to a device; successful pairing indicates operational capabilities. Don’t forget to check the reverse camera functionality—shift into reverse and confirm the camera feed displays accurately.
Lastly, play audio through the stereo system to verify sound output works properly. Test the radio and any connected devices for an all-encompassing functionality testing method. If everything checks out, you’ve successfully installed and tested your new screen! For future reference, keep screen calibration tips handy to maintain peak performance.
Frequently Asked Questions
How to Change Dashboard Display on Toyota RAV4?
To change your dashboard display on a Toyota RAV4, customize dashboard settings through the menu, adjust brightness levels as needed, and reset display preferences to guarantee everything functions perfectly for your driving experience.
How to Change RAV4 Home Screen?
To customize your RAV4 home screen, immerse yourself in the settings. Tap “Menu,” select “Settings,” then “Display.” Here, adjust your home screen layout and explore display theme options for a fresh look. Enjoy your drive!
How to Change Toyota Dashboard Screen?
To change your Toyota dashboard screen, follow the screen replacement process: remove the upper dash, unscrew bolts, disconnect wiring, and upgrade the navigation screen. Utilize dashboard customization tips for enhanced functionality and aesthetics.
What Are the Display Options for the Toyota RAV4?
In your RAV4, you’ll find impressive display features like a 7 or 8-inch touchscreen, customizable screen brightness, and seamless integration with apps. Enjoy real-time updates and enhanced media options for a liberated driving experience!
Conclusion
So, after all that effort to swap out your old screen for a shiny new one, you might just find that you miss the quirky glitches and limited features of the original. It’s funny how we often crave the latest technology, only to realize the charm of familiarity. But hey, at least now you’ve got a sleek interface and updated connectivity—just don’t forget to enjoy the ride. After all, who doesn’t love a little irony in their driving experience?