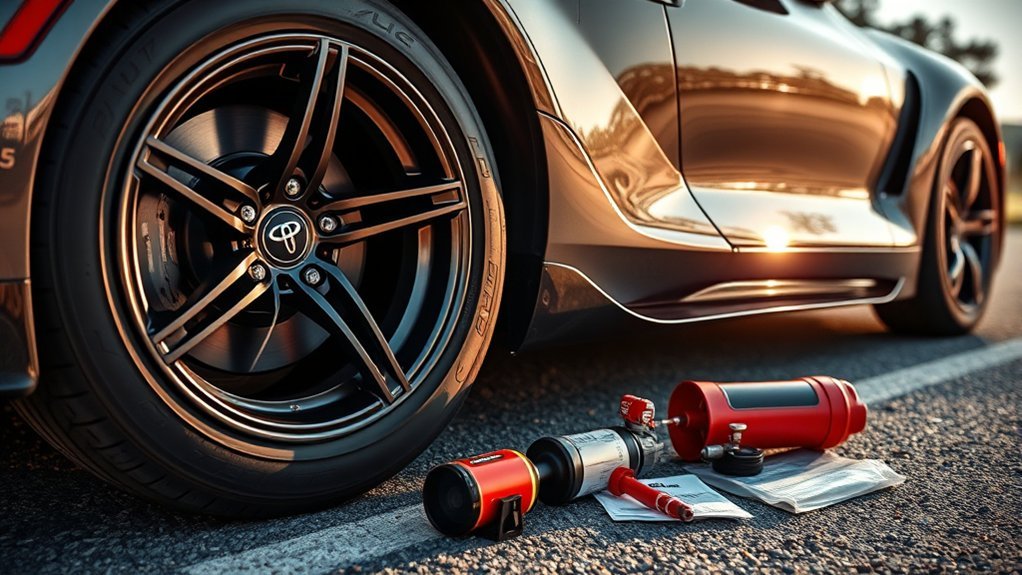
To use the Toyota Supra tire repair kit, park safely, check that the puncture is small and in the tread, connect the sealant bottle and compressor following the kit’s own instructions, then drive about 3 miles at no more than 50 mph to spread the sealant. Stop, recheck the pressure, and head to a tire shop. If the pressure is below about 19 psi, the repair has not worked.
The kit is a temporary, emergency fix that gets you to a shop. It is not a permanent repair.
Before You Start: Is the Tire Repairable With the Toyota Supra Tire Repair Kit?
Pull over somewhere flat, safe and away from traffic, turn on the hazard lights and set the parking brake. Then check:
- Puncture size and location: sealant kits are meant for small tread punctures, typically 4 mm or less. Do not use the kit on sidewall damage, large cuts or a damaged rim.
- Driven flat: if the car was driven on a fully flat tire, the tire may be damaged inside. Call for a tow.
- Sealant date: check the expiry date on the sealant bottle. Do not use expired sealant.
- Foreign object: if a nail or screw is stuck in the tire, leave it in place unless your kit instructions say otherwise.
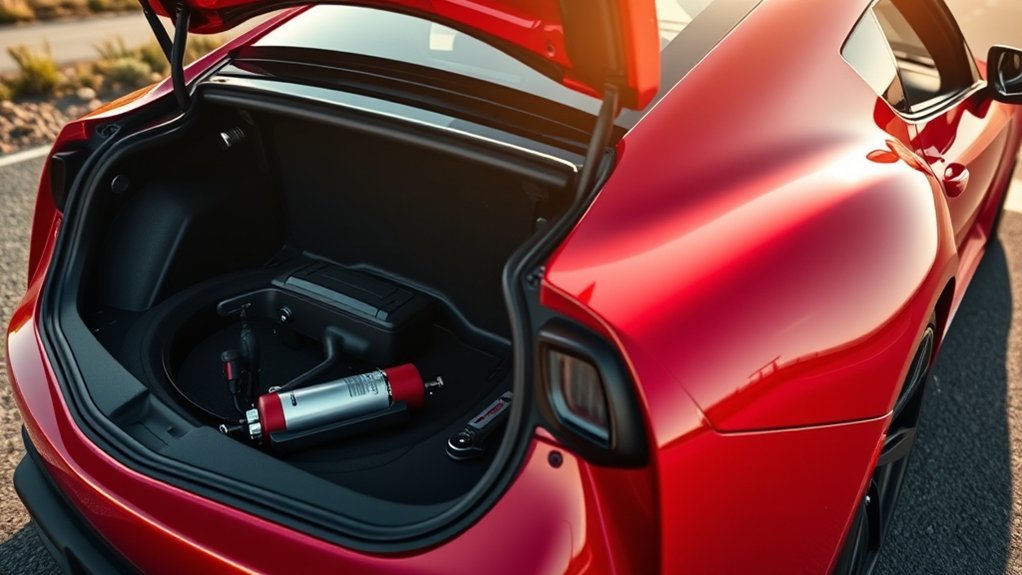
Equipment varies by market and trim, and many GR Supras carry a repair kit instead of a spare. The wording in your owner manual and on the kit’s quick-reference label overrides this general guide.
Using the Tire Repair Kit Step by Step
- Get the kit out. Take the compressor and sealant bottle from their storage spot and read the label.
- Connect the sealant bottle to the compressor and attach the hose to the valve stem of the flat tire.
- Power the compressor from the car’s 12-volt outlet with the vehicle in a safe, ventilated spot, then run it as the kit instructions describe to inject the sealant and inflate the tire.
- Disconnect and store the hose as instructed, capping the bottle so it does not leak.
- Drive immediately for about 3 miles (5 km) at no more than 50 mph (80 km/h) so the sealant spreads inside the tire.
- Stop and recheck the pressure with the compressor gauge. If it reads below about 19 psi (130 kPa), the puncture cannot be sealed. Do not keep driving; call roadside assistance.
- Top up to the correct pressure if the tire holds air. Use the pressure on the tire placard in the driver door jamb.
The exact inflation and timing steps differ between Toyota kits. Follow your kit’s instructions for those details.
What to Do After Repairing Your Tire
- Keep your speed moderate and drive straight to a tire shop or Toyota dealer.
- Tell the technician you used sealant. It affects how the tire can be repaired and may affect the pressure sensor.
- Expect to replace the sealant bottle, and possibly the tire.
- The low tire pressure light may stay on until the tire is correctly inflated; see our TPMS light troubleshooting guide if it does not go out.
Checking and Adjusting Tire Pressure After the Repair
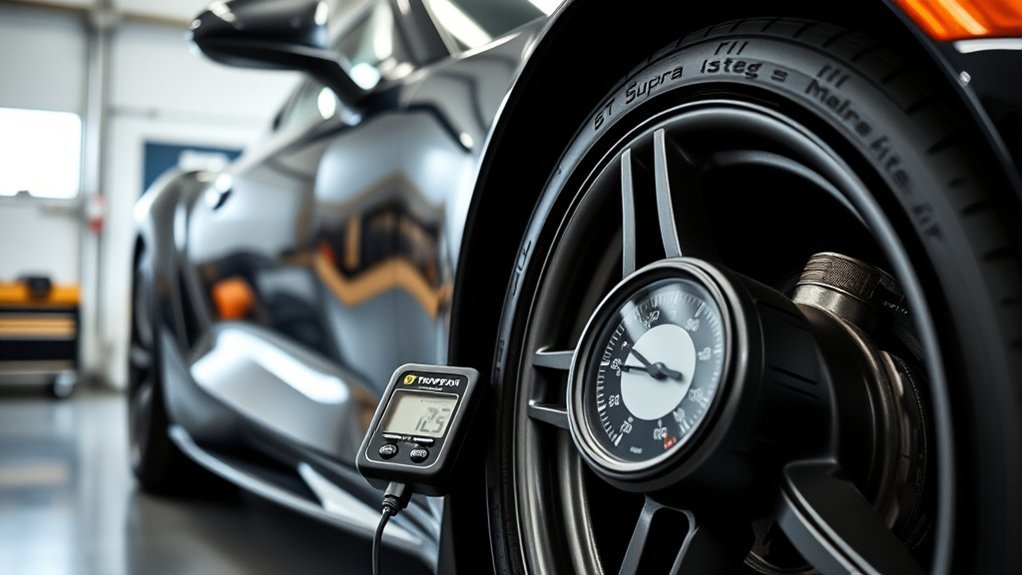
After the drive, check the pressure with the compressor gauge, then confirm it again with a separate gauge when you can. Inflate to the pressure on the door-jamb placard, not the number on the tire sidewall. For more detail, see how to set correct tire pressures and the Supra tire pressure chart. If the tire keeps losing air, do not drive on it. Our guide to changing a flat tire covers the next steps, and when to replace tires helps decide if the tire is finished.
Tips and Safety Notes
- Check the sealant expiry date now, not on the roadside.
- Never stand in a traffic lane while working, and keep passengers clear of the car.
- Do not exceed 50 mph while the sealant is spreading, and do not treat the repair as permanent.
- Keep the kit and instructions together in the luggage area.
Toyota Supra Tire Repair Kit: Frequently Asked Questions
How far can I drive after using the tire repair kit?
Only as far as needed to get the tire inspected by a professional. The sealant is a temporary fix: the kit instructions call for an initial drive of about 3 miles at no more than 50 mph, and you should then go straight to a tire shop or Toyota dealer.
Can the kit fix a sidewall puncture or a large hole?
No. These kits are meant for small tread punctures, typically 4 mm or less. Sidewall damage, large cuts, rim damage or a tire that has been driven flat should not be repaired with sealant, so call roadside assistance for a tow instead.
Does the GR Supra come with a spare tire?
Equipment varies by market and trim, and many GR Supras come with a tire repair kit instead of a spare. Check the luggage area and your owner manual to see what your car has before you need it.
Will tire sealant affect the tire pressure sensors?
It can. Sealant may coat or clog a TPMS sensor, so tell the tire shop you used sealant before they work on the wheel. They can advise whether the sensor needs cleaning or replacing, and the low-pressure light may stay on until the tire is correctly inflated.
Is a plug kit better than the sealant kit?
They are different tools. A plug kit seals the hole from outside and is usually treated as a temporary repair, while the sealant kit is an emergency measure. Tire shops generally prefer a proper repair from inside the tire, or a replacement if damage is serious.