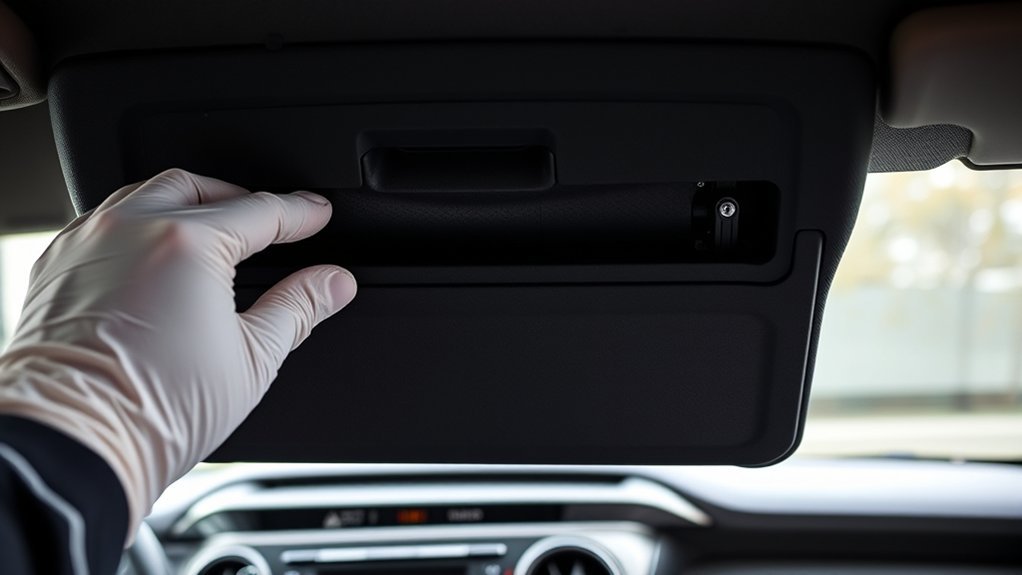
On a Toyota RAV4 you usually do not unscrew anything to take the glove box out. Empty it, free the damper on the side, then squeeze both sides of the glove box inward so the stops clear and the whole box swings down. That is the same move used to reach the cabin air filter, which sits directly behind it.
Why You Would Remove the Glove Box
The most common reason is the cabin air filter. On the 2016 RAV4 the filter housing is directly behind the glove compartment, and a dealer page for the 2022 RAV4 describes the same layout: lower the glove compartment to reach the filter tray. Other reasons include retrieving something that fell behind it, checking a rattle, or getting a look at wiring or the HVAC area. For most of these you only need to lower the box, not take it out completely.
What You Need
- A few minutes and a parked vehicle with the ignition off.
- Nothing else for the lowering method on the 2013-2018 generation; no tools were listed in the procedure used for this article.
- A plastic trim tool, only if a clip or damper does not release by hand. Avoid prying with a metal screwdriver, which marks the dash.
- A replacement cabin air filter if that is why you are in there. Buy the one listed for your exact model year and engine.
- Safety glasses and gloves if you will be handling an old, dusty filter.
Step-by-Step: Lowering the Glove Box
These steps follow O’Reilly Auto Parts’ procedure for a 2016 RAV4 (2013-2018 generation).
- Open the passenger door and the glove box, and take everything out, including the owner’s manual.
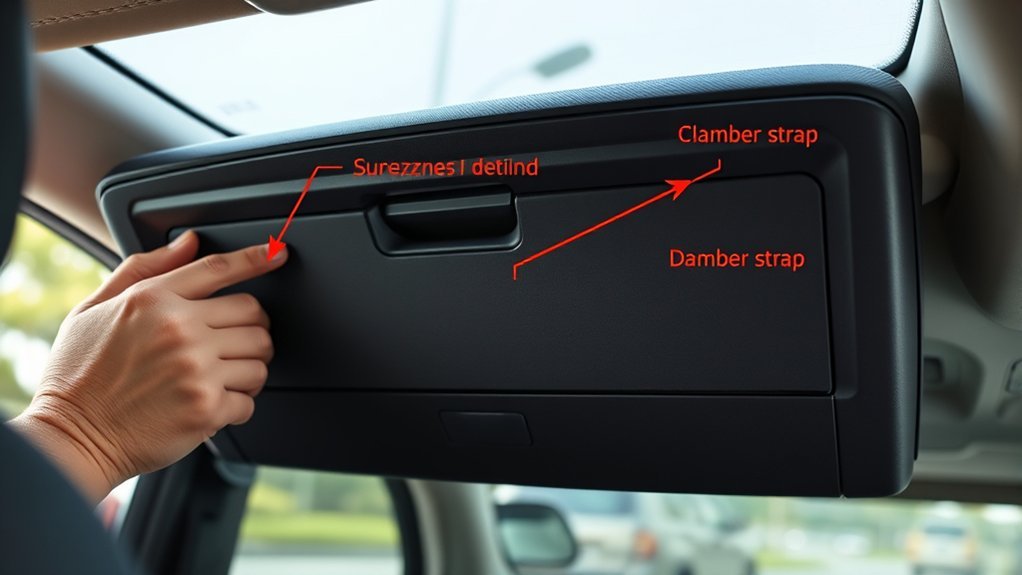
- Find the damper on the right side of the glove box. Pull it straight off its post. This lets the box drop freely instead of being held by the damper arm.
- Squeeze both sides of the glove box inward at the same time to disengage the stops, then lower the whole assembly.
- Look at what is now exposed. The cabin air filter cover is behind it.
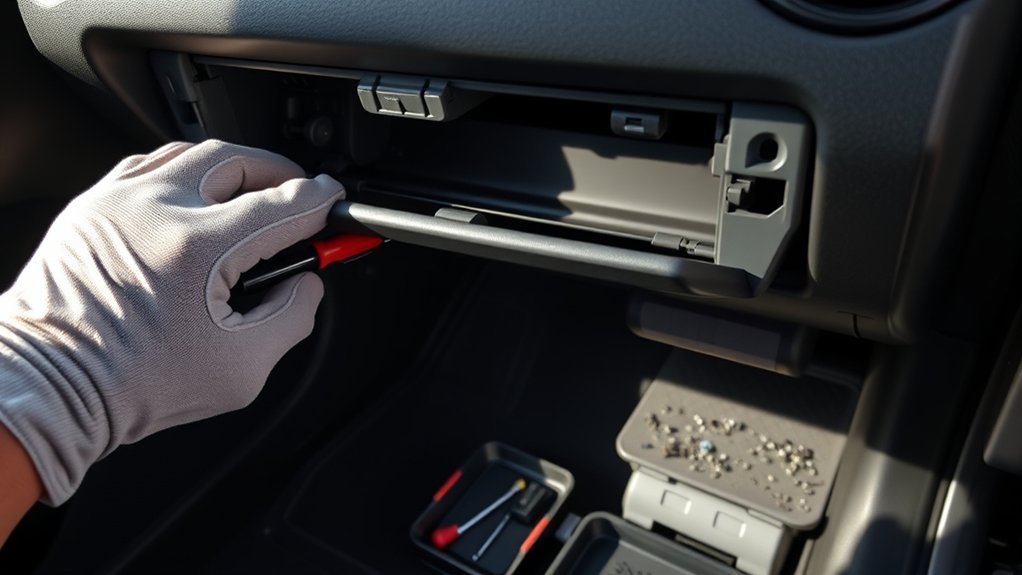
To get the box completely out of the dash, the glove box hinges on its lower edge. Once it is lowered and the damper is off, lift it gently away from the hinge points if your model allows it. If it resists, stop and look for a clip you missed rather than forcing the plastic.
Reaching the Cabin Air Filter
- With the glove box lowered, press the tab on the right-hand side of the filter cover to release it, and remove the cover.
- Slide the old filter straight out. Wipe dust out of the housing with a microfiber cloth.
- Slide in the new filter with the airflow arrow pointing upward, as the 2016 procedure specifies. Check the arrow printed on your filter against your model’s instructions.
- Refit the cover until it clicks.
Refitting the Glove Box
- Swing the box back up and press it in until both side stops click back into the dash opening.
- Push the damper arm back onto its post.
- Open and close the glove box a few times. It should latch cleanly and close without binding.
Differences by Model Year
| Generation | What is confirmed | What to check |
|---|---|---|
| 2006-2012 | Repair databases list a cabin filter replacement procedure for these years, and one video guide lists panel poppers as a tool. | The steps and fasteners were not verified here. Look up your year in the manual or a repair manual before pulling panels. |
| 2013-2018 | Damper off the post, squeeze both sides, lower the box, filter behind it (2016 verified). | Small variations between trims and years are possible. |
| 2019-2025 | A 2022 dealer page says the filter is behind the glove box, reached by releasing the stops and lowering the compartment. | Damper shape and filter-cover design may differ from the 2016 steps. |
| 2026 and later | Not verified. | Check the owner’s manual maintenance section for your vehicle. |
Common Problems After Removal
The box will not stay closed
Check that both side stops are seated in the dash opening and that the latch striker is not bent. A stop that only half clicked in will let the box sag.
The door closes with a slam or pops open
The damper arm has probably come off its post or was not pushed fully back on. Reseat it.
A rattle appears
Look for a cover that is not fully clicked in, or a loose item sitting behind the box. Re-open and check the filter cover.
A clip broke
Plastic stops and clips can crack, especially on older, sun-baked dashboards. Take the broken piece to a Toyota parts counter and ask for the matching part for your year rather than guessing.
Safety Notes
- Switch the vehicle off before you start. Remove the key or move the key fob away from the car.
- Do not remove or bend any wiring or sensors you see behind the dash. If you are working beyond the glove box itself, use a repair manual for your year.
- If your vehicle has airbag components in the passenger area, follow the owner’s manual warnings and do not cut, pull or modify anything attached to them.
- Wear a mask if the old filter is moldy or full of debris.
Frequently Asked Questions
Do I need to remove screws to take out the RAV4 glove box?
For access to the cabin air filter on the 2016 RAV4, no. The documented method is to remove the damper from its post, squeeze both sides of the box and lower it. Fully removing the box can involve more, so check a procedure for your year.
Where is the cabin air filter on a RAV4?
Behind the glove box on the 2016 and 2022 vehicles covered here. Lower the glove box and the filter cover is visible.
Which way does the cabin air filter face?
On the 2016 RAV4 the airflow indicator points upward. Follow the arrow marked on your filter.
How often should I change the cabin air filter?
Follow the interval in your Toyota maintenance schedule. Dusty roads, heavy traffic or musty odors from the vents are reasons to check it sooner.
