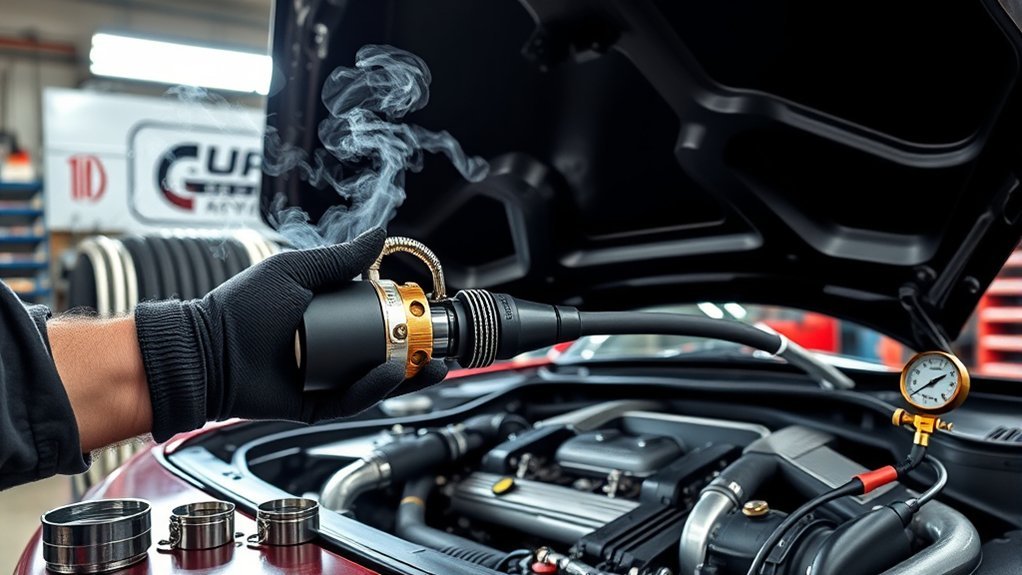
To diagnose a Toyota Supra boost leak, look for symptoms such as weak boost, hissing under load and poor response, inspect the intercooler pipes and clamps, then pressure-test the intake tract at low pressure or have a shop do a smoke or pressure test. Pressure limits and the parts to plug differ by generation, so follow the service manual. Related: how to diagnose a Toyota Supra vacuum leak.
How to Diagnose a Toyota Supra Boost Leak
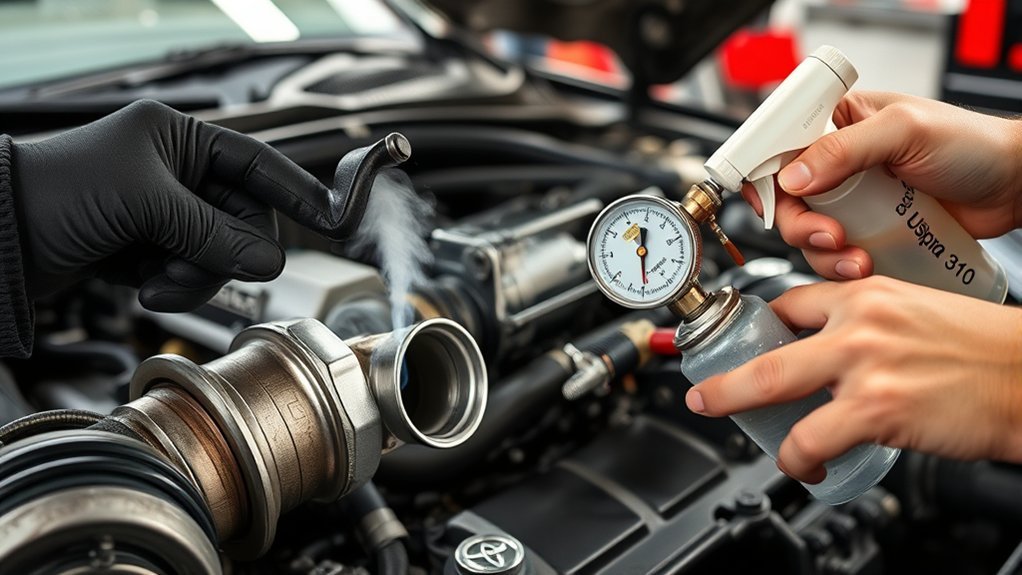
A boost leak lets pressurized air escape between the turbo and the engine. The result is lower power, slow response, and sometimes a hissing noise.
Essential Tools for Boost Leak Testing
A flashlight, hose clamps, a regulated low-pressure air source, a gauge, soapy water, and the plugs or adapters your service manual calls for.
Preparing Your Supra for Boost Leak Testing
Let the engine cool, disconnect the pipes you will test, and plug openings as the manual describes. Do not pressurize parts the manual says to isolate, such as sensors.
Step-by-Step Guide to Assembling a Boost Leak Tester
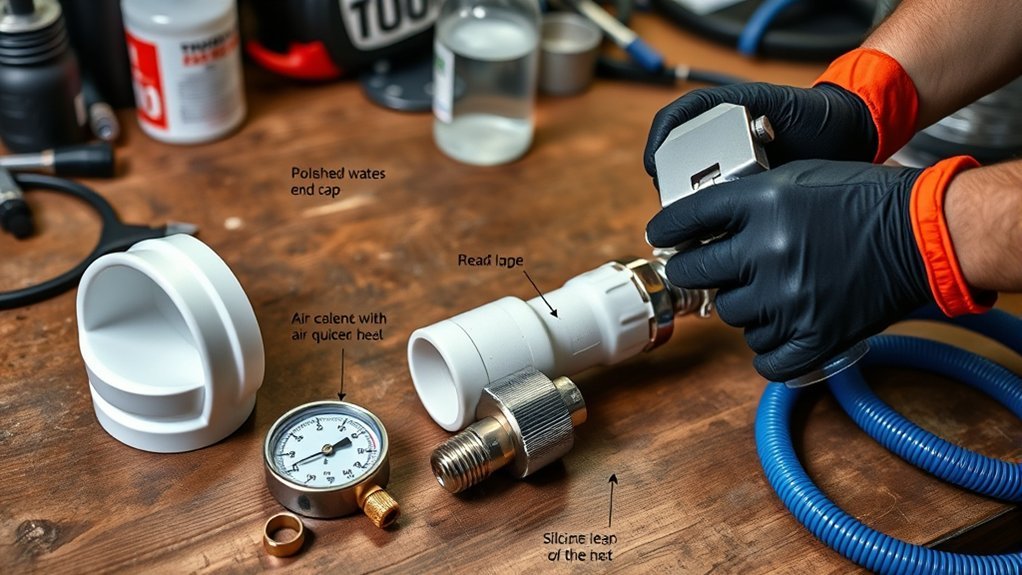
Home-made testers must be built carefully. A badly made one can release pressure suddenly, so use proper fittings and clamps.
Required Parts Overview
You need a pipe adapter, clamps, a pressure gauge and a regulator.
Assembly Process Steps
Fit the adapter, clamp it securely and attach the regulator and gauge. Check the setup before connecting to the car.
Testing Setup Instructions
Attach the tester at the intake tract. Seal the openings. Fit sizes vary by generation and turbo, so match the adapter to your car.
Conduct Your Boost Leak Test Effectively
Start at a low pressure and raise it slowly while you inspect. Never exceed the limit in the service manual.
Prepare Your Equipment Properly
Check the clamps, hoses and gauge, and wear eye protection.
Follow Testing Procedures Carefully
Apply pressure slowly, stop if a part moves or a fitting slips, and spray soapy water on joints to find bubbles.
Identifying Common Leak Sources in Turbocharged Systems
- Intercooler pipes and couplers
- Clamps
- Intake manifold and throttle joints
- Blow-off or diverter valve
Quick Troubleshooting Tips for Finding Leaks
Start with the simple checks below before building a tester.
Visual Inspection Of Hoses
Look for oil residue, cracks and loose clamps on couplers.
Listening For Air Leaks
A hiss under load can point to a leak. Do not put hands near moving parts.
Checking Boost Pressure Levels
Compare the boost reading with the expected value for your model. A scan tool can show boost data.
Interpreting Test Results and Next Steps
Replace or tighten the leaking part, then retest and clear codes.
Preventative Measures to Avoid Future Boost Leaks
- Check clamps and couplers regularly.
- Replace cracked parts.
- Avoid oil-soaked couplers.
Finding Community Support for Boost Leak Issues
Owner forums can help, but verify advice against the service manual.
Related reading:
- How to Fix Toyota Supra Coolant Leak: Step-by-Step Guide
- Toyota Supra Water Intrusion: How to Prevent Leaks
Frequently Asked Questions
How to Test if Your Turbo Is Leaking?
Check for oil at the turbo and intercooler pipes, and test the intake tract for pressure loss.
How Do You Perform a Leakage Test?
Seal the intake tract, apply low regulated pressure and watch the gauge for a drop.
How to Test Intercooler Pipes for Leaks?
Isolate the pipes, pressurize gently and spray soapy water on the joints.
Conclusion
Inspect first, test at low pressure, and use a shop if you are unsure.