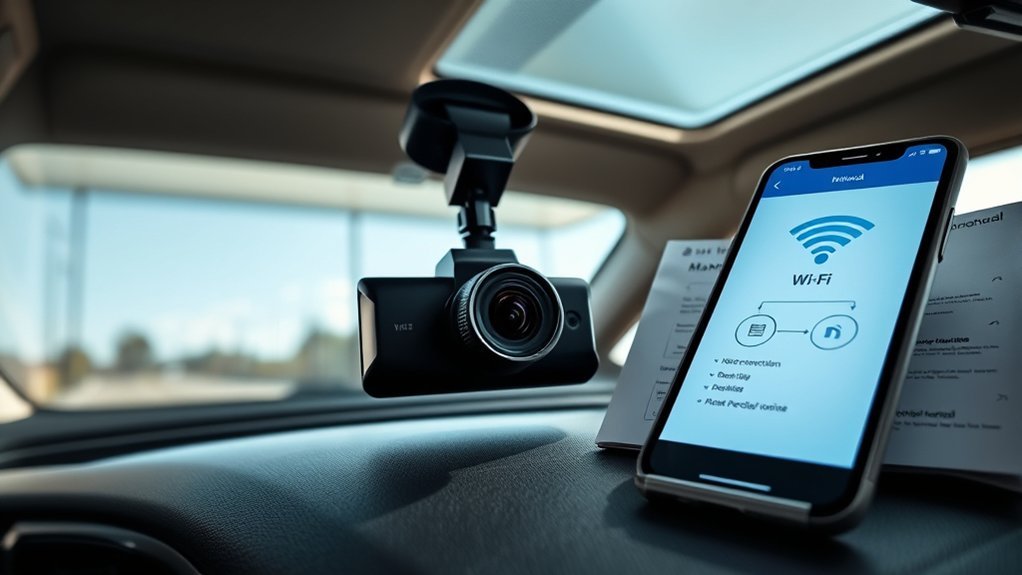
Just got a dash cam and want to view footage on your phone? To connect your dash cam to your phone, first enable the Wi-Fi on the dash cam and select its SSID (Wi-Fi network name) in your phone’s Wi-Fi settings. Temporarily disconnect from other networks to avoid automatic switching. Next, download and open the dash cam app for your brand to access features like video playback and settings. If you face connection issues, make sure the app has all necessary permissions, and consider troubleshooting steps like resetting devices or checking for firmware updates.
Note: If you use a cloud-connected or 4G/LTE dash cam (such as Nextbase iQ or BlackVue Cloud), refer to your brand’s cloud setup guide — this article covers standard Wi-Fi connection only.
Understanding Dash Cam Wi-Fi Connectivity
When you want to connect your dash cam to your phone, it helps to understand how its Wi-Fi connectivity works. Dash cams create their own Wi-Fi networks, allowing you to access various features and recordings through an app on your smartphone. Most dash cams operate on the 2.4GHz band, which offers better range and penetration through obstacles. Newer models from brands like Viofo, BlackVue, and Garmin (2023 and later) also support 5GHz Wi-Fi for faster video transfers — check your model’s manual to confirm which band yours uses. To establish a successful connection, you need to select the correct SSID (your dash cam’s Wi-Fi network name) from your phone’s Wi-Fi settings and temporarily disconnect from other networks to avoid automatic switching. Common troubleshooting issues can arise from incorrect Wi-Fi password entries or interference from other devices. Additionally, verify that your app permissions allow for necessary access. Regularly updating the firmware for both your dash cam and the companion app keeps everything working correctly.
Enabling Dash Cam Wi-Fi and Selecting the Network
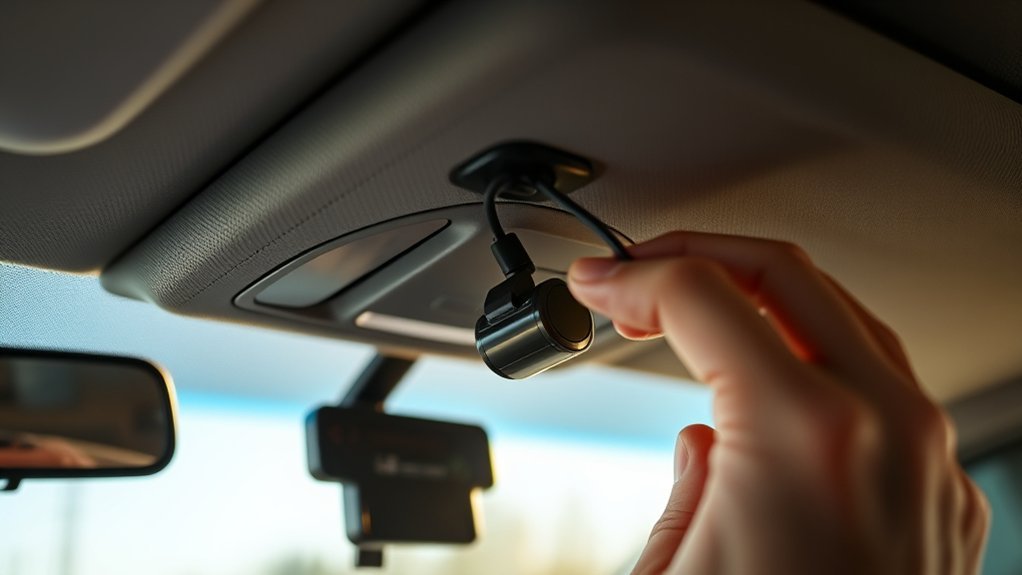
To connect your dash cam to your phone, start by enabling its Wi-Fi, which is usually done by pressing a dedicated button on the device. Next, access your phone’s Wi-Fi settings and select the dash cam’s unique SSID (network name), typically found in the user manual. Most dash cams operate on the 2.4GHz frequency band — newer models may also support 5GHz — so verify your phone’s Wi-Fi recognizes the correct band for a reliable connection. If your phone connects automatically to other networks, temporarily disconnect from those networks to avoid connection issues.
| Step | Action | Notes |
|---|---|---|
| 1. Enable Wi-Fi | Press the dedicated button | Check manual for location |
| 2. Open Wi-Fi | Go to phone’s Wi-Fi settings | Look for dash cam SSID |
| 3. Select Network | Choose the dash cam’s SSID | Verify correct frequency band |
| 4. Download & Open App | Install and open dash cam app | Search by brand name (e.g. Viofo, BlackVue, Nextbase, Garmin) |
Tip: Some newer dash cam models support QR code or NFC pairing. Open the app and tap “Add Device” to check if this faster method is available for your model.
After connecting, you’re ready to use the dash cam app effectively.
Connect Your Phone to the Dash Cam App
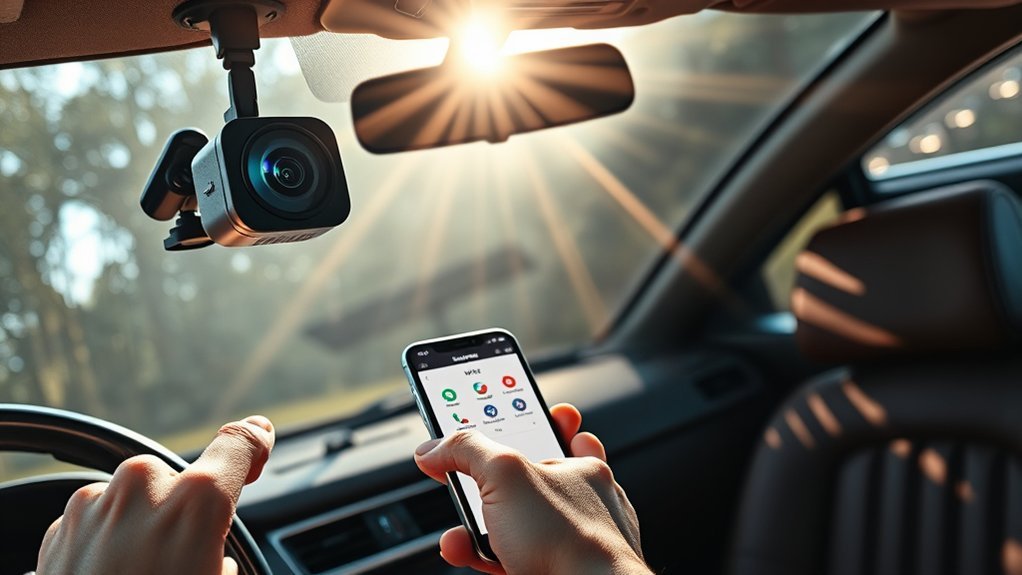
Connecting your phone to the dash cam app requires you to first confirm the dash cam’s Wi-Fi is activated and that you’re connected to its SSID. If you haven’t installed the app yet, search for your brand name (such as Viofo, BlackVue, Nextbase, or Garmin) in the App Store or Google Play and install it first. Open your phone’s Wi-Fi settings and select the dash cam’s network to establish a connection. Once you’re connected to the dash, launch the app to access essential features like live view and video playback.
If your connection fails, check for app permissions related to local network access, photos, and location, granting them if necessary. Should problems persist, restarting both the dash cam and your phone can often resolve temporary glitches and restore a stable connection.
Common Connection Problems and Their Causes
When connecting your dash cam to your phone, you might encounter several common issues that can disrupt the process. Wi-Fi connection problems, app permission settings, and distance from the device can all affect signal strength and stability. Identifying these potential obstacles is important for establishing a reliable connection.
Wi-Fi Connection Issues
While trying to connect your dash cam to your phone via Wi-Fi, you might encounter several common issues that can disrupt the process. Here’s a quick reference to help troubleshoot:
| Issue | Solution |
|---|---|
| Phone connects to home Wi-Fi | Temporarily disconnect from other networks and select the correct SSID. |
| Wrong frequency band | Make sure your phone connects to the band your dash cam uses (2.4GHz or 5GHz). |
| Connectivity issues | Enable Airplane Mode to refresh the network. |
| Outdated firmware/app | Check for updates from the manufacturer. |
Checking these Wi-Fi issues first will solve most connection problems. Maintaining app permissions is also important, as they can impact the functionality of your dash cam.
App Permission Problems
App permissions play an important role in making sure your dash cam app functions correctly, as it requires access to various features like Local Network, Photos, Cellular Data, Location, and Bluetooth. Failing to grant these permissions can lead to frustrating connectivity issues. Here’s what to check:
- Verify that you’ve allowed access to Local Network and Bluetooth.
- Confirm Photos and Location permissions are granted for proper functionality.
- If you haven’t used the app for a while, re-grant permissions, as some devices reset them automatically.
- Consider re-installing the app to prompt permission requests anew.
Before attempting a Wi-Fi Connection with your dash cam, checking and adjusting these app permissions is important to avoid freezes or dropped connections.
Distance and Signal Strength
For a stable connection between your dash cam and phone, keeping a suitable distance is key. Stay within 10 meters (about 33 feet) for a reliable connection — signal weakens gradually with distance and obstacles like car seats or thick materials. Dash cams typically operate on the 2.4GHz Wi-Fi band, though newer models also support 5GHz. If your phone connects to a stronger Wi-Fi signal, like your home network, it may disconnect from the dash cam. To avoid this, temporarily disconnect from other networks in your phone’s settings. If you encounter connection troubles, try basic troubleshooting like turning on Airplane Mode for 30 seconds to refresh the Wi-Fi signal and reconnect.
How to Troubleshoot Common Connection Problems
When troubleshooting connection issues, try toggling Airplane Mode on your smartphone to reset the Wi-Fi connection. It’s also important to verify that the dash cam app has the necessary permissions enabled; without them, you might face connection failures. Addressing these factors can often resolve persistent connectivity problems.
Airplane Mode Reset Benefits
If you’re experiencing connection issues with your dash cam, activating Airplane Mode can serve as an effective troubleshooting method. This simple reset allows your phone to reconnect more efficiently. Follow these steps for best results:
- Enable Airplane Mode on your phone, disabling all wireless signals.
- Wait at least 30 seconds to allow for a fresh start.
- Disable Airplane Mode to restore connectivity.
- Reconnect to your dash cam’s Wi-Fi network.
Using Airplane Mode helps prevent your phone from switching to stronger signals, which often disrupts a stable connection. While it’s not a permanent fix, it’s a quick way to clear up persistent connectivity issues.
Verify App Permissions
After addressing connection issues through Airplane Mode, it’s important to verify your dash cam app has the necessary permissions to function properly. Begin by checking the app permissions on your phone. Confirm your dash cam app has access to Local Network, Photos, Cellular Data, Location, and Bluetooth. If permissions were previously denied or reset, uninstalling and reinstalling the app can prompt those requests again. For iPhones, navigate to Settings > Privacy > Local Network, while Android users can find permissions in the app settings menu. Regularly review these permissions, especially after software updates or inactivity. Once you’ve confirmed permissions, try connecting again to verify your dash cam functions correctly.
Checking and Updating Firmware for Optimal Performance
To keep your dash cam running well, regularly checking and updating its firmware is important. Keeping your device up to date helps prevent bugs and keeps the app working correctly. Here’s how you can manage your dash cam’s firmware effectively:
- Check Manufacturer’s Website or App: Regularly visit the manufacturer’s site or open the app to find available updates.
- Ensure Wi-Fi is Turned On: Make sure your dash cam is connected to Wi-Fi during the update process for a smooth update.
- Power Supply: Verify your dash cam is adequately charged or connected to power throughout the update to prevent interruptions.
- Follow Instructions: Adhere to the detailed guidelines provided by the manufacturer to avoid any issues during the update.
When to Get Help With Connection Problems?
Experiencing connection problems with your dash cam can be frustrating, especially when you’ve already tried basic troubleshooting steps. If you’ve reset both your dash cam and phone but still can’t connect, it might indicate a hardware issue. Document your troubleshooting efforts, including any error messages, as this information will be valuable when you reach out for help.
If checking for firmware updates and app permissions doesn’t resolve your connectivity problems, it’s time to contact the manufacturer’s support. Consistent Wi-Fi rejection from your dash cam may require a factory reset to restore its functionality. For complex issues that persist, consider reaching out for expert assistance or consult community forums, where you can find additional insights and solutions.
Frequently Asked Questions
Why Is My Dash Cam Not Connecting to My Phone?
Your dash cam may not connect for a few common reasons: the wrong SSID is selected, the app lacks permissions (Local Network, Location, or Photos), or the firmware is out of date. Start by opening your phone’s Wi-Fi settings and confirming you’re connected to the dash cam’s network — not your home Wi-Fi. Then open the app, check all permissions are granted, and try restarting both devices. If the issue persists, visit the manufacturer’s website to check for a firmware update for your specific model.
How to Connect Dash Cam to Phone via Wi-Fi?
To connect your dash cam to your phone via Wi-Fi, press the Wi-Fi button on the dash cam to activate its network. On your phone, go to Wi-Fi settings and select the dash cam’s SSID (network name, usually starting with your brand name). Once connected, open your dash cam’s companion app — available on the App Store or Google Play — and follow the in-app setup. Most connections complete in under a minute. If your model supports QR code pairing, open the app and tap “Add Device” to skip the manual SSID step.
Why Is My Dash Cam Not Connecting to Wi-Fi?
If your dash cam isn’t connecting to Wi-Fi, first check that you’re selecting the correct SSID and entering the right password (usually printed on the device or in the manual). Make sure your phone is within 10 meters of the dash cam and that the firmware on both the device and app are up to date. If your phone keeps jumping to your home network, temporarily disconnect from it and select the dash cam’s network manually. Enabling Airplane Mode for 30 seconds, then reconnecting, can also help clear the connection.
Can I See My Dash Cam Live on My Phone?
Yes, most Wi-Fi-enabled dash cams support live view through the companion app. Once your phone is connected to the dash cam’s Wi-Fi network, open the app and look for a “Live View” or “Preview” button. This lets you check the camera angle, confirm recording is active, and monitor in real time. Note that live view requires your phone to be connected to the dash cam’s Wi-Fi — it does not work over mobile data unless your dash cam model supports cloud or 4G/LTE connectivity.
Conclusion
Connecting your dash cam to your phone takes just a few steps once you know the process. By following this guide and using the troubleshooting tips above, you can maintain a reliable connection and access your footage and settings directly from your phone. Remember to check for firmware updates regularly to keep your dash cam performing at its best. If you encounter persistent issues, contact your dash cam manufacturer’s support team for help.