What’s in This Article
- Why Using a Dash Cam Is Important for Drivers
- Before You Begin: What You Need
- Set Up the Most Important Dash Cam Features
- Set the Correct Time and Date for Reliable Footage
- Turn On Loop Recording So Your Dash Cam Keeps Recording
- Activate the G-Sensor to Save Impact Footage
- Sync Your Dash Cam With Your Smartphone for Easy Access
- How to Optimize Video Quality and Resolution Settings
- Regular Maintenance for Your Dash Cam
- Troubleshooting Common Dash Cam Issues
A dash cam only helps you when it records clear footage at the right time. Start by turning on loop recording, setting the G-sensor, choosing at least 1080p video, and syncing the camera with your phone. You should also check the memory card, mount, time settings, and firmware on a regular schedule.
Quick Answer
To use a dash cam well, mount it safely, set the correct date and time, turn on loop recording, and adjust the G-sensor. Use a high-endurance microSD card, save important clips quickly, and check your footage after setup.
Key Takeaways
- Set loop recording so your dash cam can keep recording when the memory card fills up.
- Use the G-sensor to lock impact clips, but adjust sensitivity to reduce false alerts.
- Choose a high-endurance microSD card because dash cams write and overwrite video often.
- Check the time, date, lens, mount, and power cable before you rely on the footage.
- Ask your insurer how dash cam footage affects claims because discounts vary by provider.
Why Using a Dash Cam Is Important for Drivers
When you drive, a dash cam can give you clear video of a crash, a near miss, or damage around your parked car. Progressive says dash cam footage may help explain what happened after an accident and may help resolve disputed fault. Allianz Australia also notes that clear footage can reduce back-and-forth during a claim.
A dash cam can also help with parking mode, depending on your model and power setup. Some cameras record when they detect motion or impact while your vehicle sits parked. That footage may support claims for vandalism, hit-and-runs, or theft, but you should still collect driver details, photos, and police reports when needed.
Note: A dash cam may help your claim, but it can also show your own mistake, so drive as if every moment matters.
If you manage a fleet or watch a new driver, dash cam footage can also help you review driving habits. GPS, speed data, and app access can add useful context, but only if your model supports those features. Use a reliable memory card so your clips save correctly.
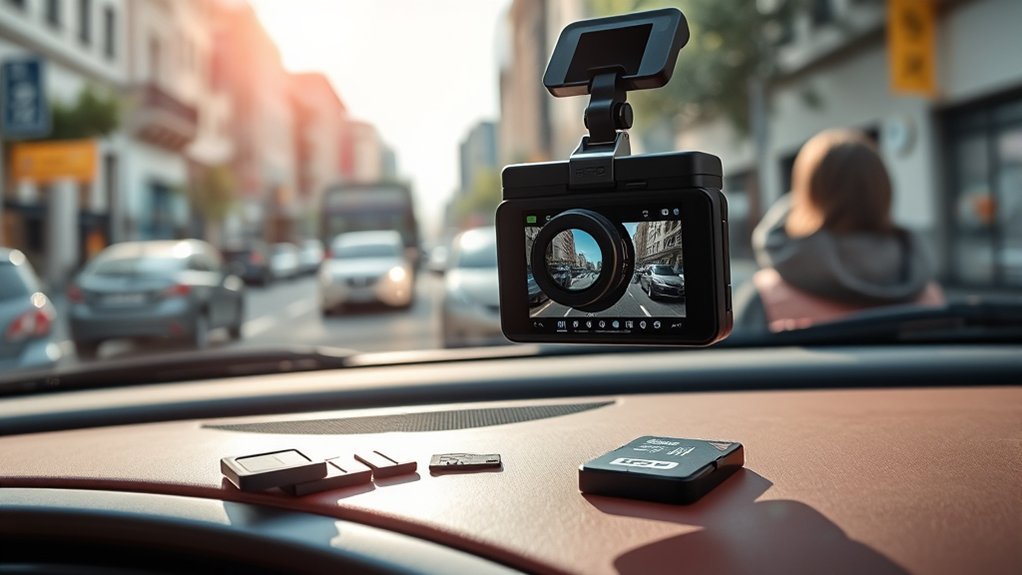
Before You Begin: What You Need
Estimated setup time: 10 to 20 minutes for most plug-in dash cams. Hardwired parking mode can take longer, and a professional installer can help if you don’t work with vehicle wiring.
Before you change settings, gather the basic items your dash cam needs:
- A compatible high-endurance microSD card
- The dash cam power cable or hardwire kit
- Your phone and the camera manufacturer’s app
- Your vehicle parked in a safe, bright place
- The user manual or setup label for Wi-Fi details
Warning: Mount your dash cam where it does not block your view, interfere with airbags, or distract you while driving.
Check your local rules before you record inside the cabin, record audio, or publish footage online. Some places restrict audio recording, windshield placement, or public sharing of identifiable video.
Set Up the Most Important Dash Cam Features
Start with the settings that protect your footage. These options help your dash cam keep recording, lock important clips, and produce usable video when you need evidence.
- Turn on loop recording: This lets your camera overwrite the oldest normal clips when the card fills up.
- Set G-sensor sensitivity: This lets your camera lock clips after a hard stop, impact, or sharp movement.
- Choose at least 1080p video: This gives you a practical minimum for clear road footage, while 2K or 4K can improve detail.
- Check parking mode: Use this only with the right power setup so you don’t drain your car battery.
- Format the memory card: Format it in the dash cam before first use and then on a regular schedule.
Loop Recording Activation
Loop recording helps your dash cam keep filming without manual file cleanup. Garmin explains that dash cams use continuous recording, and event detection can save important video after an incident.
- Open the recording menu: Find loop recording in your dash cam settings.
- Choose a clip length: Pick 1, 3, or 5 minutes if your model offers those choices.
- Save the setting: Confirm the camera shows loop recording as active.
- Test the camera: Record a short drive and check that the clips appear on the card or app.
Shorter clips can make file review easier. Longer clips can reduce the number of files, but each file takes more time to transfer.
G-Sensor Sensitivity Adjustment
The G-sensor, also called a gravity sensor, detects sudden motion, hard braking, bumps, and impacts. Nextbase explains that this feature detects sudden changes around the car, while Garmin calls it automatic incident detection.
Start with medium sensitivity if your model offers low, medium, and high settings. Lower the setting if potholes, rough roads, or speed bumps keep locking normal clips. Raise it if the camera misses real impacts or hard stops.
Set the Correct Time and Date for Reliable Footage
Correct timestamps make your footage easier to use after an incident. A wrong date or time can create confusion when you share clips with an insurer, police officer, or repair shop.
Accessing Time Settings
Use these steps to set the time and date:
- Open the dash cam menu: Find the time, date, and time zone section.
- Choose your time zone: Match it to where you drive most often.
- Set the date format: Pick the format that your insurer or local authority can read easily.
- Check after updates: Recheck the setting after firmware updates or power loss.
Synchronizing With Mobile App
If your dash cam supports phone sync, connect it through the manufacturer’s app. Your phone can help update the time and date, but only if your phone shows the correct local time.
Turn on Wi-Fi or Bluetooth as your camera requires. If the app asks for a password, use the password in your manual, setup label, or camera screen. Some models use a simple default password, but you should not assume every brand uses the same one.
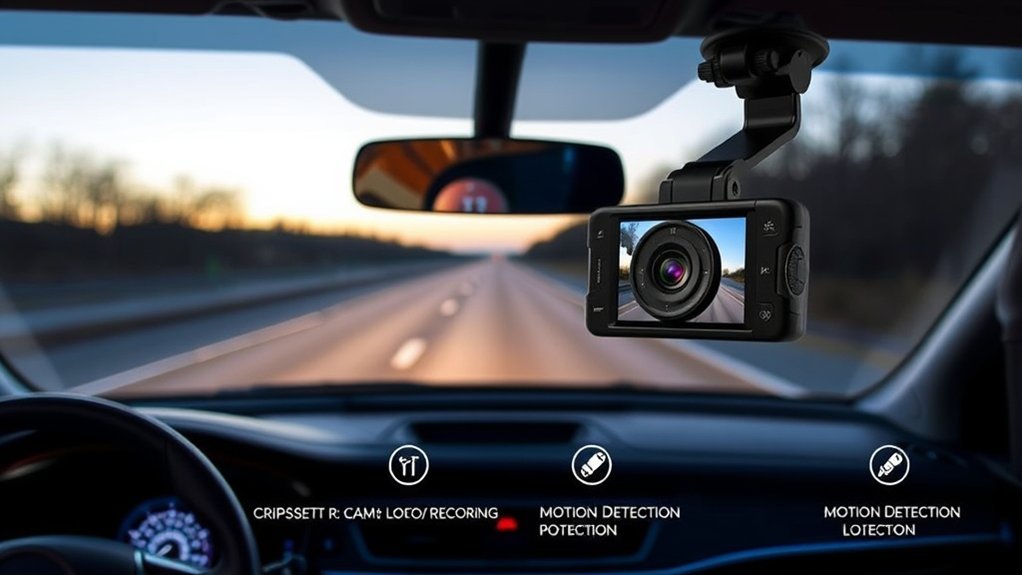
Turn On Loop Recording So Your Dash Cam Keeps Recording
Loop recording lets your dash cam replace old normal clips with new clips once the memory card fills up. This prevents the camera from stopping just because storage runs out.
Loop recording helps your dash cam keep the most recent road footage, while locked event clips help protect key moments.
- Select a loop duration: Choose a short clip length, such as 1, 3, or 5 minutes, if your model allows it.
- Use a high-endurance microSD card: Garmin lists high-endurance card families for dash cams, and SanDisk designs its High Endurance cards for repeated recording.
- Keep event locking on: Let the camera protect impact clips from normal overwriting.
- Review storage often: Check that your card still records and that protected folders don’t fill the card.
Loop recording does not replace file backup. If a clip matters, save it to your phone, computer, or cloud account as soon as you can.
Activate the G-Sensor to Save Impact Footage
Activating the G-sensor helps your dash cam save footage when it detects a hard impact, sudden stop, or sharp movement. This setting can protect important clips from normal loop overwriting.
Set G-Sensor Sensitivity for Incident Protection
Use the lowest setting that still catches real incidents. A setting that feels too high may lock too many clips from potholes, rough driveways, and sharp turns.
- Start at medium sensitivity: Use this as your baseline during normal driving.
- Drive your usual route: Watch how often the camera locks clips.
- Lower it if needed: Reduce false triggers from small bumps and uneven roads.
- Raise it if needed: Increase sensitivity if the camera misses strong impacts.
Check your protected folder after a few drives. If it fills too fast, normal recording may lose space.
Parking Mode Activation
Parking mode can record around your car after you switch off the engine. Some models respond to impact, some respond to motion, and some need a hardwire kit or external battery pack.
Use parking mode with care. Garmin notes that its parking power cable can help protect the vehicle battery by shutting down when voltage drops too low. Your own camera may use a different cutoff, so follow your manual.
Managing False Triggers
False triggers waste storage and make it harder to find real events. You can reduce them by matching the G-sensor to your roads and parking area.
- Review your road conditions: Rough city roads may need lower sensitivity than smooth highways.
- Adjust one level at a time: Small changes help you find the right balance.
- Check locked clips weekly: Delete unneeded locked files after you save anything important.
- Use event-based parking mode: Choose impact-based recording if motion alerts create too many clips.
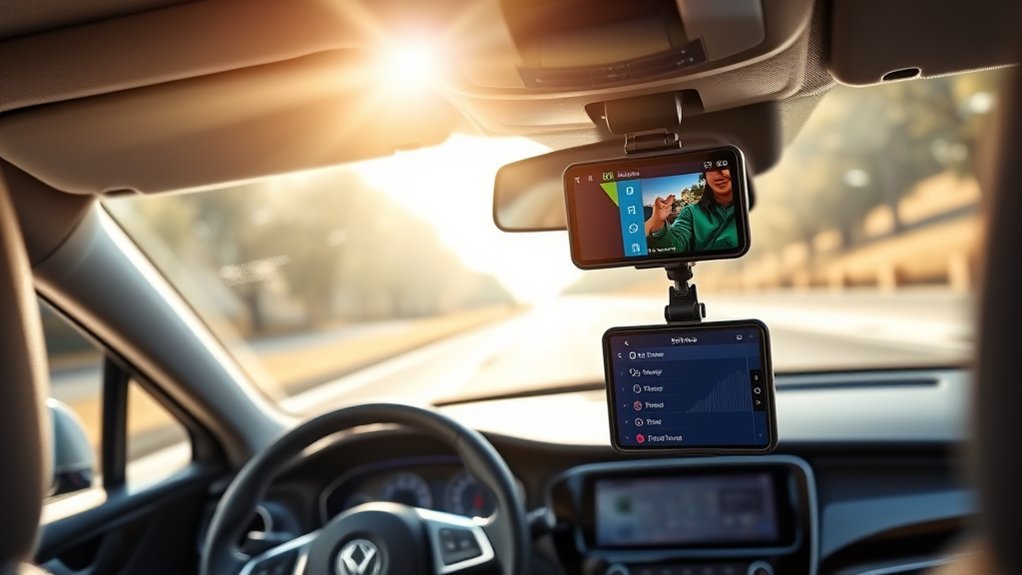
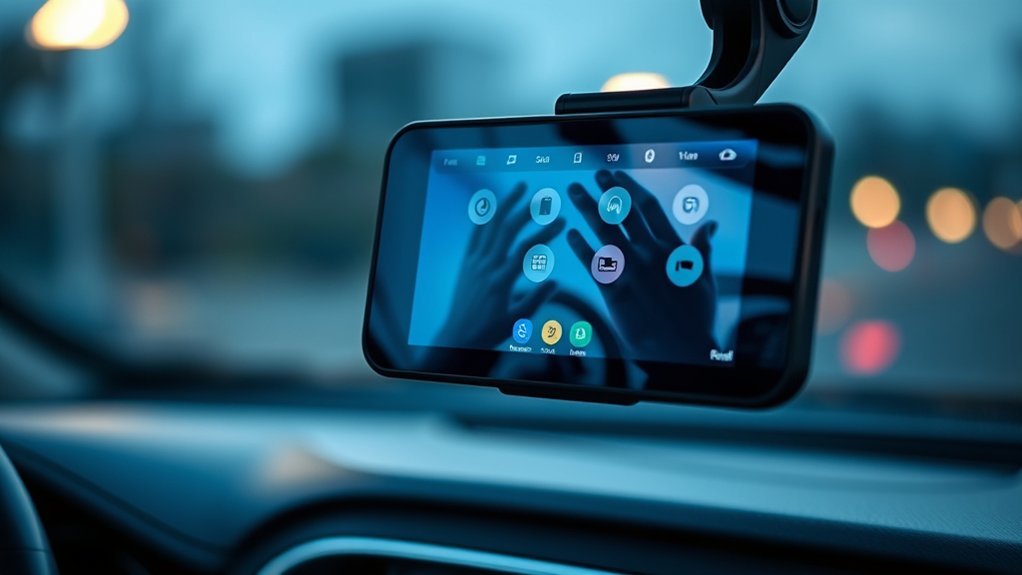
Sync Your Dash Cam With Your Smartphone for Easy Access
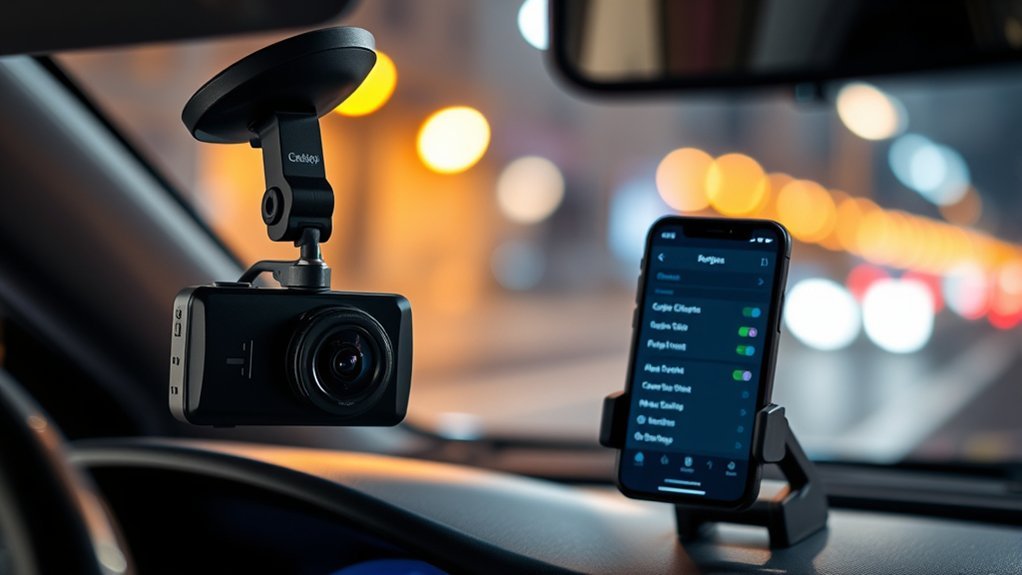
Syncing your dash cam with your smartphone gives you faster access to recorded footage, settings, and firmware updates. Download the app from your dash cam manufacturer, then follow the in-app steps to connect through Wi-Fi or Bluetooth.
Make sure your phone connects to the dash cam network, not your home Wi-Fi or mobile hotspot. After the app connects, you can review video, change settings, and transfer clips without removing the microSD card. Some models also show live view, GPS routes, and speed data.
Check for firmware updates inside the app or on the manufacturer’s support page. Firmware updates can fix bugs, improve app support, and help the camera work with newer phones.
How to Optimize Video Quality and Resolution Settings
Good video settings help your dash cam capture useful detail. Vantrue explains that higher resolution can improve detail, but it also uses more storage space. Nexar notes that very wide fields of view can reduce forward detail, especially at distance.
- Set the resolution: Use at least 1080p, and choose 2K or 4K if your camera, card, and budget support it.
- Check the field of view: A front camera around 130 to 150 degrees often balances road coverage and detail.
- Align the horizon: Aim the camera so it sees the road clearly without too much dashboard or sky.
- Clean the windshield and lens: Dust, glare, and fingerprints can ruin a clip even at high resolution.
- Test day and night footage: Review license plates, road signs, and lane markings in real driving conditions.
Do not rely on resolution alone. A clean lens, firm mount, correct exposure, and good card matter just as much.
Protect Important Clips and Back Them Up
Your dash cam may lock event clips, but you should still back up any video you might need. Loop recording can overwrite normal clips, and some cameras limit how many protected files they keep.
After an incident, stop recording only when it’s safe. Save the clip through the app, copy it to a computer, or remove the memory card and store it safely. Keep the original file name when possible because it may include date and time data.
If you share footage with an insurer or authority, send a copy instead of your only file. Keep one untouched backup until the claim or issue ends.
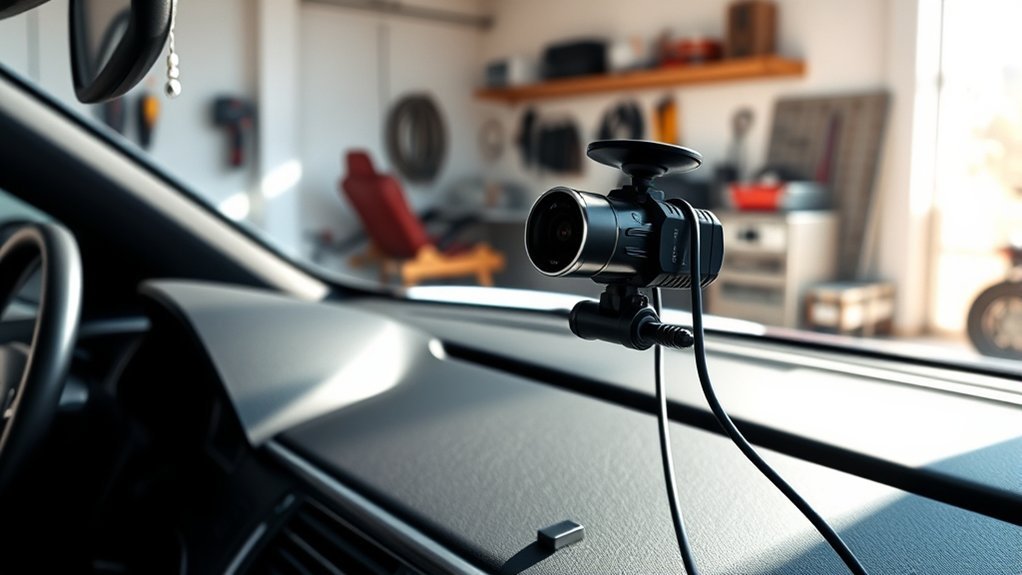
Regular Maintenance for Your Dash Cam
Maintaining your dash cam matters as much as setting it up correctly. Clean the lens with a microfiber cloth so dirt and glare don’t blur your footage. Format the microSD card in the camera each month, or follow the schedule in your manual.
Check the mount every few weeks, especially after heat, cold, or rough roads. A loose camera can point too high, too low, or toward the wrong lane. Inspect the power cable and plug so the camera doesn’t lose power during a drive.
Pro tip: Play back one short clip after setup so you know the camera records sound, video, date, and time correctly.
Check the manufacturer’s app or support page for firmware updates. Updates can improve stability, app pairing, and card compatibility.
Troubleshooting Common Dash Cam Issues
Many dash cam problems come from power, storage, settings, or a dirty lens. Work through the easiest checks first.
- Fix power issues: Check the plug, outlet, fuse, and cable. Try another approved cable if your model allows it.
- Fix memory card errors: Format the card in the camera, then replace it if errors return.
- Fix poor video quality: Clean the lens and windshield, then raise the resolution if storage allows it.
- Fix missing clips: Check loop recording, protected folders, and whether the card has enough free space.
- Fix false event clips: Lower G-sensor sensitivity and review parking mode settings.
What to Do If Your Dash Cam Malfunctions?
A malfunctioning dash cam can frustrate you when you rely on it for safety and evidence. If your dash cam doesn’t turn on, check the power cable and outlet. Try a different approved port or cable if your manual allows it.
If footage doesn’t save, confirm that loop recording works and format the memory card in the dash cam. Replace the card if it shows errors, records gaps, or stops after a short time. Use a high-endurance card that your camera brand supports.
If the camera records poor video, clean the lens and windshield first. Then check the resolution, exposure, and mount angle. Keep your dash cam firmware up to date so your device can use the brand’s current fixes and support tools.
Frequently Asked Questions
How Do I Make My Dash Cam Always On?
Use parking mode with a proper hardwire kit or an external dash cam battery pack. Choose a setup with low-voltage protection so the camera stops before it weakens your starter battery.
Do Dash Cams Automatically Start Recording?
Most dash cams start recording when they receive power from the vehicle. Many models also use loop recording and G-sensor event locking, but you should test these features before you rely on them.
Does Your Insurance Go Down if You Have a Dash Cam?
Your insurance does not always go down because you have a dash cam. Progressive says insurers generally don’t offer dash cam discounts, while some insurers or regions may handle this differently. Ask your insurer before you expect a discount.
Will a Dash Cam Drain a Car Battery?
A dash cam can drain a car battery if it keeps drawing power while the engine stays off. Use a low-voltage cutoff, parking timer, or external battery pack if you want parked recording.
What Size microSD Card Should I Use for a Dash Cam?
Use the card size your dash cam manual supports. Many drivers choose 64GB to 256GB for daily use, but resolution, number of cameras, and clip length affect how much video you can store.
Safety and Insurance Disclaimer: This article is for informational purposes only and does not replace professional legal, insurance, or vehicle electrical advice. Always follow your dash cam manual, local laws, and your insurer’s claim instructions before you rely on recorded footage.
Conclusion
Your dash cam works best when you set it up before you need the footage. Turn on loop recording, set the G-sensor, check the time and date, and use a reliable high-endurance memory card. Test one short recording after setup so you know the camera captures a clear view of the road. Keep the lens clean, back up key clips, and review your settings after updates or power loss. With those habits, your dash cam can become a steady witness every time you drive.
References
- Insurance Benefits of Installing a Dashcam – Progressive, accessed 2026
- How Dash Cam Footage Can Help Your Car Insurance Claim – Allianz Australia, accessed 2026
- Can a Car Dash Cam Help with Insurance Claims? – Aviva, accessed 2026
- What Is Automatic Incident Detection? – Garmin Customer Support, accessed 2026
- Memory Card Compatibility for Garmin Dash Cams and Camera Systems – Garmin Customer Support, accessed 2026
- SanDisk High Endurance microSD Card – SanDisk, accessed 2026
- Dash Cam Field of View Explained – Nexar, 2026
- Guide to Dash Cam Video Resolutions – Vantrue, 2023