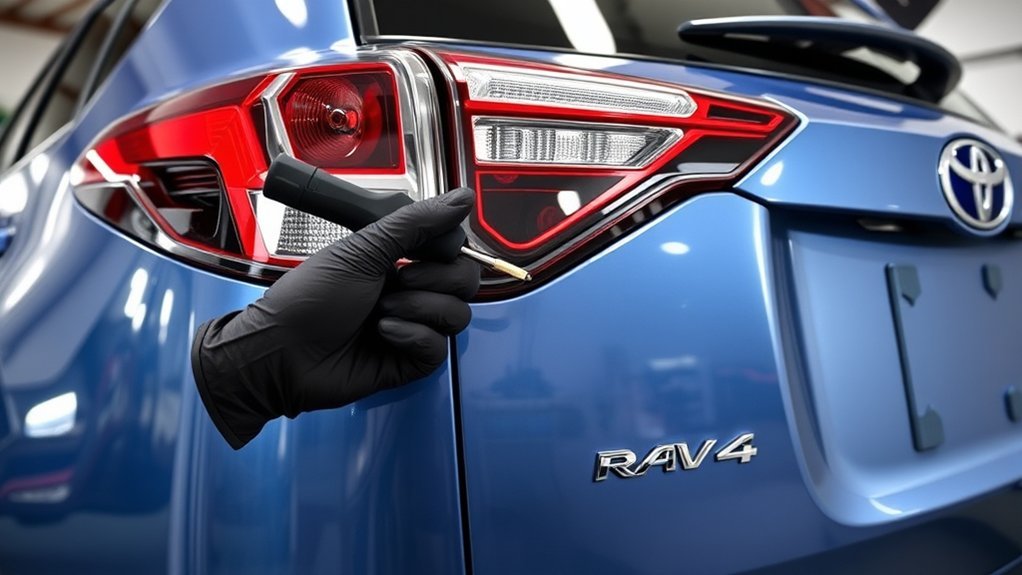
To change the tail light on your Toyota RAV4, first access the mounting screws by removing the snap-on panel. Use a 10mm socket to unscrew the bolts and disconnect the power connector from the old tail light. Install the new tail light by securing the power connection and ensuring the water gasket is properly seated. Tighten the bolts and check all lights for functionality. Follow along for a detailed guide on tools and specific steps.
Why Timely Tail Light Replacement Is Essential
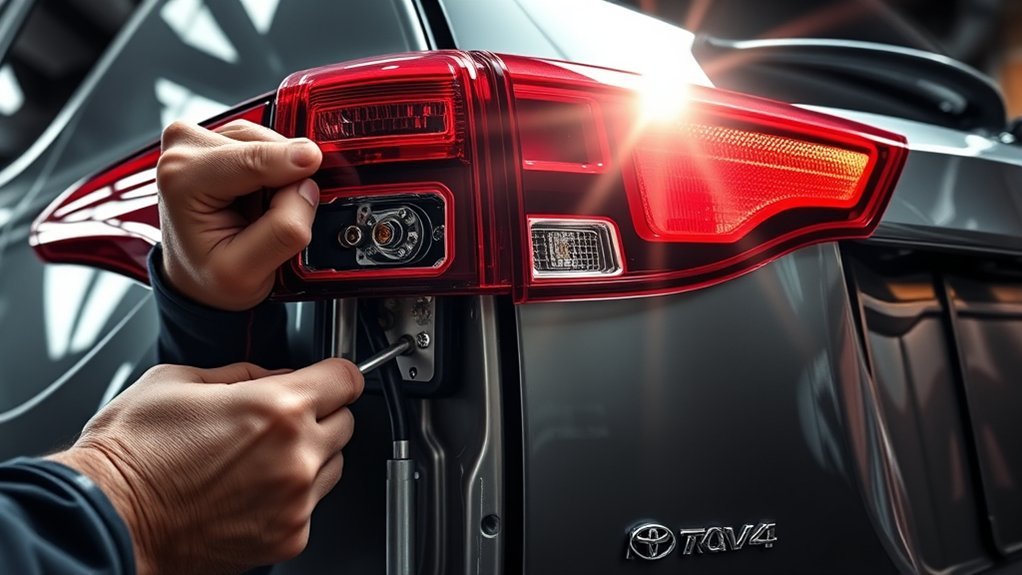
When you notice a cracked tail light lens, addressing it promptly is vital to prevent water intrusion that can lead to electrical issues and damage your vehicle’s interior. A timely replacement not only protects your vehicle but also guarantees visibility for other drivers, reducing the risk of accidents. Driving with a damaged tail light can lead to legal penalties, making it imperative to act fast. Using genuine replacement parts from a local dealer assures quality and compatibility, safeguarding against potential failures from cheaper options. Additionally, performing a DIY tail light replacement can save you significant labor costs, often around $100 per hour at dealerships, while offering a rewarding sense of accomplishment. Remember, regular maintenance, including timely tail light replacements, is essential for overall vehicle safety and longevity. By prioritizing this task, you’re investing in your vehicle’s reliability and your peace of mind on the road.
Identifying the Correct Replacement Tail Light for Your RAV4
When replacing your RAV4’s tail light, it’s essential to verify the specific part number with your dealer to guarantee compatibility. Opting for genuine Toyota parts ensures quality and often expedites delivery compared to cheaper alternatives. Additionally, remember to distinguish between body and liftgate tail light components, as they perform different functions in your vehicle.
Genuine Parts Importance
Choosing the appropriate replacement tail light for your Toyota RAV4 is vital to guarantee peak performance and safety. Opting for genuine parts secures quality and compatibility, reducing the risk of issues often associated with aftermarket alternatives. Before ordering, confirm the part number with your local Toyota dealer to verify it matches your specific model year and configuration. It is important to distinguish between body tail light and liftgate tail light parts, as each serves a different function. Utilizing genuine replacement parts not only enhances safety but also helps maintain your vehicle’s resale value by complying with manufacturer specifications. With better warranties and support, genuine parts provide peace of mind that discount options simply can’t match.
Part Number Verification
Verifying the correct part number for your replacement tail light is a key step in the installation process for your Toyota RAV4. To ascertain you receive the right component, make sure to check the part number with your local dealer, especially since there are distinctions between body and liftgate tail light parts. Genuine Toyota tail light parts can often be special ordered and may arrive overnight, providing you with a reliable option compared to discount parts. Before installation, double-check the compatibility of the new tail light by comparing the old part’s number with the new one. Using the correct part number not only guarantees a proper fit but also helps prevent future issues like water intrusion from a poorly fitted tail light.
Body vs. Liftgate Lights
Understanding the differences between body and liftgate tail lights on your Toyota RAV4 is vital for selecting the correct replacement. The body tail light is located on the side of the vehicle, while the liftgate tail light is positioned on the rear hatch. Each component has a unique part number, so verify the correct one with your local Toyota dealer. Always opt for genuine Toyota parts to guarantee superior quality, fit, and longevity. These parts often come with a water seal on the power cord, important for preventing water intrusion and electrical issues. After installing the new tail light, check its functionality, including brake lights and turn signals, to confirm everything operates correctly.
Why You Should Change Your Tail Light Yourself
While it might seem convenient to leave tail light replacements to professionals, changing your tail light yourself offers considerable advantages that can enhance both your skills and your vehicle’s longevity. One reason to tackle this task yourself is the substantial savings on labor costs—dealerships often charge $100 per hour. Additionally, replacing your tail light promptly prevents water intrusion, which can lead to costly repairs down the line.
Here’s a quick comparison of DIY versus professional replacement:
| Aspect | DIY Replacement |
|---|---|
| Cost | Considerably lower |
| Time to Complete | Usually quicker |
| Quality of Parts | Genuine dealer parts |
| Function Verification | Complete before install |
If you’ve got the time and skills, go ahead and enjoy the satisfaction of maintaining your RAV4. You’ll not only save money but also gain confidence in your automotive abilities.
Tools Needed for Tail Light Replacement
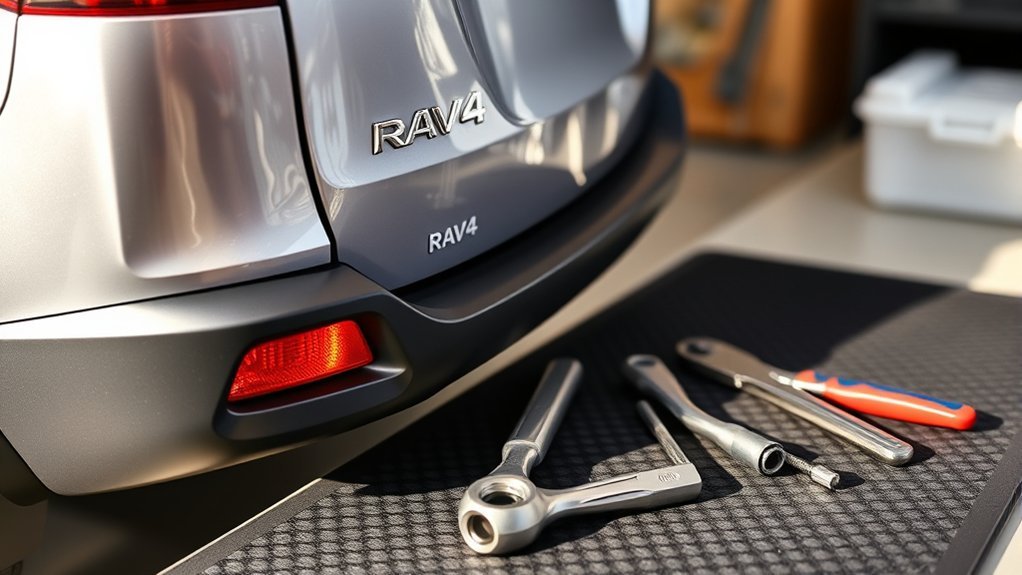
To successfully replace the tail light on your Toyota RAV4, you’ll need a few essential tools. A 10mm socket or wrench will help you remove the mounting bolts, while a flathead screwdriver can assist with any snap-on panels. Don’t forget safety gloves to protect your hands from sharp edges during the process.
Essential Tools Required
When replacing the tail light on your Toyota RAV4, you’ll need a few essential tools to guarantee a smooth process. Start with a 10mm socket wrench to remove the mounting screws securely. Pair this with a flathead screwdriver for any necessary panel prying to access the tail light assembly. It’s wise to wear safety gloves, protecting your hands from sharp edges during the task. A flashlight will illuminate your workspace, ensuring visibility in those hard-to-see areas. Additionally, have a clean rag or cloth handy to wipe off dirt or debris from the connectors and the new tail light before installation. With these tools, you’ll be well-equipped for a successful tail light replacement.
Safety Gear Considerations
Safety gear is vital for a successful tail light replacement on your Toyota RAV4. Proper protection not only guarantees your safety but also facilitates a smoother process. Here’s what you need:
- Safety gloves: These protect your hands from sharp edges and plastic fragments during the replacement.
- Safety goggles: Wearing these safeguards your eyes from debris that may fall while you’re working on the tail light assembly.
- Socket wrench: A 10mm socket wrench is essential for removing the mounting screws that secure the tail light.
Additionally, keep a clean cloth handy to wipe away dirt or moisture, promoting a proper seal and preventing water intrusion. Equip yourself with these safety items, and you’ll be ready to tackle the task with confidence.
Step-by-Step Guide to Removing Your Old Tail Light
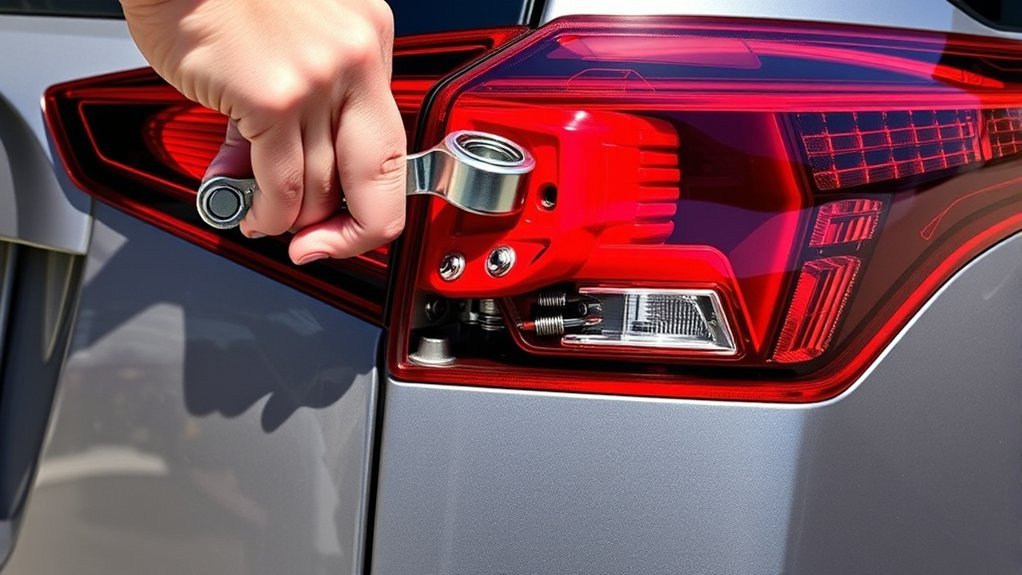
Removing the old tail light from your Toyota RAV4 involves a few straightforward steps. Start by locating the snap-on panel that grants access to the mounting screws. This allows you to avoid removing the inner panel. Using a 10mm wrench, unscrew the two mounting bolts that secure the tail light assembly. Once these are removed, carefully disconnect the power connector from the broken tail light, being cautious of sharp plastic edges that could cause injury. After disconnecting, check for any hidden fasteners that might hinder complete removal of the tail light. This guarantees you’ll have a smooth extraction. Keep in mind the water seal on the power cord, as it’s vital to prevent water intrusion when you’re ready to install the new tail light. Following these precise steps will make the process efficient and straightforward.
Installing Your New Tail Light
Position the new tail light carefully into place, ensuring the water gasket is properly seated to prevent moisture from entering the assembly. This step is essential for a successful installation.
Next, follow these steps for a secure fit:
- Reconnect the power connector for the new tail light, ensuring it clicks into place firmly for proper electrical connectivity.
- Align the tail light with the mounting holes, then insert the two 10mm bolts, tightening them securely.
- Check for any hidden fasteners that may need attention to guarantee a complete and secure fit.
After completing the installation, perform a functionality check with a partner. Confirm that all lights, including brake lights, turn signals, and reverse lights, operate correctly. Ensuring everything is functional not only enhances safety but also provides peace of mind as you hit the road with your newly installed tail light.
How to Verify the Water Seal for Your New Tail Light
To guarantee your new tail light is properly sealed against water intrusion, start by inspecting the water seal on the power cord before installation. Verify it’s intact and correctly positioned to prevent moisture entry. During installation, confirm that the water gasket on the new tail light is securely in place, creating a tight seal. After connecting the tail light, check for gaps between the tail light and the vehicle body; any openings can allow water to penetrate.
Perform a final inspection by gently pulling on the tail light to verify it’s securely fitted and that the water seal hasn’t been compromised. If you notice any signs of wear or damage on the water seal, replace it immediately to maintain the integrity of the installation. Following these steps will verify your tail light remains protected against water, contributing to its longevity and functionality.
Why Do DIY Repairs Save You Money Compared to Professionals?
While you might consider professional repairs for your vehicle, tackling DIY repairs can greatly reduce your expenses. By embracing DIY repairs, you not only save on labor costs but also gain control over your vehicle’s maintenance. Here’s how:
- Avoid high labor fees: Professional services can charge around $100 per hour, which adds up quickly.
- Purchase parts directly: You can obtain genuine parts without paying for shipping or markups that professionals often impose.
- Gain valuable skills: Each repair enhances your knowledge, enabling you to handle future maintenance tasks more confidently.
These factors combined mean that DIY repairs can notably save you money. Plus, engaging in this hands-on work fosters a sense of accomplishment and independence, allowing you to rely less on costly professional services. Embrace the freedom of DIY and watch your savings grow!
Frequently Asked Questions
Can You Replace a Rear Tail Light Yourself?
Yes, you can replace a rear tail light yourself. For DIY car maintenance, guarantee you follow tail light safety guidelines while replacing bulbs. Confirm part compatibility and check functionality after installation to guarantee proper operation.
Will Autozone Change My Tail Light for Me?
AutoZone won’t change your tail light assembly, but they’ll assist with tail light bulb installation. For thorough vehicle maintenance tips, consider DIY methods or professional services, while exploring their auto part services for the necessary components.
How to Remove Tail Light From 2019 Toyota RAV4?
To remove the tail light from your 2019 RAV4, gather your tail light tools, locate the snap-on panel, unscrew the mounting screws with a socket wrench, disconnect the power connector, and guarantee safe DIY repairs for efficient maintenance.
How to Change Light Bulb in RAV4?
To change your RAV4’s light bulb, prioritize safety. Identify the tail light type and bulb specifications in your manual. Access the assembly, replace the old bulb, and secure everything back before testing your lights.
Conclusion
Replacing your tail light on a Toyota RAV4 isn’t just about functionality; it’s a crucial safety measure. Think of it like a lighthouse guiding ships safely to shore—without it, you risk steering into danger. By tackling this task yourself, you not only save money but also gain confidence in your ability to maintain your vehicle. So, grab your tools and take pride in ensuring your RAV4 shines brightly on the road, keeping you and others safe.
