To replace the tail light on your Toyota RAV4, first, access the snap-on panel and remove the two 10mm screws. Carefully pull out the old tail light, disconnect the power cord, and inspect the water seal. For the new tail light, make certain the gasket is seated properly before aligning it with the mounting points. Secure it with screws, and then test the functionality by pressing the brake and activating turn signals. Want to know the tools you’ll need?
Why Your Tail Light Matters
While you might not think about your tail lights often, they play an essential role in guaranteeing your safety on the road. Tail lights communicate your intentions to other drivers, signaling when you’re stopping, turning, or reversing. A malfunctioning tail light can lead to serious traffic violations and accidents, as other drivers may misinterpret your movements. Additionally, broken tail lights can allow moisture to infiltrate the housing, resulting in electrical issues that can further damage your vehicle’s lighting system. The cost of replacing a tail light lens with a genuine part is minimal compared to the risks of driving with a broken light. Regularly checking and maintaining your tail lights not only enhances visibility but also guarantees compliance with road safety regulations.
Essential Tools and Materials for Tail Light Replacement
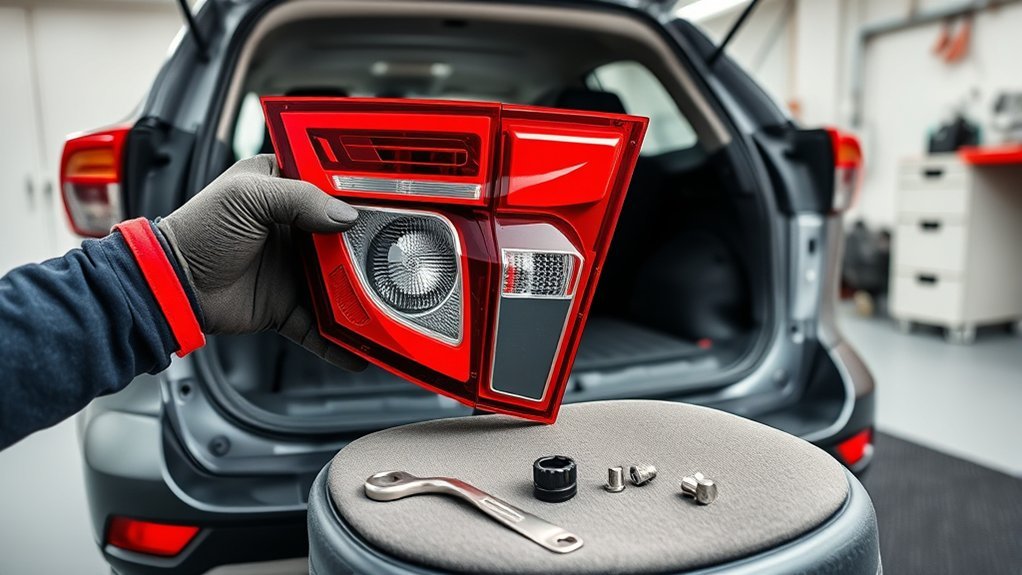
Confirming your tail lights function properly requires not just vigilance but also the right tools and materials for replacement. You’ll need a 10 millimeter socket or wrench to remove the two mounting screws securing the tail light assembly. A flathead screwdriver is handy for prying off any snap-on panels or clips that could obstruct your access. For quality assurance, opt for a new genuine Toyota tail light lens to guarantee a proper fit and water seal integrity—essential for your new car. Protect your hands with gloves, as sharp plastic shards may be present during removal and installation. Finally, a torque wrench verifies screws are tightened to the manufacturer’s specifications, preventing potential damage from over-tightening.
Step-by-Step: Remove the Old Tail Light
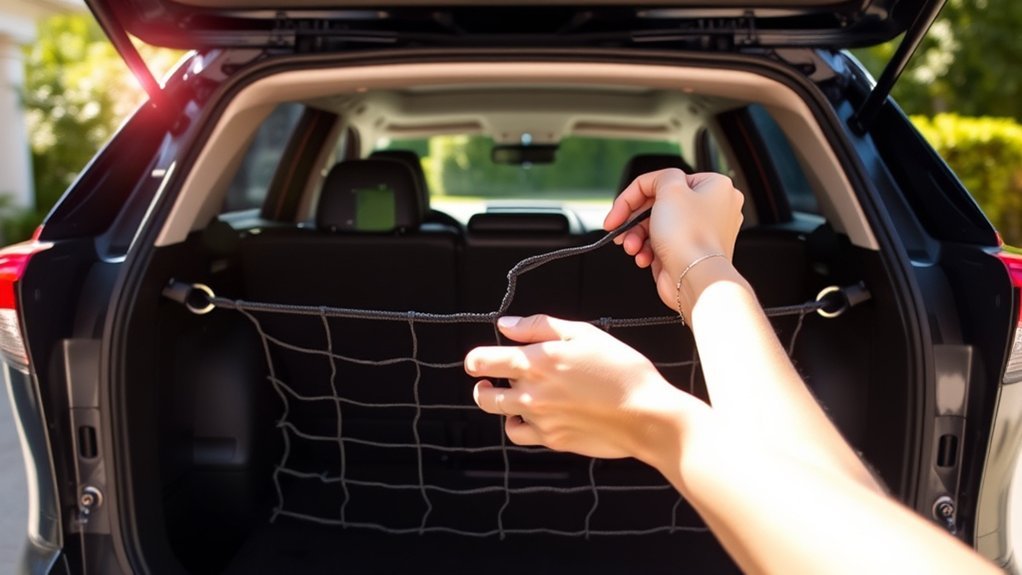
To start removing the old tail light, locate the snap-on panel that grants access to the tail light assembly. This makes the removal process smoother without needing to take off the inner panel. Follow these steps:
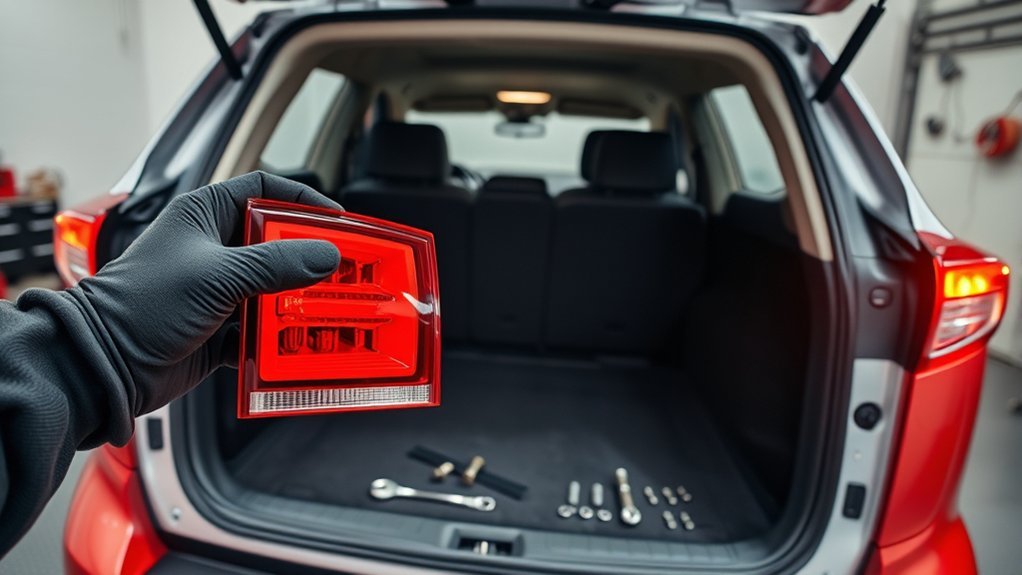
- Remove the two 10mm mounting screws using a manual screwdriver for better control.
- Carefully pull the old tail light out, being mindful of sharp plastic shards and any resistance from a friction clip.
- Disconnect the power cord from the old tail light and inspect the water seal for integrity to avoid water intrusion issues.
With the old tail light removed, you’re ready to prepare for the installation of the new tail light.
Install the New Tail Light: Ensuring Proper Sealing
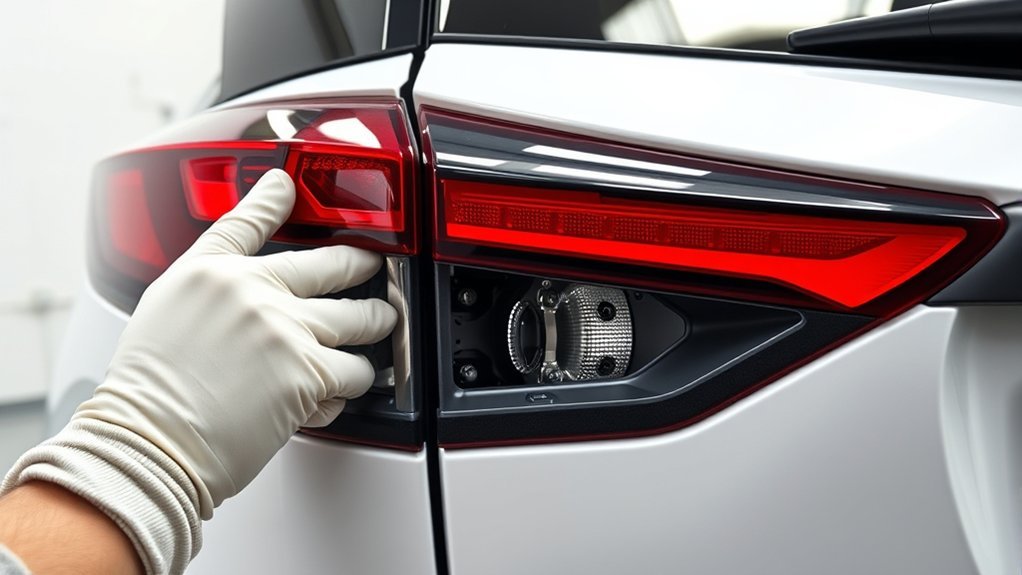
Before you install the new tail light, it’s essential to inspect the power cord connection for any signs of water damage or compromised seals. Disconnect the old connector first, making sure the water gasket is seated properly to prevent future water intrusion. Align the new tail light carefully with the mounting points, making sure it fits snugly and securely in place. Tighten the screws to guarantee a firm hold. After installation, check the water seal integrity around the new tail light to confirm it’s secure and free from gaps that could allow moisture entry. With these steps, your tail light will be as good as new, ready to provide reliable functionality while keeping the elements at bay.
How to Test Your Tail Light After Installation?
Once you’ve securely installed the new tail light and verified the integrity of the water seal, it’s time to test its functionality. To ascertain everything’s working correctly, take care to follow these steps:
- Brake Lights: Press the brake pedal; confirm the tail lights illuminate properly.
- Turn Signals: Activate the right and left turn signals and observe if the corresponding tail lights flash as intended.
- Reverse Lights: Engage the vehicle in reverse to verify that the reverse lights illuminate correctly.
After these tests, visually inspect the tail light for any signs of water intrusion or improper sealing around the gasket. Taking these precautions will help guarantee your tail lights function effectively and prevent future issues.
Frequently Asked Questions
Can I Replace a Tail Light Myself?
Yes, you can replace a tail light yourself. With basic tools, you’ll handle this DIY maintenance easily. Just make certain you follow the steps carefully, seat the gasket properly, and test the lights afterward.
Will Autozone Change My Tail Light for Me?
AutoZone won’t change your tail light for you, but their services can help. They’ll guide you in finding the right parts and tools, empowering you to tackle the repair yourself with confidence.
How to Remove Tail Light From 2019 Toyota RAV4?
To remove the tail light from your 2019 Toyota RAV4, unscrew the two 10-millimeter screws, pry off the snap-on panel, and disconnect the power cord, ensuring you avoid sharp edges during the process.
What Year of RAV4 to Stay Away From?
You should steer clear of the 2001-2003 RAV4 models due to significant reliability issues, particularly engine failures. Also, consider avoiding the 2006-2008 versions for excessive oil consumption problems that could lead to costly repairs.
Conclusion
By diligently doing this DIY task, you’ll deftly enhance your vehicle’s visibility. A well-functioning tail light not only boosts safety but also brightens your driving experience. Remember, regular checks can prevent potential problems and guarantee you’re always road-ready. So, don’t delay—dive into this straightforward replacement process and drive with confidence, knowing your Toyota RAV4’s tail light is shining brilliantly. Stay safe and shine smart on the streets!