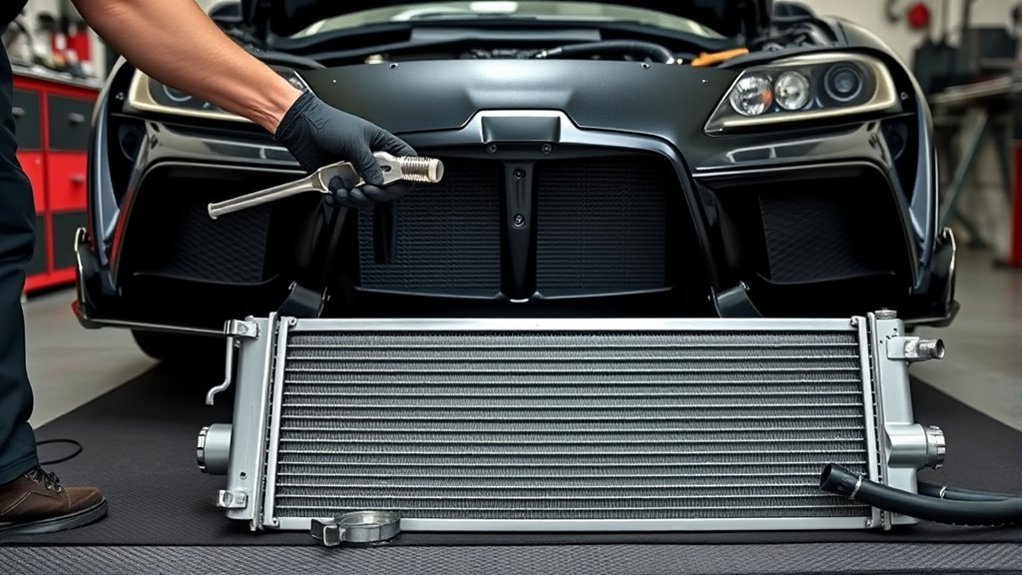
How to Replace Engine Air Filter On A Toyota Supra: Step-by-Step Guide
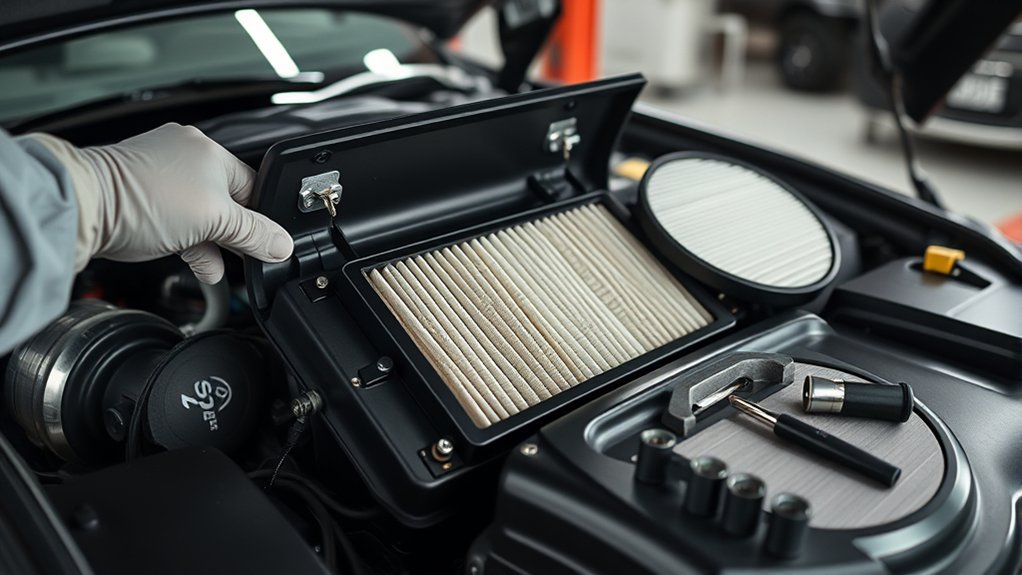
A restricted or damaged engine air filter can reduce the airflow available to your Toyota Supra during acceleration and allow harmful debris into the intake if its seal fails. Replacing it is often a manageable maintenance job, but the correct filter, tools, and access procedure depend on the model year, engine, market, and any aftermarket intake modifications.
Quick Answer
To replace a Toyota Supra engine air filter, confirm the correct filter by VIN, let the engine cool, open the airbox with the correct tool, lift out the old filter, remove loose debris from the dirty side, seat the new filter evenly, and secure every fastener. Stop if a brace or sensor blocks safe access.
Key Takeaways
- Verify the replacement filter with your VIN, model year, engine, and intake type before opening the airbox.
- Recent U.S. GR Supra maintenance guides use scheduled inspection and replacement intervals, not a universal once-a-year rule.
- Clean only loose debris from the dirty side of the housing and keep dirt away from the clean outlet leading to the engine.
- A clogged filter can reduce high-load airflow and acceleration, but a new filter is not a guaranteed fuel-economy upgrade on a modern fuel-injected car.
- Recheck the housing, intake connections, and any disturbed sensor connector if the engine runs poorly or shows a warning light afterward.
At a Glance
| Time Required | About 20 to 40 minutes for a careful inspection and replacement; access varies by model and intake setup. |
| Difficulty | Easy to moderate when the airbox lid is directly accessible. |
| Tools Needed | Correct Torx bit, screwdriver, or socket for the fitted hardware; flashlight; clean cloth; and a small vacuum if needed. |
| Cost | Varies by model year, engine, filter brand, intake system, and region. Confirm fitment and total cost before purchasing. |
What’s in This Article
- Symptoms of a Failing Engine Air Filter
- Why and When to Change the Engine Air Filter
- What You’ll Need to Replace the Engine Air Filter
- Step-by-Step Guide to Replacing Your Engine Air Filter
- Choosing the Right Engine Air Filter for Your Toyota Supra
- Avoid These Common Air Filter Replacement Mistakes
- Troubleshooting After Air Filter Replacement
- When to Seek Professional Help
- Frequently Asked Questions
Note: This guide gives a safe general process for recent Toyota GR Supra models. Older Supra generations use different engines, filters, housings, and fasteners. Always compare these steps with the owner information or repair procedure for your exact vehicle.
Symptoms of a Failing Engine Air Filter
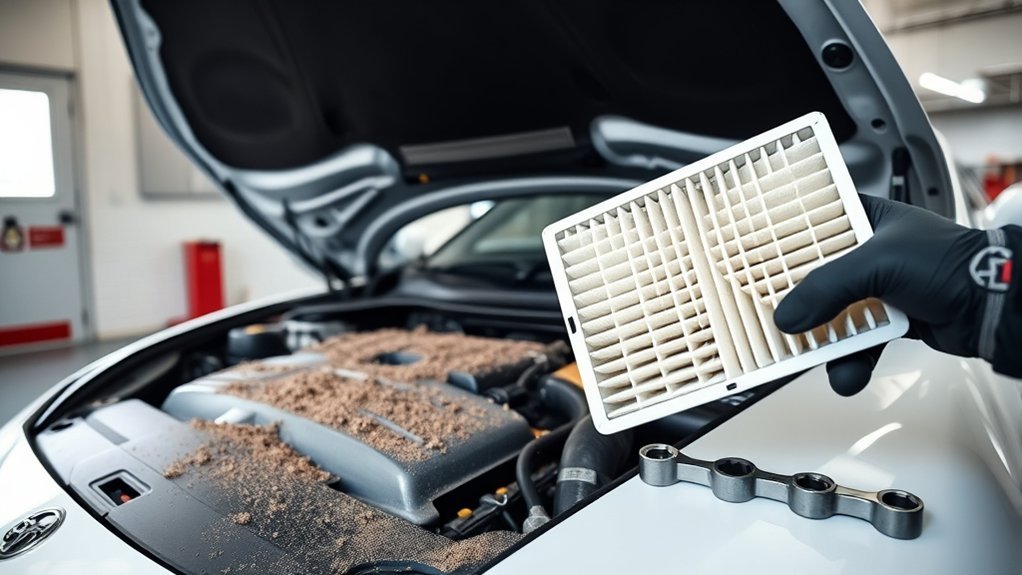
A heavily clogged engine air filter can restrict the amount of air available when the engine is under load. You may notice weaker acceleration, slower throttle response at higher engine speeds, or unusual intake noise. The filter may also show packed dirt, damaged pleats, a distorted seal, oil saturation, moisture, or rodent debris.
Do not rely on fuel economy alone to judge the filter. Research on modern closed-loop fuel-injected vehicles found that severe filter restriction reduced acceleration performance but had little measurable effect on fuel economy during the tested drive cycles. You can review the SAE and Oak Ridge National Laboratory air-filter study for the test details.
On a modern fuel-injected car, a badly restricted filter is more likely to reduce full-load performance than to create a dependable, noticeable drop in everyday fuel economy.
Rough idle, repeated misfires, or a warning light should not automatically be blamed on the filter. These symptoms can point to an intake leak, a disconnected sensor, ignition trouble, a fuel-system fault, or another engine problem. Inspect the filter and airbox, but arrange a proper diagnosis if the symptoms continue.
Why and When to Change Your Engine Air Filter
The engine air filter traps dust and debris before the air reaches the intake system. A filter with torn media, a damaged gasket, or an incorrect fit may allow unfiltered air to pass around it. A filter packed with debris may also limit airflow during harder acceleration.
Use the maintenance schedule for your exact model year and market. As one example, Toyota’s U.S. maintenance guide for a recent GR Supra schedules an engine-air-filter inspection at 20,000 miles or 24 months and replacement at 40,000 miles or 48 months. It also warns that heavy traffic, dirt roads, and dusty urban or desert conditions may shorten filter life. Find the guide for your vehicle through the Toyota Manuals and Warranties portal.
Do not replace a filter only because its surface looks darker than a new one. Check the scheduled interval, the depth of debris between the pleats, the condition of the sealing edge, and any signs of damage or contamination. Replace it early when the media is torn, wet, oily, collapsed, heavily loaded, or no longer seals correctly.
Pro Tip: Record the replacement date, mileage, filter brand, and part number. Keeping the old box label or taking a photo makes the next fitment check much easier.
What You’ll Need to Replace the Engine Air Filter
Gather the correct filter and inspect the airbox fasteners before choosing tools. Recent GR Supra applications may use clips, Torx screws, bolts, or a combination of hardware. Do not assume that every Supra opens with the same driver.
- New engine air filter verified by VIN, model year, engine, and intake type
- Correctly sized Torx bit, socket, flat screwdriver, or Phillips screwdriver for the fitted fasteners
- Ratchet and suitable extension if the housing uses bolts
- Pliers only when a manufacturer-designed hose clamp requires them, never for forcing plastic clips
- Protective gloves
- Flashlight
- Small tray for screws or bolts
- Clean, lint-free shop cloth
- Small vacuum with a clean nozzle for loose debris, if needed
Park in a clean, well-lit area and let the engine cool. Wipe or vacuum loose dirt from the outside of the housing before opening it. This reduces the chance of debris falling inside.
Warning: Do not work beside hot engine or turbocharger components, run the engine with the filter removed, force a blocked airbox lid, or allow screws and debris to fall into the clean intake opening.
Step-by-Step Guide to Replacing Your Engine Air Filter
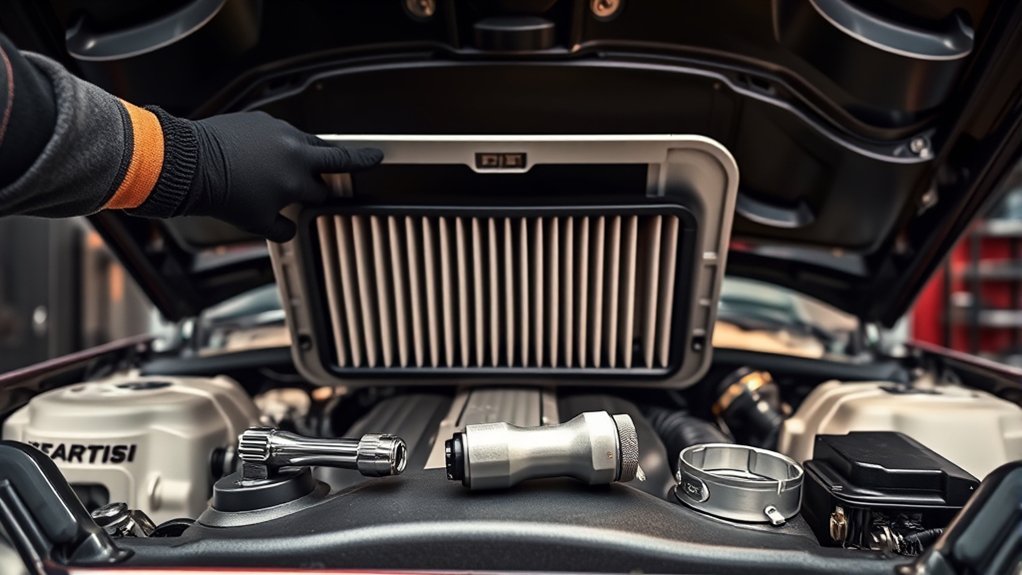
Follow these steps in order. If your airbox is blocked by a brace, duct, sensor, or hose that is not covered by your vehicle’s owner information, consult the correct repair procedure instead of forcing the housing.
- Park safely. Place the Supra on a level surface, switch off the engine, apply the parking brake, and keep the key away from the vehicle.
- Let the engine cool. Wait until nearby intake, engine, and turbocharger components are safe to touch.
- Verify the new filter. Compare the part number, outer dimensions, seal shape, and pleat layout with the application listed for your VIN and engine.
- Locate the airbox. Follow the intake duct from the front intake opening toward the engine. Do not confuse the engine air filter with the cabin air filter.
- Clean the exterior. Remove leaves, dust, and loose debris from around the airbox lid before opening it.
- Inspect access and fasteners. Identify every clip, screw, or bolt. If another component prevents safe access, use the model-specific procedure and torque information available through Toyota Technical Information.
- Release the lid. Open the clips or remove the fasteners with the correctly sized tool. Store loose hardware in a tray.
- Lift the cover carefully. Raise it only as far as needed. Do not pull on an attached hose, wiring loom, or sensor connector.
- Remove the old filter. Note its installed position, seal shape, and any markings. Lift it straight out so dirt does not spill toward the clean outlet.
- Inspect the old filter. Look for packed debris, torn media, oil, water, damaged seals, collapsed pleats, and signs of insects or rodents. Unusual oil or water contamination may require further inspection.
- Clean the housing. Vacuum loose debris from the dirty side or wipe it with a clean lint-free cloth. Keep dirt and the vacuum nozzle away from the clean opening leading to the engine. Do not blow debris toward that opening with compressed air.
- Install the new filter. Place it in the same position as the original. Follow any molded shape or direction marking, and make sure the sealing edge sits flat without twisting or folding.
- Close the airbox. Confirm that no wire, hose, cloth, or filter edge is trapped under the lid. The cover should settle into place without excessive force.
- Secure the hardware. Reinstall every clip, screw, or bolt. Tighten evenly and avoid overtightening fasteners threaded into plastic.
- Perform a final check. Reconnect anything legitimately disconnected during the approved procedure. Inspect the intake duct and housing seam, then start the engine and listen for a whistle, rattle, or air leak.
Tool and Fastener Guide
The correct tool depends on the hardware fitted to your vehicle. Match the driver or socket precisely so you do not strip a screw head or crack the housing.
| Tool | Purpose | Safe-use note |
|---|---|---|
| Torx bit or driver | Remove Torx-style airbox hardware | Confirm the exact size before turning |
| Flat screwdriver | Remove a matching slotted fastener, if equipped | Do not pry plastic clips with excessive force |
| Phillips screwdriver | Remove a matching Phillips fastener, if equipped | Use a tip that fully engages the screw head |
| Ratchet and socket set | Remove housing or access bolts, if specified | Use the correct torque procedure when reinstalling structural or support hardware |
| Pliers | Operate an approved hose clamp when necessary | Do not crush or pull plastic airbox clips |
| Protective gloves | Protect hands from dirt and sharp edges | Keep gloves away from hot components |
| Clean cloth or small vacuum | Remove loose housing debris | Clean the dirty side without pushing debris into the engine-facing outlet |
| New engine air filter | Replace the old element | Verify fitment by VIN and intake configuration |
Check the Seal Before Closing
Run a finger around the accessible edge of the filter before closing the lid. The gasket should lie flat and remain fully inside its channel. A folded edge can leave a gap even when the fasteners appear secure.
If the cover will not settle into place, do not use the screws or clips to pull it down. Reopen the housing and check the filter position, hinge tabs, locating pins, duct alignment, and any trapped wire or hose.
Pro Tip: Take a clear photo before removing the old filter and another before closing the lid. The photos provide a quick reference for filter orientation, hose routing, and fastener locations.
Choosing the Right Engine Air Filter for Your Toyota Supra
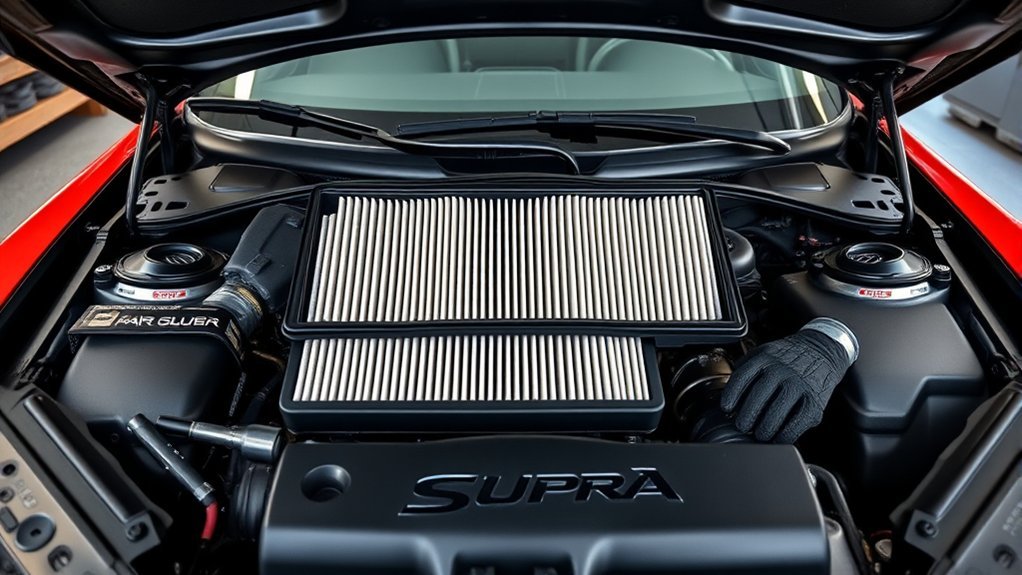
Choose an engine air filter by VIN, model year, engine, production information, and intake system. A filter that appears similar may have a different seal profile, thickness, or outer dimensions. Recent 2.0-liter and 3.0-liter GR Supra applications may not use the same filter, and older Supra generations use different parts.
Check fitment through an authorized parts catalog such as Toyota Genuine Parts, then compare the delivered filter with the original before installation. Stop if the new filter must be bent, trimmed, compressed, or forced into the housing.
OEM Versus Aftermarket Options
An original-equipment filter is designed around the intended housing dimensions and sealing surface. It is a straightforward choice when the vehicle still has its factory intake.
A reputable aftermarket filter can also work when its catalog specifically lists your vehicle and engine. Compare the dimensions, gasket shape, media construction, installation instructions, and maintenance requirements. A lower-restriction marketing claim is less important than correct filtration and a complete seal.
If the Supra has an aftermarket intake, use the filter and maintenance method specified by that intake manufacturer. A factory-style panel filter may no longer fit, and the aftermarket filter may be dry, washable, or oil-treated.
Compatibility With Your Model
Confirm all of the following before buying:
- Vehicle identification number
- Model year and production information
- Engine configuration
- Factory or aftermarket intake system
- Current filter part number, when readable
- Outer dimensions and seal profile
- Disposable, dry reusable, or oiled reusable construction
VIN-based lookup is safer than choosing a filter from the model name alone. Catalog listings can change by engine, production period, and market.
Quality Assurance Considerations
Inspect the replacement before installation. The pleats should be even, the media should have no holes or crushed areas, and the sealing frame should be continuous. Do not use a filter with shipping damage, loose adhesive, a warped frame, or a torn gasket.
Disposable paper filters should normally be replaced rather than washed or oiled. Reusable performance filters require their own cleaning and drying process. Toyota publishes separate cleaning and oiling directions for approved TRD and GR reusable performance filters. Follow those directions only when they apply to the exact filter installed.
Avoid These Common Air Filter Replacement Mistakes
- Buying by appearance alone: Verify fitment by VIN, engine, and intake system.
- Assuming every filter has an airflow arrow: Follow markings when present, but also match the original position and molded seal shape.
- Opening a dirty housing without cleaning around it: Exterior debris can fall inside as soon as the lid moves.
- Using compressed air toward the clean outlet: This can drive dirt deeper into the intake path.
- Forcing the lid past a brace, duct, hose, or wiring loom: Use the correct access procedure instead.
- Using pliers on plastic clips: Release clips by their intended method and replace damaged hardware.
- Cleaning a disposable paper filter: Replace it when it is damaged or due for service.
- Oiling a dry filter: Add oil only when the filter manufacturer requires it, and use the specified amount.
- Trapping the gasket under the lid: Check the full sealing edge before securing the cover.
- Overtightening screws in plastic: Tighten evenly and stop when the housing is secure.
- Leaving a sensor or hose disconnected: Recheck every connection disturbed during the approved procedure.
- Starting the engine before removing tools or cloths: Complete a final engine-bay inspection first.
Troubleshooting After Air Filter Replacement
A correctly installed filter should not cause a warning light, rough running, whistle, or rattle. Shut the engine off and recheck the installation if any new symptom appears immediately after the work.
| Symptom | Possible Cause | What to Check |
|---|---|---|
| Whistling or sucking noise | Filter gasket or airbox lid not fully sealed | Filter position, housing seam, clips, screws, and intake-duct joints |
| Check-engine light | Disconnected sensor, loose intake connection, or unrelated stored fault | Any connector or hose disturbed during the work; obtain a diagnostic scan if the light remains |
| Rough idle or hesitation | Air leak, incorrect filter fit, disturbed connection, or another engine problem | Airbox seal, intake duct, clamps, hoses, and sensor connections |
| Rattle from the airbox area | Loose fastener, lid, duct, or access component | All clips, screws, bolts, ducts, and brackets touched during service |
| Lid will not close | Wrong filter, folded gasket, misaligned hinge tab, or trapped object | Part number, seal shape, locating tabs, wiring, hoses, and debris under the lid |
| Performance still feels weak | The old filter was not the cause or another restriction or engine fault exists | Arrange diagnosis rather than repeatedly replacing intake parts |
When to Seek Professional Help for Air Filter Replacement
Get professional help when the airbox is cracked, the lid is warped, a fastener is stripped, the filter has unusual oil or water contamination, or a brace or other component must be removed without clear service instructions. Structural or support hardware may have specific tightening procedures that should not be guessed.
You should also request diagnosis if a warning light, misfire, rough idle, whistle, or loss of power continues after you confirm the filter fit and intake connections. Replacing the filter will not correct an ignition, fuel, sensor, turbocharger, or internal engine fault.
| Symptom or Concern | What It May Mean | Recommended Action |
|---|---|---|
| Reduced power after a correct installation | Another intake or engine issue may be present | Schedule a diagnostic inspection |
| Persistent whistling noise | Possible intake leak or damaged housing | Stop and have the intake inspected |
| Misfire or warning light | Connection, airflow, ignition, fuel, or another engine fault | Obtain a fault-code scan and professional diagnosis |
| Blocked or difficult airbox access | Additional components may require an approved removal procedure | Use model-specific repair information or a qualified technician |
| Oil or water on the filter | Possible contamination source beyond normal dust loading | Find and correct the source before installing another filter |
| Uncertain compatibility | The filter may not seal or fit the housing | Verify the part with the VIN and an authorized catalog |
Frequently Asked Questions
How do you change a Toyota Supra engine air filter?
Verify the correct filter by VIN, let the engine cool, clean around the airbox, release the correct fasteners, remove the old filter, clean loose debris from the dirty side, seat the new filter evenly, close the lid, and secure every connection and fastener.
How often should a GR Supra engine air filter be replaced?
Follow the maintenance guide for the exact model year and market. A recent U.S. GR Supra guide lists inspection at 20,000 miles or 24 months and replacement at 40,000 miles or 48 months. Dirt roads, dusty conditions, and heavy traffic may require earlier service.
Is an engine air filter the same as a cabin air filter?
No. The engine air filter cleans air entering the engine intake. The cabin air filter cleans air entering the heating and air-conditioning system for the occupants. They use different parts, locations, and replacement procedures.
Will a new engine air filter improve fuel economy?
Do not expect a guaranteed MPG increase. Research on modern fuel-injected vehicles found that severe filter restriction reduced acceleration performance but had little measurable effect on fuel economy during the tested drive cycles. Replace the filter for correct filtration, sealing, airflow, and scheduled maintenance.
Can you clean and reuse a Toyota Supra engine air filter?
Replace a disposable paper filter rather than washing or oiling it. A reusable dry or oiled performance filter may be serviceable, but only according to the filter manufacturer’s cleaning, drying, and oiling instructions.
Do Toyota Supra 2.0 and 3.0 models use the same air filter?
Do not assume they do. Filter applications can differ by engine, model year, production period, and intake system. Verify the part with the VIN and compare its dimensions and seal with the original filter.
Does replacing the engine air filter require a computer reset?
A basic filter replacement normally does not require engine-control programming. Maintenance reminders vary by model and service plan. If a warning light appears after the work, check for a loose housing, hose, or sensor connection instead of clearing the light without diagnosis.
What happens if the engine air filter is installed incorrectly?
A folded seal, wrong filter, or loose lid can create an air leak, allow unfiltered air to bypass the media, produce intake noise, or prevent the housing from closing. Shut the engine off and recheck the installation if a new noise, warning light, or running problem appears.
Conclusion
Replacing a Toyota Supra engine air filter is straightforward when the correct filter and access procedure are known. Verify fitment by VIN, work on a cool engine, keep debris away from the clean intake opening, and make sure the filter seal sits flat before closing the airbox.
Use your exact model-year maintenance guide rather than a universal mileage rule. If the housing is damaged, access requires removing unfamiliar components, or the engine runs poorly after installation, stop and arrange a proper inspection.
Sources
- Toyota Manuals and Warranties — official model-year owner manuals and maintenance-guide access.
- Toyota Genuine Parts — vehicle-specific engine-air-filter fitment and parts information.
- Toyota Technical Information System — model-specific repair procedures, fastener information, and service specifications.
- SAE International: Effect of Intake Air Filter Condition on Light-Duty Gasoline Vehicles — research on filter restriction, fuel economy, emissions, and acceleration.
- Toyota Performance Air Filter Cleaning Directions — cleaning and oiling guidance for applicable reusable TRD and GR performance filters.