
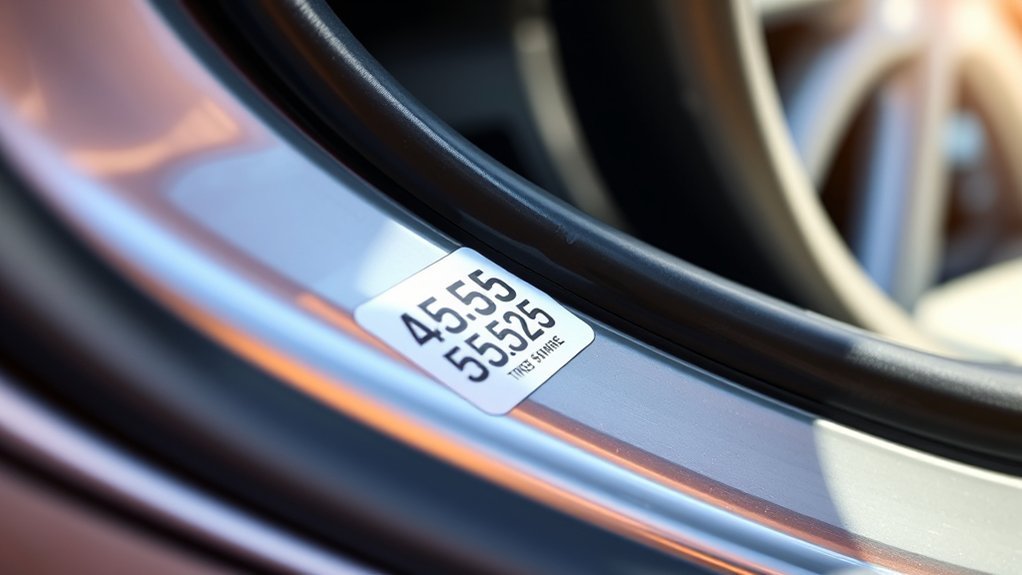
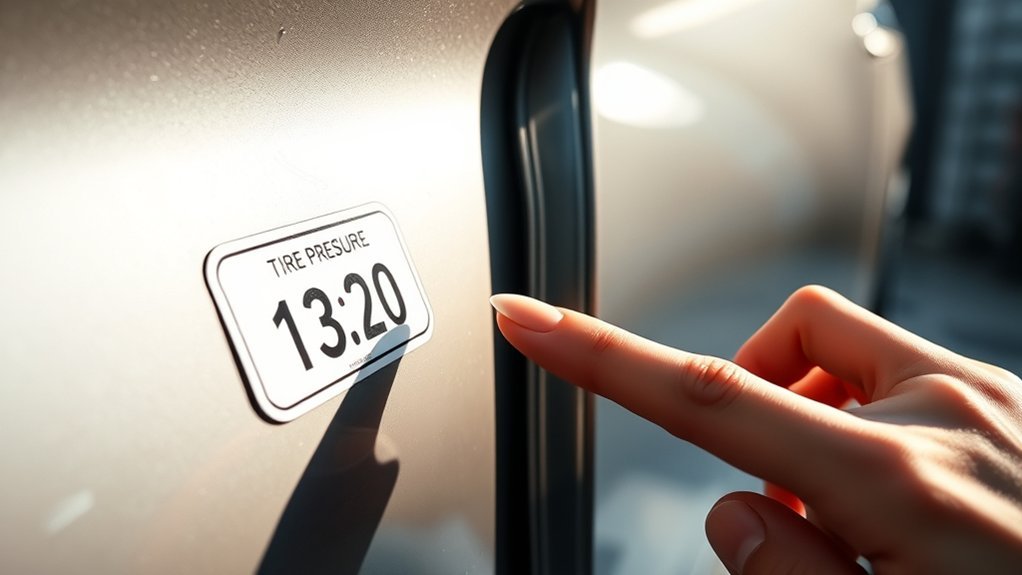
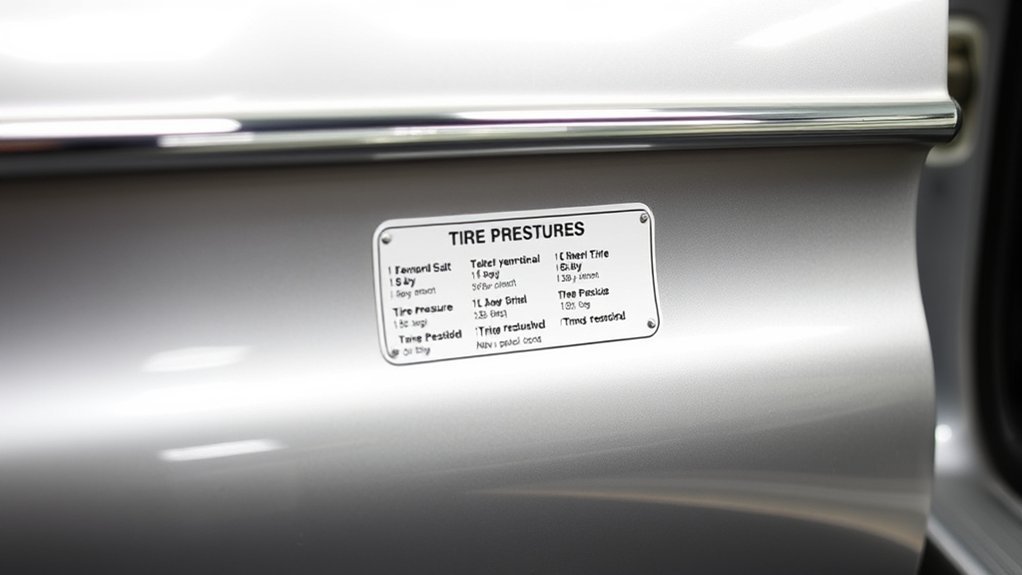
Find the tire-pressure sticker on your driver’s door jamb, glove box, or fuel filler door. It shows the manufacturer’s cold PSI for front, rear, and spare tires. Check pressures when the tires are cold (wait about four hours), use a calibrated gauge, and add air in short bursts until each tire matches the listed value. The placard also lists tire size, rim, load, and speed ratings. Follow them for safe load-carrying and good fuel economy. Keep valve stems clean, check pressures regularly, and read on for practical troubleshooting and decal care.
Quick Answer
- The tire pressure sticker is usually on the driver’s door jamb; sometimes in the glove box or fuel filler door.
- It lists cold PSI for front, rear, and spare tires separately. Don’t assume they’re the same.
- Always check and set pressure when tires are cold (parked at least three to four hours).
- Use the sticker’s numbers, not the tire sidewall, as your inflation target.
- Adjust pressure upward for heavy loads or towing, following the placard’s guidance.
Quick Steps: Read the Tire Pressure Sticker
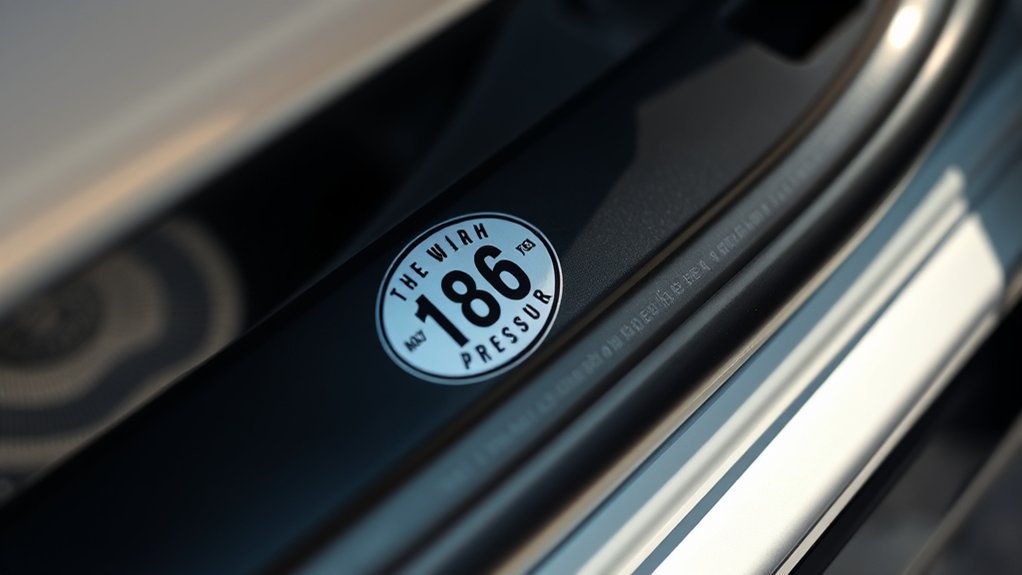
Start by finding the tire pressure sticker, usually on the driver’s side door jamb, glove box, or inside the fuel filler door. Read the manufacturer-recommended pressures for front and rear tires.
You’ll notice separate PSI (and kPa) values for front and rear. Don’t assume they’re the same. With tires cold, use a calibrated gauge and compare the reading to the sticker. If your load or cargo changes, check the sticker’s load rating and adjust pressure accordingly. Higher loads may call for higher PSI.
Record your readings, add air in short bursts, and re-measure until each tire matches. Treat the door jamb sticker as your authoritative source. The numbers on the tire sidewall are not the vehicle’s operating targets. Routine cold checks keep handling, fuel efficiency, and safety on point. For more on tire safety best practices, see the NHTSA tire safety guidelines.
Where to Find the Tire Pressure Sticker on Your Car
Look for a small placard on your vehicle, most often on the driver’s side door jamb. The manufacturer lists the recommended cold PSI for front and rear tires there. Open the door and it’s usually right in front of you, placed for quick access before a trip.
If it’s not on the door jamb, check the glove box, fuel filler door, or under the front bonnet. Manufacturers sometimes relocate the placard for design reasons.
When you find the sticker, note tire size, load capacity, and speed-rating recommendations. These details guide safe inflation and help you avoid overinflating or underinflating, both of which reduce control and efficiency. Always check pressures when tires are cold, ideally after parking in shade, to get accurate readings.
Read Pressures at a Glance: Front, Rear and Spare
Check the door jamb sticker to find the separate front and rear pressure recommendations, then set each axle correctly for ideal handling and even wear. Don’t forget the spare. Its pressure is listed too and can drop over time, so verify it before a trip. Always read and adjust pressures when the tires are cold, and follow any different values given for normal versus heavy loads.
Front And Rear Values
One glance at the door jamb sticker gives you the exact cold tire pressures for the front and rear tires (and the spare). You’ll see separate front and rear values because load distribution and suspension geometry often call for different pressures at each axle.
Read the recommended pressure in both kPa and PSI, and record it when tires are cold to avoid heat-related error. Your tire pressure monitoring system (TPMS) is a useful alert, but rely on the sticker’s numbers for routine inflation. Following those published specs keeps traction, braking, and fuel efficiency working as designed.
Spare Tire Pressure
After noting the front and rear PSI, scan the same label for the spare’s recommended pressure and confirm it with a gauge. The tire pressure sticker lists the spare tire pressure so there’s no guesswork.
- Check monthly. Spares lose air over time.
- Use a reliable gauge to verify correct pressure.
- The spare’s PSI can equal or exceed the main tires’ recommended value.
- Don’t adjust spare PSI for cargo. Spare specs are set separately by the manufacturer.
- Record the sticker value and the date you checked it.
Follow the manufacturer’s spec on the tire pressure sticker precisely. A properly inflated spare keeps you moving when you need it most.
Cold Versus Hot Readings
Measure tire pressure when the tires are cold, before you’ve driven or at least three hours after parking. Heat from driving raises pressure and can hide underinflation. Read the door jamb sticker values for front, rear, and spare, then compare each cold reading to its listed PSI and adjust as needed.
Note that pressure drops about 1 psi for every 10°F the temperature falls. In winter, a cold reading may show low pressure even if you topped up recently. Maintaining correct tire pressure preserves handling, fuel economy, and tire life. If a tire reads low, inflate to the sticker’s PSI while the tires are still cold.
Why Check Pressures Cold (And How Long to Wait)
Tire pressure rises with temperature, so checking cold gives you accurate readings. Pressure typically increases about 1 psi for every 10°F the tire warms. If you measure after driving, you can miss underinflation entirely.
The sticker’s recommended cold inflation pressure reflects how the tire performs under load at a baseline temperature. Cold checks help you keep air pressure correct, prevent premature wear, and maintain safety.
- Wait at least four hours after parking before measuring.
- Early morning, after overnight parking, gives the best accuracy.
- Use a quality gauge and record each tire’s reading.
- Compare readings to the door jamb placard’s cold tire values.
- Adjust pressure only when tires are cold to avoid overinflation.
Regular cold checks let you maintain correct pressure and avoid avoidable road hazards. Properly inflated tires also help with fuel economy and tire pressure, as the U.S. Department of Energy notes.
[Products Worth Considering]
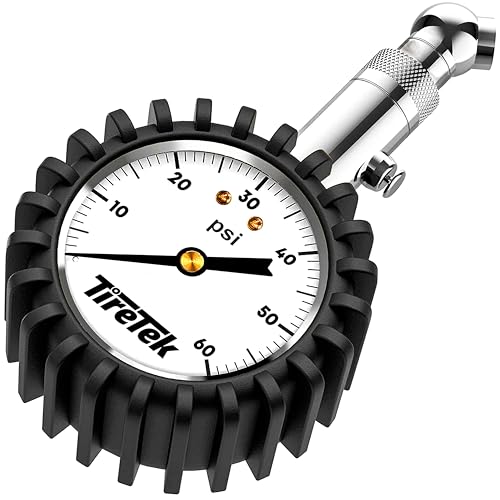
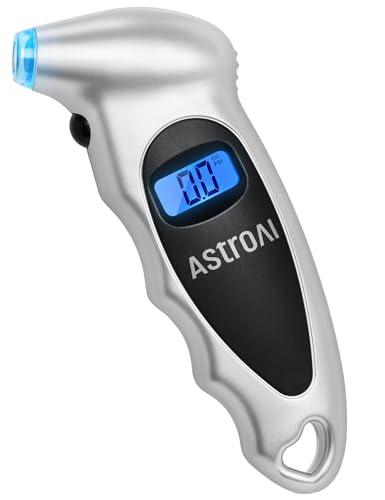
Professional Tire Pressure Gauge for Cars – This heavy duty mechanical tire pressure gauge is calibrated to ANSI B40.1 Grade A (2%) international accuracy standard so you get a precise, accurate pressure reading every time you use it. Makes great car accessories, car stuff, tire deflator, car stuff for men, cool car gadgets, car gifts for men, him, dad

PROCESS LEVEL ACCURACY: Each ETENWOLF’s digital tire pressure gauge is calibrated manually to ANSI B40.7 Grade 2A(plus-minus 1 PSI).Presta valve adapter not included, if used for bicycles, it must be purchased separately

Enhanced Visibility in Low Light: Features a green backlit LCD screen and integrated flashlight, allowing for clear reading of tire pressure even in dark or dimly light conditions.
Decode the Placard: Size, Rim, Load and Speed Ratings
Check the placard on your door jamb to read the tyre size (width, aspect ratio, and construction) so you fit tyres that match the wheel and vehicle design. Note the rim specification in inches and the load rating number to confirm each tyre can support the vehicle’s weight. Also confirm the speed rating letter so tyres can safely handle the vehicle’s maximum rated speed under full load.
Tyre Size Breakdown
Think of the placard as a compact decoder. It tells you the tyre type (a leading letter like P for passenger), the section width in millimetres, the aspect ratio, the construction (R for radial), the rim diameter in inches, and the load index and speed symbol. Each element matters for matching tyres to your wheels and vehicle limits.
Tyre width affects the contact patch and handling. Rim diameter and bead profile ensure proper seating. The load rating tells you the maximum per-tyre weight. Speed ratings show the safe velocity under load.
- Letter/type (P, LT)
- Tyre width (mm)
- Aspect ratio/construction
- Rim diameter/bead profile
- Load rating and speed ratings
Load And Speed
When you read the placard, pay close attention to the load index and speed symbol. They tell you the maximum weight each tyre can carry and the fastest speed it can safely sustain under that load.
The numerical load rating maps to a kilogram value. Match it to your vehicle’s demands to prevent overload. Adjacent speed ratings are shown as letters: for example, P = 150 km/h, Q = 160 km/h, R = 170 km/h. Tyre size notation (width/aspect/construction) and rim size must align for proper fitment. Mismatches risk bead failure or poor handling.
Choose tyres that meet or exceed the placard’s load rating and speed ratings to stay safe and road-legal.
Adjust Pressures for Heavy Loads, Towing or Different Tires
Added weight changes load distribution. Follow the tyre placard’s recommended pressure increases for heavy loads, towing, or after fitting different tyre sizes. Higher pressure helps maintain handling, braking distance, and tyre life under these conditions. The placard gives front and rear values specific to your vehicle and load scenario. When you change tyre sizes or brands, check the placard and monitor pressures closely during initial use.
Extra weight shifts load. Follow the tyre placard’s recommended pressure increases for towing, heavy loads, or different tyres.
- Always consult the tire placard before loading or hitching a trailer.
- Increase pressures to the placard’s specified values for towing or maximum load.
- Verify front and rear pressures separately. Weight shifts affect each axle differently.
- Recheck pressures after driving a short distance. Heat will alter readings.
- If you fit non-standard tyres, record and monitor recommended pressures during initial use.
[Products Worth Considering]

【EXTENDED REACH DUAL HEAD】LUMITECO 12" pencil-style pressure gauge is designed with the Integrated Straight foot air chuck and 30°reverse chuck. Ideal for dual wheels and other difficult reached valves. Your good choice for checking tire pressure as well as a great father's day gift.

INCLUDES: Built-in deflator valve on this and all of Milton's single head pencil gauges. White nylon indicator bar.

HIGH ACCURACY: Every ETENWOLF's pencil tire gauge is calibrated to ANSI B40.1 Grade B, it is accurate to 2% of span in the middle 50% of range and 3% of span in the lower and upper 25% of range. Each of ETENWOLF pencil tire pressure gauge is manually calibrated and has its unique calibration number printed on the pencil
Common Mistakes and How to Troubleshoot Low or Inconsistent Readings
Checking tire pressure seems simple, but a few common mistakes lead to low or inconsistent readings that affect safety and tyre life. Always measure when tires are cold. Driving heats the air inside, raising pressure and masking underinflation. Use a reliable tire pressure gauge. Cheap or damaged gauges produce false lows and push you to add air you don’t need.
Inspect valve stems for debris, cracks, or loose caps. A faulty stem lets air escape and can trigger a warning light or a persistent low-pressure condition. If several tires read low, consider ambient temperature: pressure drops about 1 psi per 10°F fall. Recheck after correcting for temperature and reseating the valve core.
When readings vary between checks, test your gauge on a known-good tire or swap gauges to rule out a faulty tool. Check pressures regularly and adjust to the door jamb sticker values to prevent uneven wear, reduced fuel economy, and safety problems.
[Products Worth Considering]

PROCESS LEVEL ACCURACY: Each ETENWOLF’s digital tire pressure gauge is calibrated manually to ANSI B40.7 Grade 2A(plus-minus 1 PSI).Presta valve adapter not included, if used for bicycles, it must be purchased separately
EXPERT-GRADE CALIBRATION: Each AstroAI Tire Pressure Gauge is calibrated with professional-grade tools, ensuring quick and accurate measurement results within plus-minus 1PSI. Stay prepared for any roadside emergency and travel with peace of mind.

PROCESS LEVEL ACCURACY: This heavy duty tire pressure gauge is calibrated manually to ANSI B40.1 Grade A (plus-minus 1% of span)
Restoration Checklist: Verify Placement and Orientation of the Decal
After ruling out gauge or valve issues, check that the tire pressure decal is correctly placed and oriented on the driver’s side door jamb. It should be easy to read with the door open. A proper sticker is visible, readable, and intact, so you can act quickly and safely. Confirm the front and rear pressure listings match the vehicle manual, and make sure the decal faces outward without obstruction.
- Inspect placement: the decal should sit on the driver’s door jamb, not folded or peeling.
- Check orientation: text must face outward and read left-to-right when the door is open.
- Confirm content: front and rear tire pressure values must be present and legible.
- Assess condition: no smudges, water damage, or missing sections on the sticker.
- Secure mounting: replace or reapply the decal if adhesive fails or position shifts.
Frequently Asked Questions
How to Read Tire Pressure Door Sticker?
Find the sticker and read the recommended cold PSI for front and rear tires, plus tire size and load info. Set pressures when tires are cold, and adjust if your load changes.
How to Read a Door Jamb Sticker?
Open the driver’s door and look on the jamb for the placard. It shows front and rear PSI, load limits, and tire size. Use those numbers every time you check your tires.
How to Read Tire Pressure on Side of Door?
Locate the sticker on the door jamb, note the cold PSI values for front and rear, and set each tire accordingly. Check when tires are cold for accurate results.
What Is the Tire Pressure for a Driver Door Jamb?
It’s whatever cold PSI the sticker lists for your specific vehicle’s front and rear tires. That number varies by make and model, which is why you need to check your own placard rather than using a generic figure.
Conclusion
The door jamb sticker is your vehicle’s safety reference. Read the cold tire pressures for front, rear, and spare. Note the tire size, rim, load rating, and speed rating. Adjust for heavy loads or towing as the placard directs, and recheck with a calibrated gauge. If readings vary, inspect for leaks or valve issues. Follow the placard precisely to protect handling, fuel economy, and tire life.


Leave a Reply