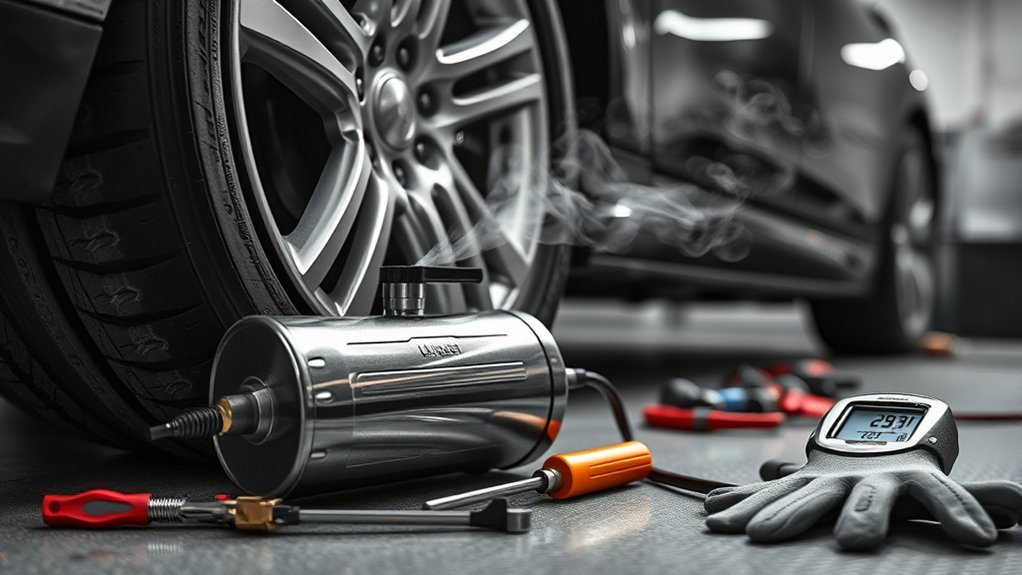
A tire inflator normally becomes warm because compressing air and powering the pump create heat. It is overheating when it repeatedly shuts down, smells burnt, makes abnormal noises, softens nearby plastic, or becomes hotter than its manual says is safe. Stop using it, disconnect the power, and diagnose the cause before restarting it.
Quick Answer
A tire inflator overheats when compression heat, motor load, poor ventilation, restricted airflow, an unsuitable power source, or excessive runtime raises its internal temperature. Switch it off, disconnect the power, let it cool for the period stated in its manual, then check the vents, hose, chuck, cord, power supply, and duty-cycle rating.
Key Takeaways
- Some heat is normal, especially around the compressor head, hose coupling, and metal housing.
- Follow the exact duty cycle in your manual. There is no universal 10-minute or 15-minute limit.
- A kinked hose, leaking chuck, blocked air path, or undersized inflator can make the motor run longer and hotter.
- A hot plug or power cord can signal an underrated outlet, poor connection, damaged cable, or excessive current draw.
- Disconnect power after a thermal shutdown because some inflators can restart automatically after cooling.
At a Glance
| Time Required | About 10–20 minutes for external checks, plus the cool-down time specified in the inflator manual |
| Difficulty | Easy for external checks; professional service may be needed for internal faults |
| Tools Needed | Owner’s manual, flashlight, dry soft brush or cloth, separate tire-pressure gauge, and optional multimeter |
| Cost | Usually $0 for cleaning and connection checks; replacement hoses, cords, batteries, or the inflator itself cost extra |
What This Guide Covers and How to Use It
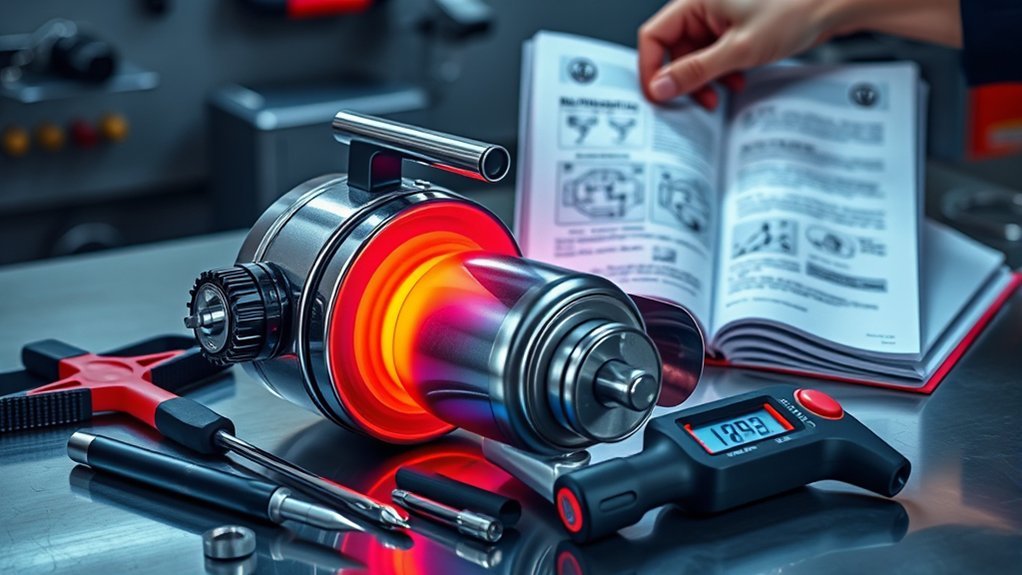
This guide explains why a portable tire inflator gets hot, which warning signs require an immediate shutdown, and how to find the cause without opening a sealed compressor. It covers duty cycles, ventilation, power connections, hoses, valve chucks, tire size, maintenance, and internal-failure symptoms.
Start with the cooling procedure, then follow the diagnostic steps in order. Do not continue testing a unit that produces smoke, a burning electrical smell, melted plastic, sparks, or grinding noises. For routine care, use these steps with the site’s guide to keep the tire inflator reliable.
Why Tire Inflators Overheat
A tire inflator turns electrical energy into mechanical motion. The piston or pump compresses air, the motor and wiring carry current, and moving parts create friction. Some of that energy becomes heat instead of useful airflow.
Rapid Air Compression
Air temperature rises when air is compressed quickly. NASA’s explanation of gas compression and temperature shows that increasing pressure during compression also increases temperature. That is why the compressor head and discharge fitting can become hot even when the inflator is working normally.
The faster the inflator works and the higher the pressure becomes, the more heat it may have to release. A compact housing has less surface area and thermal mass than a large shop compressor, so its temperature can rise quickly.
Frictional and Flow Losses
Pistons, bearings, seals, gears, and motor components also create heat. A kinked hose, blocked chuck, clogged intake, or unsuitable fitting can reduce airflow or create excess pressure. Depending on the inflator’s design, this may increase runtime, trigger overload protection, or place extra stress on the pump.
| Component or condition | How heat is created | What to check |
|---|---|---|
| Piston, seals, gears, or bearings | Friction and mechanical load | Grinding, rattling, vibration, or reduced airflow |
| Hose, chuck, or valve connection | Restriction, leakage, or excess pressure | Kinks, blockage, poor seal, damaged threads, or the wrong chuck |
| Motor and wiring | Electrical resistance and current flow | Hot plug, loose outlet, damaged cord, low battery, or incorrect power source |
| Housing and cooling fins | Heat leaves internal parts through the case and surrounding air | Blocked vents, dirt, direct sun, soft sand, or operation in a confined space |
Electrical Heat and Voltage Problems
A 12V inflator can draw substantial current. If the vehicle outlet is not rated for the inflator, the plug fits loosely, the contacts are dirty, or the cord is damaged, heat can build at the connection. A low cordless battery may also heat up or activate electronic protection under a heavy load.
Compare the inflator’s amperage or wattage requirement with the vehicle outlet rating. VIAIR advises users to confirm that the power outlet can support the compressor’s electrical load in its portable-compressor guidance. Never install a larger fuse, bypass a fuse, or use an unapproved adapter to keep an inflator running.
Is It Normal for a Tire Inflator to Get Hot?
Yes. Warmth or a hot compressor head can be normal because the case and fittings carry heat away from the compressed air and internal parts. Metal surfaces may feel hotter than plastic because metal conducts heat to the exterior more efficiently. A hot exterior does not automatically mean the housing is trapping heat.
Use the manual’s warnings to identify parts that should not be touched. Some compressor manufacturers state that the compressor, extension hose, or fittings can become very hot during and immediately after use.
Warning: Stop immediately if you see smoke, sparks, melting plastic, a glowing connector, or fluid leaking from a battery. Also stop for a burning electrical smell, grinding noise, violent vibration, or repeated shutdowns after short runs.
Which Inflators and Materials Heat Up Fastest
Heat buildup depends more on workload and cooling design than on whether the outer case is metal or plastic. These situations commonly produce a faster temperature rise:
- A small inflator filling a large truck, SUV, RV, or off-road tire.
- A tire starting at very low pressure.
- A high target pressure that keeps the pump under load for longer.
- Repeatedly inflating several tires without the required rest period.
- Using the inflator in direct sun, near a hot engine, or inside a closed cargo area.
- Blocked vents, dirty cooling fins, soft sand, or objects pressed against the air intake.
- A leaking hose or chuck that makes the motor run longer to gain the same pressure.
- A cordless inflator operating with a hot, cold, damaged, or nearly discharged battery.
A metal compressor head or housing can become uncomfortable to touch because it transfers heat outward. A plastic case may feel cooler while internal components remain hot. The manufacturer’s duty cycle, temperature warning, and cooling design are more useful than the case material alone.
Ambient Conditions and Usage Patterns That Drive Overheating
Hot weather and direct sunlight reduce the temperature difference between the inflator and the surrounding air, so heat leaves the unit more slowly. Place the inflator upright on a firm, dry surface in an open, shaded area. Do not operate it in a closed trunk, under a blanket, in soft sand, or against luggage that blocks the vents.
High pressure also matters. A compressor may have a different continuous-use rating at 30 PSI than it has at 100 PSI. Larger tires contain more air, so a compact inflator may need several run-and-rest cycles even when the target pressure is moderate.
How Tire Inflator Duty Cycles Work
VIAIR defines duty cycle as the amount of operating time allowed within a complete run-and-rest cycle. The rating may apply only at a stated pressure and ambient temperature.
| Example rating | What it can mean | Important limit |
|---|---|---|
| 33% at 100 PSI | One cited VIAIR model specifies 20 minutes on and 40 minutes off in a one-hour cycle. | That timing applies under the pressure and temperature conditions stated in its manual. |
| 50% or 30/30 | One cited ARB portable compressor allows 30 minutes on and 30 minutes off. | Do not assume every 50% rating uses the same test conditions. |
| 100% at a stated pressure | The compressor may run continuously at that pressure under the listed test conditions. | It may not be continuous-duty at a higher pressure or hotter ambient temperature. |
| Minutes-based rating | The manual may state a maximum continuous run followed by a required rest. | Use the stated minutes rather than converting from another product’s percentage. |
Duty cycle is not one universal number. It belongs to a specific inflator, operating pressure, ambient temperature, and test method.
Pro Tip: Set a timer when inflating several large tires. Stop before reaching the manual’s maximum continuous runtime instead of waiting for thermal protection to activate.
Common Signs Your Tire Inflator Is Running Too Hot

A warm housing or hot compressor head can be normal. Look for changes in performance, smell, sound, or electrical behavior instead of judging the unit by touch alone.
Excessive Run Time
If the inflator runs beyond its rated duty cycle, the motor, pump, wiring, hose, and fittings may continue gaining heat. A protected unit may shut down or display a temperature warning. An unprotected or damaged unit may slow down, smell hot, melt insulation, or suffer permanent motor damage.
Do not use the thermal cutoff as a normal timer. Protection is a last line of defense, and not every model has it.
Unusual Smells or Noises
A burnt-plastic or electrical odor can indicate overheated insulation, a failing motor, a poor power connection, or damaged electronics. Grinding, knocking, rattling, hissing, or excessive vibration may indicate a worn bearing, damaged piston, loose internal part, leaking hose, or faulty valve.
Stop using the unit and review these signs your tire inflator may need replacement. Do not reopen a sealed housing unless the manufacturer provides a service procedure and you are qualified to perform it.
Normal Heat vs. Stop-Now Signs
| Observation | Likely meaning | Action |
|---|---|---|
| Warm case or hot compressor head during a normal-length run | Often normal heat transfer | Avoid touching hot areas and remain within the manual’s duty cycle. |
| Consistent shutdown after a long run | Possible thermal protection or exceeded duty cycle | Switch off, disconnect power, cool as directed, and reduce continuous runtime. |
| Shutdown within a few seconds or minutes from cold | Power fault, blocked air path, battery problem, or internal damage | Do not keep restarting it. Check the power source and air path. |
| Hot 12V plug, outlet, clamp, or power cord | Poor contact, excessive current, damaged cable, or underrated outlet | Stop immediately and inspect the electrical connection after it cools. |
| Burning odor, smoke, sparks, or softened plastic | Electrical or mechanical failure | Disconnect power if safe and replace or professionally service the unit. |
Quick Fixes to Cool a Hot Tire Inflator
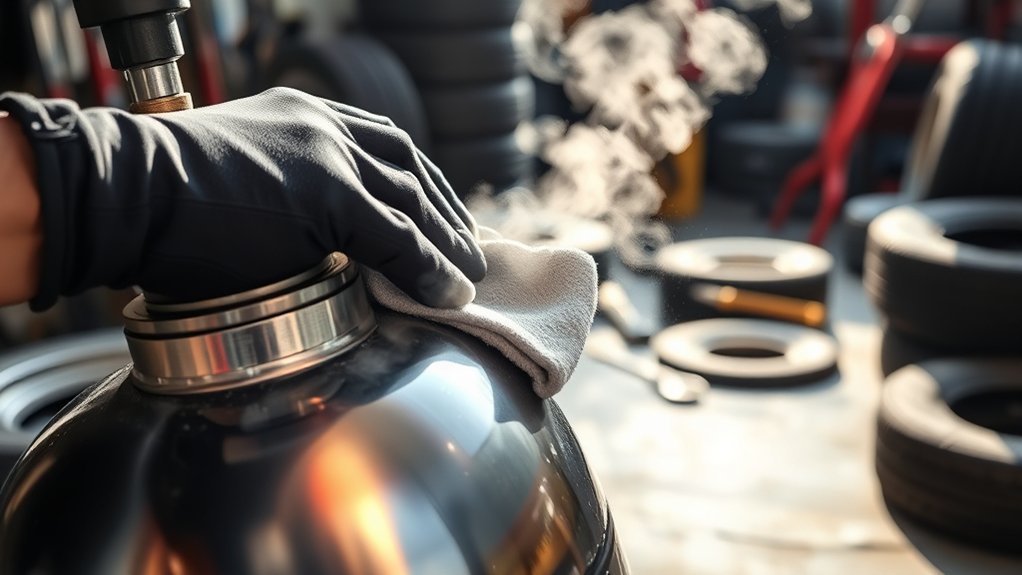
- Switch the inflator off. Do not wait for another automatic shutdown.
- Disconnect the power. Unplug a 12V model, remove the cordless battery if the manual permits it, or disconnect battery clamps in the manufacturer’s stated order.
- Leave the unit upright. Place it on a firm, dry surface in the shade with open space around its vents.
- Do not touch the hot head or fittings. Wait until they are safe to handle.
- Follow the manual’s cooling interval. A published interval for one model does not apply to every inflator.
- Inspect only after cooling. Look for blocked vents, a kinked hose, a damaged chuck, a loose plug, melted insulation, or dirt around the intake.
Warning: Some inflators use an automatic-reset thermal protector and can restart when their temperature drops. Disconnect the power source before leaving the unit to cool or touching the hose and fittings.
| Action | Purpose |
|---|---|
| Switch off and disconnect power | Stops additional heat and prevents automatic restart |
| Use the manual’s cooling interval | Allows internal parts and thermal protection to return to a safe state |
| Move the unit to shade and open air | Improves natural heat dissipation |
| Straighten the hose and fully uncoil the power cord | Removes restrictions and reduces heat concentration in a coiled cable |
| Check the chuck and valve connection | Prevents wasted runtime caused by leakage or blockage |
Note: Do not pour water on the inflator, place it in a freezer, cover it with ice, or spray cleaner into the vents. Sudden cooling and moisture can damage hot metal, electrical parts, seals, or a cordless battery.
Routine Maintenance to Prevent Overheating
Many portable inflators use permanently lubricated, maintenance-free motors, but designs vary. Follow your manual instead of adding oil or opening the housing without instructions.
- Clean external vents and fins: Use a dry soft brush or cloth after disconnecting power. Do not push dirt deeper into the unit.
- Inspect the hose: Look for cracks, melted areas, flattened sections, leaks, and loose fittings.
- Check the chuck: Confirm it seals on the valve stem and matches the inflator’s design.
- Inspect the cord and plug: Stop using a cord with cuts, exposed conductors, loose pins, melted plastic, or repeated fuse failures.
- Check battery condition: Do not use a swollen, leaking, cracked, or unusually hot cordless battery.
- Store it correctly: Keep the inflator dry, protect the hose from prolonged sun exposure, and avoid storing it beside sharp or heavy objects.
- Use the rated power source: Match voltage, amperage, wattage, fuse, and connection type to the manual.
| When | Maintenance check |
|---|---|
| Before each use | Check the cord, plug, hose, chuck, vents, battery, and required tire pressure. |
| After dusty or sandy use | Disconnect power and clean the exterior vents and cooling fins with a dry brush. |
| After an overheat shutdown | Inspect for restriction, leakage, electrical heat, and damage before another test. |
| Before long-term storage | Clean and dry the unit, coil the hose loosely, and store cordless batteries as their manufacturer directs. |
Step-by-Step Tire Inflator Overheating Diagnosis
1. Identify When the Problem Starts
Note whether the inflator overheats after a predictable long run, shuts off almost immediately, becomes hot only on large tires, or heats at the plug rather than the compressor head. The timing helps separate a normal duty-cycle limit from an electrical, airflow, or internal fault.
2. Check the Power Source
- Confirm the required voltage, amperage, wattage, fuse, and power connection in the manual.
- Compare a 12V plug-in inflator’s demand with the vehicle outlet rating.
- Check for a loose plug, corrosion, dirt, discoloration, or melted plastic.
- Fully uncoil the power cord if the manual requires it.
- Do not replace the specified fuse with a higher-amperage fuse.
- For a cordless inflator, allow an overheated battery to return to its approved operating temperature before charging or reuse.
If the plug, cable, outlet, battery clamp, or battery becomes unusually hot, stop testing. The problem may be outside the compressor itself.
3. Check the Hose, Chuck, and Valve
- Straighten the hose and remove tight bends.
- Inspect the chuck opening for dirt or damage.
- Confirm the chuck is fully attached to the valve stem.
- Listen and feel for air leaking at the valve, fitting, or hose.
- Use only a chuck and hose type approved for the inflator’s pressure and operating design.
- Do not let the hose touch the hot compressor head.
A poor seal can make the inflator run continuously while little air enters the tire. A blocked or unsuitable chuck can cause pressure to build in the hose instead.
4. Check the Tire and Workload
Use the vehicle manufacturer’s recommended pressure from the door placard or owner’s manual. NHTSA advises checking pressure when the tires are cold and not using the tire sidewall maximum as the vehicle’s normal target. See its tire-safety guidance.
A compact inflator may be suitable for topping up a passenger-car tire but too slow for repeated filling of large truck, RV, or off-road tires. Compare the manufacturer’s maximum tire size, inflation-time chart, target pressure, and duty cycle with your use.
5. Inspect the Cooling Path
- Clear objects away from vents and cooling fins.
- Move the inflator out of direct sun.
- Place it upright on a hard, dry surface.
- Do not operate it in soft sand, standing water, a closed trunk, or a cramped engine compartment.
- Check whether dirt has built up around an external serviceable intake filter.
6. Perform One Controlled Retest
After the full cooling period, reconnect the correct power source and test the inflator on one tire for a short period while watching the pressure, sound, airflow, plug, and cord. Stop if the same shutdown, burning smell, abnormal noise, or electrical heat returns.
| Symptom | Possible cause | Next action |
|---|---|---|
| Stops after roughly the same long runtime | Duty-cycle limit or thermal protection | Use shorter runs and the full manual-specified rest period. |
| Stops soon after starting from cold | Weak power, bad connection, blocked air path, faulty battery, or internal damage | Check power and airflow; stop repeated restart attempts. |
| Runs hot and inflates very slowly | Leak, restriction, worn pump, very large tire, or undersized inflator | Repair the leak, clear the restriction, or use a properly rated inflator. |
| Plug or outlet is hotter than the compressor case | Underrated outlet, loose contact, damaged plug, or excessive current | Stop and have the connection checked. Do not bypass the fuse. |
| Grinding, knocking, or severe vibration | Bearing, gear, piston, motor, or mounting failure | Discontinue use and seek authorized repair or replacement. |
| Burning odor, smoke, sparks, or melted insulation | Serious electrical or motor failure | Disconnect power if safe and do not test it again. |
When to Repair Parts vs. Replace Your Inflator
Repair makes sense when the fault is external, the manufacturer sells the correct part, and the remaining inflator is in good condition. Replacement is usually safer when a sealed consumer unit has internal motor, piston, bearing, wiring, or control-board damage.
When to Repair
Consider repair when the problem is limited to a manufacturer-approved replaceable part, such as:
- A damaged hose.
- A leaking or worn air chuck.
- A serviceable intake filter.
- A removable power cord supplied by the manufacturer.
- An approved fuse of the exact specified type and rating.
- A replaceable cordless battery that remains within warranty and shows no swelling or leakage.
A higher-end or serviceable compressor may justify authorized repair. Check the warranty before disassembly because opening the housing may void coverage or expose hot, pressurized, or electrical components.
When to Replace
Replace the inflator or send it to an authorized service center if it repeatedly overheats after the vents, hose, chuck, power source, and duty cycle have been corrected. Replacement is also appropriate for:
- Burning smells, smoke, sparks, or melted wiring.
- Grinding, knocking, or severe internal vibration.
- A cracked housing that exposes internal parts.
- A cord or plug that is not safely replaceable.
- A swollen, leaking, or damaged built-in battery.
- Very low airflow that returns after external restrictions are removed.
- Repeated thermal shutdown during short, appropriate use.
Safety Steps and Emergency Shutdown Procedures
- Stop inflation. Switch the unit off without touching the hot compressor head or hose coupling.
- Disconnect power if it is safe. Some thermal protectors reset automatically, so do not leave the inflator energized.
- Keep people away from smoke or a damaged battery. Do not handle a swollen, hissing, leaking, or smoking battery.
- Let the unit cool in open air. Keep it dry and away from fuel, flames, aerosols, and combustible material.
- Inspect after cooling. Check the cord, plug, outlet, battery, clamps, hose, chuck, vents, and housing.
- Do not restart a visibly damaged unit. Replace it or obtain authorized service.
Warning: Never run a vehicle engine inside an attached garage or other enclosed area while powering an inflator. The CDC warns that carbon monoxide can build up even when a garage door is open. Use the vehicle only outdoors and follow both the vehicle and inflator manuals.
For roadside use, move as far from active traffic as safely possible, turn on the hazard lights, apply the parking brake, and avoid working on the traffic-facing side of the vehicle when a safer location is available. Do not leave the inflator unattended.
Wear eye protection when connecting or disconnecting pressurized fittings. Never point an air nozzle toward a person, and never exceed the pressure rating of the tire, hose, fitting, or object being inflated.
Affordable Upgrades and Accessories to Reduce Heat Buildup
An accessory should reduce wasted runtime, improve safe positioning, or provide the correct electrical connection. Use only parts rated for the inflator’s pressure, temperature, airflow, voltage, and current.
| Upgrade | Benefit | Safety condition |
|---|---|---|
| Compatible clip-on or locking air chuck | Creates a faster, more reliable valve connection and may reduce air loss | It must match the inflator’s required open-ended or closed-ended design and pressure rating. |
| Manufacturer-approved longer hose | Lets the compressor sit upright in shade and away from traffic or a hot engine | Use the required pressure and heat rating; an undersized hose can restrict flow. |
| Digital gauge with automatic target-pressure shutoff | Can stop unnecessary runtime after the selected pressure is reached | Continue monitoring the inflator and verify pressure with a reliable gauge. |
| Manufacturer-approved direct-battery lead or power cable | Provides the connection intended for a high-current compressor | Do not improvise cables, change polarity, bypass a fuse, or install a larger fuse. |
| Inflator with built-in thermal protection | Adds a protective shutdown when the unit exceeds its designed temperature limit | Treat it as backup protection, not permission to exceed the duty cycle. |
| Replacement intake filter for a serviceable model | Restores intake airflow when the original filter is dirty or damaged | Use the manufacturer’s specified filter and replacement procedure. |
Pro Tip: The best upgrade for repeated truck, RV, or off-road inflation may be a larger compressor with a suitable high-pressure duty cycle rather than accessories for an undersized inflator.
Frequently Asked Questions
Why is my tire inflator getting hot?
Compressing air raises its temperature, while the motor, wiring, piston, seals, and bearings create additional heat. High pressure, large tires, hot weather, restricted airflow, leaks, and excessive runtime can make the temperature rise faster.
How do I prevent a portable air compressor from overheating?
Follow the exact duty cycle in the manual, operate the unit upright in shade and open air, keep vents clean, straighten the hose, prevent leaks at the chuck, use the correct power source, and choose an inflator rated for the tire size and pressure.
What can cause a tire inflator pump to overheat and fail?
Common causes include operating beyond the duty cycle, blocked cooling vents, a kinked hose, a leaking or blocked chuck, an underrated power source, loose electrical contacts, an oversized workload, worn internal parts, or repeated use after thermal shutdown.
Why is my compressor getting hot and suddenly shutting off?
A protected inflator may shut down because its internal temperature or electrical load has reached a limit. Switch it off, disconnect the power, let it cool as the manual directs, and check the duty cycle, vents, hose, chuck, battery, cord, plug, and outlet before one controlled retest.
How long should I let an overheated tire inflator cool?
Use the interval in the inflator’s manual or wait for its temperature indicator to clear. Published instructions vary by product. Keep it switched off and disconnected until the specified time has passed and hot fittings are safe to handle.
Can I cool a hot tire inflator with water, ice, or a freezer?
No. Moisture and sudden temperature changes can damage electrical parts, batteries, seals, and hot metal. Disconnect the power and let the inflator cool naturally in a dry, shaded, well-ventilated location.
Why does the 12V plug or power cord get hot?
A hot plug or cord can result from an underrated outlet, excessive current, poor contact, corrosion, a loose socket, damaged wiring, or a tightly coiled cable. Stop using it, let it cool, and compare the outlet and cable ratings with the inflator manual. Never install a larger fuse to prevent it from blowing.
Conclusion
A tire inflator naturally creates heat, but repeated shutdowns, burning smells, electrical heat, abnormal noise, smoke, or melting are not normal. Prevent overheating by following the exact duty cycle, keeping the cooling path clear, using the correct power source, checking the hose and chuck, and matching the inflator to the tire’s size and pressure.
When a thermal shutdown occurs, switch the unit off and disconnect it because some models can restart automatically. Let it cool as the manual directs, perform the external checks in this guide, and make only one controlled retest. Replace or professionally service the inflator if the fault returns or any serious damage is present.
Sources
- NASA Glenn Research Center: Compression and Expansion — explains why gas temperature rises during compression.
- VIAIR Compressor FAQ — explains compressor duty cycle and power-outlet requirements.
- VIAIR 400P Portable Compressor User Manual — supports hot-surface, thermal-protection, automatic-restart, cooling, maintenance, cord, and duty-cycle guidance.
- ARB CKMP12V2 Portable Compressor Specifications — provides a 50% duty-cycle example and hot-touch heat-shield information.
- National Highway Traffic Safety Administration: Tire Safety — supports cold-pressure checks and use of the vehicle placard pressure.
- CDC: Carbon Monoxide Poisoning Basics — supports the warning against running a vehicle in an attached garage or enclosed area.
