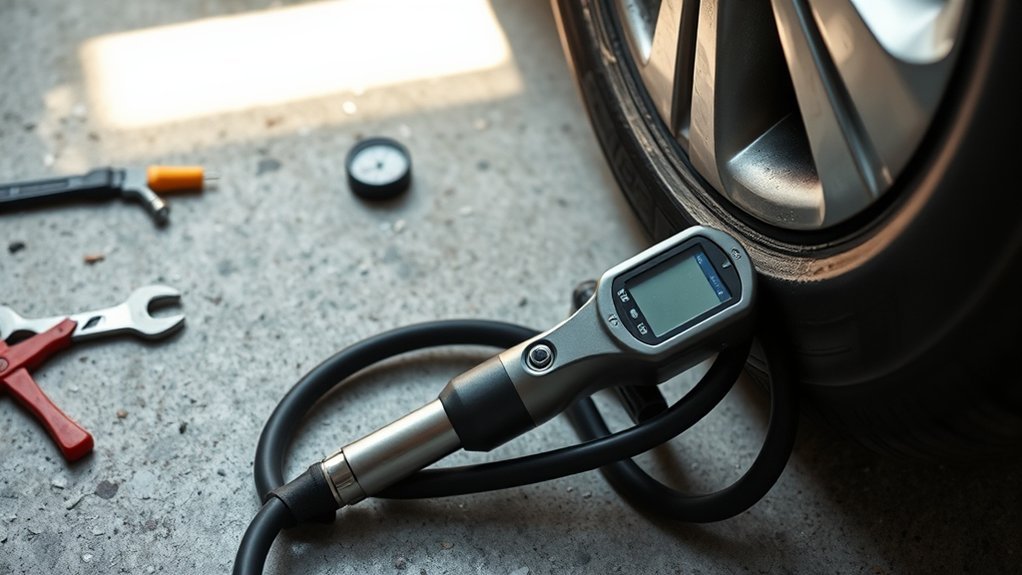
If your tire inflator is not pumping, the problem may be the power supply, hose, chuck, valve stem, pressure preset, overheated motor, or tire itself. Start with a safe visual inspection, then test the inflator on another tire. The result will quickly show whether you should troubleshoot the tool or the original wheel.
Quick Answer
Test the inflator on a second tire, secure the chuck, inspect the hose, and verify the power source. If the motor runs but no pressure enters the tire, check the valve core, chuck seal, pressure preset, and hose. If the unit stops after running, disconnect it and allow it to cool according to its manual.
Key Takeaways
- Test the inflator on another tire to separate a tire problem from an inflator problem.
- Check the chuck, hose, pressure preset, power connection, battery, and applicable fuses.
- Allow an overheated inflator to cool for the period specified by its manufacturer.
- Do not remove a valve core unless you are prepared for the tire to deflate completely.
- Do not drive on a tire with a cut, bulge, exposed cord, displaced bead, or pressure that will not hold.
- Follow the inflator manual because engine-operation, duty-cycle, and reset instructions vary by model.
At a Glance
| Time Required | About 10–30 minutes, plus cooling time if the inflator overheated |
| Difficulty | Easy for basic checks; moderate for fuse or valve-core service |
| Tools Needed | Trusted tire gauge, soapy water, clean cloth, owner’s manuals, and an appropriate fuse puller or valve-core tool when required |
| Cost | No cost for most checks; replacement fuses, chucks, hoses, valve parts, batteries, or inflators vary by model |
Warning: Move away from traffic before working on a tire. Do not drive on a fully flat tire or one with a bulge, exposed cord, sidewall cut, damaged wheel, or pressure that falls again immediately. If the inflator instructions require the engine to run, operate only outdoors with the vehicle in Park and the parking brake applied.
Triage: Tire vs. Tire Inflator
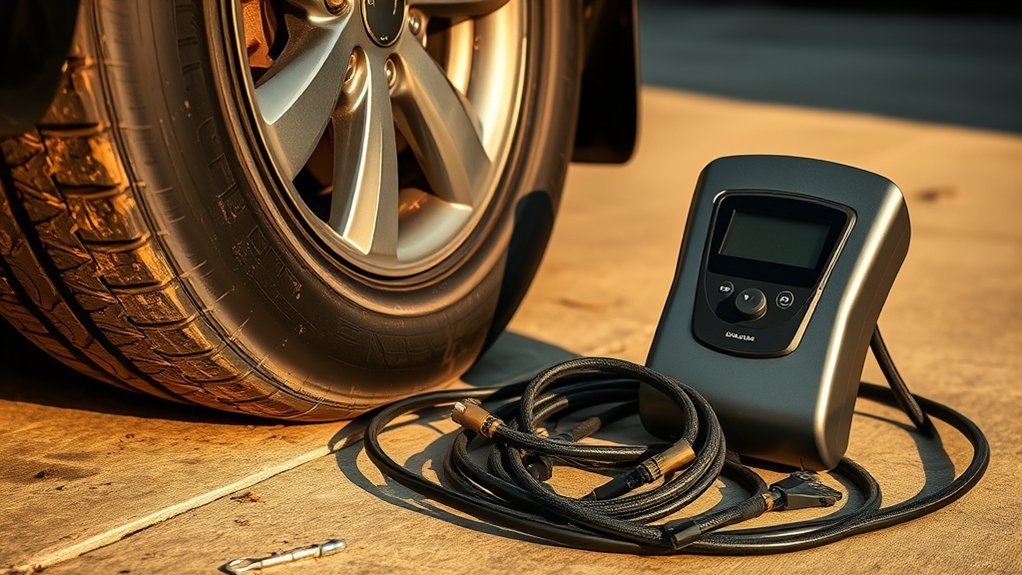
Before taking anything apart, determine whether the fault follows the tire or the inflator. Check the original tire for a nail, screw, torn sidewall, bulge, cracked valve stem, bent wheel, or a bead that has moved away from the rim.
Next, attach the inflator to a second tire or a known-good spare. Use a tire that accepts the same chuck or adapter.
If the inflator works normally on a second tire, concentrate on the original tire, valve, wheel, or connection. If it fails on both tires, concentrate on the inflator and its power supply.
| Symptom | Likely Area | First Check |
|---|---|---|
| No lights, sound, or display | Power supply | Outlet, battery, cord, switch, and fuses |
| Motor runs but tire pressure does not rise | Chuck, hose, valve, or internal pump | Reseat the chuck and listen for leaks |
| Gauge rises immediately but tire stays soft | Blocked airflow | Check chuck alignment, adapter, sealant blockage, and valve core |
| Inflator starts and then stops | Thermal protection, battery, or duty cycle | Disconnect power and allow the unit to cool |
| Air escapes around the chuck | Loose connection or worn chuck seal | Reconnect squarely and inspect the gasket |
| Only one tire will not inflate | Tire, valve, bead, or wheel | Inspect for damage and test the valve with soapy water |
Quick Fixes to Get Air Into a Tire
- Find the target pressure. Use the cold inflation pressure on the driver-side door placard or in the vehicle manual, not the maximum pressure molded on the tire sidewall. The NHTSA tire-safety guide recommends checking tires cold, normally before driving or after the vehicle has been parked for at least three hours.
- Remove and inspect the valve cap. Wipe dirt, moisture, or sealant from the valve opening.
- Attach the chuck squarely. Push or thread it fully onto the valve. Engage its locking lever in the direction specified by the chuck manufacturer.
- Listen carefully. A brief hiss during attachment can be normal. Continuous hissing means the chuck is not sealed, the valve is leaking, or the tire has another leak.
- Straighten the hose. Remove tight bends, crushing, or kinks that may restrict airflow.
- Confirm the preset. On an automatic inflator, set the target above the tire’s current pressure and confirm that the display is using the intended unit: PSI, bar, or kPa.
- Try another compatible inflator or pump. A manual or bicycle pump with a suitable Schrader fitting can add air in an emergency, but filling a car tire may take considerable time and effort.
Pro Tip: After adding several PSI, stop the inflator and check the tire with a separate trusted gauge. Some inflator gauges show pressure from the hose while the motor is running, which can temporarily differ from the tire’s settled pressure.
Power and Cold-Weather Checks
A portable tire inflator needs a stable and correctly rated power source. The correct checks depend on whether the unit uses a 12V outlet, battery clamps, a removable cordless battery, an internal rechargeable battery, or household AC power.
12V Outlet Inflators
- Push the plug fully into the socket and check that it does not feel loose.
- Turn the vehicle ignition to the position required to energize the outlet.
- Test the outlet with another known-working accessory when possible.
- Compare the inflator’s current or wattage requirement with the outlet rating in the vehicle manual.
- Do not use an unapproved adapter, splitter, or extension that cannot carry the required current.
- Inspect the plug and cable for heat damage, corrosion, cuts, or exposed conductors.
Engine instructions vary. VIAIR instructs users of its applicable compressors to run the engine, while Slime recommends keeping the engine off when using its inflators. Follow the instructions supplied with your specific inflator and vehicle rather than applying one rule to every model.
Cordless and Rechargeable Inflators
- Charge the battery with the approved charger.
- Remove and firmly reinstall a detachable battery pack.
- Check the battery terminals for dirt, moisture, or damage.
- Try another compatible battery if one is available.
- If the battery is very cold, move it to a dry, moderate-temperature location and follow the battery manual before charging or operating it.
Cold weather can lower tire pressure and reduce available battery performance. It does not make hand-warming the valve stem a dependable repair. Check the actual pressure, battery charge, chuck connection, and valve condition instead.
Check the Vehicle and Plug Fuses
A 12V inflator may overload an accessory circuit if the outlet rating is lower than the inflator’s current demand. If the outlet is dead, find the applicable fuse in the vehicle manual and inspect it using the manufacturer’s procedure.
- Switch off the vehicle and unplug the inflator before handling a fuse.
- Replace a blown fuse only with the same type and amperage specified by the vehicle manufacturer.
- Never install a higher-amperage fuse to stop repeated blowing.
- If the replacement fuse blows again, stop using the inflator and have the circuit and tool checked.
- Some 12V plugs contain a separate replaceable fuse. Inspect it only if the inflator manual identifies one and explains how to access it.
Let an Overheated Inflator Cool
Portable inflators create substantial heat. Many models have a limited duty cycle, which defines how long they may run before they need a rest period. A unit that suddenly stops after several minutes may have activated thermal protection rather than suffered permanent motor failure.
- Switch the inflator off and disconnect it from power.
- Place it on a dry, stable, nonflammable surface with open airflow.
- Do not touch the compressor head, metal hose fitting, or other hot parts.
- Allow it to cool for the period stated in the manual. VIAIR advises waiting 30–45 minutes for applicable compressors that have activated thermal protection.
- Check the permitted run time and duty cycle before restarting.
- If the inflator repeatedly overheats while filling a correctly sized tire, check for a blocked hose, leaking connection, weak power source, or an undersized inflator.
Note: There is no universal reset procedure. Some models reset after cooling and reconnecting power, while others have a reset control or battery-protection procedure. Use only the process stated in the product manual.
Inspect and Replace the Valve Stem and Valve Core
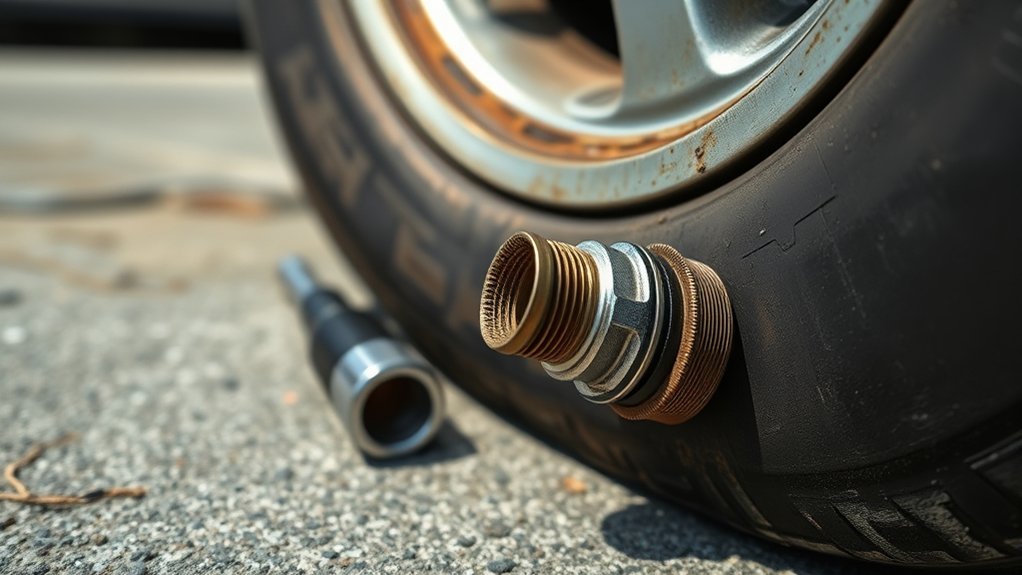
A dirty, loose, blocked, bent, or damaged valve can prevent air from entering the tire or allow it to escape immediately.
Inspect the Valve Stem
- Look for cracks, cuts, corrosion, bending, or damage at the base of the stem.
- Gently move a rubber stem while applying soapy water around its base. Growing bubbles indicate a leak.
- Apply soapy water to the valve opening. Bubbles from the center can indicate a leaking core.
- Check that the chuck reaches the center pin and sits squarely on the stem.
- Replace the valve cap after testing because it helps keep dirt and moisture away from the core.
Check for Sealant Blockage
If tire sealant has been used, it may collect around the valve. Positioning the valve in the upper half of the wheel may help keep pooled sealant away from the opening. Follow the sealant maker’s cleaning procedure. Slime, for example, advises cleaning around the valve and carefully cleaning the core and valve interior when its sealant causes a blockage.
Service the Valve Core Safely
A slightly loose removable core may be tightened with the correct tool. Do not overtighten it. Replace a visibly bent, corroded, or damaged core only when the vehicle is safely positioned and you are prepared for the tire to lose all of its air.
Warning: Removing a valve core fully opens the valve and can rapidly deflate the tire. A cracked rubber valve stem, leaking stem base, bent metal TPMS stem, or damaged sensor assembly normally requires tire-shop service. Do not attempt to straighten a metal TPMS stem.
Diagnosing the Hose, Chuck, Gauge, and Motor
Inspect the Hose
Run your fingers along the disconnected and cooled hose. Look for cuts, melted areas, loose crimps, crushed sections, bubbles, or sharp kinks. If the hose leaks near the compressor or chuck, use only an approved replacement rated for the inflator’s pressure and temperature.
Inspect the Chuck
A chuck can leak because it is crooked, loose, worn, or missing an internal rubber seal. Threaded chucks must start straight to avoid cross-threading. Lever-lock chucks must be pushed fully onto the valve before the lever is moved to its locked position. Slime’s lift-to-lock designs, for example, require the lever to be down during attachment and lifted to lock.
If wiggling the chuck changes the sound or airflow, the chuck or its seal is probably worn. Replace the chuck only with a compatible part and secure it according to the manufacturer’s instructions.
Verify the Gauge
Compare the inflator reading with a separate trusted gauge after the inflator stops. A small difference may be normal, but a large or inconsistent difference can lead to underinflation or overinflation. Also confirm that the display is set to the intended unit.
If the gauge jumps to a high value immediately while the tire remains soft, air may be trapped in the hose because the chuck is not opening the valve core or the valve is blocked.
Listen to the Motor
- Normal motor sound with no airflow: Check the chuck, hose, valve, and internal pump path.
- Slow or pulsing motor: Check the battery, electrical connection, outlet capacity, and cord.
- Grinding, scraping, burning smell, smoke, or sparks: Switch off and disconnect the inflator immediately.
- Strong vibration or loose casing: Stop using the unit and seek service.
Do not open a sealed motor housing unless the manufacturer specifically permits user repair. Internal capacitors, wiring, hot components, and moving parts can create electrical and injury risks.
Check the Preset, Units, and Inflator Capacity
An automatic inflator may appear broken when its target setting is below the tire’s current pressure. Confirm the preset, unit, and mode before assuming the compressor has failed.
- Set the target to the vehicle manufacturer’s recommended pressure.
- Confirm whether the display is showing PSI, bar, or kPa.
- Check that the unit is in high-pressure tire mode rather than high-volume mattress or inflatable mode.
- Make sure an automatic stop function is not being triggered by a false gauge reading.
- Confirm that the inflator is rated for the tire size and required pressure.
A small inflator designed for passenger-car tires may run very slowly, overheat, or fail to reach the required pressure on a large pickup, trailer, commercial, or RV tire. Compare the manufacturer’s maximum tire size, working pressure, airflow, current draw, and duty cycle with your application.
When the Tire Is the Problem
An inflator cannot correct every cause of pressure loss. Stop and arrange professional service when you find:
- A sidewall cut, bulge, blister, exposed cord, or impact damage
- A cracked or severely bent wheel
- A tire bead that has moved away from the rim
- A puncture outside the normally repairable tread area
- Rapid pressure loss after inflation
- A valve stem leaking at its base
- Damage caused by driving while the tire was flat
A portable inflator may not provide enough airflow to reseat an unseated tire bead. Do not use fire, flammable vapor, improvised straps, or explosive bead-seating methods. Have the tire removed and inspected by a trained tire professional.
If the tire is fully flat, visibly damaged, or unable to hold pressure, install a suitable spare according to the vehicle manual or call roadside assistance. Michelin advises against driving even a short distance on a conventional flat tire because doing so can damage both the tire and wheel.
Repair, Replace, or Visit a Shop
Simple external parts may be worth replacing when approved parts are available. These can include a chuck, hose, plug fuse, battery, charger, or removable valve core. A failed motor, damaged circuit board, melted connector, cracked housing, or repeated thermal shutdown usually makes professional service or replacement more practical.
- Check the receipt, model number, serial number, and warranty terms before opening or modifying the unit.
- Photograph visible damage and record what happens when the inflator is connected.
- Compare the repair estimate with the cost and capability of a suitable replacement.
- Choose a replacement rated for your tire size, target pressure, power source, and expected run time.
- Use a qualified repair facility when the tire, wheel, TPMS valve, vehicle outlet, or electrical system needs diagnosis.
Warranty length is not universal. The current Slime limited warranty lists two years for its inflators, while VIAIR lists a one-year manufacturer warranty. Coverage can depend on proof of purchase, authorized-seller status, correct use, and the specific product.
Simple Maintenance to Prevent Future Failures
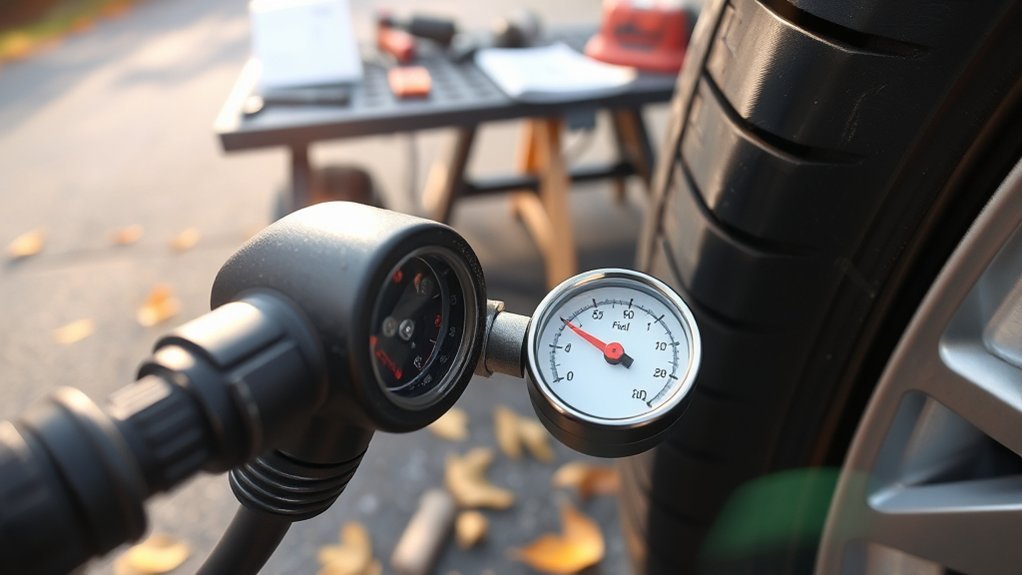
- Inspect the hose, chuck, cord, plug, clamps, and casing before each use.
- Keep the valve connector clean and protect it from grit and moisture.
- Coil the cord and hose loosely instead of folding them sharply.
- Store the inflator in a dry area away from extreme heat, standing water, and crushing loads.
- Follow the specified duty cycle and cooling period.
- Charge cordless batteries with the approved charger and follow the storage guidance in the battery manual.
- Clean or replace an air filter only when the manual identifies a user-serviceable filter.
- Use only manufacturer-approved hoses, batteries, chargers, fuses, and fittings.
- Compare the inflator gauge with a trusted gauge periodically.
- Check all tires, including the spare, as part of routine tire maintenance.
Frequently Asked Questions
Why is my tire inflator running but not inflating the tire?
The chuck may not be seated, the hose may be leaking, the valve may be blocked, or the internal pump may not be producing airflow. Reattach the chuck, inspect the hose, test another tire, and check whether the gauge rises instantly because pressure is trapped in the hose.
How do I reset a portable tire inflator?
There is no universal reset. Switch the unit off, disconnect its power source, and allow it to cool for the time stated in its manual. Reconnect the battery or plug afterward. Use a reset button only if the manufacturer identifies one and provides a procedure.
Why does my tire inflator stop after a few minutes?
It may have reached its duty-cycle limit or activated thermal protection. Disconnect it and allow it to cool. Repeated shutdowns can also indicate low voltage, an air leak, a restricted hose, an oversized tire, or an internal fault.
Why is air coming out when I try to fill the tire?
A brief hiss while attaching the chuck can be normal. Continuing air loss usually means the chuck is crooked, its seal is worn, the valve core is leaking, the valve stem is damaged, or the tire has another leak. Reseat the chuck and use soapy water to locate bubbles.
Can I inflate a car tire with a bicycle pump?
A compatible bicycle pump can inflate a car tire through a Schrader valve, but it may require many strokes and substantial time. It is a temporary option for adding modest pressure, not a solution for a damaged tire, displaced bead, or major air loss.
Why is my air-compressor tank not filling?
A tank compressor is different from a tankless portable tire inflator. Check whether the drain valve is open, then inspect for leaks, a blocked intake, a loose belt on equipped models, a faulty pressure switch, or pump damage. Disconnect electrical power before inspection. Check oil only if the compressor is specifically an oil-lubricated model.
When should I stop troubleshooting and call for help?
Stop when the tire has sidewall damage, exposed cord, a bulge, an unseated bead, a damaged wheel, or pressure that falls rapidly. Also stop if the inflator smokes, sparks, smells burned, repeatedly blows fuses, or has damaged wiring. Use a spare tire or call roadside assistance.
Conclusion
Start by inspecting the tire and testing the inflator on a second wheel. If the inflator fails everywhere, check its power source, fuses, battery, preset, hose, chuck, gauge, duty cycle, and motor. If it works on another tire, inspect the original valve, puncture area, bead, and wheel.
Do not assume that adding air makes a damaged tire safe. Stop when the tire cannot hold pressure or shows structural damage, and stop using an inflator that overheats repeatedly, smokes, sparks, or damages fuses. Follow the instructions for your exact inflator because power, cooling, reset, and engine-operation requirements vary.
Sources
- National Highway Traffic Safety Administration: Tire Safety — recommended cold pressure, tire inspection, and pressure-maintenance guidance
- Michelin: What to Do With a Flat Tire — flat-tire damage and roadside guidance
- VIAIR Compressor FAQ — duty cycle, thermal protection, power requirements, and engine-operation guidance
- Slime: Engine Operation With Tire Inflators — manufacturer-specific engine-off guidance
- Slime: Air Hose Head Instructions and Clogged Valve Guidance — chuck connection and sealant-blocked valve procedures
- Slime Limited Warranty and VIAIR Warranty — examples of manufacturer warranty differences
