
You’ll find each tire inflator part has a clear role: the power source (battery, 12V or AC) drives the motor, the motor converts electrical energy to mechanical motion, and the piston pump compresses air while intake and discharge valves control flow and prevent backflow. The hose and chuck deliver air to the tire, gauges and sensors measure pressure and auto shutoff prevent overinflation, and cooling and duty‑cycle limits protect the unit—keep going and you’ll get step‑by‑step component insights.
Who Should Read This Tire‑Inflator Guide

This guide is for vehicle owners who want to understand the components that make tire inflation efficient and safe. You’ll learn which users benefit most and why each component matters. If you manage a fleet, you’ll train teams to inspect hose integrity, chuck fittings, and pressure gauge accuracy so portable air compressors return vehicles to service faster and with fewer failures. As an automotive enthusiast or DIYer, you’ll select inflators and accessories that preserve tire pressure and reduce the risk of a flat tire during travel. New car owners will gain practical familiarity to respond confidently in roadside scenarios without dependence on external help. Mechanics and technicians will reference component-level details to improve automotive repair throughput and minimize customer callbacks. Across roles, you’ll prioritize parts that guarantee reliable sealing, accurate readings, and durable connections, freeing you from preventable delays and keeping vehicle mobility under your control.
Tire‑Inflator Power Components (Battery, 12V, Motor)
Because inflator performance depends on power delivery, you should match the power source and motor rating to your use case: 12V units offer compact, vehicle-ready portability; AC models deliver higher continuous power for garage jobs; and rechargeable battery inflators trade peak output for cordless convenience. Choose a portable tire inflator with the right balance of battery capacity and motor power for your freedom to move. A 12V supply from a vehicle cigarette lighter gives reliable on-road utility but is limited by vehicle circuit amperage. AC-powered units host larger electric motors and sustained duty cycles for repeated compressed air delivery. Battery models liberate you from cords; confirm amp-hour rating and recharge time to avoid being stranded. Inspect motor rating (watts or amps) and any cooling provisions—higher-rated electric motors shorten inflation times and handle larger tires. Match power source, motor capacity, and expected duty cycle to the tasks you value, and you’ll keep pressure control autonomous and dependable.
[Products Worth Considering]

【METAL INFLATABLE STRUCTURE】: It’s composed of metal cylinder and metal gear, it could continuously work for 20 minutes, the maximum air pressure could reach 160psi, meet the needs of 4 tires at a time, more efficient and faster to use.

Flat Tire? INFLATE AND GO: The Ipflin tire inflator portable air compressor pumps a 195mm tire from 29 to 36 PSI in just 1 minute with powerful 30L/min airflow and up to 160 PSI—get back on the road fast! With 30 minutes of runtime, the portable air compressor inflates over 4 tires per session. The LCD and 4 preset modes pressure settings make inflating cars, SUVs, bikes, motorcycles, inflatable swim rings, lawn mowers, and balls quick and easy.

Powerful Inflation Performance – With a built-in true 6000mAh rechargeable battery, this tire inflator can support up to 4 car tires (195/55 R15) and charge them from 30PSI to 36PSI in 45 seconds
Tire‑Inflator Pump Assembly: Piston, Valves, Airflow
Think of the pump assembly as the heart of the inflator: the piston converts motor torque into compressed air while the intake and discharge valves time and direct that airflow so pressure only moves into the tire and not back into the cylinder. You rely on the piston to compress air efficiently; its stroke, sealing, and material determine volumetric output and how quickly you reach target pressure level. The valves—usually one-way reed or spring-loaded poppets—coordinate intake and discharge, preventing backflow and protecting the cylinder during decompression. Controlled airflow rate and pulse characteristics set inflation speed and influence heat buildup. Most tire inflators deliver at least 100 psi (6.89 bar), but real-world performance hinges on piston‑valve tolerances and seal condition. You should inspect piston skirts, rings, and valve seals regularly; wear or leakage degrades compression and slows inflation. Designing or maintaining a pump assembly with tight tolerances lets you compress air predictably, reach set pressure levels faster, and retain autonomy over your mobility.
Hose and Chuck Types, Materials, Leakproof Tips
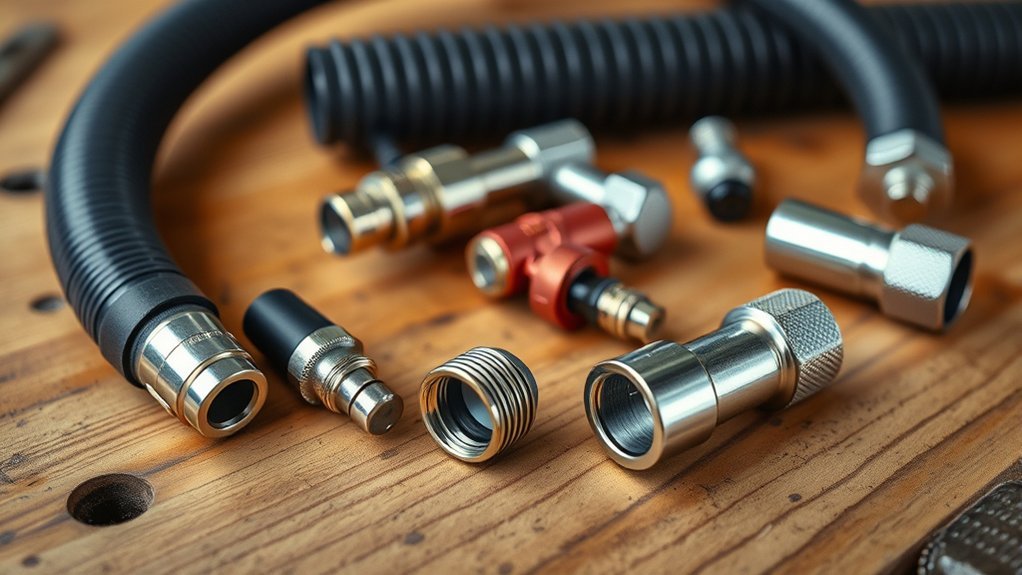
You’ll choose hose materials—rubber for durability, PVC for light weight, polyurethane for a middle ground, or hybrids that mix properties—based on required flexibility and operating temperature. For a reliable seal use screw‑on chucks when possible, keep clip‑on types clean and correctly aligned, and prefer longer hoses only if storage and portability aren’t critical. Inspect hoses for cracks and check chuck seals regularly to prevent leaks that skew pressure readings.
[Products Worth Considering]

【Package Includes】2 x Closed Ball Air Chuck with 1/4'' female NPT air inlet, 2 x Male Quick Plug and 1 x Teflon Tape. A highly practical combination, compatible with most tire inflators, wheel pressure gauges and air compressor accessories. Widely applicable and convenient for inflating schrader valve of most bikes, motorcycles, cars, buses, trucks, etc.

Accurate: Spurtar tire inflator air pressure gauges with rubber hose are performance-tested and calibrated to the ANSI B40.1 Grade B (2%) international accuracy standard. This device allows you to measure your tire pressure accurately and inflate your tires without the need to drive to a gas station or garage. Easily use the tire pressure gauge with an air pump or compressor to inflate your tires efficiently
ADVANCED ACCURACY: Professionally calibrated to always return an accurate reading within 1% of the exact pressure of your tire. Accurately measures FOUR DIFFERENT UNITS in a range from 3-250 PSI (0.2-17.2 Bar; 0.21-1724 Kpa; 0.2-17.5 kg/cm^2). Stocking Stuffers for Men
Hose Materials And Flexibility
When choosing a hose for a tire inflator, weigh material, length, and chuck type together, since each affects flexibility, durability, and leak resistance. You’ll compare hose materials: rubber hoses deliver high flexibility and durability; PVC hoses are lightweight but stiffen in cold; polyurethane hoses balance flexibility and low weight. Consider hose length relative to task: longer hose length increases reach but adds bulk; shorter hoses store easily but limit mobility. Select a chuck type with the hose in mind—clip-on for rapid use, screw-on for a firmer seal. Inspect seals and fittings routinely and replace any cracked sections. Choose materials and lengths that free you from constraints while maintaining operational reliability and safety.
Leakproof Connections And Tips
Hose choice sets the stage for leakproof connections, but the joint between hose and valve determines how much air you actually keep in the tire. Choose a screw-on air chuck for secure, leak-proof connections when precise tire inflation and reliable pressure readings matter; clip-on chucks speed attachment but risk microleaks. Select hose material—rubber, PVC, or polyurethane—based on flexibility, weight, and durability to match your liberation-minded workflow and performance demands.
Perform routine maintenance: inspect hoses and chucks for cracks, worn seals, and leakage. Replace degraded parts promptly and apply PTFE thread seal tape to male threads during installation to prevent thread leaks. High-quality seals preserve measurement accuracy, reduce waste, and guarantee consistent inflation performance.
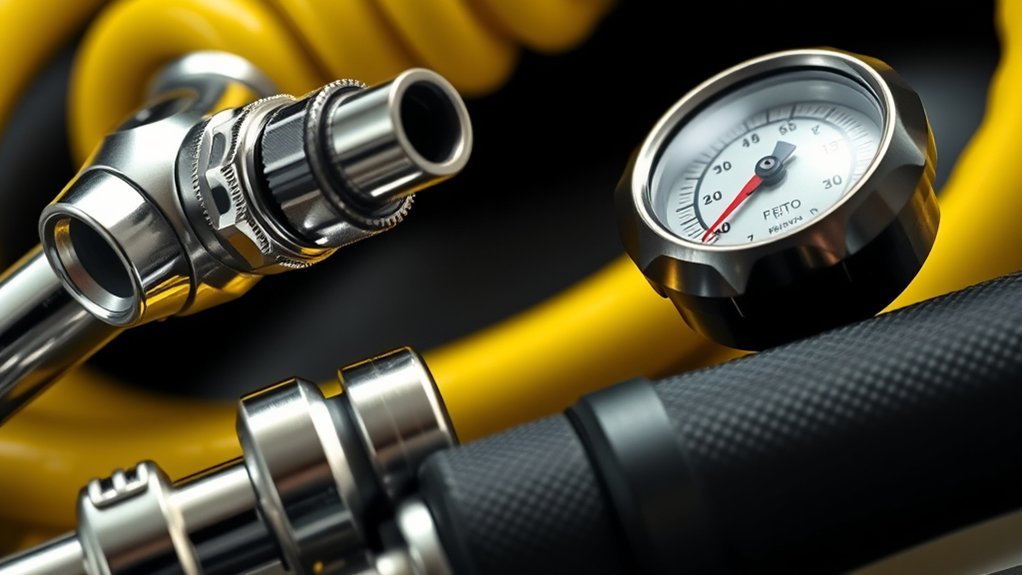
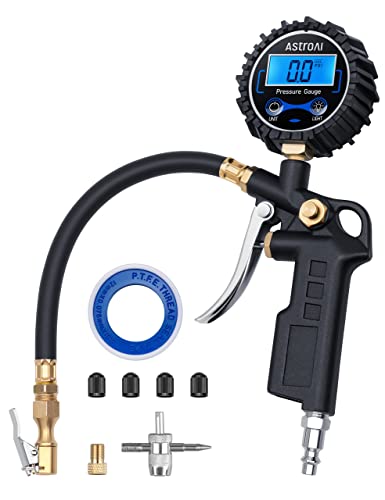
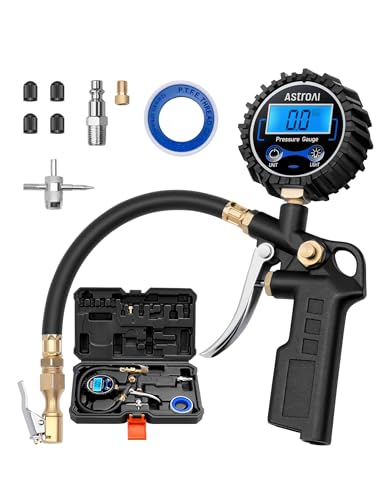
Tire‑Inflator Controls and Sensors (Gauge, Auto Shut‑Off)
You’ll rely on the pressure gauge to read and verify PSI as you inflate, and digital gauges give faster, more precise numeric feedback than analog alternatives. The inflator’s automatic shutoff sensors stop airflow when the preset pressure is reached, preventing over‑inflation and reducing user intervention. Built‑in temperature and pressure monitoring keeps the shutoff logic reliable and prevents overheating during continuous use.
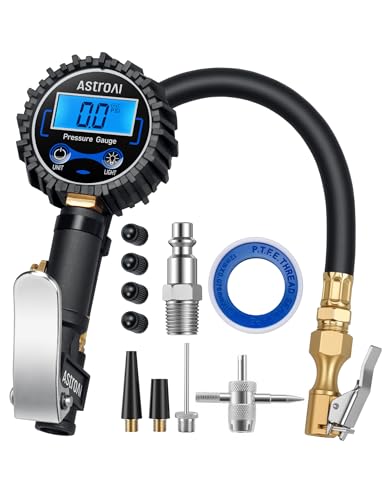
[Products Worth Considering]
COMPATIBLE WITH both ¼” and ½” NPT air compressors outputs. COMPATIBLE WITH Standard Schrader Valves.
COMPATIBLE WITH both ¼” and ½” NPT air compressors outputs. COMPATIBLE WITH Standard Schrader Valves.

🚕【Accurate Digital Tire Gauge】The digital pressure gauge always returns a stable reading within 1% of the exact pressure of your tire by incredible 0.1 display resolution. No more guessing!
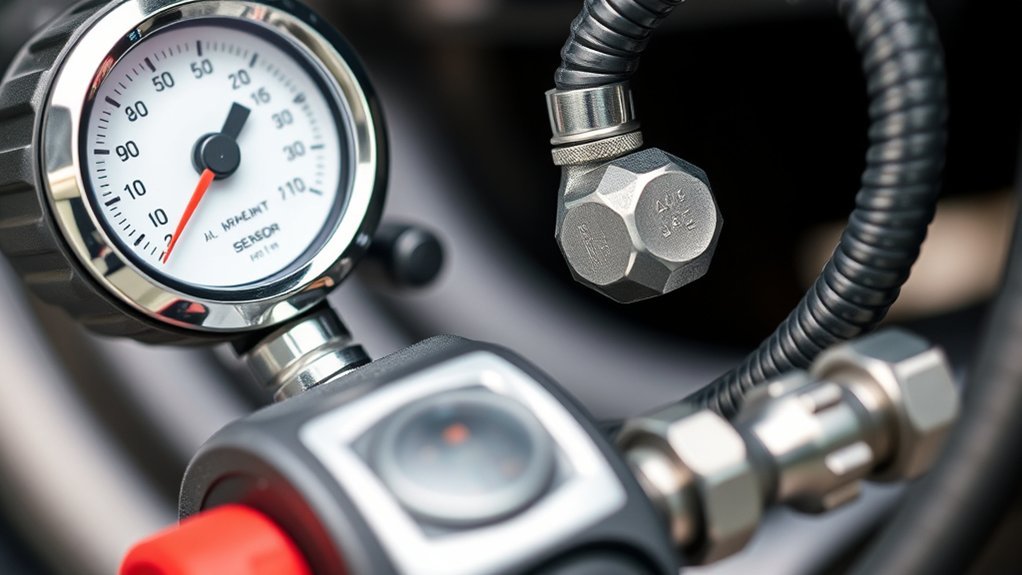
Digital Pressure Gauges
Although compact in appearance, digital pressure gauges deliver precise, real-time PSI readings (typically ±1 PSI) and control inflation with clarity and speed. You’ll rely on digital gauges to monitor tire pressure continuously while using air inflators; integrated pressure sensors feed instantaneous data to backlit displays so you can work confidently in low light. Many units include programmable settings so you can store target pressures for different vehicles, reducing error and saving time. The common auto shut-off feature halts inflation when the set PSI is reached, preventing over-inflation and damage. You’ll appreciate the direct feedback loop: sensor → display → control. For someone seeking autonomy, these gauges give measurable control over tire maintenance with minimal guesswork.
Automatic Shutoff Sensors
When you set a target PSI, the automatic shutoff sensor closes the inflation circuit as soon as the preset pressure is reached, preventing over-inflation and potential tire damage. You rely on automatic shutoff sensors in tire inflators to enforce a precise stop-point, so you won’t have to watch gauges continuously. These sensors interface with pressure gauges—often digital—to sample air pressure in real time and trigger a valve closure within seconds of reaching target pressure. That rapid response protects the tire and simplifies operation for users seeking autonomy from routine maintenance risks. Calibration of the sensor and gauge alignment is essential: verify digital readouts against a known standard to guarantee the shutoff engages at the intended target pressure.
Cooling, Duty Cycle, and Safety Features
Because tire inflators generate heat during sustained use, built-in cooling—typically a fan—and adherence to specified duty cycles are essential to keep components within safe operating temperatures and preserve performance. You’ll rely on cooling to prevent motor degradation and on a duty cycle—commonly ~15 minutes—to schedule rest periods that extend service life. Safety features tie this together: automatic shut-off prevents over‑inflation, and thermal overload protection stops operation if temperatures exceed safe limits. Together they make the unit reliable for demanding, liberating tasks.
| Feature | Purpose |
|---|---|
| Cooling (fan) | Maintain safe temps |
| Duty cycle | Prevent continuous overload |
| Automatic shut-off | Stop at set pressure |
| Thermal protection | Prevent overheating |
| Reliability | Guarantee consistent function |
You should respect duty cycle limits and verify cooling paths are clear. These measures protect you, preserve freedom to operate, and keep the inflator functioning predictably under load.
Maintenance, Troubleshooting, and Part Replacement
If you keep a simple maintenance routine and know how to diagnose common faults, your inflator will stay reliable and last longer. Inspect hoses for cracks, kinks, and abrasion; check the air chuck seal visually and by applying pressure. For troubleshooting, listen for hissing to locate air leaks and perform the Soapy Water Test at fittings and the chuck. Confirm thread size (commonly 1/4 NPT on portable units) before purchasing parts for replacement to guarantee compatibility.
When installing new components, wrap male threads with PTFE thread seal tape to prevent leaks and torque to manufacturer specs. Replace only worn elements—hose or chuck—rather than the entire unit to reclaim efficiency and extend service life. Keep a minimal parts kit and basic tools so you can act decisively. This approach gives you practical control: maintain function, eliminate leaks, and upgrade selectively, preserving autonomy and maximizing performance.
Frequently Asked Questions
What Are the Components of a Compressor and Their Functions?
A compressor has a compressor motor that drives compression, an air tank storing pressurized air, a pressure gauge displaying PSI, a safety valve preventing overpressure, a hose connector delivering air, and a power supply providing electrical energy.
How to Read Tire Inflator?
Contrasting ease and precision, you read tire inflator displays by matching tire pressure to desired PSI: check inflator types, use digital gauges or manual operation, attach air hoses securely, follow safety tips, and adjust until pressure matches specification.
How Does the Tire Inflator Work?
You compress air with an electric or battery motor-driven piston, attach the chuck, monitor tire pressure via the gauge, follow usage guidelines, heed safety precautions, address common issues, consider inflator types, and perform maintenance tips regularly.
Which Tire Components Keep Air in the Tire?
The valve stem, tire bead, inner liner, sealing surface, rim flange, and air chamber keep air in the tire; you maintain freedom by inspecting the valve stem, seat the bead, preserve the inner liner, and guarantee the sealing surface.
Conclusion
You’ve now seen each inflator part and how it works together to keep your tires safe and road-ready. Treat the pump, power source, hose, valves, and controls as a system: maintain seals, monitor duty cycle, and replace worn components promptly to prevent failures. Like a watch’s gears, each piece must be precise and cared for to perform reliably. Regular inspection, proper cooling, and correct fittings will extend service life and guarantee accurate inflation.


Leave a Reply