Tire Inflator Parts Explained: How Each Component Works
What’s in This Article
- Who Should Read This Tire-Inflator Guide
- Tire Inflator Power Parts: Battery, 12V Plug, AC Cord, and Motor
- How the Pump Assembly Moves Air Into the Tire
- Hose and Chuck Types, Materials, and Leakproof Tips
- Controls and Sensors: Gauge, Preset PSI, and Auto Shut-Off
- Cooling, Duty Cycle, and Safety Features
- Maintenance, Troubleshooting, and Part Replacement
- Frequently Asked Questions
A tire inflator can look simple, but one weak part can slow inflation or give you a bad pressure reading. The power source drives the motor, the motor moves the piston pump, and the valves guide air in one direction. The hose, chuck, gauge, sensors, cooling system, and duty-cycle limits help you fill the tire with better control and less risk.
Quick Answer
A tire inflator works by using electrical power to run a motor, which drives a small pump that compresses air. The hose and chuck send that air into the tire, while the gauge shows pressure in pounds per square inch (PSI). Auto shut-off, cooling, and duty-cycle limits help reduce overinflation, heat damage, and part failure.
Key Takeaways
- Match the power source to your use, because 12V, AC, and battery inflators suit different jobs.
- Check the hose, chuck, and seals first when your inflator loses air or fills slowly.
- Use the vehicle tire placard or owner’s manual for the correct cold tire pressure.
- Respect duty-cycle limits so the motor and pump can cool between longer inflation jobs.
- Compare your inflator gauge with a trusted tire gauge when accuracy matters.
Who Should Read This Tire-Inflator Guide

This guide helps vehicle owners understand the main components that make tire inflation safer and more reliable. You’ll learn what each part does, why it matters, and which parts to inspect when inflation feels slow or inaccurate.
If you manage a fleet, you can train your team to check hose integrity, chuck fittings, and pressure gauge accuracy before vehicles return to service. As an automotive enthusiast or DIY driver, you can choose inflators and accessories that help maintain tire pressure and reduce roadside problems.
New car owners can use this guide to handle basic roadside inflation with more confidence. Mechanics and technicians can also use these component-level details to reduce repeat problems and improve repair checks.
Tire Inflator Power Parts: Battery, 12V Plug, AC Cord, and Motor
Inflator performance starts with power delivery. A 12V inflator plugs into a vehicle outlet and works well for roadside use. An AC-powered inflator suits garage work because it can support stronger motors and longer sessions.
Rechargeable battery inflators give you cordless use, but they depend on battery capacity, charge level, and motor load. Check the amp-hour rating, charge time, and run-time notes before you rely on one for a long trip.
The motor converts electrical energy into mechanical motion. Higher motor output can shorten inflation time, but heat control and airflow still matter. Match the power source, motor rating, and stated duty cycle to the tires you plan to fill.
How the Pump Assembly Moves Air Into the Tire
The pump assembly acts like the working heart of the inflator. The motor turns a piston, and that piston compresses air inside the pump chamber. The intake and discharge valves guide airflow so air moves toward the tire instead of back into the cylinder.
You rely on the piston seal, valve fit, and cylinder condition for steady compression. Worn piston rings, weak seals, or dirty valves can reduce airflow and make the inflator run longer than normal.
Many compact inflators advertise high maximum PSI, but peak pressure does not tell the full story. Inflation speed also depends on airflow rate, tire size, heat buildup, and pump condition.
Warning: Never use the maximum PSI printed on the tire sidewall as your normal target pressure unless your vehicle manual says so.
According to the National Highway Traffic Safety Administration (NHTSA), you should use the vehicle maker’s recommended cold tire pressure. You can usually find it on the tire information placard or in the owner’s manual. Measure pressure when the tires are cold, such as before driving or after the vehicle has stayed parked for at least three hours.
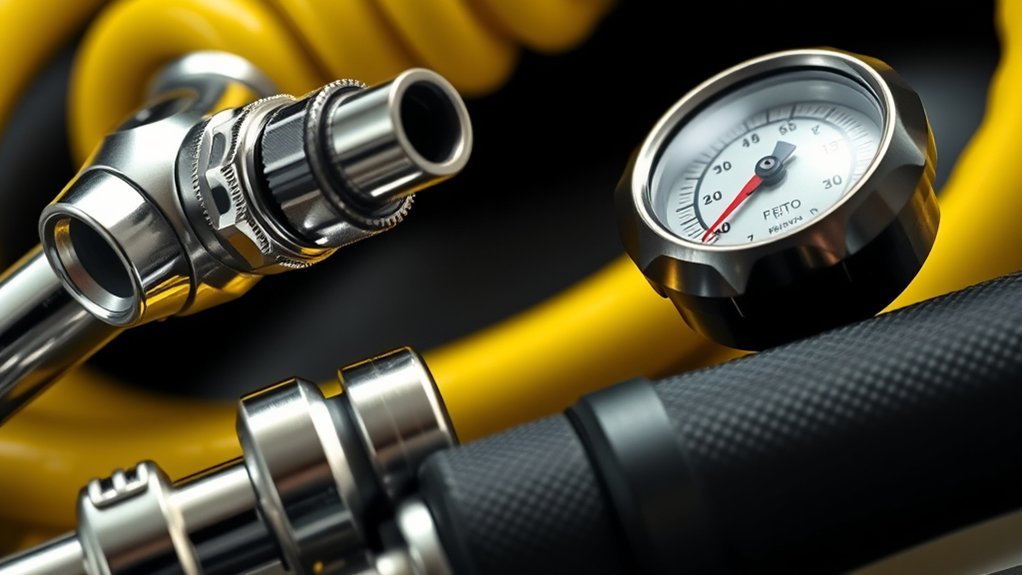
Hose and Chuck Types, Materials, and Leakproof Tips
You can choose hose materials based on flexibility, weight, storage, and temperature use. Rubber hoses usually handle wear well and stay flexible. PVC hoses weigh less but may feel stiff in cold weather. Polyurethane hoses often balance light weight with better flexibility.
For a reliable seal, choose a screw-on chuck when you need a firm connection and accurate reading. Clip-on chucks connect faster, but dirt, weak springs, or poor alignment can cause small leaks. Inspect hoses for cracks and check chuck seals often to prevent leaks that can affect pressure readings.
Hose Materials And Flexibility
When you choose a hose, consider material, length, and chuck type together. Each one affects reach, storage, durability, and leak resistance.
A longer hose gives you better reach around the vehicle, but it adds bulk and can lose flexibility in tight storage. A shorter hose stores easily, but it can make valve access harder on larger wheels or trailers.
Choose the hose length that fits your vehicle and storage space. Then check fittings, seals, and bends during routine maintenance.
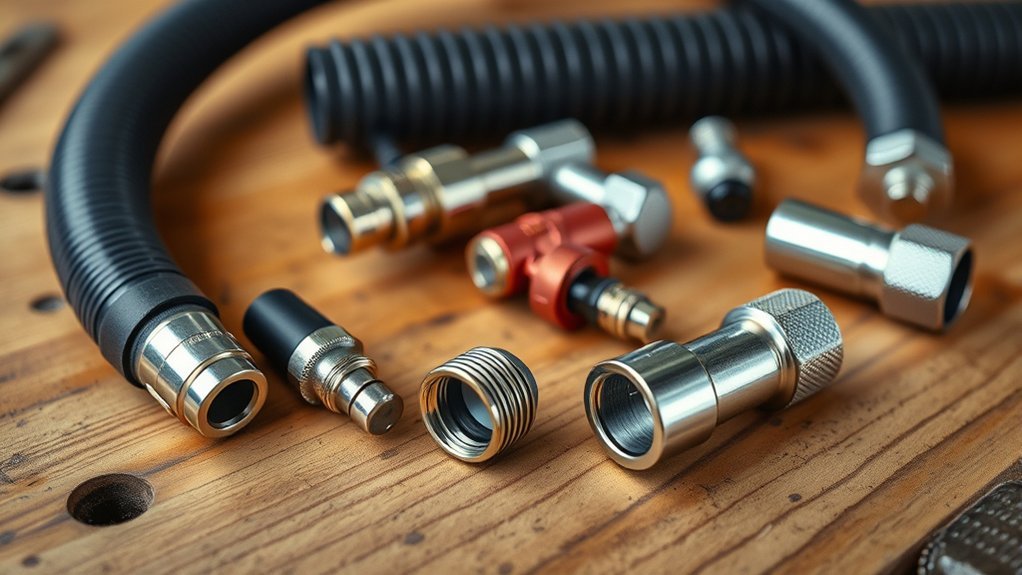
Leakproof Connections And Tips
Hose choice sets the stage for leakproof connections, but the joint between hose and valve controls how much air reaches the tire. A screw-on air chuck can give a stronger seal when precise tire inflation matters. A clip-on chuck can save time when you need quick top-offs.
Run a simple leak check if the gauge reading moves oddly or the inflator takes too long. Listen for hissing, then apply soapy water to the hose ends, chuck, and threaded joints. Bubbles point to a leak.
Replace cracked hoses, worn O-rings, and loose chucks right away. Use polytetrafluoroethylene (PTFE) thread seal tape only on suitable male pipe threads, and avoid wrapping tape where the fitting seals with a gasket or O-ring.
Pro tip: Keep one spare valve core, one spare valve cap, and one compatible chuck seal in your vehicle kit.
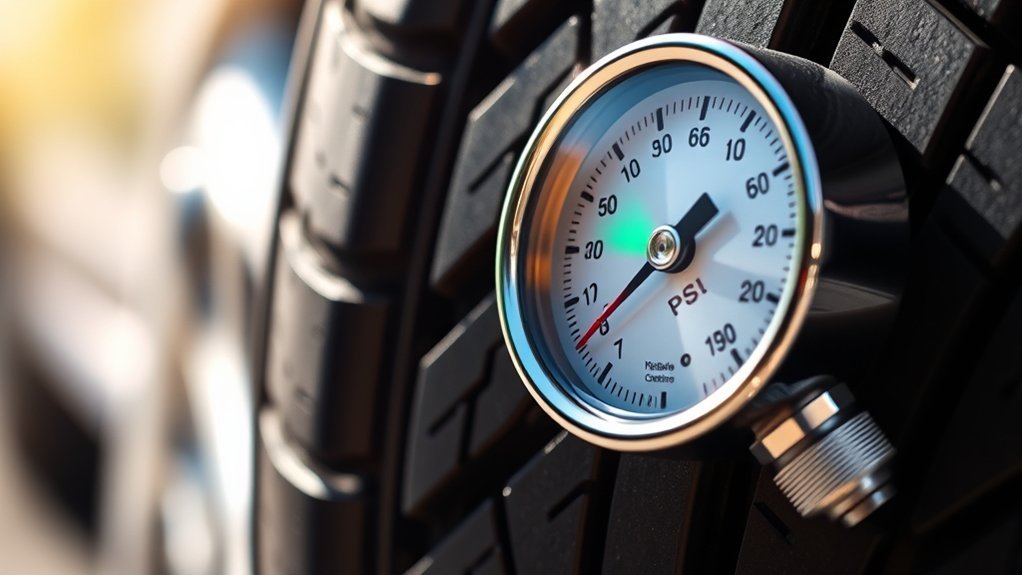
Controls and Sensors: Gauge, Preset PSI, and Auto Shut-Off
You use the pressure gauge to read PSI while you inflate. Digital gauges show a direct number, while analog gauges use a needle and dial. Both types can work well when the gauge has good calibration and the chuck seals correctly.
The automatic shut-off feature stops the pump when pressure reaches your preset PSI. This feature can reduce overinflation risk, but you should still verify the final tire pressure with a trusted gauge.
Some inflators also monitor heat or include thermal protection. These features help protect the motor during longer use, but they do not replace the manual’s duty-cycle instructions.
Digital Pressure Gauges
Digital pressure gauges give clear PSI readings and help you set target pressure with less guesswork. Many units also include backlit displays, preset pressure settings, and auto shut-off control.
Gauge accuracy depends on the model, calibration, and pressure range. Some quality gauges list accuracy standards, while low-cost built-in gauges may drift over time. Compare your inflator reading with a trusted tire gauge if the reading looks unusual.
This habit matters because tire pressure affects handling, tire wear, fuel use, and heat buildup. NHTSA notes that underinflated tires can increase tire stress and contribute to tire failure risk.
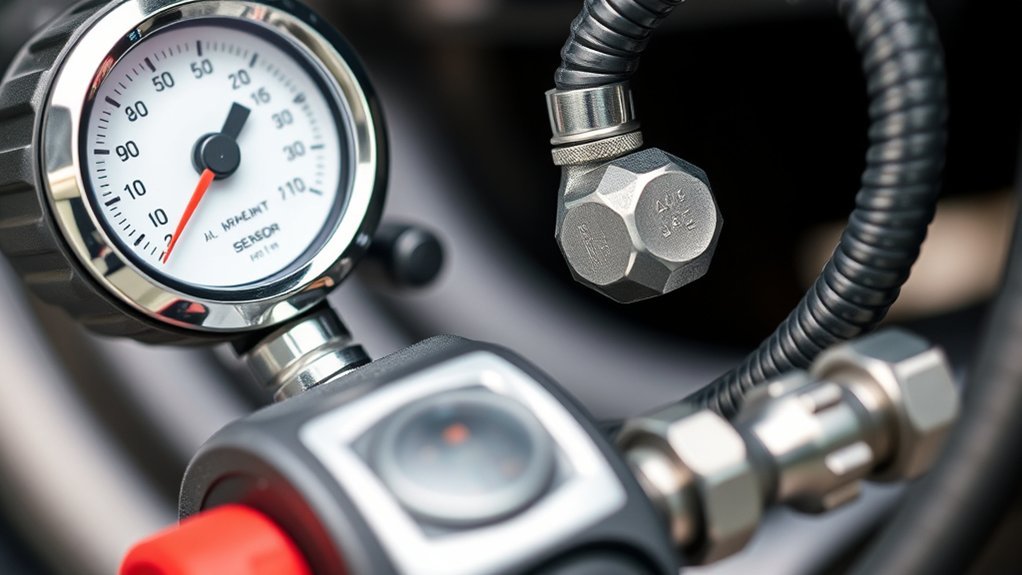
Automatic Shutoff Sensors
When you set a target PSI, the automatic shutoff sensor stops the pump after the sensor reads your target pressure. This helps you avoid constant gauge watching during inflation.
The feature works best when the pressure sensor and gauge agree. Check the reading after the inflator stops, especially when you fill a very low tire or move between different tire sizes.
If the inflator shuts off too early or too late, inspect the chuck seal first. A leaking connection can make the sensor read pressure that does not match the tire.
Cooling, Duty Cycle, and Safety Features
Tire inflators create heat during sustained use. A fan, vented case, metal pump body, and rest periods can help keep the motor and pump within a safer range.
The duty cycle tells you how long the inflator can run before it needs a rest. Some compact inflators use 10 to 15 minute run limits, while other units differ. Always follow the manual for your exact model.
Safety features can include automatic shut-off, thermal overload protection, replaceable fuses, and pressure limits. These features reduce risk, but you still need to watch the inflator during use.
| Feature | Purpose |
|---|---|
| Cooling fan | Helps move heat away from the motor |
| Duty cycle | Sets safe run and rest periods |
| Automatic shut-off | Stops near the preset pressure |
| Thermal protection | Stops operation when heat gets too high |
| Clean vents | Support airflow and steady operation |
Keep vents clear, avoid covering the unit, and stop if you smell hot plastic or hear unusual noise. Let the inflator cool before you restart it.
Maintenance, Troubleshooting, and Part Replacement
A simple maintenance routine can help your inflator last longer. Inspect hoses for cracks, kinks, and abrasion. Check the air chuck seal by attaching it to the valve stem and listening for air loss.
For troubleshooting, start with the easiest faults first. Look for loose power plugs, weak battery charge, blown fuses, blocked vents, worn seals, and leaking fittings.
Use the soapy water test at fittings and the chuck when you suspect a leak. Check the manual or old fitting before buying replacement parts, because thread sizes and seal styles vary by model.
When you install new parts, tighten fittings according to the product instructions. Replace the worn hose, chuck, valve seal, or fuse instead of replacing the whole inflator when the rest of the unit still works well.
Keep a small parts kit with valve caps, a valve core tool, spare fuses, and a compatible chuck seal. This kit helps you act faster when pressure loss happens during travel.
Frequently Asked Questions
What are the main parts of a tire inflator?
The main parts include the power source, motor, pump assembly, intake valve, discharge valve, hose, chuck, pressure gauge, controls, and safety features. Each part supports airflow, pressure control, sealing, or heat protection.
How does a tire inflator pump air into a tire?
The motor drives a piston or pump mechanism that compresses air. The valves guide that air through the hose and chuck into the tire valve stem.
Which part usually causes air leaks on a tire inflator?
The chuck, hose ends, valve core, and threaded fittings often cause small leaks. Start your check at the valve connection because that joint moves each time you attach the inflator.
Should you trust the built-in gauge on a tire inflator?
You can use the built-in gauge as a guide, but you should verify it with a trusted tire gauge when accuracy matters. Built-in gauges can read high or low if the sensor drifts, the chuck leaks, or the hose holds trapped pressure.
Why does a tire inflator get hot during use?
The motor and pump create heat while they compress air. Long run times, large tires, blocked vents, and low battery voltage can make the inflator heat up faster.
Safety Disclaimer: This article gives general information about tire inflator parts and tire-pressure checks. Always follow your vehicle owner’s manual, tire placard, and inflator manual. Ask a qualified mechanic for help if a tire keeps losing air, shows sidewall damage, or becomes unsafe to drive on.
Conclusion
A tire inflator works best when every part seals, pumps, measures, and cools the right way. Check the hose, chuck, gauge, vents, and power source before you rely on the unit during travel.
Use the tire placard or owner’s manual for the correct cold PSI, then confirm the reading with a trusted gauge when needed. Follow the duty-cycle limit so the motor and pump can cool. With simple checks and the right replacement parts, you can keep your inflator ready for safer tire maintenance.
References
- Tire Safety Ratings and Awareness, TireWise — National Highway Traffic Safety Administration, accessed 2026.
- Evaluation of the Effectiveness of TPMS in Proper Tire Pressure Maintenance — National Highway Traffic Safety Administration, 2012.
- Air Compressor User Manual — Porter-Cable / Home Depot document, accessed 2026.
- What’s the Difference Between Full Load and Duty Cycle? — Kaishan USA, 2025.