To reset the check engine light on your Toyota RAV4, start by disconnecting the battery terminals for 1-2 minutes. Make sure to address any underlying issues first. After that, locate and pull the EFI MAIN and ETCS fuses to perform a complete reset. You might also consider alternative methods, like an ignition cycle reset. If the light returns, take action quickly. There’s more to managing your vehicle’s health that’s essential for peak performance.
Understanding the Check Engine Light on Your Toyota RAV4

The check engine light on your Toyota RAV4 is an essential indicator of your vehicle’s health, alerting you to various system malfunctions that could affect performance. When this light activates, it’s vital to recognize that ignoring it or attempting to reset the check engine light without addressing the underlying issues can lead to more severe engine problems. A steady light might suggest a minor issue, while a blinking light indicates an urgent matter requiring immediate attention. Regular maintenance, such as timely oil changes and routine performance checks, can help prevent the activation of the check engine light. By staying proactive, you empower yourself to maintain your vehicle’s reliability and longevity, ensuring a smoother and safer driving experience.
Common Reasons for Check Engine Light Activation
When your check engine light activates on your Toyota RAV4, it often points to common issues like a loose gas cap, faulty oxygen sensors, or worn spark plugs. These problems can affect fuel efficiency, emissions, and overall engine performance. Addressing these issues promptly can help prevent further complications and keep your vehicle running smoothly.
Loose Gas Cap
A loose gas cap often triggers the check engine light in your Toyota RAV4, as it can cause fuel vapor leaks and increase emissions. When the gas cap isn’t properly tightened, your vehicle’s onboard diagnostic system detects this fault and activates the warning. To resolve the issue, you’ll want to securely re-tighten or replace the gas cap. After doing so, you may need to reset the check engine light for it to turn off completely. If the light remains illuminated, it’s essential to conduct further diagnostic testing to identify any underlying problems. Regularly inspecting your gas cap for wear and ensuring it’s fastened correctly can help prevent these issues and maintain peak vehicle performance.
Faulty Oxygen Sensor
If your check engine light comes on, a faulty oxygen sensor might be the culprit, as it plays an important role in monitoring the oxygen levels in your exhaust. Oxygen sensors typically last between 60,000 to 100,000 miles, and wear can cause inaccurate readings. Symptoms of a failing sensor include reduced fuel efficiency, poor engine performance, and increased emissions, which may lead to regulatory non-compliance. Diagnostic trouble codes (DTCs) like P0131 or P0132 can indicate oxygen sensor issues and can be read with an OBD-II scanner. To restore peak performance and efficiency, replacing a faulty oxygen sensor is vital. Once replaced, you can reset the check engine light to clear the codes and guarantee your vehicle runs smoothly.
Worn Spark Plugs
Faulty oxygen sensors aren’t the only reason your check engine light might illuminate; worn spark plugs can also trigger this warning. When spark plugs wear out, they cause incomplete combustion, leading to engine misfires that activate the check engine light on your Toyota RAV4. Typically, spark plugs last between 30,000 to 100,000 miles, influenced by driving conditions and plug type. If you notice decreased fuel efficiency, rough idling, or difficulty starting your engine, it’s time to inspect your spark plugs. Regular replacement not only helps maintain peak fuel efficiency but also prevents further engine damage and costly repairs. Don’t ignore these signs; addressing worn spark plugs can liberate you from future headaches and expenses.
How to Diagnose Issues Before Resetting?
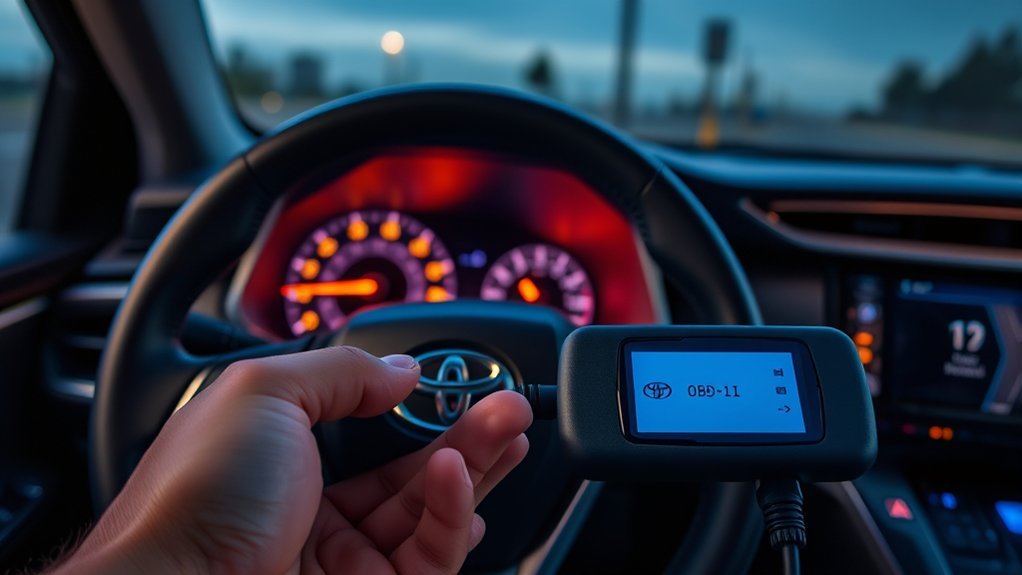
Before resetting the check engine light, you should check the engine codes using an OBD-II scanner to identify the specific issue. Conduct a visual inspection to guarantee components like the gas cap and hoses are intact, and note any common symptoms you’ve experienced. Addressing these factors will help you avoid further engine problems and unnecessary expenses.
Check Engine Codes
When the check engine light illuminates on your Toyota RAV4, diagnosing the issue should be your first step rather than immediately resetting the light. Using an OBD-II scanner to retrieve specific trouble codes is crucial for understanding the problem. Here are some common causes to take into account:
- Loose gas cap
- Faulty oxygen sensors
- Issues with the catalytic converter
- Ignoring the warning light can lead to severe engine damage
Many auto parts stores offer free code reading services, making it easy to identify the issue. By addressing these underlying problems before resetting the warning light, you’ll guarantee your vehicle’s safety and prevent unnecessary repair costs. Take control of your vehicle’s health by diagnosing first!
Visual Inspection Checklist
Diagnosing issues that trigger the check engine light is essential before resetting it, and a visual inspection can often reveal underlying problems. Start by checking the gas cap; make sure it’s tight and undamaged, as a loose cap often activates the check engine light. Next, inspect the air filter and hoses for blockages or disconnections that can impact engine performance. Don’t forget to examine the engine oil level and quality, since low or dirty oil can cause issues reflected by the check engine light. Look for visible leaks in the exhaust system, especially near the catalytic converter and muffler. Finally, inspect the spark plugs and ignition coils for wear, as faulty components can trigger the check engine light.
Common Symptoms to Note
Noticing common symptoms associated with a check engine light can help you pinpoint potential issues before resetting it. Ignoring these signs might lead to more severe problems, so stay vigilant. Here are some symptoms to watch for:
- Rough idling
- Decreased fuel efficiency
- Unusual engine noises
- Noticeable decrease in vehicle performance
A blinking check engine light means you’ve got a serious issue that needs immediate attention, while a steady light usually indicates something less urgent. Start by checking simple problems, like a loose gas cap. For a precise diagnosis, consider using an OBD-II scanner to read the trouble codes. Addressing these symptoms promptly can save you from costly repairs and keep your RAV4 running smoothly.
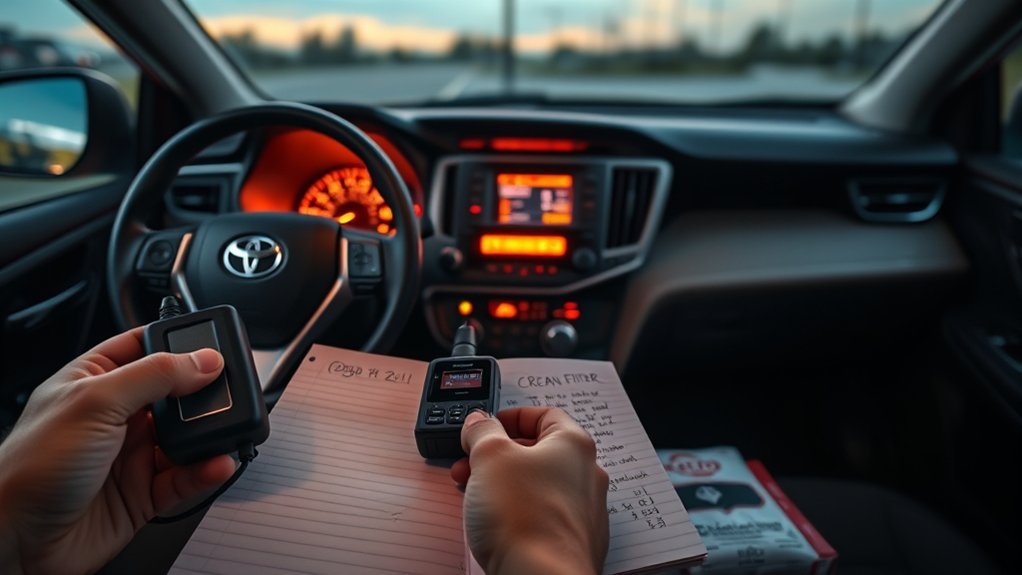
Step-by-Step Reset Guide for the Check Engine Light
To effectively reset the check engine light on your Toyota RAV4, you can follow several straightforward methods. First, disconnect the battery by removing both terminals for 1-2 minutes before reconnecting them. Alternatively, locate the 20 amp EFI MAIN fuse and the 10 amp ETCS fuse; pull them out for a minute or two, then reinsert to clear the engine codes. If you prefer not to disconnect the battery or fuses, try an ignition cycle reset. Simply wait through several ignition cycles without any faults present. Remember, only reset the check engine light after addressing any underlying issues to avoid recurring alerts. Regularly using a code reader can assist in diagnosing specific trouble codes before proceeding.
Alternative Reset Methods Without a Scanner
While you might rely on a scanner for resetting the check engine light, there are effective alternative methods you can use on your Toyota RAV4 without one. Here are some options:
- Disconnect both battery terminals for 30 minutes to reset all vehicle modules.
- Perform an ignition cycle reset by turning the ignition on and off between 10 to 50 times.
- Pull the EFI MAIN (20 amp) and ETCS (10 amp) fuses for a minute before reinserting them.
- Always verify any underlying issues that triggered the check engine light are resolved beforehand.
These methods can help you clear the check engine light, but it’s essential to monitor your vehicle’s performance after resetting to avoid recurring issues.
What to Consider After Resetting Warning Lights?
After you reset the warning lights, monitor your vehicle’s performance closely for any recurring issues. It is crucial to address any underlying problems promptly, as the initial cause may still be present. If the warning lights reactivate, have your vehicle scanned for error codes to pinpoint the issue.
Monitor Vehicle Performance Post-Reset
Once you’ve reset the check engine light on your Toyota RAV4, it’s crucial to closely monitor the vehicle’s performance for any signs of trouble. Watch for unusual behavior, as warning lights may indicate ongoing issues. Keep an eye out for:
- Stalling or hesitation during acceleration
- Decreased power or responsiveness
- Recurring warning lights shortly after reset
- Changes in fuel efficiency or other engine metrics
Regularly inspect the dashboard for additional warning lights like VSC or traction control, as they may signal interconnected problems. Document any diagnostic trouble codes (DTCs) that reappear, as they can help you identify and address the root cause effectively. This proactive approach guarantees your RAV4 remains in prime condition.
Address Underlying Issues Promptly
Monitoring your vehicle’s performance is just the first step; addressing any underlying issues that triggered the check engine light is essential. Ignoring these problems can lead to severe engine damage and costly repairs. Common underlying issues include a loose gas cap, worn spark plugs, or a malfunctioning catalytic converter. These should be diagnosed and repaired promptly to avoid the light reactivating. If you don’t resolve the root causes, the vehicle’s onboard diagnostic system will continue detecting faults, resulting in recurring warning lights. Regularly check for noticeable changes in performance after a reset, as they may indicate ongoing issues. Utilizing free diagnostic services at auto parts stores can help identify specific trouble codes and guide necessary repairs before the check engine light returns.
What to Do If the Light Comes Back On?
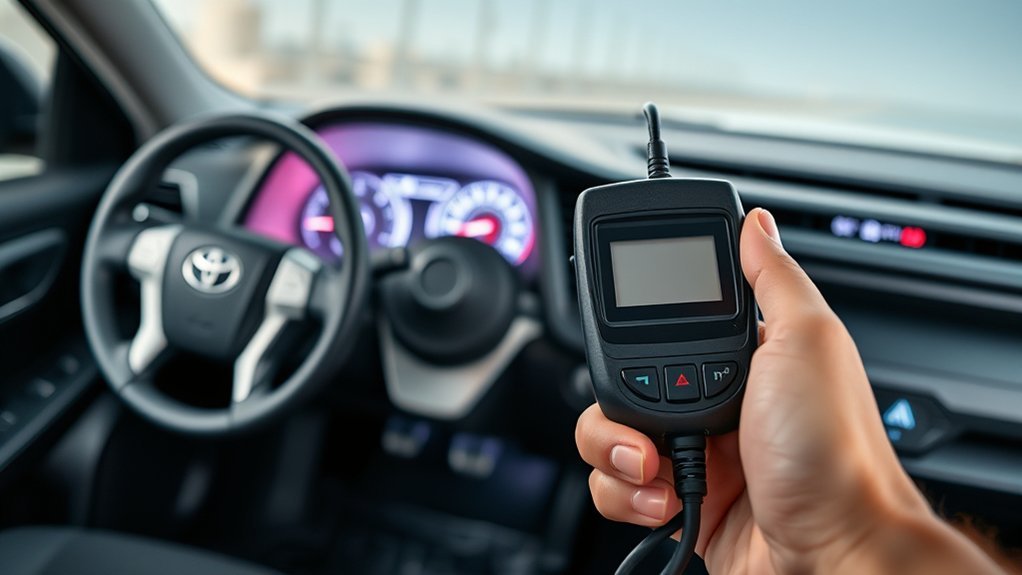
If the check engine light comes back on, it’s essential to take immediate action to diagnose the problem rather than ignoring it. Use an OBD-II scanner to read the diagnostic trouble codes (DTCs) and identify the underlying issue. Addressing these codes is important for effective repairs.
- Check for a loose gas cap, which is a common culprit.
- Look for faulty sensors that may need replacement.
- Investigate potential problems with the catalytic converter.
- Avoid driving with the check engine light illuminated to prevent severe engine damage.
Tips for Preventing Future Check Engine Light Activation
Addressing the underlying issues that trigger the check engine light is only part of maintaining your vehicle’s reliability. To prevent future activations, follow these essential tips:
| Maintenance Task | Frequency |
|---|---|
| Inspect and replace air filter | Every 12,000 miles |
| Check and tighten gas cap | Monthly |
| Schedule oil changes | As per manufacturer’s guidelines |
| Monitor fluid levels | Monthly |
| Replace spark plugs and sensors | Every 30,000 miles |
Other Warning Lights Related to the Check Engine Light
While the check engine light is a vital indicator of engine health, it often appears alongside other warning lights, such as the VSC Off and Trac Off lights, which signal potential issues with your vehicle’s stability and traction control systems. Addressing these lights promptly is essential to maintaining safety and performance.
- A blinking check engine light indicates severe engine problems needing immediate attention.
- A steady check engine light suggests less urgent issues that still require diagnosis.
- Common causes for warning lights include faulty sensors and exhaust or fuel system issues.
- Ignoring these warnings can lead to serious vehicle damage and failed emissions tests.
Stay vigilant about all warning lights to guarantee your vehicle runs smoothly and safely.
Resources for Check Engine Light Maintenance and Support
To effectively manage your Toyota RAV4’s check engine light, you’ll want to utilize a range of resources that provide guidance and support. Regular maintenance and monitoring are essential. Auto parts stores offer diagnostic services to read trouble codes, helping you target repairs effectively. Additionally, consider engaging with online forums where fellow RAV4 owners share valuable experiences and troubleshooting tips. Investing in a quality code reader or Bluetooth adapter can streamline your maintenance efforts. Finally, staying informed about local emissions regulations guarantees your vehicle is inspection-ready.
| Resource Type | Description | Benefits |
|---|---|---|
| Auto Parts Store | Diagnostic services and parts availability | Targeted repairs, quick solutions |
| Online Forums | Community support and shared experiences | Valuable tips and troubleshooting help |
| Code Reader | Device for reading and clearing error codes | Simplifies maintenance tasks |
| Emissions Regulations | Local requirements for vehicle compliance | Guarantees readiness for inspections |
Frequently Asked Questions
Can I Reset the Check Engine Light Myself?
Yes, you can reset the check engine light yourself using diagnostic tools. Consider disconnecting the battery, pulling specific fuses, or cycling the ignition. Just make sure you address any underlying issues first to avoid recurrence.
How Do I Reset My Toyota Check Engine Light?
You can reset your Toyota check engine light using diagnostic tools. Connect an OBD-II scanner to clear error codes, or disconnect the battery briefly. Make certain you’ve addressed any underlying issues to avoid recurrence.
How to Reset Check Engine Light Without Disconnecting Battery Toyota?
To reset the check engine light without disconnecting the battery, try performing an ignition cycle reset or using an OBD-II scanner. Follow troubleshooting tips, ensuring you address any underlying issues before resetting the light.
Where Is the Reset Button on a Toyota RAV4?
You won’t find a reset button on your Toyota RAV4. Instead, you’ll need to use methods like disconnecting the battery or an OBD-II scanner to clear the check engine light effectively.
Conclusion
In summary, resetting the check engine light on your Toyota RAV4 is a straightforward process, but understanding the underlying issues is essential. By diagnosing problems, following the reset steps, and considering alternative methods, you can tackle the light effectively. Remember, prevention is key—stay on top of maintenance, address issues promptly, and monitor your vehicle’s performance. With the right knowledge and care, you can keep your RAV4 running smoothly and confidently.