

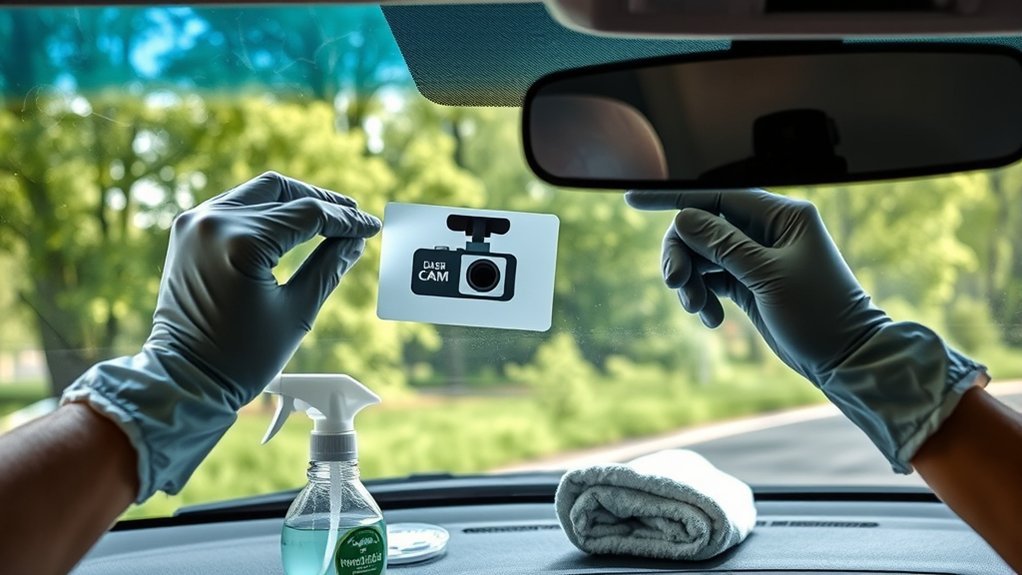
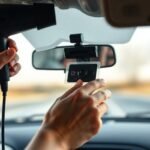
To safely take off a dash cam sticker without damaging the glass, carefully detach the cam from the windshield using dental floss or fishing wire to cut through the adhesive. Avoid scraping the glass directly with sharp tools. For any leftover adhesive, use a scraper at a shallow angle and apply adhesive remover or WD40 to loosen it. Finish by cleaning the area with a quality windshield cleaner. There’s more to know about the removal process that might help you.
How to Safely Remove Your Dash Cam?
When you’re ready to remove your dash cam, start by carefully detaching it from the windshield to avoid any damage. Use dental floss or fishing wire wrapped behind the mount to gently saw through the adhesive. This method minimizes the risk of scratching the glass. Once you’ve removed the dash cam, you’ll likely find adhesive residue lingering on your windshield.
To tackle this, apply a sticker remover or WD40 directly onto the residue to loosen it up. After a few moments, gently scrape off the adhesive with a scraper or razor blade, taking care not to scratch the surface. Once you’ve removed the residue, don’t forget to clean your windshield with a dedicated cleaner. This step guarantees clear visibility and prepares your car for any new installations. By following these steps, you can liberate your windshield from any unwanted remnants seamlessly.
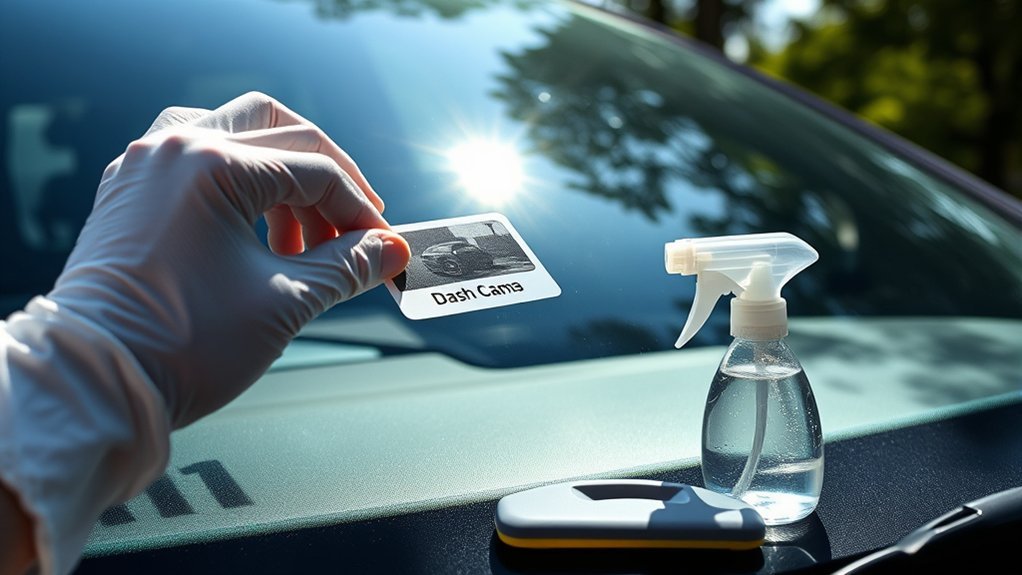
Tools You’ll Need for the Job
Removing a dash cam sticker requires a few essential tools to guarantee the process goes smoothly and safely. First, grab some dental floss or fishing wire to gently cut through the adhesive without damaging the glass. You’ll also need a scraper or razor blade to tackle any leftover adhesive after the dash cam is removed. Don’t forget to wear gloves; they improve your grip and protect your fingers during this task.
For the final cleanup, windshield cleaner is a must to make certain the glass is free from any sticky residue, keeping your visibility clear. If you encounter stubborn adhesive, feel free to explore optional sticker remover products available at your local auto body shop or hardware store. These can make your job much easier. With these tools at hand, you’re well-equipped for a smooth sticker removal process!
Step-by-Step Guide to Removing Your Dash Cam Sticker
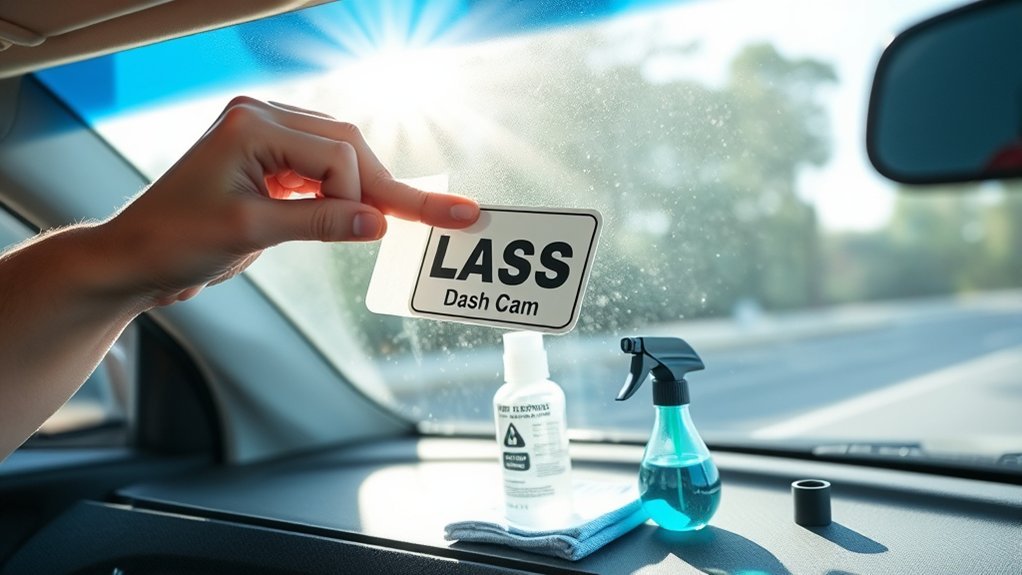
Follow these simple steps to remove your dash cam sticker effectively and safely. Start by applying a sticker remover or WD40 to loosen the adhesive. Depending on the adhesive types used in your sticker, this should help ease the process. Using a scraper or razor blade at a shallow angle, gently lift the edge of the sticker—be cautious not to scratch the glass. As you gradually peel it away, keep tension on the sticker to minimize tearing and avoid leaving residue behind. Once you’ve removed the sticker, use an adhesive remover to tackle any leftover residue, ensuring a clean surface. Finally, clean the area with windshield cleaner for ideal clarity and visibility. Remember, the lifespan of your sticker can affect how easily it comes off, so patience is key. Enjoy your liberated view!
How to Remove Adhesive After Dash Cam Removal
After you’ve successfully taken down your dash cam sticker, you might notice some stubborn adhesive residue lingering on your windshield. Don’t fret; there are effective adhesive removal tips to tackle this issue. Start by applying a sticker remover or WD40 directly to the residue and let it sit for a few minutes. This helps loosen the adhesive, making it easier to remove.
Next, use a scraper or razor blade carefully to peel off the loosened adhesive. Be sure to work slowly to avoid scratching or damaging the glass. Once you’ve removed the adhesive, it’s time for some windshield cleaning methods. Use a quality windshield cleaner to eliminate any leftover sticky residue, ensuring a clear view.
Finally, check for any remaining adhesive spots, as these can affect visibility and may interfere with future dash cam maintenance. Enjoy your newly cleaned windshield!
Best Techniques for Cleaning Your Windshield After Dash Cam Removal
Cleaning your windshield after dash cam removal can be a straightforward process if you follow the right techniques. Here’s how to effectively tackle those pesky adhesive types left behind:
- Use a Sticker Remover or WD40: Spray it on the adhesive to loosen it. This will make the next steps easier.
- Gently Scrape: With a scraper or razor blade, carefully remove any stubborn residue. Be cautious not to damage the glass surface during this process.
- Wipe Down: Finish up by using a quality windshield cleaner to eliminate any remaining sticky spots. This guarantees ideal windshield care and maintains clear visibility.
Always wear gloves for better grip and to protect your hands from cleaning solutions and adhesive residues. If you notice any missed spots, don’t hesitate to repeat the process for that spotless finish you deserve!
What Not to Do When Removing Your Dash Cam
Removing a dash cam sticker requires careful attention to avoid damaging your windshield. Here’s what you shouldn’t do during the process:
| Don’t Do This | Reason | Alternative |
|---|---|---|
| Use excessive force or tools | Can scratch or damage the glass | Use a plastic scraper gently |
| Peel with your fingers | Leaves residue and may damage glass | Opt for adhesive removers |
| Use harsh chemicals or solvents | May harm glass or tint | Use a designated adhesive remover |
| Rush the removal process | Increases risk of damage | Take your time for thoroughness |
| Disregard safety precautions | Risk of injury from sharp edges | Wear gloves for protection |
Instead of rushing, embrace the process. Consider dash cam alternatives to eliminate the need for stickers altogether. Prioritize windshield care and enjoy a liberated driving experience!
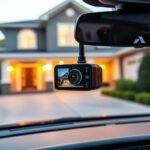
How to Prepare for a New Dash Cam Installation?
Preparing for a new dash cam installation is essential for ensuring peak performance and safety on the road. Follow these steps to set yourself up for success:
- Clean the Windshield: Use effective windshield cleaning techniques to remove dirt, grime, and any adhesive residue from prior installations. A clean surface guarantees best adhesion for your dash cam.
- Choose the Right Location: Measure and find the ideal mounting spot, typically behind the rearview mirror. This placement offers a clear view of the road while not obstructing your line of sight.
- Gather Your Tools: Collect all necessary materials, such as adhesive mounts, a microfiber cloth, and a screwdriver if needed. Having everything handy will make the installation process smooth.
Answering Your Dash Cam Removal Questions
Got questions about removing that dash cam sticker? You’ll want to know the best adhesive removal techniques, how to prevent any damage to your windshield, and the right tools to make the job easier. Let’s tackle these points to guarantee you get your windshield spotless and ready for a new installation.
Common Adhesive Removal Techniques
While it might seem intimidating, removing a dash cam sticker can be done effectively with the right techniques. Familiarizing yourself with adhesive types and using proper removal solutions guarantees surface protection during the process. Here are three effective methods:
- Dental Floss or Fishing Wire: Use these tools to gently cut through the adhesive, minimizing risks to your windshield.
- Sticker Remover or WD40: Apply this to loosen stubborn adhesive residue for easier removal.
- Scraper or Razor Blade: Carefully peel off any remaining adhesive, ensuring you don’t apply too much pressure to avoid scratching.
Afterward, clean your windshield with a cleaner to remove any leftover residue. Always test products on a small area first to guarantee they won’t damage the glass.
Preventing Windshield Damage
When removing a dash cam, it’s crucial to prioritize your windshield’s safety to avoid costly damage. Start by using dental floss or fishing wire to gently cut through the adhesive properties instead of pulling the camera off directly. This method guarantees better windshield care and minimizes the risk of scratches or cracks. Avoid excessive force or sharp tools that could harm the glass during removal. Soften the adhesive adequately with a sticker remover or WD40 before scraping it off; this technique reduces the chances of damaging the surface. Always wear gloves for better grip and to prevent slips. After removal, clean the windshield thoroughly to eliminate any adhesive residue that could obscure visibility and create safety hazards.
Tools for Easy Removal
Removing a dash cam sticker can be a straightforward process with the right tools at your disposal. Equip yourself with these essential items to make the task easier and guarantee proper windshield care:
- Dental Floss or Fishing Wire: Perfect for cutting through the adhesive without damaging the glass.
- Scraper or Razor Blade: Use this gently to remove any leftover adhesive after the dash cam is off.
- Adhesive Solutions (Sticker Remover or WD40): These can help dissolve stubborn remnants, making peeling off a breeze.
Always wear gloves for a better grip and to protect your fingers. Finish with windshield cleaner to guarantee a clear surface, ready for visibility or new installations. Embrace these removal techniques and enjoy the liberation of a clean windshield!
Final Thoughts on Dash Cam Removal and Installation
Successfully removing a dash cam requires careful attention to detail to guarantee a smooth process and protect your windshield. The benefits of having a dash cam are undeniable, but when it’s time to remove it, you want to avoid any mishaps. Using dental floss or fishing wire can effectively detach the camera while minimizing damage to the glass. After removal, tackle any leftover adhesive with products like WD40 or sticker remover to assure a clean surface. This step is crucial for maintaining windshield care and avoiding visibility issues.
Once you’ve addressed the adhesive, give your windshield a thorough clean with a specialized cleaner. This leaves you with a pristine surface for any future dash cam installation. By being mindful of adhesive types and taking your time during removal, you set the stage for a hassle-free experience, making sure that both your windshield and your next dash cam are in excellent condition.
Frequently Asked Questions
How to Remove Dash Cam Adhesive From Windshield?
To remove dash cam adhesive from your windshield, apply adhesive remover to the residue, let it sit, and gently scrape it off. Repeat if necessary, then clean the glass for ideal visibility and care.
How to Remove Windshield Sticker Without Damage?
Like peeling a sun-kissed orange, use sticker removal techniques like heat and dental floss. For adhesive residue solutions, apply WD40, then gently scrape. Finish with windshield care tips for a crystal-clear view ahead.
How to Remove Dashboard Sticker?
To remove a dashboard sticker, heat it gently, then lift the edges with a scraper. For any adhesive residue, use specialized solutions or WD40. Finally, clean the glass using windshield care tips for a clear finish.
Can WD-40 Remove Stickers From Glass?
WD-40’s a miracle for sticker removal techniques. Spray it on and watch adhesive residue vanish like magic! Just remember to follow up with effective glass cleaning methods for that crystal-clear finish. You’ll feel liberated!
Conclusion
Removing your dash cam sticker doesn’t have to feel like defusing a bomb. With the right tools and techniques, you can peel it away cleanly, leaving your windshield spotless and ready for a new installation. Remember to follow the steps carefully, and don’t rush the process. A little patience goes a long way! Now you’re all set to hit the road with a clear view ahead and your new dash cam in place. Safe driving!


Leave a Reply