What’s in This Article
- How to Safely Remove Your Dash Cam?
- Before You Begin: Time and Safety Checks
- Tools You’ll Need for the Job
- Step-by-Step Guide to Removing Your Dash Cam Sticker
- How to Remove Adhesive After Dash Cam Removal
- Best Techniques for Cleaning Your Windshield After Dash Cam Removal
- What Not to Do When Removing Your Dash Cam
- How to Prepare for a New Dash Cam Installation?
- Answering Your Dash Cam Removal Questions
- Frequently Asked Questions
A stuck dash cam sticker can leave glue, haze, and marks if you pull it off too fast. The safest method starts with loosening the mount, cutting through the adhesive, and cleaning the glass in stages. Use dental floss or fishing wire to separate the mount from the windshield, then soften leftover adhesive with a glass-safe remover or WD-40. Work slowly, avoid hard scraping, and finish with a quality windshield cleaner so your view stays clear.
Quick Answer
To remove a dash cam sticker safely, slide dental floss or fishing wire behind the mount and saw through the adhesive. Soften leftover glue with adhesive remover or WD-40, then lift it with a plastic scraper. Use a metal razor only on bare glass, at a shallow angle, and never on tinted film or rear defroster lines.
Key Takeaways
- Cut through the dash cam adhesive with dental floss or fishing wire before you pull the mount.
- Use a glass-safe adhesive remover, WD-40, or a similar product to soften sticky residue.
- Choose a plastic scraper first to reduce the chance of scratching your windshield.
- Avoid blades on window tint, rear glass defroster lines, and plastic trim.
- Clean and dry the glass before you install a new dash cam mount.
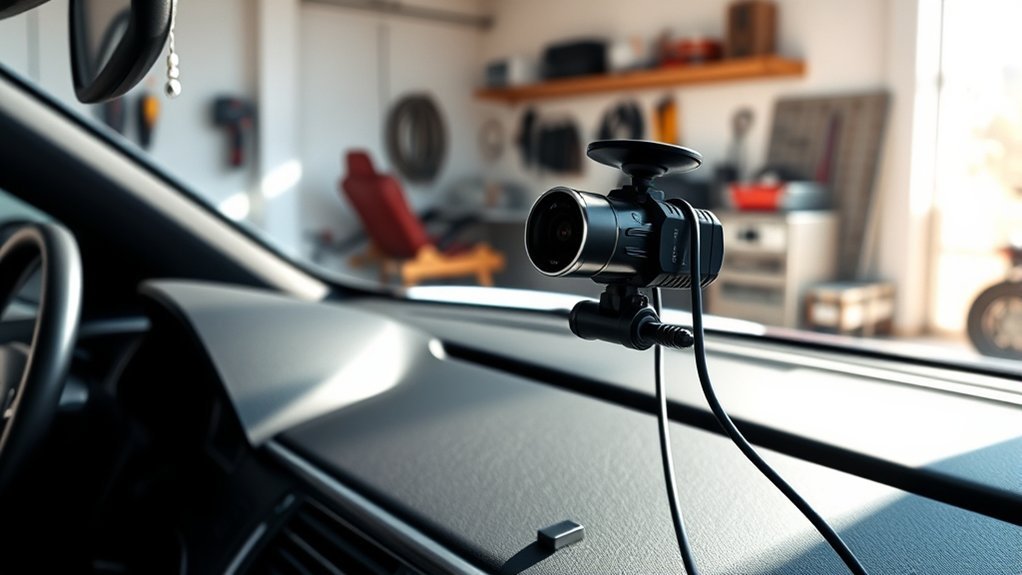
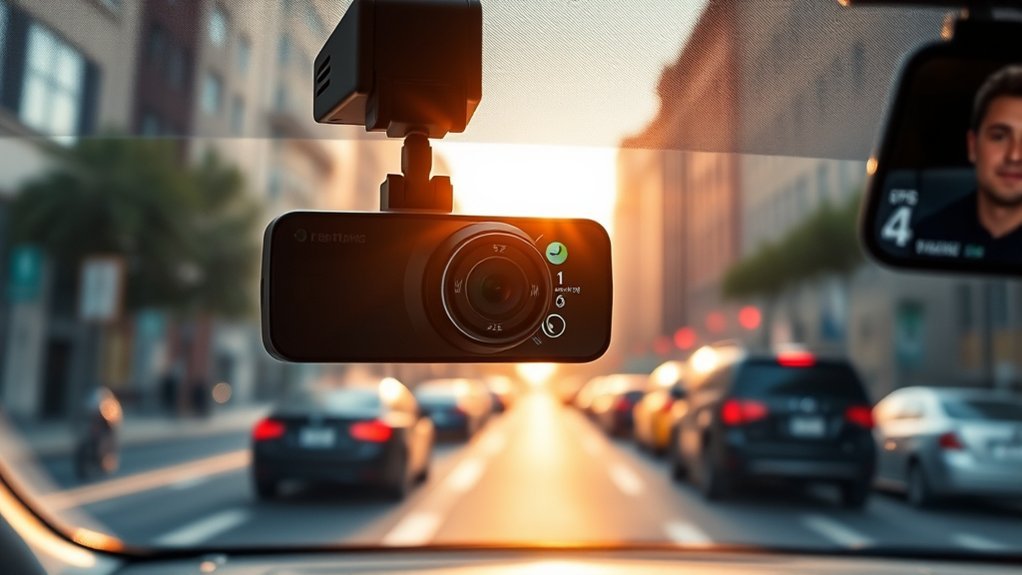
How to Safely Remove Your Dash Cam?
When you’re ready to remove your dash cam, start by taking the camera body off the mount if your model allows it. This gives you more room to work and helps you avoid pulling too hard on the windshield. Slide dental floss or fishing wire behind the adhesive pad, then move it back and forth until the mount comes loose.
Once you remove the mount, you may see adhesive residue on the glass. Apply a small amount of sticker remover, WD-40, or another adhesive remover to the residue and let it sit for a few minutes. Then lift the softened glue with a plastic scraper and clean the area with windshield cleaner.
Warning: Do not use a metal blade on tinted glass, rear glass, defroster lines, or plastic trim because it can cause lasting damage.
Before You Begin: Time and Safety Checks
Estimated total time: 15 to 30 minutes for most dash cam stickers. Old, baked-on adhesive may take longer, especially if the vehicle sat in hot sun for months.
Park the car in a shaded, well-ventilated area before you start. Direct heat can dry some cleaners too fast, while poor airflow can make solvent fumes stronger than needed. If the windshield has aftermarket tint, test any cleaner on a small hidden edge first.
Read the label on any adhesive remover before you use it. Some products work on glass but may harm rubber seals, plastics, painted trim, or tint film. Keep the cleaner on the adhesive, not on nearby materials.
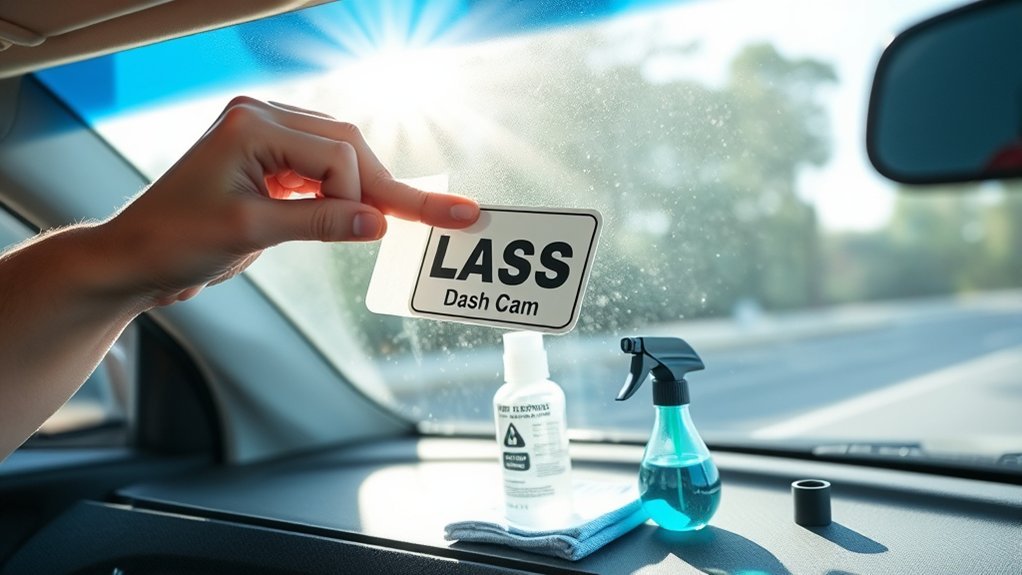
Tools You’ll Need for the Job
Removing a dash cam sticker goes much smoother when you prepare the right tools first. Gather items that cut the adhesive, protect your hands, and clean the glass without leaving haze.
- Dental floss or fishing wire: Use it to cut through the adhesive pad behind the mount.
- Plastic scraper: Choose this first for safer glue removal on glass.
- Adhesive remover or WD-40: Use it to soften sticky residue before scraping.
- Microfiber cloth: Wipe the glass without leaving lint or rough marks.
- Windshield cleaner: Remove oily cleaner residue and restore a clear view.
- Gloves: Protect your fingers and improve your grip while you work.
You can keep a metal razor blade nearby for bare glass only, but use it with care. Hold it almost flat against the windshield and stop if you feel it catch.
Step-by-Step Guide to Removing Your Dash Cam Sticker
Follow these steps to remove your dash cam sticker with less risk of scratches, broken mounts, or stubborn glue.
- Remove the camera body: Detach the dash cam from its mount if your model allows it.
- Warm the adhesive gently: Let the car sit in mild warmth, or use a hair dryer on low heat for a short time. Keep heat away from tint and plastic trim.
- Cut through the adhesive pad: Slide dental floss or fishing wire behind the mount and move it in a slow sawing motion.
- Pull the mount away carefully: Keep even tension on the mount and avoid twisting it hard against the glass.
- Soften leftover adhesive: Apply adhesive remover or WD-40 to the glue and let it sit for a few minutes.
- Scrape the residue gently: Use a plastic scraper first. Use a metal razor only on bare glass and only at a shallow angle.
- Clean the windshield: Wipe the area with windshield cleaner and a microfiber cloth until no oily film remains.
- Check the glass from outside: Look for haze, missed glue, or streaks before you install a new mount.
The age and type of adhesive affect how easily the sticker comes off. Take your time and repeat the softening step instead of forcing the mount free.
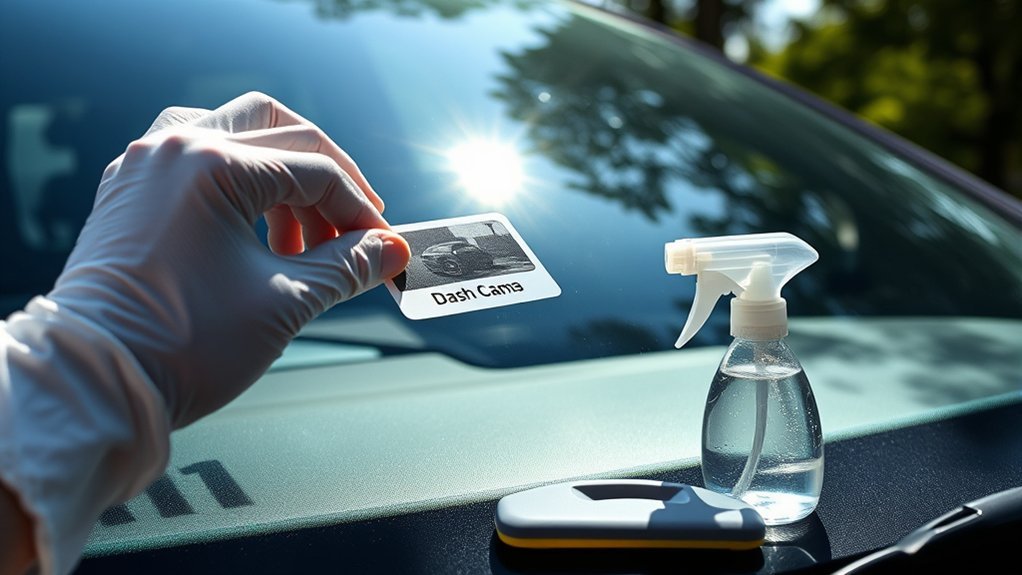
How to Remove Adhesive After Dash Cam Removal
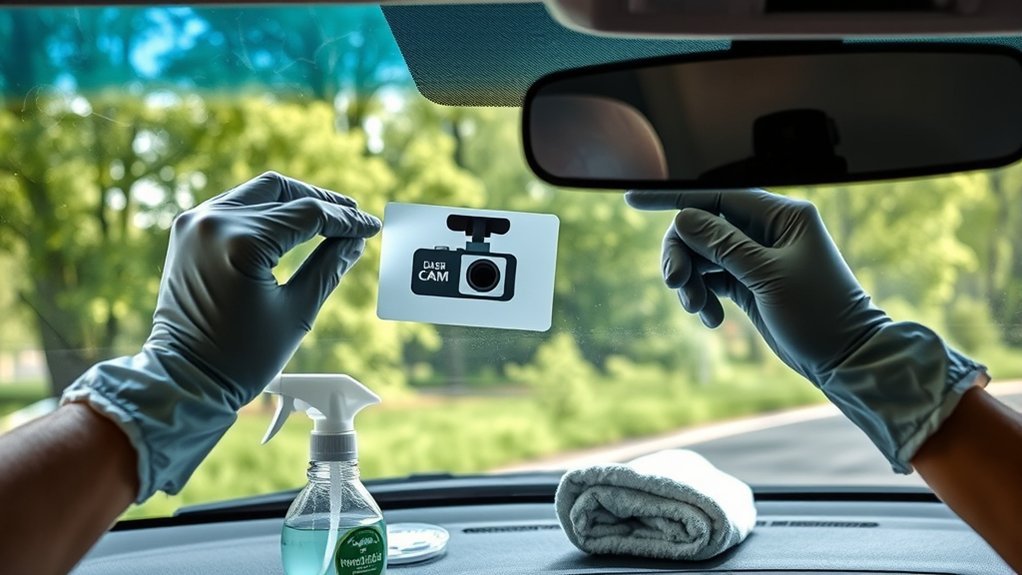
After you take down the dash cam mount, adhesive residue may stay on your windshield. Start with a small amount of sticker remover, WD-40, or another glass-safe adhesive remover. Let the product sit long enough to soften the glue, but don’t let it dry on the glass.
Next, lift the loosened adhesive with a plastic scraper. Keep the scraper flat and use short, light strokes. If glue remains, add more remover and repeat the process instead of pressing harder.
Once the adhesive comes off, clean the area with windshield cleaner. This removes oily residue that can cause glare, streaks, or poor adhesion for your next mount.
Pro tip: Wipe the glass from two directions, inside horizontally and outside vertically, so you can spot which side has streaks.
Best Techniques for Cleaning Your Windshield After Dash Cam Removal
Cleaning your windshield after dash cam removal helps remove glue, oil, and cleaner film. Use a simple three-part process:
- Soften the residue: Spray adhesive remover or WD-40 onto the sticky area, then give it a few minutes to work.
- Lift the glue: Use a plastic scraper and light pressure. Keep sharp tools away from tint, defroster lines, and trim.
- Wipe the glass: Use windshield cleaner and a clean microfiber cloth to remove the final film.
Wear gloves to protect your hands from cleaning products and sticky residue. If you still see small spots, repeat the remover step on those areas only.
What Not to Do When Removing Your Dash Cam
Dash cam sticker removal can go wrong when you rush or use the wrong tool. Use the safer alternative in each case below.
| Don’t Do This | Reason | Alternative |
|---|---|---|
| Use excessive force or tools | Can scratch or damage the glass | Use a plastic scraper gently |
| Peel with your fingers only | Can leave residue and stress the glass | Cut the adhesive with floss or wire |
| Use harsh chemicals near trim | May harm tint, rubber, or plastic | Use a glass-safe adhesive remover |
| Rush the removal process | Raises the risk of damage | Soften, scrape, and repeat slowly |
| Ignore safety precautions | Can lead to cuts or slips | Wear gloves and use light pressure |
Choose a removable mount or a lower-tack adhesive pad if you plan to move your dash cam often. This can reduce cleanup work later and make your next removal easier.
How to Prepare for a New Dash Cam Installation?
Preparing for a new dash cam installation helps the mount stick better and keeps your view clear. Follow these steps before you attach the new adhesive pad:
- Clean the windshield: Remove dirt, oil, and old adhesive residue with windshield cleaner and a microfiber cloth.
- Choose the right location: Place the dash cam where it has a clear road view but does not block your line of sight.
- Check local rules: Some areas limit where you can place devices on the windshield, so confirm the rules where you drive.
- Dry the glass fully: Let the surface dry before you attach the new mount.
- Press the mount firmly: Hold steady pressure on the adhesive pad for the time listed in the product instructions.
Note: For commercial vehicles in the United States, Federal Motor Carrier Safety Administration rules limit how far certain safety devices can sit into the windshield wiper sweep area.
Answering Your Dash Cam Removal Questions
A few details can make dash cam removal safer and cleaner. Focus on the adhesive type, the glass surface, and the tool you use for each step.
Common Adhesive Removal Techniques
You can remove most dash cam adhesive with one of three methods. Start with the gentlest option, then move to a stronger cleaner only if the residue stays in place.
- Dental floss or fishing wire: Use it to cut through the adhesive pad behind the mount.
- Sticker remover or WD-40: Apply it to soften stubborn adhesive before scraping.
- Plastic scraper: Lift residue with steady, light pressure after the glue softens.
Always test any product on a small hidden area first. This matters most if your windshield has tint, a sensor housing, or nearby plastic trim.
Preventing Windshield Damage
Protect your windshield by avoiding direct pulling, twisting, and heavy scraping. Cut through the adhesive first, then soften any residue before you scrape. This gives the glue time to release from the glass.
Keep metal blades away from tinted glass and rear windows with defroster lines. If you must use a metal razor on bare glass, hold it low and flat, then make short strokes. Stop right away if the blade skips, chatters, or catches.
Tools for Easy Removal
The easiest removal setup uses a cutting tool, a softening product, and a safe scraping tool. Dental floss or fishing wire helps remove the mount itself. A plastic scraper and adhesive remover handle the residue.
Finish with windshield cleaner so the surface feels smooth and looks clear. This final wipe also helps the next adhesive pad bond to clean glass.
How to Avoid the Same Adhesive Problem Next Time
You can make the next removal easier by choosing the mount location and adhesive pad carefully. Mount the dash cam where it records the road clearly, but keep it out of your direct view. Check your local windshield placement rules before you attach it.
Use the adhesive pad that came with your dash cam or a compatible replacement from the same brand. Clean and dry the glass before installation, then avoid moving the mount once the adhesive touches the windshield. If you plan to switch vehicles often, consider a suction mount or a removable mounting system.
Frequently Asked Questions
How do you remove dash cam adhesive from a windshield?
Apply a glass-safe adhesive remover or WD-40 to the residue and let it sit for a few minutes. Lift the softened glue with a plastic scraper, then clean the area with windshield cleaner.
How do you remove a windshield sticker without damage?
Warm the adhesive gently, then cut behind the sticker with dental floss or fishing wire. Use a plastic scraper and avoid sharp tools unless you work on bare glass with extreme care.
How do you remove a sticker from the dashboard?
Use a gentler method on dashboard materials because plastic, vinyl, and leather can mark easily. Warm the sticker lightly, lift one edge with a plastic tool, and use a surface-safe cleaner made for your dashboard material.
Can WD-40 remove stickers from glass?
WD-40 can help loosen sticker residue on glass when you apply it, let it sit, and wipe the glue away. Clean the glass afterward because WD-40 can leave an oily film.
Should you use a razor blade on windshield adhesive?
Use a plastic scraper first because it lowers the chance of scratches. Use a metal razor only on bare glass, at a shallow angle, and never on tint, rear defroster lines, or trim.
Conclusion
The safest way to remove a dash cam sticker is to cut the adhesive first, soften the residue, and scrape gently. Don’t rush the process or pull the mount straight off the glass. Clean the windshield well before you install a new dash cam mount. With a careful approach, you can protect the glass and keep a clear view for your next drive.
References
- 3M Adhesive Remover — 3M, accessed 2026
- Removing Adhesive Residue — WD-40, accessed 2026
- Clear Glass of Glue & Residue — Goo Gone, accessed 2026
- Authorized Windshield Area for the Installation of Vehicle Safety Technology — Federal Motor Carrier Safety Administration, 2022
- California Vehicle Code Section 26708 — Justia, 2025