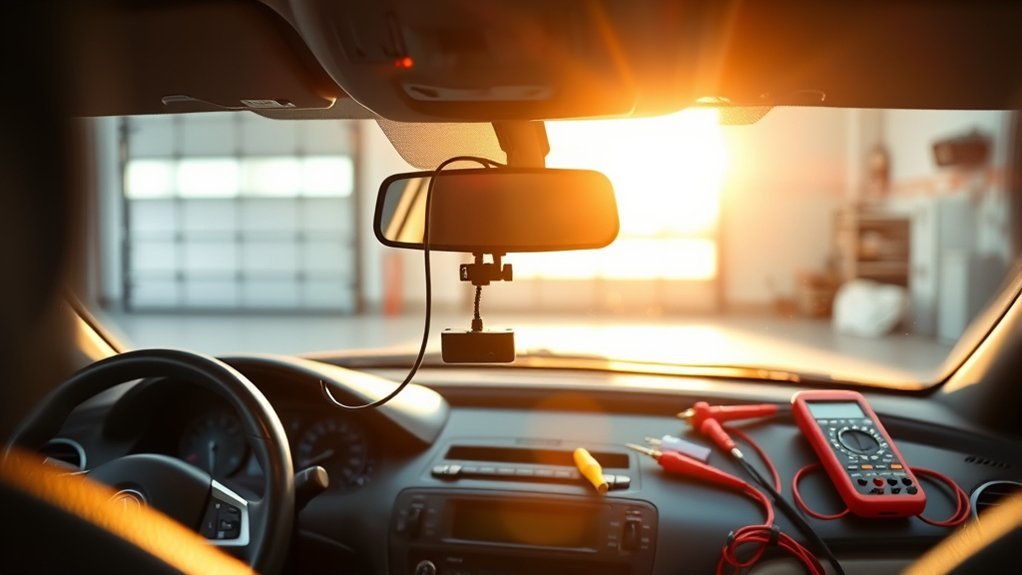
To install a dash cam without using a cigarette lighter, hardwire it directly to your vehicle’s fuse box. Start by locating a non-critical fuse slot that’s ignition-controlled. Use a multimeter to check for suitable voltage. Employ a hardwire kit to connect to the fuse slot, ensuring secure and insulated connections to prevent short circuits. You can also utilize the OBD-II port for a clean power option.
Quick Answer
- Hardwire your dash cam straight to the fuse box or OBD-II port for a clean look and steady power.
- Pick a non-critical ignition-controlled fuse slot and test it with a multimeter.
- Use a hardwire kit with proper insulation to avoid shorts and battery drain.
- This setup keeps parking mode working safely when the car is off.
Why You Should Consider Hardwiring Your Dash Cam
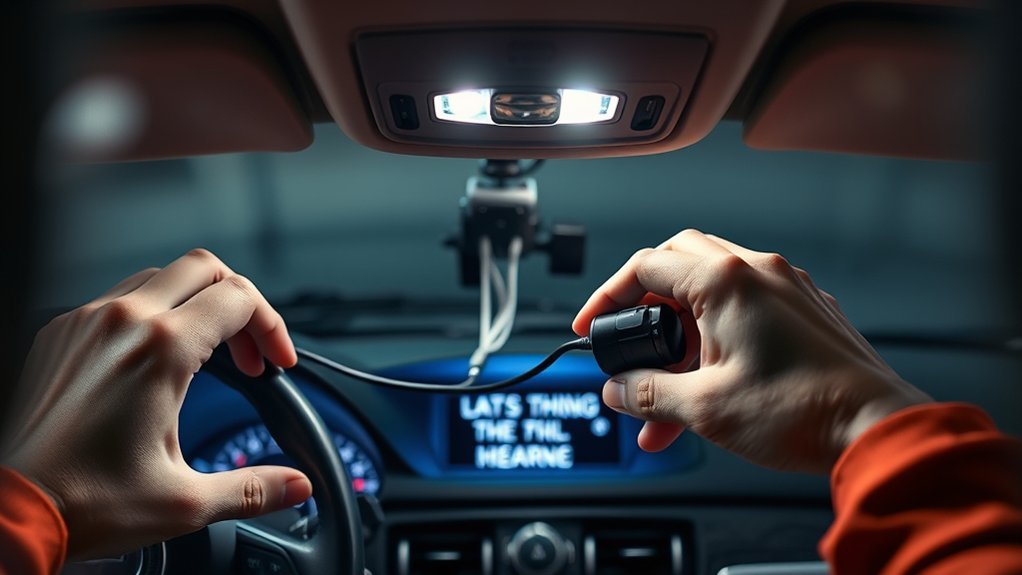
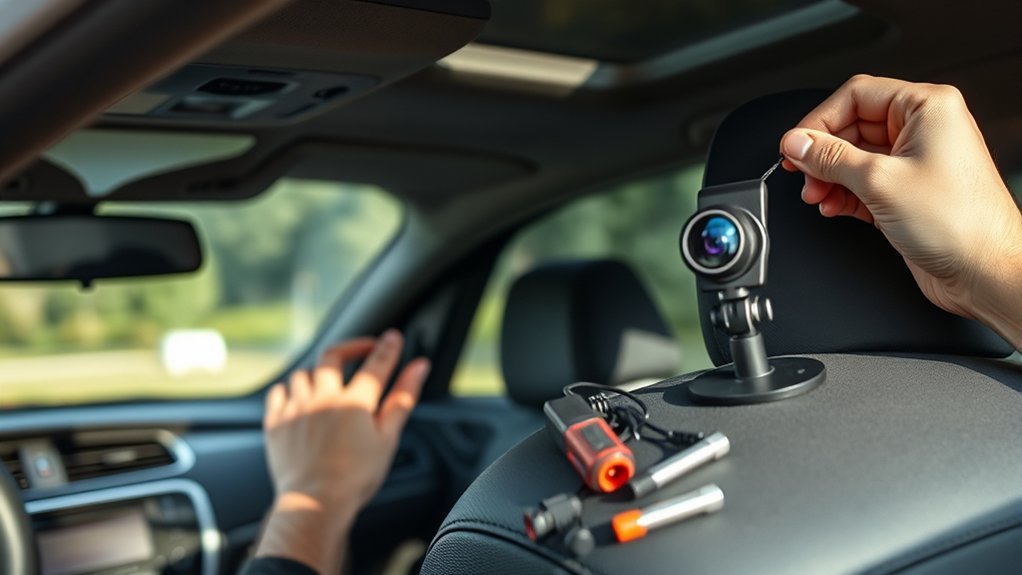
When you hardwire your dash cam, you get a cleaner installation with hidden wires. You also unlock advanced features that boost your vehicle’s safety. Connecting directly to the fuse box gives you a reliable power supply and stops the disconnection problems you get with a cigarette lighter socket. Your dash cam stays on continuously, including parking mode recording even when the car is off.
A hardwire kit creates a professional-grade setup and lowers the chance of battery drain. With ignition-controlled power, the camera only records while the vehicle runs. You clear clutter from the interior and use every feature your dash cam offers. The result is better surveillance and real peace of mind.
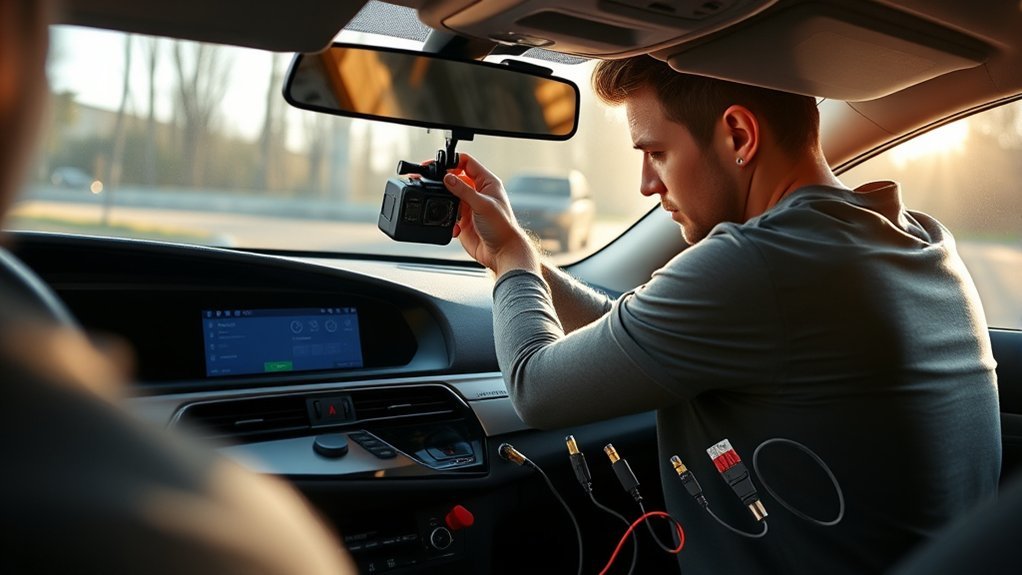
A Comprehensive Step-by-Step Guide to Hardwiring Your Dash Cam
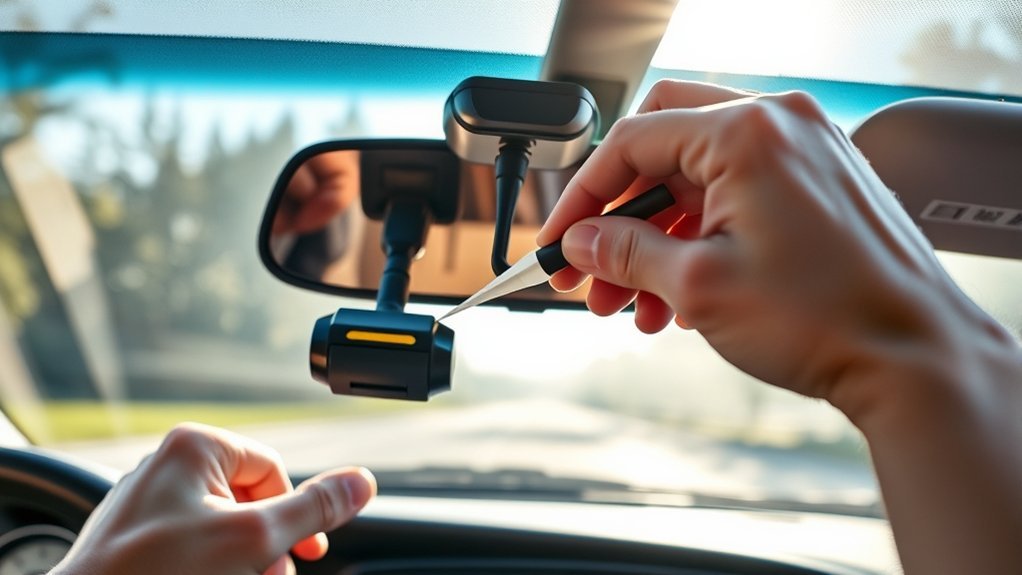
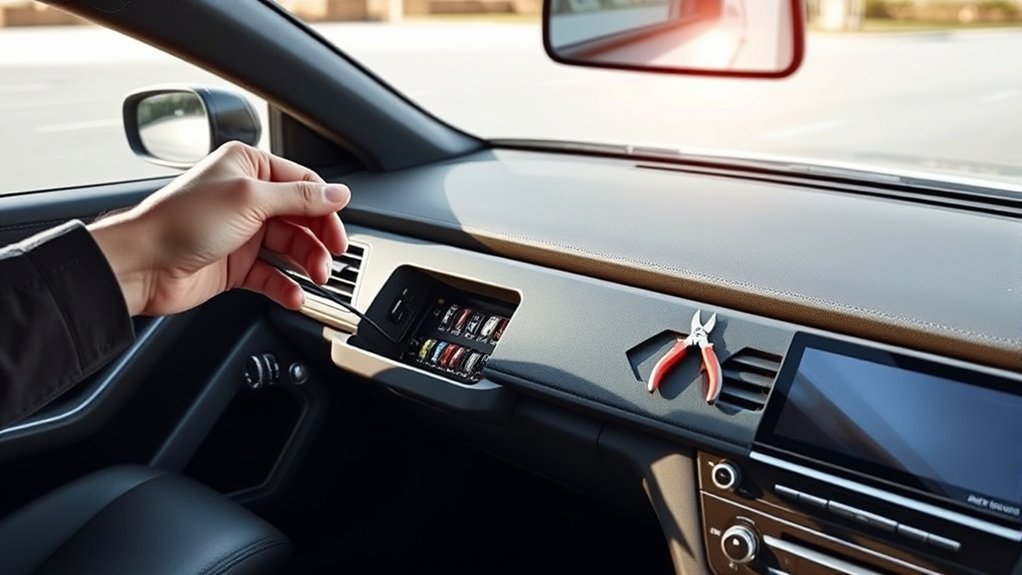
To hardwire your dash cam safely, follow these steps. First find your vehicle’s fuse box and pick a non-critical empty slot using the diagram in your owner’s manual. Test the slot with a multimeter to confirm it supplies power only when the ignition is on. Next use a hardwire kit that includes a DC step-down converter to bring the voltage from 12V down to 5V, because most dash cams need USB power. Attach the ground wire to a bolt connected to the car body. Insulate every connection to stop short circuits. Finally route the wiring neatly through the interior, using zip ties along the A-pillar and behind trim panels.
Tips for Choosing the Right Fuse Slot for Your Vehicle
When you pick a fuse slot for your dash cam, stick to non-critical fuses that power accessories instead of core systems. Check your vehicle’s fuse diagram for slots labeled “Accessory” or “Ignition.” These supply power only when the key is on. Always test the voltage first to make sure the slot meets your dash cam’s needs.
Identify Non-Critical Fuses
Finding the right fuse keeps your car’s important systems untouched. Follow these steps:
- Consult the fuse box diagram: Look for fuses that don’t control airbags or stability control.
- Locate empty slots: Focus on those labeled “Accessory” or “Ignition” so power reaches the dash cam only when the vehicle runs.
- Test with a multimeter: Make sure the slot gives steady power once the ignition turns on.
Stay away from fuses tied to critical parts. An Add-A-Circuit adapter can make the job simpler and safer.
Use Vehicle’s Fuse Diagram
Your vehicle’s fuse diagram shows exactly which slots are safe. Search for accessory or ignition-controlled slots that turn on only with the engine. This choice prevents battery drain and protects the rest of the electrical system. Skip anything linked to airbags or stability control. An Add-A-Circuit adapter lets you add a dedicated fuse for the dash cam without touching existing circuits.
Test Voltage Before Connecting
Once you choose a slot, test the voltage before you connect anything. Use a multimeter while the ignition is off and then on. Check both sides of the fuse to confirm you get about 12V when the car runs. Look for slots marked ACC or Ignition. After testing, attach the hardwiring kit and double-check every connection before you close the fuse box.
What You Need to Know About Single Fuse and Add-On Fuse Hardwire Kits
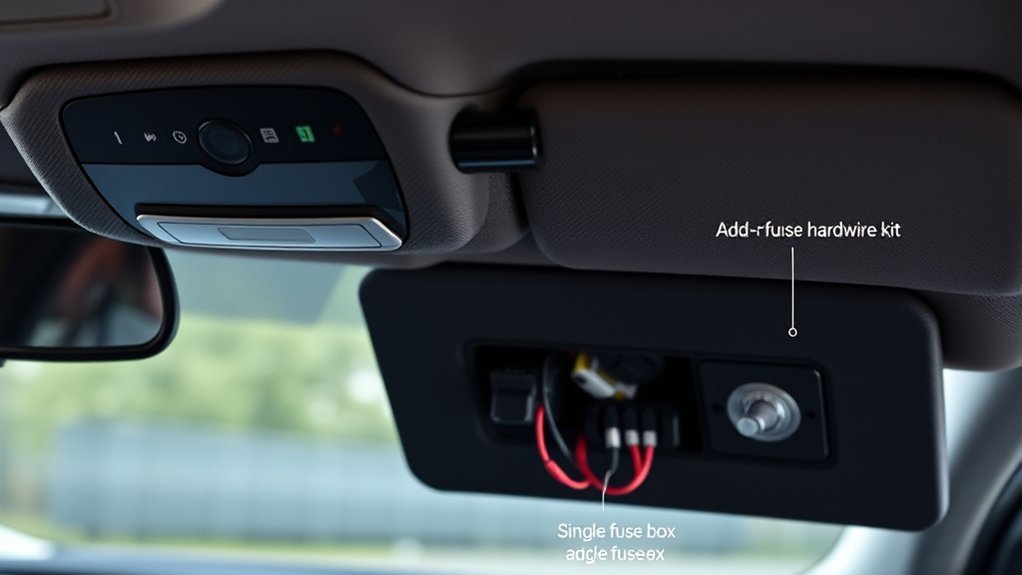
Single-fuse and add-on-fuse hardwire kits both give clean installations, but they work differently. Single-fuse kits plug straight into an empty slot. Add-on kits use a tap so the original fuse stays in place. Always match the kit’s voltage and amperage to your dash cam to avoid problems.
Single Fuse Hardwire Kits
Single-fuse hardwire kits deliver a clean, professional look. They connect right to an empty fuse slot and hide all wires. Choose a non-critical slot that turns on with the ignition. Test voltage with a multimeter before you install. Once connected you get uninterrupted recording and full access to parking mode.
Add-On Fuse Advantages
Add-on fuse kits keep your original fuse in place while you tap in the new power line. This method reduces risk to critical systems and helps protect your warranty. Here’s how the two kits compare:
| Feature | Single Fuse Kit | Add-On Fuse Kit |
|---|---|---|
| Installation Ease | Moderate | Easy |
| Warranty Protection | Limited | Enhanced |
| Risk of Double Fusing | Possible | None |
Pick the kit that fits your comfort level and vehicle needs.
Installation Process Essentials
Both kits need careful work. A single-fuse kit goes into an empty slot for a tidy result. An add-on kit uses a fuse tap on an existing circuit. Always test voltage with a multimeter before you plug in the power cable. Use quality parts and secure every connection.
How to Use the OBD-II Port for Dash Cam Installation
The OBD-II port gives you simple power without extra wiring. Most vehicles made after 1996 have one. Just plug in an OBD-II hardwire kit and hide the cable. The connection powers the dash cam and supports parking mode when the car is off. Check that the kit matches your vehicle before you install it.
Tips to Prevent Battery Drain When Hardwiring Your Dash Cam
Good planning stops battery drain. Use an Add-A-Circuit adapter on an ignition-controlled slot so power flows only when the engine runs. Choose a hardwire kit with a low-voltage cutoff that turns the camera off before the battery gets too low. A separate battery pack or supercapacitor can run parking mode without touching the main battery. Check voltage regularly with a multimeter and keep all wiring insulated.
Avoiding Common Installation Mistakes
Small mistakes can cause big problems. Here are the most common ones and how to fix them:
| Common Mistakes | Solutions |
|---|---|
| Ignoring fuse slots | Identify and use the correct fuse slots for hardwiring to avoid double fusing. |
| Connecting to critical systems | Check your vehicle’s fuse box diagram to avoid airbags or stability control. |
| Unverified voltage outputs | Use a multimeter to test voltage outputs of fuse slots before installation. |
| Poor connection securing | Secure connections with soldering or high-quality connectors, insulating them properly. |
| Messy wiring | Tidy excess wiring and use zip ties for a clean installation look. |
Exploring Alternative Power Sources for Dash Cams
You have several easy ways to keep your dash cam powered. Hardwire kits connect to the fuse box for hidden cables and full features. The OBD-II port offers quick plug-and-play power. Battery packs or capacitors run the camera during long parking sessions without draining the car battery. Each option keeps the interior neat and the camera ready when you need it.
Frequently Asked Questions
What if My Car Doesn’t Have a Cigarette Lighter Plug?
If your car doesn’t have a cigarette lighter plug, explore alternative power sources like USB charging options, hardwiring to vehicle battery connections, or using the OBD-II port for a seamless and efficient dash cam installation.
Do All Dashcams Need a Cigarette Lighter?
No, not all dash cams need a cigarette lighter. You can explore dash cam types that utilize alternative power sources, ensuring battery life remains strong while capturing every moment without cluttering your vehicle’s interior.
Can I Power a Dash Cam With a Power Bank?
Yes, you can power a dash cam with a power bank. Make certain you choose compatible power bank options with at least 10,000 mAh capacity and 5V output for effective portable charging solutions during use.
How to Power a Dash Cam Without Hardwire?
You can power your dash cam without hardwiring by exploring power cable alternatives like OBD-II connections, utilizing battery pack options for independence, or employing fuse tap methods for a clean, professional setup. Freedom awaits!
Conclusion
Hardwiring your dash cam gives a steady power source without the cigarette lighter. Follow the steps in this guide and consider the OBD-II port if you want an even simpler install. The extra effort improves your vehicle’s safety and recording ability. With the right fuse choice and proper insulation you avoid battery drain and common mistakes. Your dash cam then becomes a reliable part of every drive.