
Identify your valve (Presta = slim threaded, Schrader = wider) and remove the dust cap. For Presta, unscrew the small locknut and briefly press to confirm it opens; for Schrader, press the pin briefly only if it feels sticky. Fit a compatible pump head or adapter, seal it firmly, then pump using steady shoulder-driven strokes while watching the gauge. Inflate within the PSI range printed on the tyre sidewall (never exceed the max), reseal the valve and cap. Keep going for tips on technique, adapters, and troubleshooting.
Quick: Inflate a Bike Tyre in 5 Steps
Before you start, identify the valve type—Schrader or Presta—and remove the dust cap so you can work directly on the valve. First, confirm valve specifics (don’t skip this). For Schrader, seat the inflator snugly; for Presta, loosen the lock nut and press briefly to verify it’s open. Second, attach the pump head firmly and lock it if your pump has a lever; a secure connection prevents air loss and speeds the task. Third, pump with a steady, controlled stroke while keeping a firm grip to avoid dislodging the head. Fourth, monitor pressure with an accurate gauge and stop within the PSI range shown on the tyre sidewall—overinflation and underinflation both compromise tyre safety. Fifth, remove the pump cleanly, tighten the Presta lock nut if applicable, and replace the dust cap to protect the valve. These steps combine practical bike maintenance with precise action so you’ll ride free and secure.
Presta vs Schrader: Identify Your Valve
Two common valve types — Presta and Schrader — look different and require different handling, so identify which one you have before you inflate. Check valve characteristics: Presta valves are slender, threaded, often longer, and have a removable core with a tiny locking nut at the tip. Schrader valves mirror car tires, wider and more robust, with a simple push-fit stem. You’ll see Presta on higher-end road bikes; Schrader appears on many mountain and hybrid bikes.
For liberation in the field, make identification routine: inspect stem diameter and top mechanism. If the top unscrews, it’s Presta; if it accepts direct depression, it’s Schrader. This determines the tool and technique you’ll use for inflation. Regular valve maintenance prevents roadside frustration—clean threads, check cores, and replace damaged stems. Knowing these differences frees you to act quickly and confidently when pressure matters.
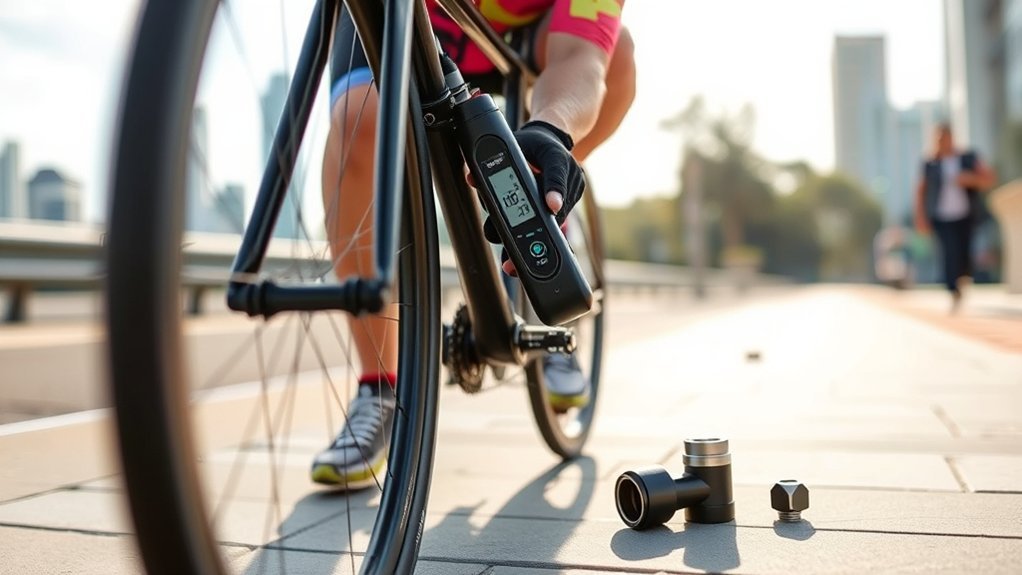
Essential Pumps, Adapters, and Gauges
A reliable pump and the right adapters make inflation quick and accurate, so choose tools that match your valve type and tire needs. You want pump types that cover both Presta and Schrader valves—many inflators are dual-compatible or include threaded adapters to guarantee a secure seal and prevent air loss. Look for locking levers on the head; they stabilize the connection so you can work efficiently without constant repositioning.
Prioritize gauge accuracy: built-in pressure gauges let you monitor PSI or bar as you inflate, keeping pressure within safe and ideal limits. For larger tires, select a high-volume pump to reduce strokes and save effort. Keep a small set of spare adapters and a compact gauge in your kit so you can adapt to any wheel and verify readings independently. Use tools that free you from dependence on service stations—reliable, precise gear lets you maintain control and move freely.
Prep a Schrader Valve (Fast and Safe)
Removing the dust cap and prepping the stem gets your Schrader valve ready for fast, safe inflation: expose the valve, and if the pin feels sticky, depress it briefly to confirm it moves freely. You’ll then confirm your inflator’s connection method—screw-on, press-on, or push-fit—and position it to minimize accidental air loss. This step is about control: preserve pressure, avoid wobble, and keep the valve straight.
- Check valve core seating and clear debris for proper Schrader valve maintenance.
- Align inflator, attach securely, and watch for unwanted air escape during coupling.
- Use gentle, decisive motion when depressing the pin; avoid forcing hardware.
Treat this prep as a simple way to prevent leaks and make inflation predictable. Effective air pressure management begins here—fast, safe attachment reduces leaks and gets you riding sooner.
Prep a Presta Valve (Fast and Safe)
Start by removing the dust cap and checking the valve for grime. Loosen the small locknut at the top of the Presta stem carefully so you don’t bend the valve. Press the valve briefly to verify it opens before attaching any pump or adapter.
Remove Dust Cap
Locate the Presta valve on the rim, remove the dust cap, and inspect the exposed stem; if the valve feels stuck, press it briefly to let out a small hiss and free it before proceeding. Dust cap removal is simple but essential for valve maintenance and long-term reliability. You want clear access to the stem so you can operate the valve and prevent grit from jamming it later.
- Use fingers or light pliers to unscrew and lift the cap; avoid ripping rubber or scratching the rim.
- If the valve resists, nudge the tiny core with a match stick or blunt tool to release trapped air; don’t force it.
- Keep the cap safe while inflating; replace it after tightening the valve lock to seal out contaminants.
Act deliberately to avoid bending or damaging the valve.
Loosen Locknut Carefully
Loosen the small locknut at the top of the Presta valve by turning it counterclockwise until it spins freely; this opens the valve for pumping and prevents stripped threads or a damaged core. With the valve upright and straight, use finger grip or locknut tools if it’s tight—small implements like a matchstick or dedicated mini-wrench work without marring metal. Turn deliberately; abrupt force risks bending the stem or damaging the core. Lightly press the stem to release a short burst of air and confirm the valve moves and isn’t seized. That check is part of routine valve maintenance and helps prevent roadside issues. After inflating, re-tighten the locknut to secure the seal and prevent leaks.
Open Valve Stem
- To open the Presta valve stem, remove the valve cap, then loosen the knurled nut (counterclockwise) until it stops. Gently press the tip to release a small puff—this confirms it isn’t stuck and verifies airflow. If it’s stuck, use a small blunt tool with minimal pressure to free it without damage. Confirm pump compatibility: some pumps need a Presta adapter or push-fit connection.
- Check valve movement by a brief air release to verify smooth operation.
- Use minimal force with a tool to avoid bending internal parts.
- After inflating, fully close the knurled nut to prevent leaks.
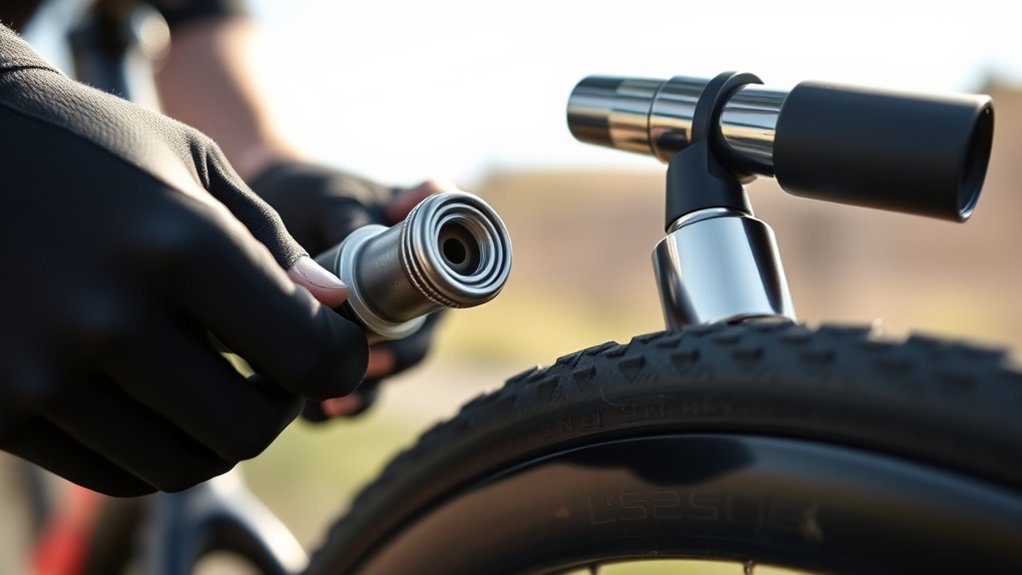
Attach a Pump Without Losing Air
When you’re ready to pump, fit the connector snugly onto the valve—matching screw-on, press-on, or push-fit—and brace the connection with your fingers so it stays stable and leak-free. Check valve compatibility first: Presta and Schrader require different heads or adapters, and good pump maintenance keeps seals and threads clean for consistent fits. Before attaching, press the valve briefly to release a short hiss; that confirms it isn’t stuck and prevents sudden escapes when you mount the head. If your pump uses a locking lever, flip and secure it firmly to clamp the head without over-torquing. During use, maintain hand support at the junction to prevent sideways stress that creates leaks. When you finish, pull the connector off briskly and parallel to the valve to minimize pressure loss, rather than twisting or lifting at an angle. These precise steps preserve pressure and keep you moving toward freer, self-reliant rides.
Pump Efficiently: Technique and Posture

Stand with both feet on the pump’s base, brace the head against the valve for a leak-free seal, and use your shoulders and body weight to drive full, controlled strokes—opening and closing the pump fully each time—to transfer air efficiently while keeping a posture that minimizes fatigue. You stay efficient by locking in body stabilization: feet planted, core engaged, shoulders aligned over the piston so each stroke uses mass, not just arm strength. Maintain a steady pumping rhythm; count or breathe evenly to avoid wasted effort and uneven pressure pulses.
- Align shoulders, hips, and feet to convert body weight into piston force.
- Use full-stroke compression and release each cycle to maximize intake volume.
- Reset posture every 10–15 strokes to prevent collapse and preserve stamina.
This technique inflates faster with less exhaustion: deliberate posture and controlled timing help you inflate efficiently and comfortably.
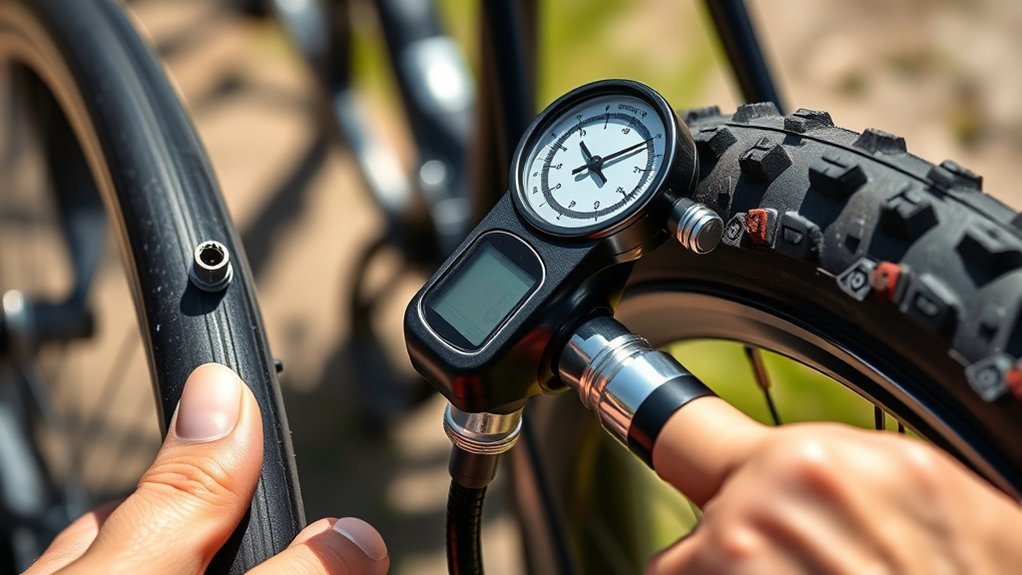
Set the Correct Tyre Pressure by Bike and Use
Pressure matters: set your tyre PSI within the range printed on the tyre sidewall and check it with a reliable gauge so you don’t exceed the maximum. Your ideal pressure depends on tyre width, rider + bike weight, terrain, and whether you run tubes or tubeless. Use the sidewall range as the safety limit, then fine-tune for comfort, grip, and speed.
Inflate gradually, watching the gauge; small increments reduce risk of problems. Account for temperature: pressure rises with heat, so check before long rides and adjust. Match tyre pressure to terrain—lower for loose or rough surfaces to gain grip and comfort, higher for smooth pavement to lower rolling resistance. Front and rear pressures may differ because the rear tyre usually carries more load.
Adopt this as a simple routine: measure, adjust, and note your preferred pressures for your usual routes so your tyres feel predictable and safe every ride.
Troubleshooting Common Problems and When to Seek Help
If pumping feels noisy or hard, check the pump head and hose for blockages, and confirm the head is seated correctly on the valve. For persistent air loss, inspect the tire for punctures and verify the valve core and seal are intact. If the valve won’t open or connectors won’t seal after basic checks, try a gentle tool to free the valve and get professional help if problems persist.
Noisy Or Hard Pumping
When pumping feels noisy or unusually stiff, check the pump-to-valve connection first and make sure the head is seated and locked snugly. You’ll want to apply consistent pumping technique and basic valve maintenance: keep a steady rhythm, avoid sudden force, and wipe debris from the valve stem. If resistance remains, inspect for obstructions or damaged seals that block airflow.
- Verify the head’s locking mechanism and listen for hissing that signals a poor seal.
- Remove and inspect the valve core or adapter for grit; clear or replace parts as needed.
- Test the pump on another valve to isolate pump vs. valve failure.
If troubleshooting fails, seek professional help or replace a malfunctioning pump to reclaim reliable inflation.
Persistent Air Loss
After checking pump fit and valve cleanliness, look for causes of ongoing air loss so you can fix them quickly. First inspect the valve for damage or debris; effective valve maintenance prevents leaks and preserves autonomy. Verify the connector matches Presta or Schrader and seals securely during inflation. Next examine the tire casing for punctures, cuts, or bead separation—these require patching or replacement rather than more pumping. If setup and tire condition are correct but air loss persists, replace the valve core; cores wear and fail, compromising the seal. Keep tools and spare cores in your kit so you can act without delay. When uncertainty remains or damage is complex, consult a professional bike mechanic to diagnose and resolve persistent air loss safely.
Valve Or Connector Issues
Because a poor pump-to-valve connection is the most common cause of no airflow, start by seating the connector firmly and confirming a snug fit over the valve. Check Presta: unscrew the lock nut and press the stem to vent a bit before attaching. If you hear hissing, the valve may be stuck or misaligned—release and reconnect. Inspect gaskets and O-rings for damage; replace if cracked to stop air leakage. For stubborn issues, seek pro help.
- Verify connector orientation and hold steady while pumping to prevent transient air loss.
- Swap head components or use the correct adapter for Schrader vs Presta to eliminate fit mismatch.
- Document valve behavior after repairs; repeated failure flags the need for shop intervention.
Practice basic valve maintenance to stay free and mobile.
Frequently Asked Questions
How to Pump a Schrader Valve With a Presta Pump?
You connect a Presta pump to a Schrader valve using an adapter, ensuring Schrader valve compatibility; adjust the Presta pump fitting and seating, pump steadily, then disconnect quickly and replace the dust cap to reduce air loss.
Why Does Air Hiss Out When I Remove the Pump?
A quick hiss is normal because air in the hose and pump head escapes when you disconnect. Remove the head quickly and straight (parallel to the valve), and make sure the connector is fully seated and locked while pumping. If you lose a lot of air, check the gasket/O-ring in the pump head and confirm you’re using the correct setting for Presta vs Schrader.
Should the Presta Valve Be Open When You Inflate With an Electric Bike Pump?
Absolutely — you must open the Presta valve when using an electric pump; loosen its top, hear the hiss, and keep it open so air flows freely, then tighten afterward.
How to Pump up a Bike Tire With a Schrader Valve With a Hand Pump?
You’ll remove the dust cap, press the pin briefly only if it feels sticky, snugly attach the pump, use full-stroke hand pump techniques with strong shoulder force, monitor tyre pressure maintenance, and lock the pump off before removing to avoid air loss.
Conclusion
You’ve just learned to coax air into two stubborn little valves, like persuading cats to wear helmets — oddly technical, surprisingly satisfying. Now you’ll pop off caps, flip tiny locks, and pump with precise posture until psi numbers nod in approval. You’ll carry the right adapter, watch the gauge, and fix flat dramas before they start. It’s practical, slightly mechanical ritual: follow the steps, breathe steady, and ride confidently — tyre inflated, ego intact.


Leave a Reply