
To hardwire your dash cam for parking mode without battery drain, use a hardwiring kit to connect it to a constant power source in your vehicle’s fuse box. Select a constant fuse using a circuit tester, connect the add-a-fuse (red to constant, yellow to ignition), and attach the ground wire securely. Install a voltage cutoff device to prevent battery discharge below 12.4V. This setup gives you uninterrupted surveillance and protects your vehicle’s battery.
Quick Answer
Hardwiring your dash cam lets it run in parking mode even when your vehicle is off. Connect a hardwiring kit to the fuse box for constant power, then add a voltage cutoff device to keep the battery safe. This delivers continuous recording while avoiding drain.
Follow the steps below for a clean, reliable install.
Understanding the Importance of Hardwiring Your Dash Cam
Hardwiring your dash cam lets it operate continuously in parking mode without draining your vehicle’s battery. It connects the camera to a constant power source so it stays ready even when the engine is off. You get uninterrupted surveillance and better security.
A voltage cutoff device stops power draw before the battery drops too low. The wired setup also looks cleaner than a cigarette lighter plug and avoids loose cables that can come undone.
This approach keeps features like motion detection and event recording working while the car is parked. You can monitor your vehicle with confidence.
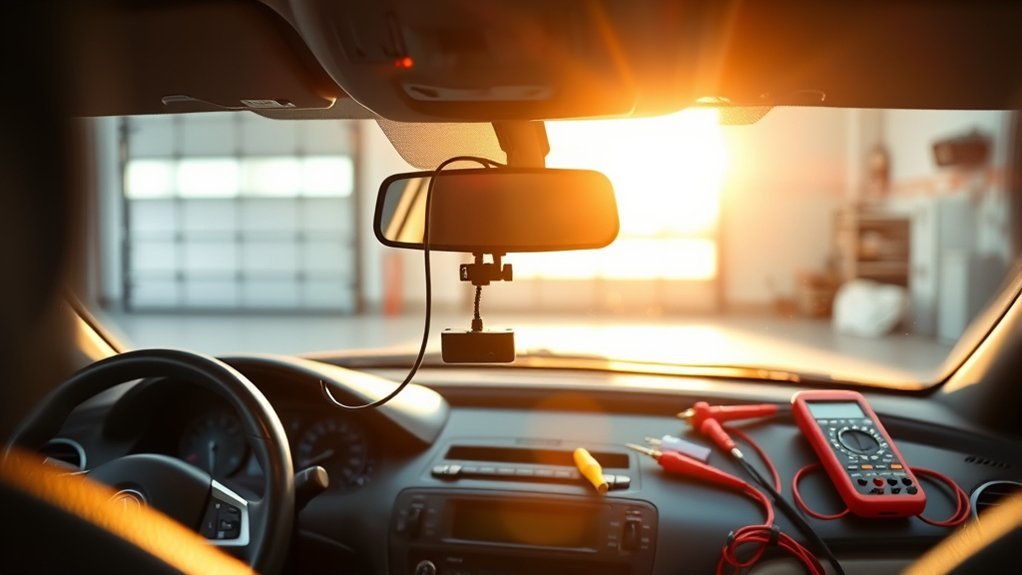
Essential Tools for Dash Cam Installation
To hardwire your dash cam successfully, gather the right tools first. Start with a hardwiring kit that includes the wiring and connectors you need. You’ll also want pliers, a socket wrench, and electrical tape for secure connections.
A circuit tester helps you identify constant and ignition-switched fuses. Keep your vehicle manual nearby so you can locate the fuse box and understand each fuse’s job. For proper grounding, use a metal ground bolt.
Finally, zip ties let you tidy up the cables so nothing dangles. These tools give you a clean, reliable setup—especially if you add an external battery for longer parking mode time.
[Products Worth Considering]

【Compatible for ROVE R2-4K with USB-C Port, R2-4K PRO, R2-4K DUAL, R2-4K DUAL PRO, and R3 Dash Cam with USB Type C】 This dash cam hardwire kit is specially designed for R2, R2-PRO, R2-DUAL, R2-4K DUAL PRO and R3 dash cams to be used for 24-hours parking monitor.

【Type-C Port MINI(ATS) Hardwire Kit】11.5ft Type-C hardwire kit for dash cam or other device powered by Type-C USB port, 5V/2A steady output, voltage input supports from 12V-24V. NOTE: The hardwire kit is not suitable for D100.

❖{Things to Know Before Purchasing} : This hardwire kit does not have ACC signal output and does not support dash cam with time-lapse recording function. If you need a hardwire kit that supports time-lapse recording, then this is not suitable for you. It simply charges the dash cam and does not trigger the time-lapse recording function
Locating the Fuse Box in Your Vehicle
Finding the fuse box is an important first step when hardwiring your dash cam. This box supplies the power you need. You can usually find it in one of these spots:
- Under the steering wheel
- In the glove box
- In the footwell
- Under the hood (in some models)
You may need to remove a panel or lift a cover, depending on your vehicle. Once inside, look for fuses labeled for different systems. Use a circuit tester to tell constant fuses (powered when the engine is off) from ignition-switched ones. Check your owner’s manual for the correct fuse ratings.
Selecting the Right Fuse Slot for Your Dash Cam
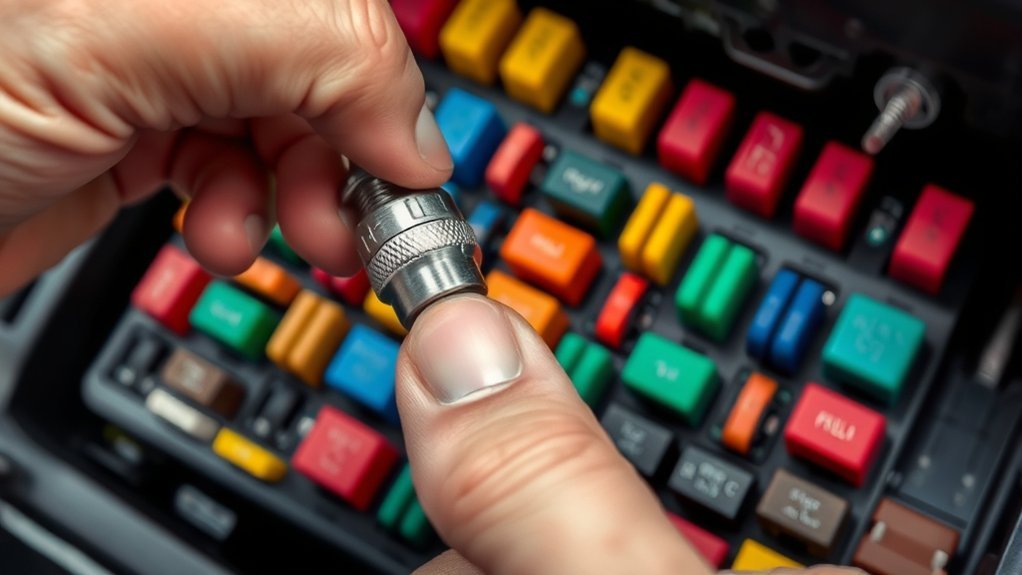
You want your dash cam to work well without draining the battery. Start by choosing a constant fuse slot that stays powered when the car is off. This supports parking mode recording.
A circuit tester quickly shows which fuses are constant and which are ignition-switched. Look for a slot rated between 10A and 30A for the dash cam. Battery packs work best on 20A–30A slots to avoid overload. Skip any fuses tied to critical systems like airbags or the engine—your owner’s manual will list them.
Once you pick the right slot, insert the original fuse into the “Old Fuse” side of the add-a-fuse for a solid connection.
[Products Worth Considering]

DUAL-SLOT FUSE HOLDER: The dual-slot fuse jumper connector provides two fuse holders, one fuse holder to protect existing circuits and the second fuse holder to protect new circuits, making it safe and reliable to use in daily life

【24 Hours Parking Surveillance】When the engine is off, HK4 hardwire kit provides continuous power to the camera, any collisions, event will be recorded.

Dual-slot Fuse Holder: Provides 1 fuse holder to protect existing circuits and a second fuse holder to protect new circuit. Blue flexible socket tail, very easy to connect to any naked wires by only use a vise
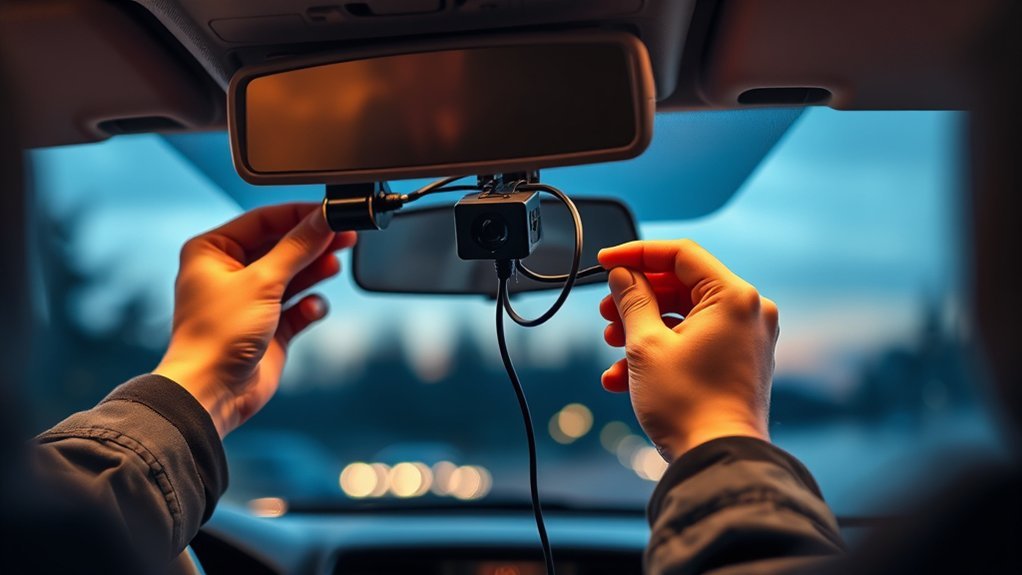
How to Safely Connect Your Dash Cam
Connecting your dash cam the right way keeps everything working safely. Follow these steps:
- Use a hardwiring kit: Connect it to the vehicle’s fuse box and choose the correct constant and ignition-switched fuses listed in your owner’s manual.
- Utilize add-a-fuses: For a clean install, connect the red wire to a constant power fuse and the yellow wire to an ignition-switched fuse.
- Properly ground the kit: Attach the ground wire to a metal ground bolt so you avoid loose connections.
- Check fuse ratings: Keep dash cam fuses between 10A and 30A to prevent electrical problems.
[Products Worth Considering]

【Low Voltage Protection】 Once the input voltage drops below 11.6V (23.2V for 24V input), the battery drain protection will cut off the power supply, leaving enough power to ignite the engine without damaging the battery.

【Wide Compatible】Input:12V-24V; Output:5V/2A. With Type-C ports, this hardwire kit compatible with all of dash cams.

【Input 12–24V, Output 5V/2A】The Hardwire Kit provides a direct connection from your dash cam to the vehicle's fuse box (cars, trucks, buses, SUVs, etc.) for uninterrupted power supply. Designed for compatibility with 12–24V automotive systems, this kit ensures a reliable 5V/2A output.
Testing Your Dash Cam After Installation
After you finish the hardwiring, test the dash cam to make sure it works. Start the vehicle and confirm the camera powers on. Adjust the angle with the built-in screen or app so it captures what you want.
Then turn the vehicle off and watch the dash cam switch into Parking Mode. It should keep recording when motion triggers it. Run a quick test recording while parked to double-check that it operates without draining the battery.
Keep an eye on the dash cam’s performance and battery voltage over time. Regular checks help you catch any issues early.
Hardwire Dash Cam Tips to Prevent Battery Drain

You can keep your vehicle’s battery healthy while hardwiring the dash cam. Here are some practical tips:
- Install a voltage cutoff device: It cuts power when the battery drops below 12.4V.
- Use a quality hardwiring kit: One with an add-a-fuse helps you connect to the right fuses and keeps power draw low.
- Monitor battery health regularly: Check voltage levels so the dash cam doesn’t affect starting power.
- Opt for dash cams with low voltage protection: These models shut off automatically when the battery gets low.
Common Mistakes to Avoid When Hardwiring Your Dash Cam
Avoiding a few simple mistakes will help your hardwired dash cam work reliably. First, double-check the accessory and ignition wires so you don’t mix them up. Make solid ground connections—loose ones cause most power problems.
Use the right fuse ratings: 10A–30A for the dash cam and 20A–30A for any battery packs. A circuit tester makes it easy to pick the correct constant or ignition-switched slots.
Finally, don’t connect wires to mismatched battery types. Stick with consistent voltage to protect both the dash cam and your car’s battery. These steps keep everything running smoothly without issues in the lighter socket.
Frequently Asked Questions
Will a Hardwired Dashcam Drain the Battery?
Yes, it can if you don’t manage it. Use a voltage cutoff device and other battery management steps so parking mode works without problems.
How Do I Keep My Dash Cam From Draining My Car Battery?
Focus on smart power choices. A hardwiring kit, voltage cutoff device, and an efficient dash cam model help keep your battery healthy.
Will Parking Mode on Dash Cam Drain Battery?
It can without the right setup. Low-voltage cutoff devices and careful power management let you use parking mode safely.
Can a Dash Cam Be Hard Wired?
Yes. A proper hardwire install gives you continuous recording and parking mode benefits while protecting the battery. Secure connections are the key to reliable performance.
Conclusion
Hardwiring your dash cam for parking mode boosts your vehicle’s security without draining the battery. An ounce of prevention is worth a pound of cure. Follow the steps here for a safe install and smooth operation. Use the tips to avoid battery drain and skip common mistakes. You’ll have peace of mind knowing your dash cam is always ready to capture incidents while the car is parked.


Leave a Reply