To change the HID headlights on your Toyota RAV4, gather the necessary tools like a wire cutter, flat head screwdriver, and 1-inch unibit. Start by removing the dust cover and disconnecting the wiring. Drill a hole for the HID wires, then secure them with a rubber grommet. Install the ballast ensuring all connections are tight and clear of moving parts. Don’t forget to test your lights afterwards for proper functionality. You’ll find helpful tips on maintenance and troubleshooting next.
Understanding HID Headlights for Your Toyota RAV4
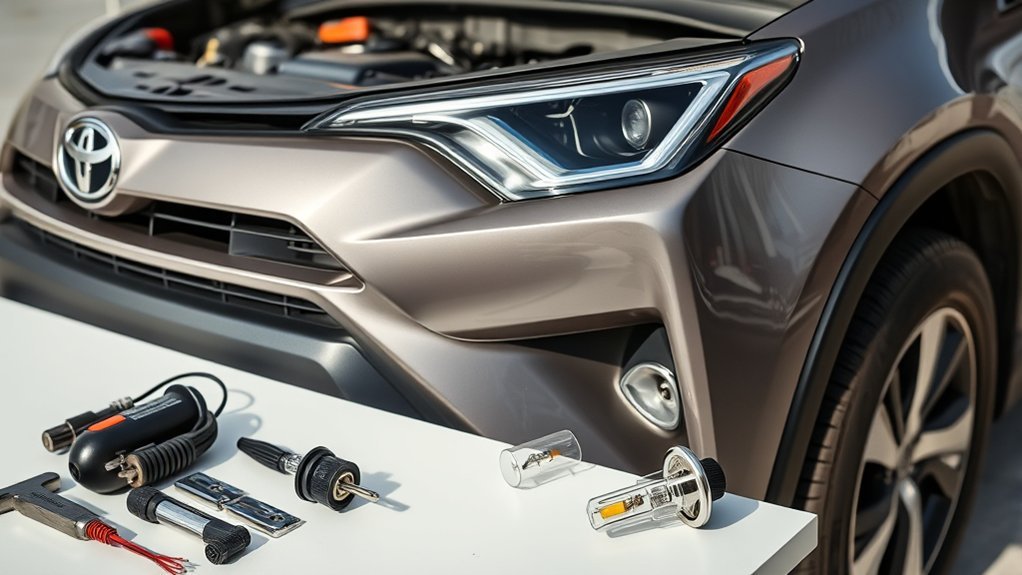
High-Intensity Discharge (HID) headlights are a popular choice for enhancing visibility and style in your Toyota RAV4. They offer considerably brighter and more efficient lighting compared to traditional halogen bulbs, making nighttime driving safer. For the 2013 Toyota RAV4, you’ll typically use H11 bulbs for low beams and 9005 bulbs for high beams, which are compatible with various HID conversion kits.
When installing HID headlights, it’s essential to use Canbus ballasts. These ballasts prevent flickering and dashboard error messages, ensuring a seamless integration with your vehicle’s electrical system. Properly connecting the wiring harness is vital; any loose connections can lead to malfunction. Don’t forget to securely reattach the dust cover after installation to protect the headlight housing from debris. Finally, regularly test your HID headlights post-installation to confirm functionality and prevent issues with daytime running light (DRL) modes that may damage the system.
What Tools Do You Need for HID Installation?
When preparing to install HID headlights in your 2013 Toyota RAV4, having the right tools on hand is vital for a smooth and efficient process. You’ll need a wire cutter to manage and trim any wiring as necessary. A flat head screwdriver is important for disconnecting and securing electrical connections, particularly around the fuse box. To drill a hole in the dust cover for the HID wires, a unibit or hole saw, preferably 1 inch in size, is required. Make certain to have a rubber grommet ready to seal the drilled hole, protecting the wires from damage. Additionally, zip ties are invaluable for organizing and securing any excess wiring after you’ve connected the low beam and bundled the wires together. With these tools at your disposal, you’ll streamline the installation and guarantee a professional finish.
Step-By-Step Guide to Removing the Dust Cover
To successfully remove the dust cover on your 2013 Toyota RAV4, start by turning it counter-clockwise until the tabs align for easy removal. Once aligned, carefully disconnect the wiring by locating the H11 to 9005 converter. Pull back the tab on the 9005 connector gently, making sure you don’t damage it in the process. For better access, remove the windshield washer tube; this step makes it easier to maneuver around the dust cover area.
As you proceed, take note of the dust cover tabs to guarantee proper alignment when reinstalling after you’ve replaced the high beam headlights with HID units. Handling the wiring and connectors with care is vital to avoid damage, allowing you to securely reattach the dust cover once your installation is complete. Following these steps will help you maintain the integrity of your Toyota RAV4 while upgrading your lighting system.
Drilling Wires for HID Installation
With the dust cover successfully removed, you’re ready to prepare for the HID installation by drilling a hole for the wires. Start by using a 1-inch unibit or hole saw, but first, create a small pilot hole to avoid damaging the dust cover. Gradually increase the size to guarantee a snug fit for the rubber grommet, which will provide essential moisture protection. Once the hole is drilled, carefully feed the HID wires through, making sure you maintain the integrity of the seal to prevent water ingress.
Install the rubber grommet securely around the wires to safeguard against dirt and moisture. Make certain the wiring doesn’t interfere with any moving parts or components in the engine bay, following proper wiring safety precautions. These HID installation tips will help you achieve a successful setup while maintaining the performance and longevity of your headlights.
Testing Your HID Lights After Installation
Before you finalize the HID installation on your Toyota RAV4, testing the lights is essential for confirming they function properly and align correctly. Start by turning on the engine and switching to low beam mode, as this is the standard setting for testing HID lights. Be wary of the Daytime Running Light (DRL) mode; it may not be compatible with HID systems and could lead to damage.
Check for error messages on the dashboard during testing to verify the HID system is working seamlessly. Verify that both low and high beams operate correctly, allowing for effective light beam alignment. After installation, perform a headlight brightness comparison against your old halogen bulbs to gauge the improvement. This guarantees that not only are your lights functional, but they also provide superior illumination, enhancing your driving experience and safety.
Best Practices for Installing the Ballast
Proper installation of the ballast is essential for guaranteeing your HID headlights function efficiently and reliably. Start by choosing a clean surface area under the side panel for mounting, as this promotes strong adhesion and prevents movement while driving. For effective heat management, verify the location allows peak airflow and avoids excessive heat or moisture exposure.
Next, connect the male and female wires of the ballast to the corresponding wires from the HID bulb, adhering to wiring safety precautions. Double-check all connections for tightness and proper alignment to avert electrical issues.
Finally, use zip ties to secure any excess wiring, preventing interference with moving parts or components in the engine bay. These ballast mounting tips will not only enhance your headlight performance but also contribute to a safer driving experience. Remember, a well-installed ballast is key to releasing the full potential of your HID headlights.
Top 5 Common Mistakes to Avoid When Installing HID Headlights

When installing HID headlights, it’s essential to avoid common mistakes that can lead to poor performance or damage. Ignoring wiring compatibility issues, skipping light testing steps, and improperly sealing the dust cover can complicate the installation process greatly. By being aware of these pitfalls, you can guarantee a smoother and more effective headlight upgrade.
Ignoring Wiring Compatibility Issues
Although it might seem straightforward, ignoring wiring compatibility issues during your HID headlight installation can lead to a host of problems. First, make sure you use the correct H11 to 9005 converter for proper connections; otherwise, you risk malfunctioning lights. Conducting an electrical system check for Canbus ballast compatibility is essential; overlooking this can trigger error messages or flickering lights. Additionally, don’t underestimate the secure connections importance—loose or unsecured wiring can wear down, leading to shorts or disconnections. Remember to disconnect the 9005 connector carefully to avoid damaging the tabs, complicating future repairs. By addressing these wiring compatibility concerns, you’ll promote a reliable and efficient HID installation in your Toyota RAV4.
Skipping Light Testing Steps
One of the most critical steps often overlooked in the HID headlight installation process is light testing. Skipping this phase can lead to undetected wiring issues, resulting in malfunctioning headlights or damage to your HID system. It’s essential to test the lights before fully mounting the ballasts, as this allows you to identify and correct installation errors without the hassle of disassembly. Always operate the headlights in low beam mode during testing; using DRL can harm the HID system. Additionally, confirm that no error messages appear on your dashboard to verify compatibility. Don’t forget to check high beams for proper functionality, as this guarantees your entire headlight system operates correctly after installation. Prioritize testing to achieve ideal performance.
Improper Dust Cover Sealing
Proper sealing of the dust cover is a vital step in HID headlight installation that can’t be overlooked. Failing to align the tabs correctly or neglecting to remove the windshield washer tube can compromise moisture prevention and dust cover maintenance. Additionally, using an oversized drill bit or skipping the rubber grommet can create gaps, allowing dirt and moisture to infiltrate the headlight assembly. Always double-check the dust cover’s fit after installation to guarantee proper sealing techniques are applied. Here’s a summary of common mistakes:
| Mistake | Impact |
|---|---|
| Misaligned tabs | Inadequate sealing |
| Obstructed access | Rushed installation |
| Oversized drill bit | Compromised integrity |
| Skipped rubber grommet | Gaps for moisture |
How to Maintain Your HID Headlights for Long-Lasting Performance
To guarantee your HID headlights perform at their best and last longer, regular maintenance is essential. Start with headlight brightness maintenance by cleaning the lens regularly with a gentle automotive cleaner. This prevents clouding and guarantees ideal illumination. Next, inspect the wiring and connectors for any signs of corrosion or damage, as these can lead to flickering or complete failure.
Avoid using HID lights in DRL (Daytime Running Light) mode, since this practice can greatly shorten bulb lifespan. Additionally, confirm that the ballasts are securely mounted and free from moisture, as exposure to water can lead to malfunctions.
For improved visibility and safety, always replace HID bulbs in pairs. This practice guarantees consistent color temperature and brightness across both headlights, contributing to overall performance. By following these headlight cleaning techniques and maintenance tips, you’ll extend the lifespan of your HID headlights effectively.
Troubleshooting Common Issues With HID Systems
If your HID headlights flicker or fail to turn on, check the connections between the ballast and the bulb, as loose connections are often the culprit. Additionally, if you see error messages on the dashboard after installation, it could indicate a compatibility issue with your vehicle’s Canbus system. Addressing these common problems promptly can guarantee your HID system operates smoothly.
Flickering Headlight Issues
Flickering headlights in your HID system can be frustrating, especially when driving at night. Common flickering causes include poor connections, so check that all wiring, especially the 9005 connector and ballast connections, is secure and free of corrosion. Insufficient power supply due to a faulty electrical system or incompatible Canbus ballast can also lead to flickering; verify you check voltage levels. Additionally, overheating bulbs or ballasts may cause issues, so guarantee proper ventilation. If your bulbs are over 2-3 years old or show wear, it might be time to replace them to maintain ideal headlight performance. If flickering persists after these checks, consider upgrading to a more reliable ballast or consult a professional for further diagnosis.
Error Messages Displayed
After addressing flickering issues, it’s important to contemplate any error messages that may appear on your dashboard after installing HID systems. A common alert, “Check Headlight,” suggests potential HID system compatibility problems. If your lights won’t turn on, inspect your wiring for electrical connection issues or check for ballast failure signs. Additionally, flickering or dimming lights can indicate insufficient power supply or a failing ballast, which must be resolved promptly to protect your system. Be aware that Daytime Running Lights (DRL) may interfere with HID operation; consider using a DRL defeat harness to avoid complications. Address these issues quickly to guarantee your HID setup functions effectively and safely, enhancing your driving experience.
Frequently Asked Questions
Can HID Headlights Be Replaced?
Yes, you can replace HID headlights. For a successful DIY installation, choose compatible HID bulb types, maintain your headlights properly, and guarantee you follow the correct procedures to avoid issues during operation.
Can You Change HID Bulbs Yourself?
You can definitely change HID bulbs yourself! With the right tools, you’ll enjoy the advantages of HID lighting. Just follow a DIY headlight installation guide and pay attention to the HID bulb types for best results.
How to Replace a Toyota RAV4 Headlight?
To replace your Toyota RAV4’s headlight, identify the type, follow installation tips like disconnecting wiring carefully, and always observe safety precautions. Guarantee proper sealing and test functionality before securing components for a reliable, safe setup.
What Is the Lawsuit Against the Toyota RAV4?
“Where there’s smoke, there’s fire.” The lawsuit against the Toyota RAV4 involves legal claims about engine defects, particularly excessive oil consumption and related headlight issues, affecting performance and leading to potential engine failure for owners.
Conclusion
In summary, installing HID headlights in your Toyota RAV4 can greatly enhance your night driving experience. As you enjoy the bright, crisp illumination, consider how much safer your journeys can be with improved visibility. By following the outlined steps and avoiding common pitfalls, you can guarantee your HID system operates efficiently. So, are you ready to transform your vehicle’s lighting and embrace the road ahead with confidence? Keep your headlights maintained, and they’ll serve you well for years to come.
