To change the headlight switch on your Toyota RAV4, start by disconnecting the negative battery terminal for safety. Remove the steering column cover and locate the switch. Disconnect the wiring harness and unscrew the retaining screws. Slide out the old switch and install the new one by securing it with screws and reconnecting the harness. Finally, reconnect the battery and test both low and high beams to verify functionality. Keep going to learn detailed step-by-step instructions.
Identifying When to Replace Your Headlight Switch
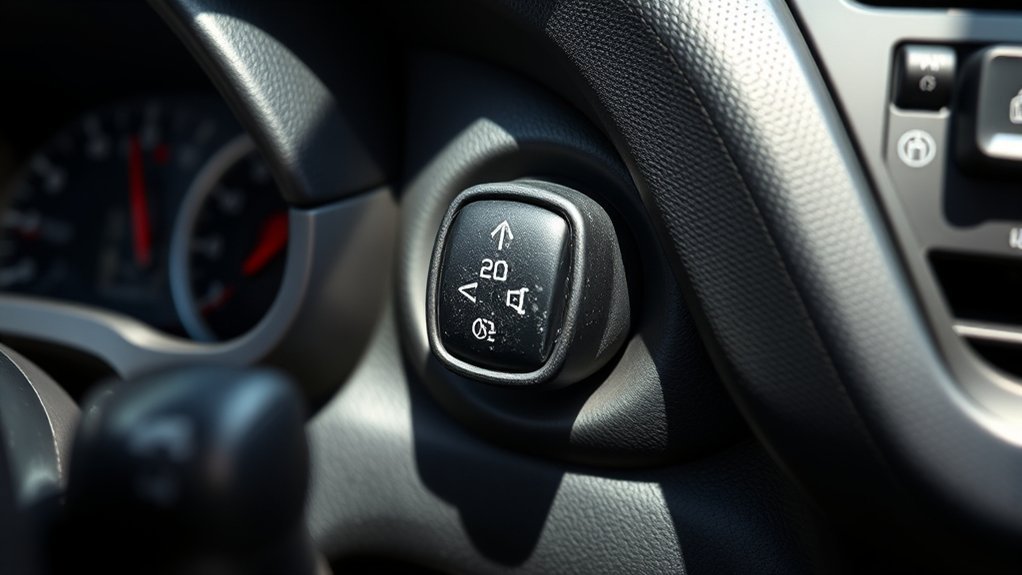
How do you know when it’s time to replace your headlight switch? If your low beams aren’t working while the high beams remain operational, it’s a strong indicator of a malfunctioning headlight switch. Regular inspections for wear, damage, or corroded contacts can help you catch issues early. Look for signs like flickering lights or intermittent operation, which often signal that a replacement is necessary. Before proceeding, check fuses and wiring connections, as these could also be the culprits. If you determine the headlight switch is at fault, replacing it usually resolves low beam issues and restores full functionality. Proper installation is essential to prevent future electrical problems, so don’t rush this step. By staying proactive in identifying these signs, you guarantee a safer driving experience and maintain your vehicle’s reliability.
Tools and Materials Required for the Job
Changing the headlight switch on your Toyota RAV4 requires a few essential tools and materials to guarantee the job goes smoothly. Start with a standard set of automotive tools, including a 1/4 ratchet and the appropriate sockets for screw removal. You’ll need a metal panel popper to safely detach the steering column covers without risking damage to the plastic. Keep a flat screwdriver handy for prying off any stubborn panels or covers. Additionally, a 1/4 extension may be necessary to reach screws tucked away in tight spaces around the steering column. Finally, make sure you have a compatible replacement headlight switch for your specific RAV4 model year before you begin the installation process. Having these tools and materials ready will streamline your work and help you achieve a successful replacement.
How to Remove the Headlight Switch
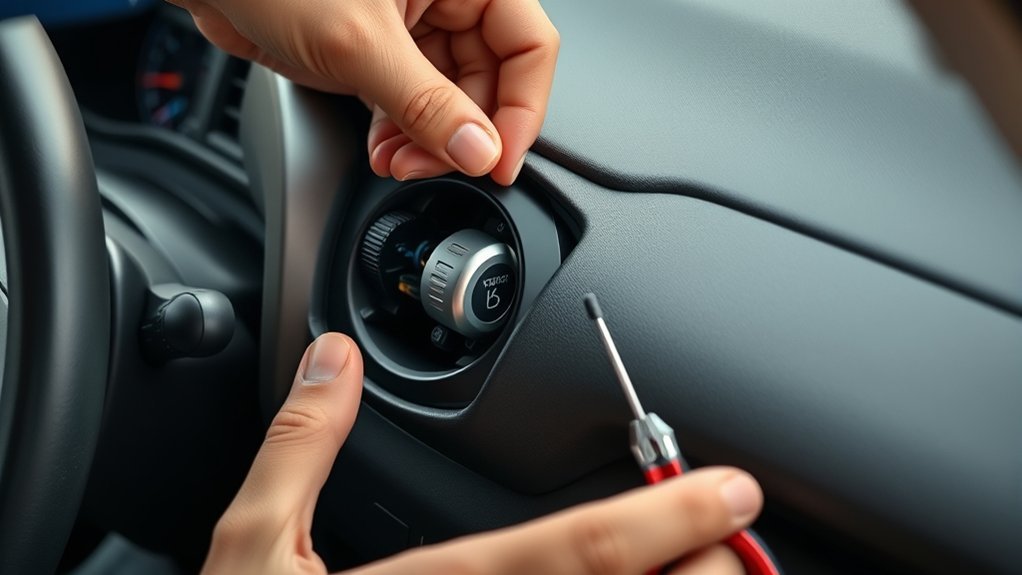
After gathering the necessary tools and materials, you can start removing the headlight switch on your Toyota RAV4. First, disconnect the negative battery terminal to guarantee safety during the process. Next, you’ll need to remove the steering column cover. Look for visible screws; unscrew them and gently pry apart the cover, being careful not to damage the plastic. If your model has hidden screws, turning the steering wheel can help you access them.
Once the cover is off, locate the headlight switch. Disconnect the wiring harness attached to it, then unscrew any retaining screws that hold the switch in place. After removing the old switch, you’ll be ready for installation of the new one, which involves reversing the disassembly steps. Confirm all connections are secure before reattaching the steering column cover and reconnecting the battery.
Easy Tips for Installing Your New Headlight Switch
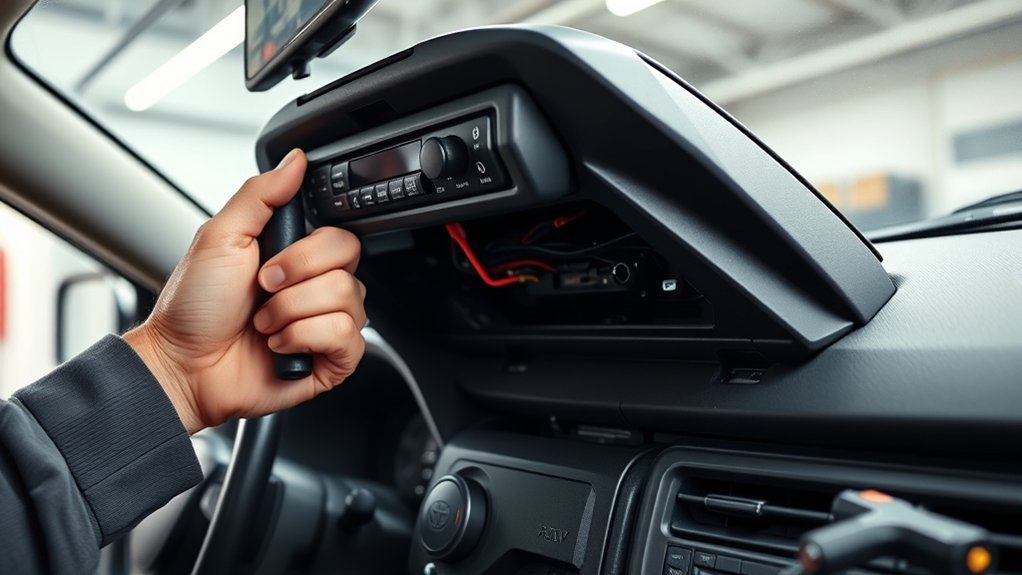
While installing your new headlight switch, it’s crucial to guarantee all components fit together securely. First, disconnect the battery negative to promote safety and prevent any accidental airbag deployment. Next, remove the steering column cover by locating the screws; use a flat screwdriver or panel popper to detach it carefully without damaging the plastic.
With the cover off, access the headlight switch by sliding it out after removing any screws and disconnecting the electrical connector. When installing the new one, align it correctly and secure it with screws, making sure the wiring harness fits snugly.
If you’re working on a RAV4 Limited, follow the specific instructions for your model. For additional support, check the links on our site. After installation, don’t forget to turn on the headlights to confirm both low and high beams are operational.
Testing Your New Headlight Switch for Proper Functionality
Once you’ve installed your new headlight switch, it’s essential to verify it functions correctly to maintain safety on the road. Start by reconnecting the negative battery terminal to restore power. Turn the ignition to the “On” position without starting the engine. Activate your low beam headlights and check their illumination. Both low and high beams should operate seamlessly.
To confirm the new switch is delivering power, perform voltage verification using a multimeter at the headlight connectors. Inspect the wiring harness for any loose connections or damage that could hinder performance.
Here’s a quick checklist to guide you:
| Task | Status | Notes |
|---|---|---|
| Turn on low beam | Functioning? | |
| Turn on high beam | Functioning? | |
| Check wiring harness | Secure? | Look for damages |
Frequently Asked Questions
How to Tell if a Headlight Switch Is Bad?
To tell if a headlight switch is bad, check for symptoms of failure like flickering lights or non-functional low beams. Inspect switch wiring issues, test electrical connections, and follow troubleshooting tips for reliable headlight function.
What Is the Biggest Issue With the Toyota RAV4?
The biggest issue with the RAV4 lies in its reliability concerns, particularly regarding engine performance issues and safety feature effectiveness, compounded by interior design flaws that affect fuel efficiency ratings and ultimately customer satisfaction reviews.
How Much Does It Cost to Replace a Headlight Switch?
Replacing a headlight switch typically costs between $50 to $150 for the part. DIY installation saves on professional labor fees, while warranty coverage options and common brands comparison can further optimize your headlight switch pricing.
What Is the Lawsuit Against the Toyota RAV4?
Is your Toyota RAV4 safe? The ongoing Toyota RAV4 lawsuit highlights faulty headlight issues, safety concerns, and class action complaints, raising consumer rights questions about vehicle reliability and prompting scrutiny of Toyota’s manufacturing practices.
Conclusion
By now, you’ve navigated the journey of replacing your headlight switch, much like a skilled mechanic mastering their craft. With the right tools and careful installation, your Toyota RAV4’s lighting system will shine bright once again. Remember, a well-functioning headlight switch not only enhances your vehicle’s aesthetics but also guarantees safety on the road. So, take pride in your work and enjoy the confidence that comes with knowing your ride is ready for the night!