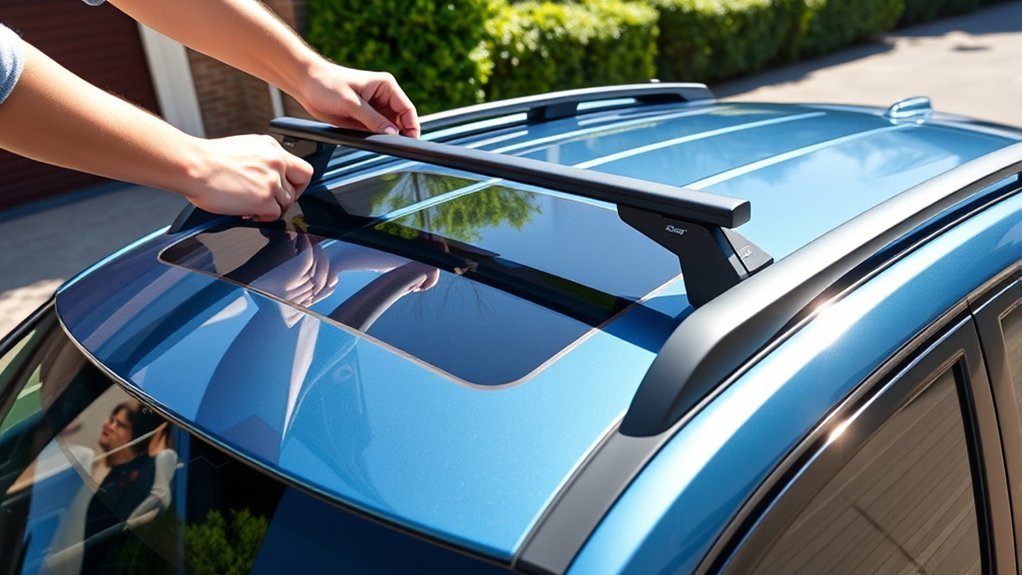
Whether you can adjust the crossbars on a Toyota RAV4 depends on the roof-rail and rack system installed. On the common Toyota OEM crossbar kit used on many fifth-generation RAV4 models, the bars bolt into dedicated mounting openings and do not slide freely along the rails. Adjustable spacing usually requires a compatible raised-rail crossbar system, track system, or complete aftermarket roof rack.
Quick Answer
Most Toyota OEM crossbars on 2019 and newer RAV4 models use fixed mounting points. You can remove, inspect, and reinstall them, but you should not loosen them and force them to slide along the rail. For adjustable bar spacing, use a system specifically designed to clamp to raised rails or mount to an adjustable track or full rack.
Key Takeaways
- Toyota OEM kit PT278-42192 mounts in dedicated roof-rail openings and is not a freely sliding crossbar system.
- For that kit, Toyota specifies 13 mm hardware and a final torque of 12 N·m, or 106 in-lb.
- Front and rear bars are different lengths and must remain in their labeled positions and orientation.
- Use the lowest load rating among the vehicle, rails, crossbars, carrier, mounts, and cargo accessory.
- GOBI Elevation bars require a compatible GOBI rack, while Prinsu is a complete modular rack conversion rather than a direct OEM crossbar replacement.
At a Glance
| Time Required | About 20–40 minutes for inspection, removal, and reinstallation |
| Difficulty | Easy to moderate, provided the hardware and mounting points are undamaged |
| Tools Needed | Nylon trim tool, safety glasses, gloves, 13 mm socket or supplied Toyota tool, and an inch-pound or low-range torque wrench for PT278-42192 |
| Cost | No new parts for a normal inspection or reinstallation; replacement hardware or a different rack system varies |
Warning: Do not loosen a fixed-point OEM crossbar and try to force it forward or backward along the rail. Doing so can damage the support, rail cover, threaded mount, protective pad, or vehicle roof. Stop if any bolt binds, spins without tightening, or shows damaged threads.
Can You Adjust Toyota RAV4 Crossbars?
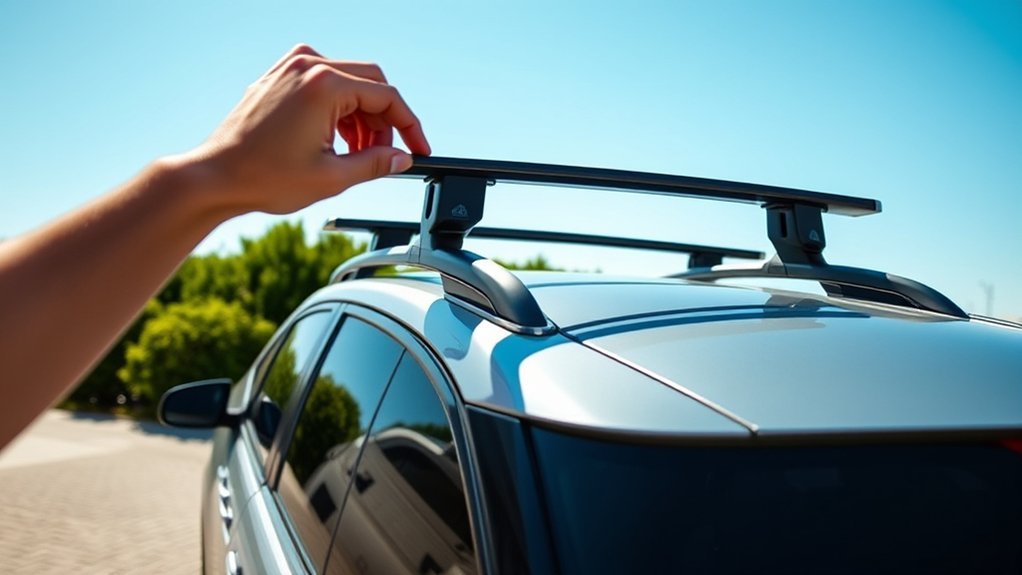
You can adjust some aftermarket RAV4 crossbars, but many Toyota factory bars are fixed in their front-to-rear positions. The difference depends on how the supports attach to the vehicle.
The Toyota OEM kit identified as PT278-42192 uses four dedicated openings in the roof rails. Each support aligns with a threaded hole and is secured with an M8 bolt and anti-rotation clip. Because the mounting holes determine the location, loosening the bolts does not create a safe sliding track.
You can still remove the bars when they are not needed, reinstall them in their original locations, replace damaged service parts, or switch to another compatible rack system. Before touching the hardware, confirm the exact part number and roof configuration.
Identify Your RAV4 Roof System First
| Roof or Rack Type | Typical Adjustability | What to Do |
|---|---|---|
| OEM flush rails with removable mounting caps | Usually fixed-point | Use only the designated openings and Toyota installation instructions. |
| Raised side rails with space beneath them | May accept adjustable clamp-on bars | Confirm exact year, trim, rail shape, allowable bar spread, and clamp compatibility. |
| Adventure or TRD-style raised rails | Product-specific | Use bars specifically listed for that rail system; standard RAV4 bars may not fit. |
| Aftermarket track or modular full rack | Usually offers multiple crossbar positions | Follow the rack maker’s approved mounting positions, torque values, and load limits. |
Note: A crossbar that adjusts in width to fit between the left and right rails is not necessarily adjustable in front-to-rear position. The front-to-rear distance between bars is called the bar spread.
Key Benefits of Adjustable Toyota RAV4 Crossbars
A genuinely adjustable system can help you match the bar spread required by a cargo box, kayak carrier, ski rack, bike mount, or roof basket. This is useful because accessory manufacturers often specify a minimum and maximum distance between the front and rear bars.
Adjustability may also help you:
- move a compatible cargo box far enough forward to clear the liftgate;
- move a carrier far enough rearward to preserve windshield clearance;
- support a long item at two suitable contact points;
- align T-slots or mounting channels with an accessory;
- remove unused bars to reduce noise and aerodynamic drag.
Adjustable spacing does not remove the need for proper tie-downs. It also does not increase the roof’s allowable load unless the vehicle and every component in the system are rated for the additional weight.
Step-by-Step Guide to Removing and Reinstalling Fixed OEM Crossbars
The following procedure is based on Toyota’s installation instructions for crossbar kit PT278-42192. Other RAV4 crossbar kits may use different covers, fasteners, tools, and torque values. Check the number on your manual, receipt, packaging, or Toyota parts record before proceeding.
Tools Required
- Safety glasses and work gloves
- Clean blankets or towels to protect the roof
- Nylon panel-removal tool
- 13 mm socket and hand ratchet, or the supplied Toyota torque tool
- Torque wrench capable of accurately applying 12 N·m or 106 in-lb
- The crossbar key, if locking covers are fitted
Safe Removal and Reinstallation Steps
- Park safely. Use a level surface, set the parking brake, switch the vehicle off, and remove all cargo and accessories from the bars.
- Protect the roof. Place clean towels around the work area. Avoid leaning tools, belt buckles, or metal hardware against the paint or glass.
- Identify each bar. The Toyota kit uses a longer front bar and a shorter rear bar. Check the front, rear, right-hand, left-hand, and directional markings before removal.
- Unlock the covers. Use the supplied key and remove the correct end covers without forcing their retaining features.
- Support the bar. Have a second person help if needed so the bar cannot rotate or fall onto the roof when the bolts are removed.
- Remove the mounting bolts. Loosen the hardware evenly. Keep each anti-rotation clip with its bolt and note its installed direction.
- Lift the bar straight up. Do not drag the supports along the rail or across the paint.
- Inspect the mounting area. Check the threaded holes, rubber pads, supports, clips, bolts, covers, and rail openings. Replace damaged parts rather than forcing reassembly.
- Place the correct bar in its original position. Align each support through-hole with the designated threaded roof-rail hole. Confirm that the directional markings point forward.
- Install the clips and bolts. Start every bolt by hand. If a bolt will not turn easily for several threads, remove it and inspect for cross-threading.
- Seat the protective pads. Make sure the rubber pads lie flush against the supports and roof rails without folding or bunching.
- Torque the hardware. For PT278-42192, tighten each bolt to 12 N·m or 106 in-lb. Do not use an impact wrench for final tightening.
- Repeat the torque check. Toyota instructs installers to retorque all four bolts a second time.
- Reinstall and lock the covers. Confirm that each front/rear and left/right cover is in the correct location and fully retained.
- Perform a final check. Pull firmly on each bar in several directions. It should fit snugly with no movement, loose cover, lifted pad, or visible gap.
The complete Toyota procedure is available in the PT278-42192 crossbar installation guide.
Pro Tip: Before buying a cargo box or carrier, measure the center-to-center bar spread and compare it with the accessory maker’s approved range. Do not drill new holes in a cargo box unless its manufacturer specifically approves that modification.
Common Installation Challenges
A bolt will not start by hand: The support may not be aligned with the threaded hole, the front and rear bars may be reversed, or the threads may be damaged. Do not use extra leverage to pull the bolt into position.
The rubber pad will not sit flat: Lift the bar and reseat the pad. A folded pad can create an uneven mount and may damage the finish.
The cover will not lock: Confirm that the cover matches the correct front/rear and left/right support. Inspect its ball-and-socket and retaining features for damage.
The accessory does not fit the bar spread: Do not force its clamps or drill the carrier automatically. Use an accessory approved for the existing spread or change to a rack system that provides the required positions.
The bar appears higher at one end: Check whether a pad is folded, a support is sitting outside the rail opening, or one fastener has been tightened before the opposite side was properly seated.
Troubleshooting Common Crossbar Problems
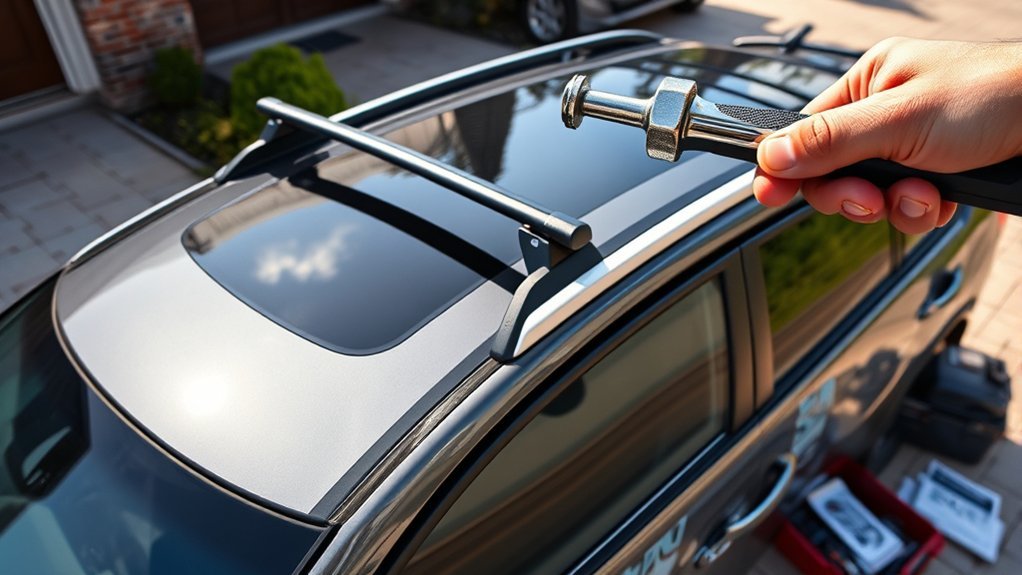
The Crossbar Moves or Clicks
Unload the roof immediately. Check the mounting bolts, anti-rotation clips, support alignment, pads, and covers. Movement after correct torquing may indicate damaged threads, an incorrect part, missing hardware, or a cracked support. Have a Toyota dealer or qualified rack installer inspect it before carrying cargo.
Whistling or Wind Noise
Confirm that the front edge of each aerodynamic bar faces the correct direction. Check for a loose end cover, exposed T-slot, missing rubber strip, accessory strap vibrating in the airflow, or cargo mounted at an angle. Remove unused attachments and secure loose strap ends.
A streamlined bar may be quieter than a square bar, but any roof rack or rooftop cargo can add drag. The U.S. Environmental Protection Agency lists roof-rack use among the factors that can reduce fuel economy.
Moonroof or Panoramic-Roof Clearance
Open the roof only after confirming that the glass, sunshade, cargo, clamps, and mounting hardware have adequate clearance. Toyota cautions owners not to scratch the moonroof or panoramic roof when loading the roof carrier. Some full-rack systems are not compatible with panoramic-roof RAV4 models at all.
Water Appears After Rack Work
Do not apply generic silicone around the mounts as a first repair. Check whether the correct factory cap, seal, pad, spacer, washer, and mounting hardware are present and properly seated. Water may enter because of an incorrect part, damaged seal, disturbed rail assembly, or previous roof modification. A dealer or experienced rack installer should diagnose persistent moisture.
A Key or Cover Is Missing
Toyota lists service parts for the PT278-42192 kit, including covers, hardware, a key/manual set, front and rear bars, and a torque tool. Match replacement parts to the exact crossbar kit rather than installing a similar-looking universal piece.
How Crossbar Position Affects Cargo Flexibility
On a system designed for adjustable spacing, moving the front and rear bars changes the support distance under the accessory. A wider approved spread can provide better support for some long cargo, while a narrower approved spread may be required by a compact cargo box or bike carrier.
Use these checks before loading:
- Confirm the accessory’s approved minimum and maximum bar spread.
- Keep the cargo centered from left to right unless the rack maker permits an offset.
- Distribute weight between the front and rear mounting points.
- Make sure the rear hatch can open without hitting the cargo box.
- Confirm that long cargo does not obstruct the windshield, lights, camera, antenna, or liftgate.
- Use the accessory’s approved clamps, fasteners, straps, and tie-down points.
For a canoe, kayak, lumber, or another long item, crossbar clamps alone may not provide complete securement. Use suitable front and rear tie-downs when required by the carrier manufacturer, and follow applicable overhang and load-marking laws.
Adjustable Crossbars Compared With Fixed Options
| Feature | Fixed-Point OEM Bars | Adjustable or Modular System |
|---|---|---|
| Bar spread | Determined by factory mounting points | May offer several approved positions |
| Installation | Usually straightforward and vehicle-specific | Ranges from simple clamps to major roof-rack installation |
| Accessory compatibility | Limited to accessories that fit the existing spread and bar shape | Often supports more positions, T-slots, and mounting points |
| Roof modifications | Uses intended factory locations | May be no-drill, partially drilled, or fully drilled depending on product and trim |
| Best for | Occasional cargo and compatible factory-style accessories | Owners who need changing bar positions or multiple mounting accessories |
Weight Limits and Load Ratings Explained
Never choose a roof load by looking at only one advertised number. The safe limit is the lowest applicable rating in the entire system:
- vehicle roof or roof-luggage-carrier limit;
- factory or aftermarket side-rail limit;
- crossbar or full-rack limit;
- feet, clamps, tracks, or mounting-hardware limit;
- cargo-box, basket, bike rack, kayak carrier, or tent limit;
- any lower limit stated for off-road use or high-speed travel.
Your safe roof load is the lowest rated limit in the complete system, not the highest number advertised by one component maker.
Dynamic capacity is the allowable load while the vehicle is moving. Static capacity applies only when the vehicle is parked. Do not use a static rating as a driving limit.
Include the weight of everything above the roof in your calculation. For example:
Total roof load = crossbars or rack + cargo carrier + mounting hardware + cargo.
Do not automatically add two individual bar ratings together. A manufacturer may rate each bar separately while the vehicle roof, rails, or complete rack assembly has a lower combined limit.
Toyota’s official parts listing for PT278-42192 crossbars directs owners to the vehicle manual for weight restrictions. Check the manual for your exact year and trim through the Toyota RAV4 manuals page.
User Experiences: Practical Crossbar Tips
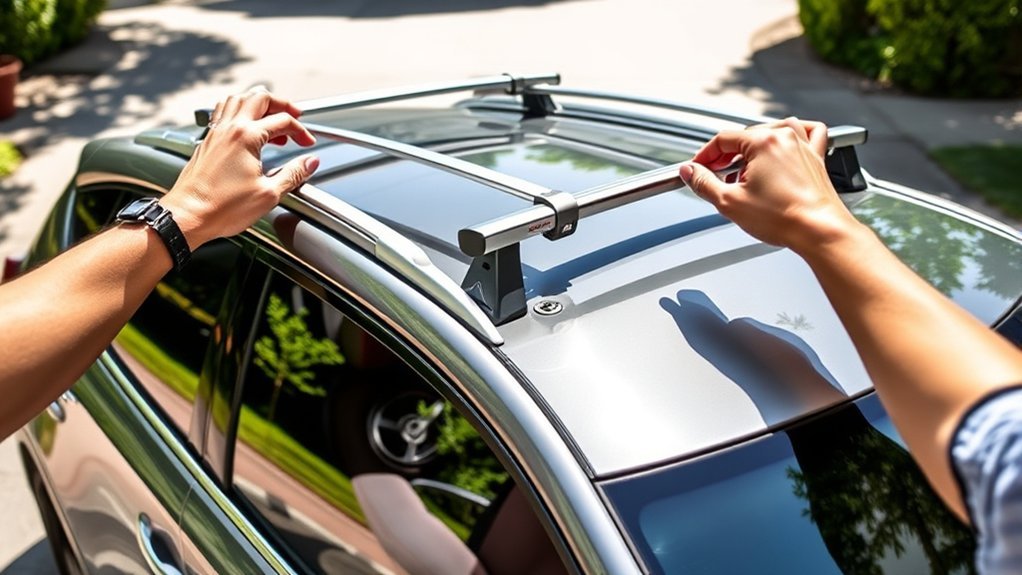
Many installation frustrations come from treating all RAV4 roof systems as interchangeable. A bar designed for a standard flush rail may not fit Adventure or TRD-style raised rails, and a cargo box that fits one bar spread may not fit another.
| Common Experience | Likely Cause | Safer Solution |
|---|---|---|
| Installation takes longer than expected | Wrong rail type, reversed bar, or missing instructions | Verify part number and label every front, rear, left, and right component. |
| Bars appear uneven | Folded pad, incorrect support position, or mismatched bar | Remove the load and reseat the supports rather than adding improvised spacers. |
| Cargo box clamps do not align | Box requires a different bar spread | Choose a compatible box or approved adjustable rack system. |
| Whistle begins at highway speed | Backward bar, loose cover, open channel, or vibrating strap | Correct orientation and secure or remove the loose component. |
| A higher-capacity rack is desired | OEM bar layout or capacity does not meet the planned use | Compare complete systems while respecting the vehicle’s roof and installation limits. |
Maintenance Tips for RAV4 Crossbars
- Inspect the bars, supports, pads, covers, locks, and fasteners before each long trip.
- Check for movement after the first short drive with a newly installed accessory.
- Stop periodically during long, high-speed, or rough-road travel to confirm that the cargo remains secure.
- Clean dirt, road salt, leaves, and grit from the contact areas with products safe for the rack finish and vehicle paint.
- Do not lubricate threaded hardware unless the installation manual requires it, because lubrication can change clamping force at a given torque.
- Do not substitute generic bolts, clips, washers, pads, sealants, or spacers for specified parts.
- When removing OEM bars, reinstall the original roof-rail cap covers in the correct openings.
- Replace cracked supports, damaged covers, flattened pads, corroded fasteners, and stripped hardware before carrying another load.
Aftermarket Adjustable Crossbar and Rack Options
An aftermarket system can add useful mounting positions, but the products below solve different problems.
Clamp-On Bars for Raised Rails
These bars clamp around compatible raised side rails and may slide forward or backward before being locked. They are the closest alternative to a traditional adjustable two-bar setup. Fitment must match the exact RAV4 year, trim, rail shape, bar width, and roof configuration.
GOBI Elevation Adjustable Crossbar
The GOBI RAV4 Elevation Adjustable Crossbar is designed for a compatible GOBI Stealth rack. It is not a direct replacement for Toyota’s factory flush-rail crossbars.
GOBI lists:
- 150 lb dynamic safe load limit per bar;
- 225 lb static safe load limit per bar;
- no drilling for installation onto the compatible GOBI rack;
- one crossbar and two clamp brackets per package;
- a one-year limited warranty.
Those figures do not override the limits of the vehicle, GOBI base rack, mounting system, or cargo accessory.
Prinsu RAV4 Roof Rack
The Prinsu fifth-generation RAV4 rack is a complete low-profile modular rack with several crossbars and mounting positions. The standard version lists a 600 lb dynamic and 1,000 lb static rack capacity.
Important limitations include:
- it is a full rack conversion, not a simple pair of replacement crossbars;
- the standard product page says it is not compatible with a panoramic sunroof;
- installation requirements vary by trim and configuration;
- certain LE and XLE applications may require additional work or drilling, depending on the selected Prinsu system;
- the vehicle’s allowable roof load and the installed configuration still control safe use.
Frequently Asked Questions
Can factory Toyota RAV4 crossbars slide along the roof rails?
Not when they use dedicated fixed mounting holes, as Toyota kit PT278-42192 does. Those bars can be removed and reinstalled in their designated locations, but they should not be loosened and forced along the rail.
How do you adjust crossbars on an adjustable roof rack?
Release the product’s locks or clamps, move each bar only within the approved rail or track area, measure the bar spread, align both sides, and tighten the hardware to that rack maker’s specification. Confirm that the bars cannot move before loading cargo.
What is the torque for Toyota RAV4 OEM crossbars?
Toyota specifies 12 N·m, or 106 in-lb, for the four mounting bolts in kit PT278-42192, followed by a second torque pass. Another kit may have a different value, so verify the part number before applying this specification.
Can you remove crossbars from a Toyota RAV4?
Yes. Unload the bars, protect the roof, unlock and remove the covers, support the bar, remove the correct hardware, and lift the bar straight up. Reinstall the original rail caps and store the bars, key, bolts, clips, covers, and tool safely.
Are Toyota RAV4 class-action lawsuits related to the crossbars?
The fuel-pump and fuel-tank litigation commonly mentioned online concerns separate vehicle systems, not normal roof-crossbar adjustability. For a vehicle-specific safety issue, check the VIN through the NHTSA recall lookup or contact Toyota.
Is limited crossbar adjustability the biggest Toyota RAV4 problem?
No single issue can be called the biggest problem for every RAV4 year and trim. Fixed crossbar positions are a design limitation rather than proof of a vehicle defect. Recalls and service campaigns should be checked by VIN.
Conclusion
You can improve cargo flexibility on a Toyota RAV4, but the safe method depends on the rack design. The common Toyota PT278-42192 factory bars use fixed mounting points and should not be loosened and slid along the rails. They can be removed, inspected, and reinstalled with the correct orientation, clips, pads, hardware, and 12 N·m torque.
When fixed bar spacing does not fit your cargo accessory, choose a compatible adjustable raised-rail system or a properly installed modular rack. Confirm moonroof clearance, required bar spread, exact fitment, and every applicable load limit before carrying cargo.
Sources
- Toyota PT278-42192 Crossbar Installation Guide — fixed mounting points, tools, orientation, hardware, torque, covers, and installation checks.
- Toyota Genuine PT278-42192 Cargo Crossbars — product identification, rail mounting, and load-limit disclaimer.
- Toyota 2020 RAV4 Manuals and Warranties — vehicle roof-loading precautions and owner documentation.
- GOBI RAV4 Elevation Adjustable Crossbar — compatible rack requirement, per-bar ratings, installation, and warranty.
- Prinsu Fifth-Generation RAV4 Roof Rack — modular design, published load ratings, fitment, and panoramic-roof restriction.
- U.S. EPA: Your Mileage May Vary — roof-rack use and other factors that can reduce fuel economy.