Loose or mismatched cross bars can make roof cargo unsafe quickly. Before you load a kayak, cargo box, bike rack, skis, or luggage on your Toyota RAV4, confirm that your vehicle has compatible roof rails and that the cross bars match your model year, trim, and rail style. This guide walks you through fit checks, tools, installation, stability testing, removal, storage, kayak tie-down basics, troubleshooting, maintenance, and load-limit safety.
Quick Answer
To install Toyota RAV4 cross bars, confirm that the bars fit your exact model year, trim, and roof rail style. Clean the rails, position the front and rear bars in the correct locations, hand-start the supplied hardware, tighten each side evenly, then tug-test both bars before loading any cargo.
Key Takeaways
- Check your RAV4 model year, trim, roof rail style, and cross bar fit chart before buying or installing a kit.
- Use the cross bar maker’s instructions for spacing, orientation, hardware order, and torque values.
- Tighten both sides evenly and test each bar for movement before you load cargo.
- Use the lowest rated limit among the roof, rails, cross bars, carrier, and accessory as your safe load limit.
- For kayaks and long gear, use a proper carrier plus bow and stern lines, not just straps over the cross bars.
At a Glance
| Time Required | About 20 to 45 minutes |
| Difficulty | Easy to moderate, depending on the rack kit and roof rail style |
| Tools Needed | Owner’s manual, cross bar manual, supplied tool, Allen wrench or socket wrench, torque wrench if required, mild soap, water, and towel |
| Cost | No extra cost if you already have the correct cross bar kit and required tools |
Step-By-Step Guide for Installing RAV4 Cross Bars
Most RAV4 cross bar installations take about 20 to 45 minutes. The exact time depends on the cross bar kit, roof rail style, hardware design, and whether you have installed roof accessories before.
What You’ll Need Before You Begin
- Your RAV4 owner’s manual
- The cross bar installation manual
- Supplied bolts, clamps, covers, rubber pads, end caps, or keys
- Socket wrench or Allen wrench, if your kit requires one
- Torque wrench, if the instructions list a torque value
- Mild soap, water, and a clean towel
- A small container or tray to hold fasteners while you work
Note: Cross bar instructions vary by brand and model. Treat the instructions supplied with your exact kit as the final source for placement, torque, and load limits.
- Confirm roof rail compatibility. Check that your RAV4 has roof rails or factory mounting points that match your cross bar kit. Some trims may need added roof rail parts before cross bars will fit.
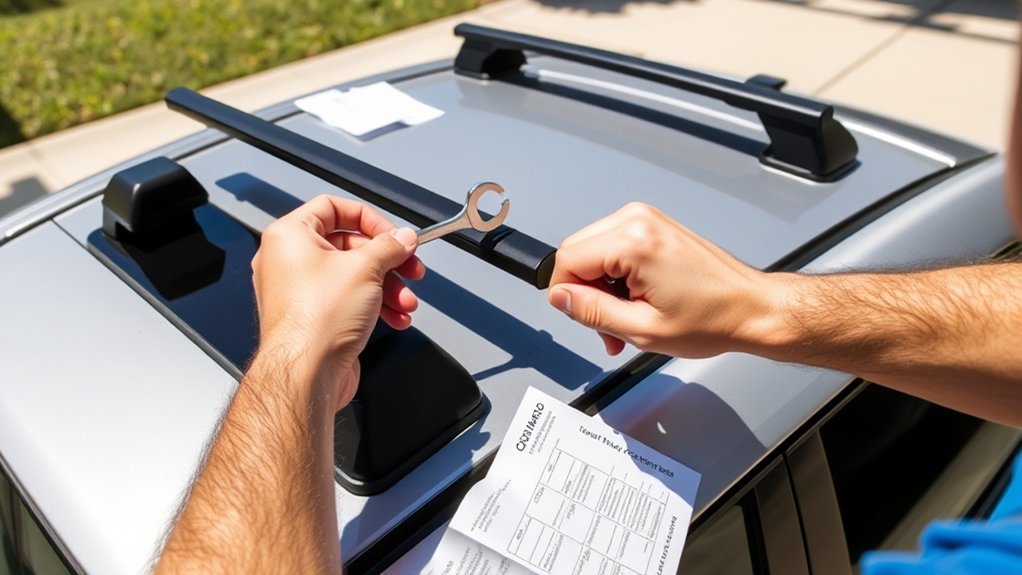
- Check the front and rear bar labels. Many kits use a front bar and a rear bar with different lengths, curves, or mounting feet. Do not swap them unless the manual says they are interchangeable.
- Clean the roof rail area. Wash dirt and grit from the rails and mounting points. Dry the surface so the clamps, pads, or feet can sit flat.
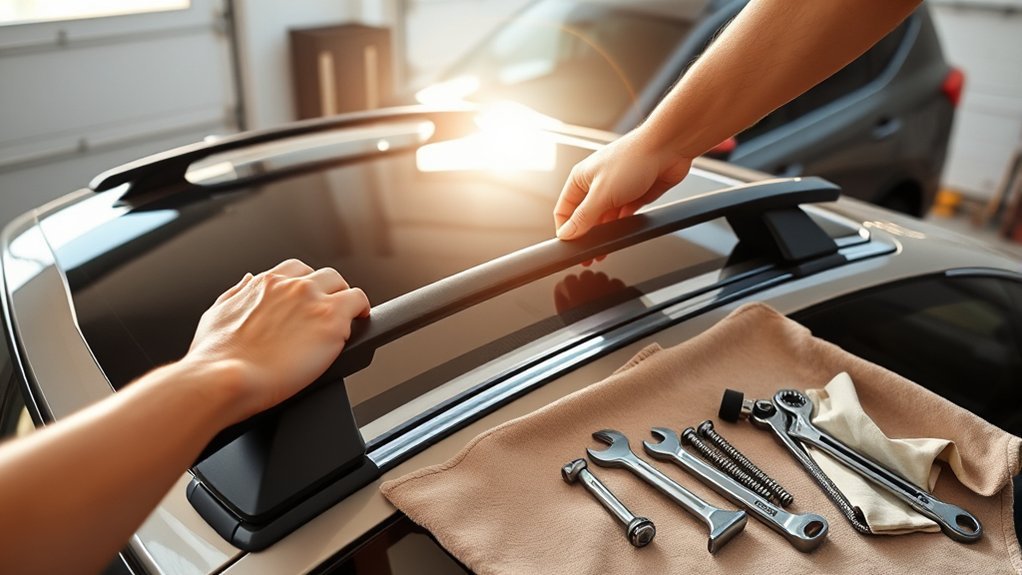
- Lay out the parts. Match each clamp, bolt, washer, cover, rubber pad, key, and bar to the instructions before placing anything on the roof.
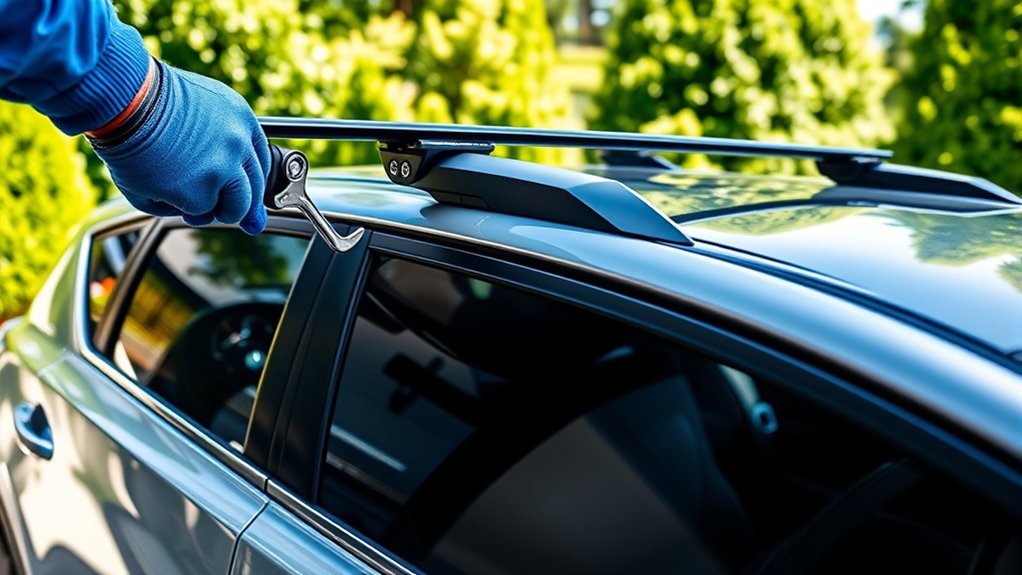
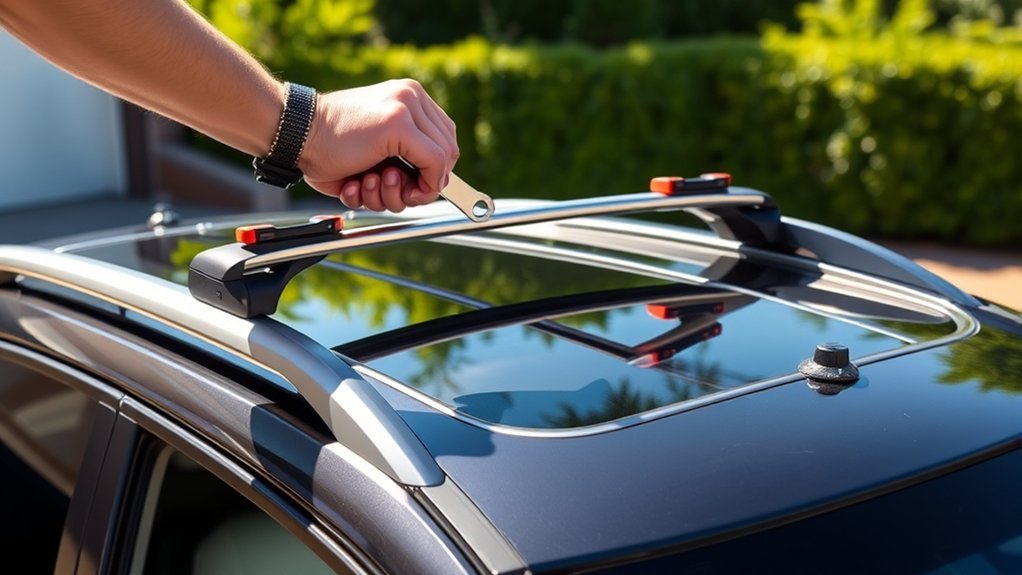
- Position the cross bars. Set the bars on the rails and align them with the marked grooves, slots, or mounting points. Keep each bar straight and centered across the roof.
- Hand-start the hardware. Insert the supplied bolts or clamps through the cross bars and into the rail mounts. Start each fastener by hand to avoid cross-threading.
- Tighten the mounts evenly. Tighten each side a little at a time. Use the torque value from the manual when the kit provides one, and avoid over-tightening.
- Install covers or locks. Snap on the covers, close any locking feet, and make sure keys or caps are fully seated before driving.
- Check the fit. Pull each bar forward, backward, and side to side. The bars should not shift, rattle, or lift from the rails.
- Recheck after a short drive. Drive a short distance at low speed, then stop safely and recheck the hardware before loading expensive or heavy gear.
Warning: Never load gear onto loose cross bars. Shifting cargo can damage your vehicle, fall from the roof, or create a road hazard for other drivers.
Understanding Your RAV4 Model’s Roof Rack Compatibility
Not every Toyota RAV4 trim uses the same roof setup. Some models come with raised rails, some use low-profile or flush rails, and some may need a trim-specific rack system before cross bars can be installed.
Check your owner’s manual, trim details, and the cross bar fit guide before you buy. RAV4 Adventure, TRD Off-Road, Hybrid, Prime, and base trims may use different rail designs, mounting points, and accessory limits.
Look for these details before you choose a kit:
- The model year of your RAV4
- The trim level
- The roof rail style: raised, flush, low-profile, or no factory rails
- The cross bar part number or fitment note
- The dynamic load rating for driving with cargo
- The carrier or accessory rating, such as a cargo box, bike rack, ski rack, or kayak carrier
The safest load limit is the lowest rating in the whole roof setup: vehicle roof, factory rails, cross bars, carrier, accessory, and tie-down system.
How to Install Aftermarket Cross Bars on Your RAV4?
Aftermarket cross bars can work well on a RAV4 when the kit matches your roof rails. Start by checking the manufacturer’s fit chart for your exact model year, trim, and rail style.
Measure the distance between your roof rails if the kit needs adjustable bar width. Then place the bars where the instructions tell you, often in the rail grooves or on marked clamp points.
Secure the bars with the supplied clamps, bolts, screws, pads, or adapters. After installation, press down and pull each bar to check for movement. If your kit includes rubber pads, place them exactly where the manual shows to protect the rails and improve grip.
Pro Tip: Keep the installation manual, key number, and torque value in your glove box. That makes it easier to recheck spacing, load limits, and hardware if you remove the bars later.
OEM vs. Aftermarket Cross Bars for Your RAV4
Original equipment manufacturer, or OEM, cross bars come from Toyota or Toyota-approved suppliers. They usually fit factory rails with less adjustment and often match the vehicle’s look.
Aftermarket cross bars can cost less or offer different shapes, accessory channels, lock options, and load ratings. Quality varies by brand, so check the fit chart, warranty, instructions, and approved cargo types before you buy.
| Option | Best For | What to Check |
|---|---|---|
| OEM cross bars | Factory-style fit, simple installation, and trim-specific hardware | Toyota part number, model year, trim, roof rail style, and load rating |
| Aftermarket cross bars | More accessory choices, different bar shapes, or a lower total cost | Fit chart, clamps, adapters, locks, warranty, noise rating, and accessory compatibility |
Cost Comparison Analysis
OEM cross bars often cost more than budget aftermarket kits, but they may save time during installation because they use vehicle-specific hardware. They can also be easier to remove and reinstall if you use roof accessories often.
Aftermarket options may offer better value if they fit your RAV4 and support the gear you plan to carry. Remember to include shipping, locks, adapters, rubber pads, cargo boxes, kayak carriers, and other accessory parts when you compare total cost.
Installation Convenience Factors
OEM cross bars often install with fewer adjustments because they match Toyota roof rail designs. That can help if you remove and reinstall the bars often.
Aftermarket kits may need extra setup, measuring, adapter placement, or foot-pack adjustment. Read the manual before installation so you know how the clamps, pads, covers, and locks fit.
Ensuring a Secure and Stable Fit for Your Cross Bars
A secure fit starts with the right parts for your RAV4. Confirm that your rails, clamps, pads, feet, and cross bars match before you tighten anything.
Follow the manufacturer’s alignment marks and tighten the mounting hardware in small, even turns. Too much force can damage plastic covers, clamps, threads, or roof rail parts.
Check the bars again after you load cargo, after the first few miles, and during long trips. Road vibration, weather, and strap tension can loosen hardware over time.
| Step | Action |
|---|---|
| 1. Confirm Rails | Check your roof rail style and fit guide |
| 2. Align and Secure | Follow the manual for bar position and clamp placement |
| 3. Tighten Hardware | Tighten evenly without over-tightening |
| 4. Test Movement | Pull each bar forward, backward, upward, and side to side |
How Much Weight Can RAV4 Cross Bars Hold?
Many RAV4 cross bar systems list a maximum load near 150 pounds, but your specific manual is the final rule. The safe limit depends on your model year, roof rails, cross bar kit, cargo carrier, and the way the load is secured.
Spread weight evenly across both bars. Never exceed the lowest rating among your roof, roof rails, cross bars, cargo box, kayak carrier, bike rack, or other mounted accessory.
Note: A roof rack load limit usually includes the weight of the carrier, not just the gear inside it. For example, a cargo box, kayak rack, or bike rack counts toward the total roof load.
Dynamic vs. Static Roof Load
Dynamic load means the weight carried while the vehicle is moving. Static load means weight on the roof while the vehicle is parked. Cross bar instructions usually focus on dynamic load because braking, turning, wind, and bumps add stress while driving.
Do not assume a parked roof load is safe for driving. If you use a rooftop tent or heavy camping setup, check the vehicle manual, rack manual, and tent manual together before use.
Best Practices for Kayak Transport With RAV4 Cross Bars
Kayaks place long, uneven loads on roof racks, so you need more than cross bars alone. Use the right carrier, proper straps, and front and rear tie-downs to control movement.
Proper Kayak Positioning
Place the kayak with the cockpit facing up unless your carrier instructions say otherwise. This position helps support the hull and keeps the kayak stable on most rack setups.
Use foam blocks, padded cradles, saddles, or a J-style rack to protect the hull. Center the kayak on the cross bars so weight sits evenly from side to side.
Add bow and stern lines to reduce front-to-back movement. Check the setup after a short drive because straps can settle once the kayak shifts into place.
Secure Strapping Techniques
Use cam straps or tie-down straps that are at least 1 inch wide. Wide straps spread pressure across the kayak and reduce the chance of hull damage.
Run the straps over the kayak and around the cross bars or carrier points. Tighten them enough to stop movement, but do not crush the hull.
Secure the front and rear of the kayak with bow and stern lines. On long drives, stop often and check strap tension.
Warning: Do not rely on bungee cords as the main tie-down for a kayak, cargo box, or heavy roof load. Use proper straps rated for the job.
Wind Resistance Considerations
Wind resistance increases when large gear sits high on your roof. Place the kayak bow forward and keep it as low as your carrier allows.
- Point the bow forward. Face the kayak into the wind to reduce drag.
- Add front and rear lines. Secure both ends to limit lift and sway.
- Keep the load low. Mount the kayak close to the roof when your carrier allows it.
- Reduce speed. Drive slower than usual when carrying roof cargo, especially in crosswinds or heavy traffic.
High speeds, crosswinds, sudden stops, and rough roads put more stress on the rack and straps. Stop safely and recheck the load if you hear new noise or feel unusual movement.
How to Remove and Store Your Cross Bars?
To remove Toyota RAV4 cross bars, unlock or loosen the clamps, bolts, or fasteners listed in your manual. Slide or lift the bars away from the roof rails in a straight, controlled motion.
Wipe the bars clean before you store them. Dirt and road salt can lead to wear, corrosion on metal hardware, or stuck moving parts.
Store your cross bars in a dry place, away from heavy objects that could bend them. Use a soft cover or towel to prevent scratches, and keep small hardware in a labeled bag.
Should You Remove Cross Bars Before a Car Wash?
Many cross bars can be removed before an automatic car wash, and removing them is often the safer choice. Brushes, rails, and dryers can catch roof accessories, especially if a cargo carrier, bike mount, or kayak rack is attached.
Check both the cross bar manual and the car wash rules before entering. If the rack maker or car wash says to remove roof accessories, remove them first.
Troubleshooting Common Installation Issues
If the cross bars do not line up, remove them and check the orientation of each bar. Some kits use a front bar and rear bar with different shapes or lengths.
If the clamps will not close, check for dirt, plastic shipping pieces, trapped rubber pads, or misaligned feet. Clean the rail and reseat each pad before you tighten the hardware.
If the bars move after tightening, stop and inspect the kit again. Confirm that each clamp sits in the right groove and that you used the correct bolts, washers, spacers, pads, or adapters.
| Problem | Likely Cause | Fix |
|---|---|---|
| Bar does not sit flat | Wrong bar position, dirt under pad, or reversed foot | Clean the rail, check front/rear labels, and reseat the foot |
| Clamp will not tighten | Wrong spacer, cross-threaded bolt, or misaligned clamp | Loosen everything, hand-start the bolt, and follow the hardware order again |
| Whistling or wind noise | Bar orientation, missing cover, exposed channel, or accessory drag | Check arrow markings, install caps, close covers, and remove unused accessories |
| Cargo shifts after driving | Loose straps, wrong carrier, or uneven weight | Recenter the load, use proper straps, and add bow and stern lines for long items |
Easy Maintenance Tips for Your RAV4 Cross Bars
Regular care helps your cross bars last longer and keeps roof cargo safer. Add these checks to your routine before trips and after bad weather.
- Inspect the hardware. Look for loose bolts, worn clamps, cracked covers, rust, missing keys, or damaged pads.
- Clean the bars. Wash dirt, bugs, and road salt with mild soap and water.
- Check the tightness. Recheck the mounts after long drives, rough roads, heavy loads, or big temperature changes.
- Lubricate moving parts only if allowed. Use silicone spray only where the manufacturer allows it, and keep lubricant away from grip surfaces unless the manual says otherwise.
- Remove unused accessories. Take off cargo baskets, kayak carriers, and bike racks when you do not need them to reduce wind noise and weather exposure.
Remove the bars when you do not need them for a long time. This can reduce weather exposure, wind noise, and wear on rack parts.
Frequently Asked Questions
What tools are needed for installing RAV4 cross bars?
Most kits need only the supplied tool, an Allen wrench, a socket wrench, or a screwdriver. Use a torque wrench when the manual gives a specific torque value.
Can I install cross bars without professional help?
Yes, many RAV4 owners can install cross bars at home with basic tools. Follow the instructions for your exact kit, and get professional help if the bars feel loose, do not align with the rails, or require hardware you do not have.
Are cross bars removable for car washes?
Yes, many RAV4 cross bars can be removed before a car wash. Check your cross bar manual and the car wash rules because automatic brushes, dryers, and rails can catch roof accessories.
How much weight can RAV4 cross bars support?
Many RAV4 cross bar systems support about 150 pounds, but the exact limit depends on your vehicle and rack system. Check the lowest load rating across the roof, roof rails, cross bars, cargo carrier, and accessory before loading gear.
Do cross bars affect my vehicle’s fuel efficiency?
Yes, cross bars can create wind drag, especially at highway speeds. Removing them when you do not need them may reduce wind noise and may help fuel economy.
Why do my RAV4 cross bars whistle?
Whistling usually comes from airflow over an exposed channel, missing end cap, reversed bar, loose cover, or accessory mounted in the wind. Check the bar direction, close all covers, install end caps, and remove unused attachments.
Can I use RAV4 cross bars for a rooftop tent?
Only use a rooftop tent if your vehicle, rails, cross bars, and tent are all rated for that use. Standard cargo cross bars are not automatically approved for rooftop tents, so check every manual before installing one.
Conclusion
A safe RAV4 cross bar setup starts with the right fit, even tightening, and a firm stability check. Before you carry cargo, confirm your roof rail style, follow the kit instructions, and test the bars by hand. Keep your manual, tools, and load limits close so each trip starts with a quick safety check. With the right setup, your RAV4 can carry more gear with less stress.
Sources
- Toyota Owners Manuals — supports checking the vehicle-specific owner’s manual for roof rack fitment, cargo limits, and safety instructions.
- Toyota Genuine Accessories — supports using vehicle-specific accessory fitment before choosing OEM cross bars.
- National Highway Traffic Safety Administration Road Safety — supports the general safety principle that cargo should be secured before driving.