
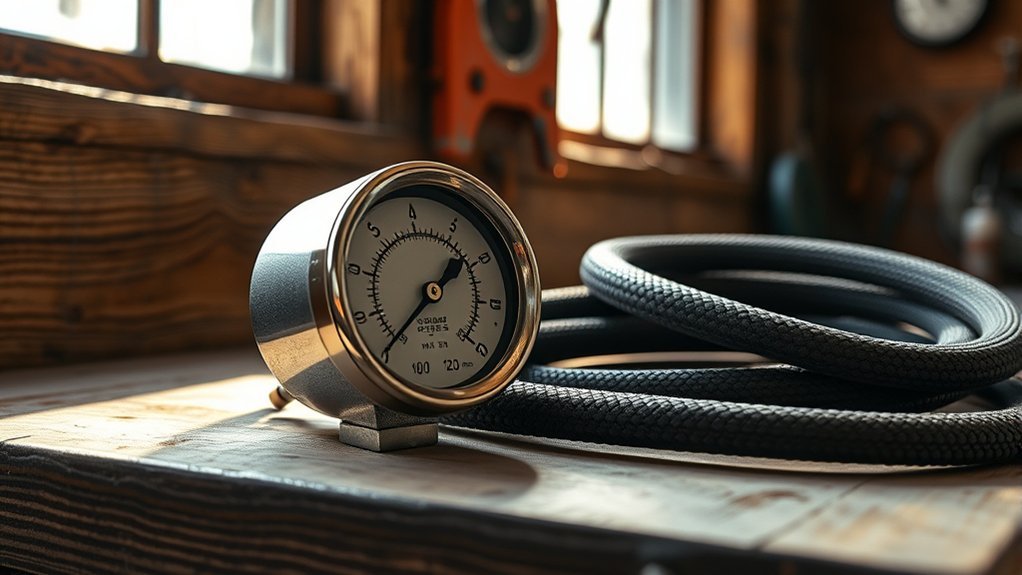
An analog tire inflator uses a mechanical gauge (Bourdon tube or diaphragm), a piston-driven air path and a valve to let air into the tire while the gauge needle shows pressure; you press the nozzle onto the stem, watch the needle and stop at the recommended PSI. They’re rugged, battery-free, easy to read in any lighting condition, and ideal for roadside, workshop or off-road use. Keep it clean, calibrated and leak-free for accuracy, and you’ll find more practical tips ahead.
How Analog Tire Inflators Work: Gauge, Piston, and Valve Interaction
Think of an analog tire inflator as three working parts: a mechanical gauge, a piston assembly, and a valve at the tire stem. The gauge uses a Bourdon tube or diaphragm to convert pressure into needle movement, giving you an immediate, readable dial without electronics. The piston responds to the air column’s force; its motion transmits mechanically to the gauge needle, showing current tire pressure. The valve at the stem opens to let air flow when you press the inflator and closes to trap pressure for measurement.
Accurate reading depends on regular calibration: if the gauge drifts, your readings will be incorrect. Check calibration every 6-12 months and choose durable components so the gauge, piston, and valve keep delivering precise, reliable readings when you need them.
How to Use an Analog Tire Inflator (Safe, Accurate Steps)
Before you start, check the recommended PSI in your vehicle manual or on the tire sidewall and inspect the gauge, hose, and valve cap for damage. Remove the valve cap and press the inflator nozzle firmly onto the stem to make a tight seal, then pump while watching the analog gauge. Stop when the target pressure is reached, detach quickly to limit air loss, and replace the valve cap.
Prep And Safety Checks
Safety first: park on level ground and set the parking brake so the vehicle can’t roll while you work. Before you begin, check tire pressure when tires are cold—this gives the most accurate results. Wait at least 3 hours after driving or check them first thing in the morning. Compare against the recommended tire PSI in your owner’s manual or tire sidewall. Remove valve caps and be ready to attach the inflator securely for an airtight seal. Monitor the gauge reading as you add air, stop at the target PSI to maintain optimal vehicle performance, then replace valve caps quickly. Repeat for all tires to keep balance and control.
| Step | Action | Reason |
|---|---|---|
| 1 | Park level | Stability |
| 2 | Engage brake | Safety |
| 3 | Check PSI (cold tires) | Accuracy |
| 4 | Remove cap | Access |
| 5 | Monitor gauge | Control |
Attaching The Inflator
Once the valve cap’s off, press the inflator nozzle firmly onto the valve stem so it seals tightly and won’t leak air. Hold the nozzle flush to form a tight seal—proper contact is essential for accurate readings. Keep the inflator pressed against the valve stem throughout so air flows efficiently and the pressure gauge reads true. Begin to inflate, watching the pressure gauge as you add air in short bursts. Aim for your desired tire pressure—typically 28–35 PSI for passenger vehicles—and work steadily toward it. When you reach the target, remove the inflator quickly to minimize air loss, then replace the valve cap to protect the valve stem.
Reading And Releasing Pressure
Start by making sure the valve cap is off and the inflator nozzle is sealed on the valve stem so no air escapes. Watch the analog gauge closely as it reads tire pressure in PSI. Keep your eye on the dial and check frequently while you inflate, stopping when the gauge reads the recommended pressure listed on the sidewall or in your owner’s manual. If the gauge goes past the target, detach the inflator briefly to release some air, then reattach and recheck. Repeat small releases until the gauge stabilizes at the recommended pressure. When finished, securely replace the valve cap to protect the valve and maintain accurate pressure.
Reading Analog Dials Correctly: Tips to Avoid Mistakes
For quick, reliable readings, use your tire pressure gauge when tires are cold and verify the units match your vehicle’s recommended tire pressure. Press firmly on the valve stem so the seal is airtight and the needle won’t fluctuate.
- Keep your eye level with the dial to eliminate parallax error (viewing angle distortion) and read the needle’s true position.
- Wait for the needle to stop bouncing; only a settled reading gives an accurate measurement. Most analog gauges are accurate to ±1-2 PSI when properly calibrated.
- Confirm the gauge shows PSI or bar and compare against the recommended tire pressure in your manual.
- If the seal leaks or the needle fluctuates constantly, re-seat the gauge or try another device to avoid guessing.
Consistent technique ensures reliable results: cold tires, level sightline, solid seal, and steady needle.
Bourdon Tube or Diaphragm: Which Is Inside Your Inflator?
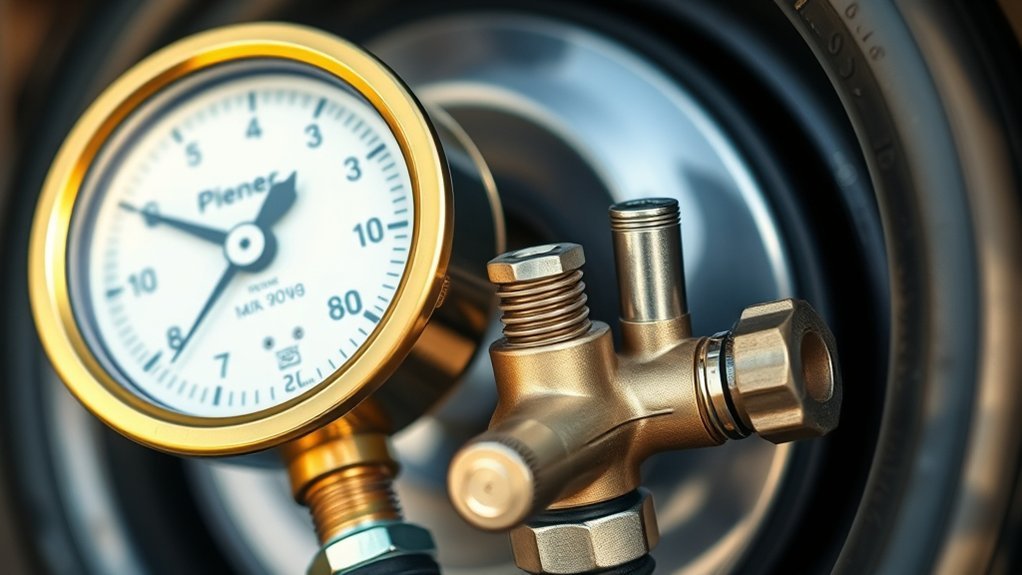
Now that you know how to get steady, accurate readings, understanding what’s inside your inflator helps you choose the right tool. When you check an analog tire inflator’s spec sheet or examine the gauge face, you’ll find one of two mechanisms: a Bourdon tube or diaphragm gauge.
A Bourdon tube is a curved, hollow metal tube that straightens as pressure rises; it’s rugged and gives reliable tire pressure feedback in harsh conditions. Bourdon tube gauges typically cost $15-40 and are the most common type in professional-grade inflators.
Diaphragm gauges rely on a flexible membrane that deforms with pressure changes; they’re often more precise at lower pressures and provide clear readings in dim light. These typically cost $10-25 and are popular in consumer-grade models.
Comparison: Bourdon Tube vs Diaphragm
| Feature | Bourdon Tube | Diaphragm |
|---|---|---|
| Durability | Excellent (metal construction) | Good (plastic/rubber membrane) |
| Accuracy | ±1-2 PSI | ±1-3 PSI |
| Best For | Heavy use, harsh conditions | Light use, precision at low pressure |
| Price Range | $15-40 | $10-25 |
| Lifespan | 10+ years with care | 5-7 years typical |
If you need durability and frequent use, choose Bourdon tube units. If you prefer clarity and sensitivity for occasional low-pressure tasks, pick diaphragm gauges.
When an Analog Inflator Is Better Than a Digital One
When you need a simple, dependable tool, an analog inflator often outperforms a digital one: it’s typically $5-15 cheaper, more rugged without batteries or electronics to fail, and the dial is usually faster to read in bright outdoor conditions. Analog tire gauges excel when reliability, speed, and self-reliance matter. They provide clear pressure readings without recalibration fuss, survive rough use, and don’t depend on batteries.
- Durability: Mechanical gauges resist shock and weather better than many digital units.
- Visibility: An analog dial is readable in direct sunlight where LCD displays wash out.
- Cost-effectiveness: Analog inflators typically cost $8-25 vs $15-50 for digital equivalents.
- No batteries needed: When electricity isn’t available or batteries die, analog tools keep working.
[Products Worth Considering]
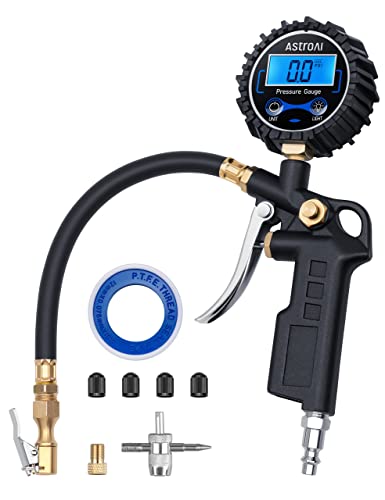
COMPATIBLE WITH both ¼” and ½” NPT air compressors outputs. COMPATIBLE WITH Standard Schrader Valves.
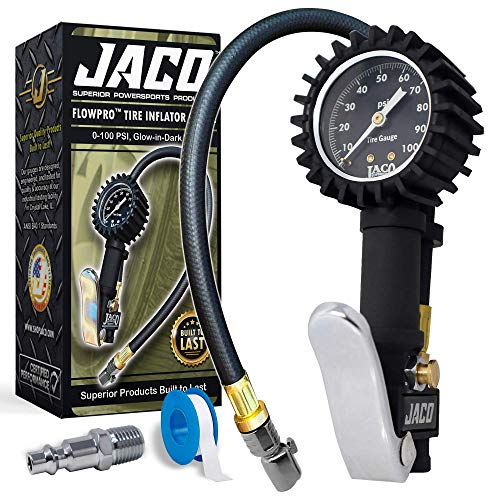
MECHANIC RECOMMENDED: Performance tested & calibrated to ±2% accuracy, this tire inflation tool measures, inflates, & airs down tires up to 100 PSI without batteries. The 100 PSI gauge dial glows in the dark for visibility at night.

The tire inflator gauge is built of sturdy materials to guarantee you LONG-LASTING PERFORMANCE. The air gauge is also surrounded by a large rubber case for additional protection and DURABILITY
When Digital Is Better
Digital gauges excel in certain situations:
- When you need precision to 0.1 PSI (racing, high-performance applications)
- In low-light conditions where reading a dial is difficult
- When you want features like auto-shutoff, backlit displays, or memory storage
- For users with vision difficulties who benefit from large digital numbers
Choose an analog gauge if you want straightforward, reliable pressure control that works anywhere. Consider digital if precision, features, or readability in dark conditions matter more than ruggedness.
Keeping an Analog Inflator Accurate: Calibration and Care
Because your analog inflator relies on a mechanical Bourdon tube and moving parts, check and calibrate it regularly to keep readings trustworthy. Compare its readings to a reliable digital gauge or master gauge at several known pressures (15, 30, 45 PSI), store the tool in a cool, dry place, and inspect hoses and fittings for leaks or damage that can skew results.
Perform calibration by connecting both gauges to a stable pressure source, note deviations at low, mid, and high points, and adjust or mark the analog inflator accordingly. If your gauge consistently reads 2-3 PSI off, either adjust the calibration screw (if available) or note the offset and compensate mentally.
For accurate pressure readings, avoid drops and heavy impacts that can bend the mechanism. Regular maintenance includes cleaning the case, protecting the crystal, and replacing cracked hoses or worn fittings promptly.
Maintenance Schedule
| Frequency | Task | Purpose |
|---|---|---|
| Before each use | Visual inspection | Check for damage, leaks |
| Monthly (if used weekly) | Clean gauge face and hose | Prevent dirt buildup |
| Every 6 months | Test against known good gauge | Verify accuracy |
| Annually | Deep calibration check | Ensure precision |
Keep a simple log of calibration checks and dates so you know when accuracy was last verified. This record helps you maintain precision and identify when a gauge needs replacement.
Quick Troubleshooting for Common Analog Inflator Problems

If your analog inflator gives odd readings or won’t fill a tire, start with the basics: check for a secure valve-stem connection and listen for leaks, inspect hoses and fittings for cracks, and look at the gauge needle for signs of sticking or damage. Follow a clear troubleshooting path: verify the secure connection, confirm the gauge responds, and isolate leaks before assuming the pump is broken.
Common Problems and Solutions
- Needle stuck at zero: Gently tap the gauge face or cycle the pressure (inflate/deflate) to free the mechanism. If it stays stuck, the Bourdon tube may be damaged.
- Inconsistent readings: Check for air leaks at connections. Apply soapy water to joints—bubbles indicate leaks. Tighten or replace fittings as needed.
- Reads high or low consistently: The gauge needs calibration. Test against a master gauge and note the offset, or adjust the calibration screw if your model has one.
- Needle bounces wildly: Poor seal at the valve stem. Remove and reattach, ensuring the nozzle is perpendicular to the valve and fully seated.
- Won’t hold pressure reading: The check valve in the nozzle may be worn. Replace the nozzle or entire gauge assembly.
Regular maintenance prevents most issues: clean the gauge face, lubricate moving parts lightly with silicone spray (not oil), and store in a protective case. If a gauge consistently fails calibration checks or shows physical damage, replace it—these typically cost $8-30 and aren’t worth repairing.
Buying Guide: Pressure Range, Hose, and Fittings to Check
Check that the inflator’s pressure range exceeds your vehicle’s recommended PSI (most passenger cars need about 28–35 PSI, light trucks 35-45 PSI) so you have adequate headroom. Make sure the hose or gauge stem is long and flexible enough to reach every tire comfortably—12–24 inches is common for handheld gauges—and choose rubber or braided metal over thin plastic for durability. Confirm fittings are secure (screw-on or clamp-style) and that the included gauge reads accurately to avoid unsafe pressure readings.
[Products Worth Considering]

WHAT YOU CAN GET: This tire inflator gauge includes aluminium tire inflator and deflator, 0-220PSI 0-16kg/CM2 2-1/2" large dial mechanical air pressure gauge, 13" long maximum pressure up to 250PSI rubber hose, brass straight chuck with leak free valve core. It is a complete 3 in 1 function tool ready for testing tire pressure, deflating and inflating tyre with air pump or compressor (not included).
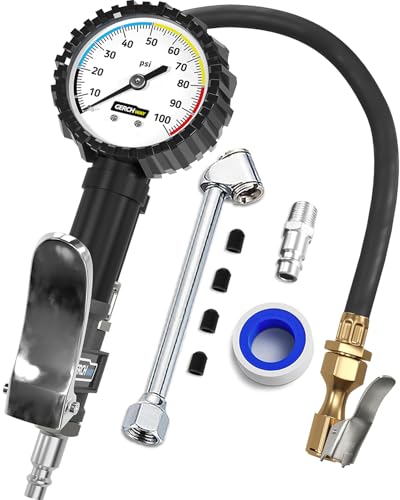
The tire inflator with pressure gauge is built of sturdy materials to guarantee you LONG-LASTING PERFORMANCE. The tire pressure gauge is also surrounded by a large rubber case for additional protection and DURABILITY

WHY YOU NEED AN AIR INFLATOR GAUGE: Properly inflated tires provide better performance in all weather conditions。 By maintaining optimal tire pressure, you can also increase your MPG and save money on fuel costs and tire wear.
Pressure Range Needed
When choosing an analog tire inflator, make sure its pressure range covers your vehicle’s needs—most passenger cars run between 28–35 PSI—while the unit’s maximum (typically 60-100 PSI) gives you headroom for larger tires or occasional higher-pressure needs like bicycles or sports equipment.
- Confirm the pressure range aligns with your vehicle and any trailers or off-road tires you might service.
- For passenger cars only: 0-60 PSI range is sufficient ($8-15)
- For mixed use (cars, trucks, bikes): 0-100 PSI range is better ($15-25)
- For heavy trucks or commercial use: 0-160 PSI range ($25-40)
- Check that compatible fittings are included or available so you can connect to Schrader (car-type) or specialty stems.
Hose Length & Fittings
Pay attention to hose length and fittings so you can reach every valve without awkward positioning. For handheld tire pressure gauges, look for 12-24 inches of length—enough to reach recessed valves comfortably. If you’re buying an air compressor with an inflator attachment, 6-10 feet of hose gives you flexibility to move around the vehicle.
Match the gauge’s pressure range (minimum 60 PSI for cars, 100 PSI for trucks) to your vehicles. Inspect fittings for universal connectors that handle multiple valve types and verify they’re made from durable materials like brass or reinforced nylon. A tight, well-machined fitting creates a secure connection, prevents leaks, and ensures accurate readings.
Recommended Models by Budget
Budget Pick ($8-12): Basic pencil-style gauge with 10-60 PSI range. Good for occasional use, no hose, direct valve contact.
Best Overall ($18-25): Dial gauge with 12-inch flexible hose, 0-100 PSI range, Bourdon tube mechanism, brass fittings. Ideal for most users.
Professional Grade ($30-45): Heavy-duty gauge with 24-inch braided hose, 0-160 PSI range, calibration certificate, protective case. Built for daily workshop use.
Best Real-World Uses for Analog Inflators: Roadside, Workshop, Off-Road
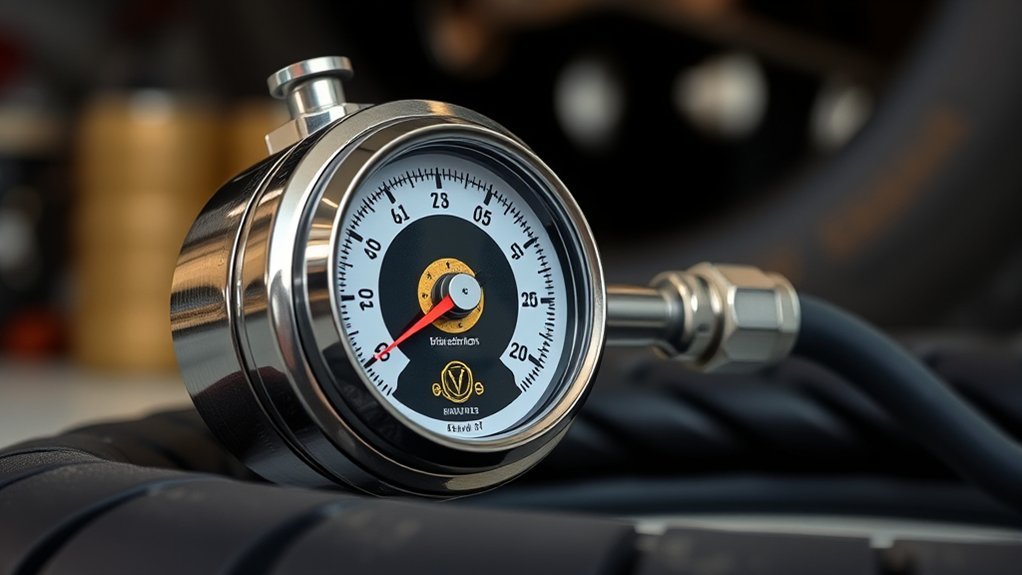
Because they’re simple and rugged, analog inflators are a top choice for roadside repairs, shop work, and off-road use where you need fast, reliable pressure checks without batteries or electronics. Analog gauges provide direct feedback and no-nonsense performance: clear dials, easy-to-read markings, and durable construction that takes drops and dirt.
In roadside assistance scenarios, they inflate quickly and get you moving. In workshop settings, they deliver consistent pressure readings across multiple vehicles. Off-road enthusiasts trust them in low light and muddy conditions where digital screens might fail.
Analog inflators: reliable, battery-free pressure checks for roadside, workshop, and off-road use.
- Roadside: Grab-and-go reliability for emergency fixes with no setup time.
- Workshop: Repeatable, consistent pressure readings for maintenance and tuning.
- Off-road: Rugged, durable construction that survives trails and harsh conditions.
- General use: Simple operation, rapid checks, no batteries to fail or displays to break.
[Products Worth Considering]
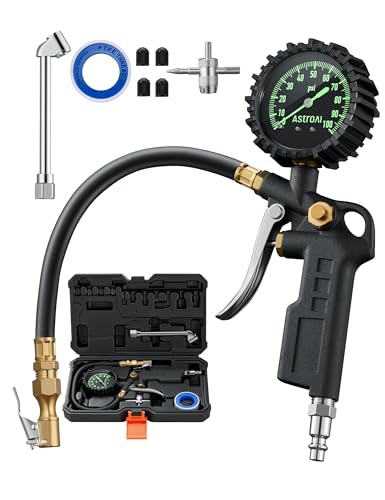
Advanced accuracy: Professionally calibrated tire pressure gauges for cars. Accurately measures from 0-100 PSI with a resolution of +/-1 PSI.

AMERICAN OWNED, FAMILY OPERATED – Join the Rhino USA Family and Support a Father/Son Business With USA-Based Live Phone Support.

Advanced accuracy: Professionally calibrated tire pressure gauges for cars. Accurately measures from 0-100 PSI with a resolution of +/-1 PSI.
When NOT to Use Analog
Analog gauges have limitations:
- Extreme cold: Below -20°F, mechanical parts can freeze or become sluggish. Digital gauges handle cold better.
- Precision racing: If you need 0.1 PSI accuracy for track use, digital gauges are more reliable.
- Dark conditions: Reading a dial by flashlight is harder than reading a backlit digital display.
- TPMS troubleshooting: Modern vehicles with Tire Pressure Monitoring Systems may need digital tools to interface with sensors.
Frequently Asked Questions
How to Read an Analog Tire Inflator?
Press the gauge firmly onto the valve stem to create an airtight seal, then watch the needle on the dial settle at a PSI reading. Keep your eye level with the dial to avoid parallax error, and wait for the needle to stop moving before taking the reading. Most analog gauges are accurate to ±1-2 PSI when properly maintained.
Do Analog Tire Gauges Need Batteries?
No, analog tire gauges are completely mechanical and don’t require batteries. They work using a Bourdon tube or diaphragm that physically moves a needle as pressure changes. This makes them reliable in any weather and ensures they’re always ready to use, even after sitting unused for months or years.
How Accurate Are Analog Tire Pressure Gauges?
Most quality analog tire pressure gauges are accurate to within ±1-2 PSI when properly calibrated and maintained. High-end professional models can achieve ±0.5 PSI accuracy. However, accuracy degrades over time due to wear, impacts, or temperature extremes. Check your gauge against a master gauge every 6-12 months to ensure it remains accurate.
Can Analog Tire Gauges Be Calibrated?
Yes, some analog gauges have a calibration screw (usually under a small rubber plug near the dial) that allows adjustment. However, many consumer models can’t be recalibrated—you’ll need to note the offset and compensate mentally, or replace the gauge if it drifts more than 3-4 PSI off. Professional gauges often include calibration certificates and can be recalibrated by certified shops.
Conclusion
Analog inflators are straightforward, rugged tools that keep tires safe when you know how to read and use them properly. They deliver quick, reliable readings without batteries, but require regular calibration checks and inspection for worn hoses and seals. For a gauge that won’t fail on the roadside, choose the right pressure range (60-100 PSI for most users), keep fittings clean, and store it in a dry place—proper care keeps analog gauges accurate and ready when you need them most.


Leave a Reply