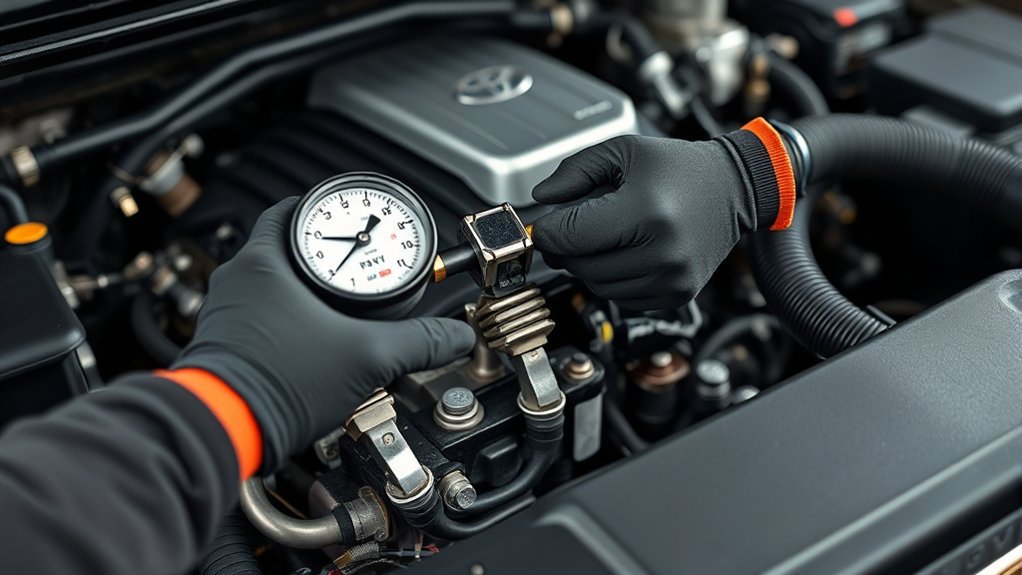
Checking fuel pressure on a Toyota RAV4 can confirm whether the engine is receiving enough fuel, but the correct connection point, pump-activation method, and pressure specification depend on the model year, engine, and powertrain. Many RAV4s do not have a tire-valve-style test port, and 2019 and newer models may have both low-pressure and direct-injection high-pressure circuits.
Quick Answer
Identify your RAV4’s year and engine, obtain the matching Toyota repair procedure, relieve fuel pressure, and connect a fuel-injection-rated gauge with the specified inline adapter. Command the low-pressure pump as directed, record the reading under the stated conditions, compare it with the exact specification, then restore the line and check carefully for leaks.
Key Takeaways
- Do not assume every RAV4 has a Schrader valve on the fuel rail. Toyota commonly specifies an inline gauge adapter at a fuel-tube connection.
- The often-quoted 44–50 psi range fits several older RAV4 engines, but it is not a universal specification.
- Many Toyota procedures use Techstream or GTS to activate the fuel pump. Turning the key to ON may not provide a valid test by itself.
- Never loosen or attach a conventional gauge to a direct-injection high-pressure rail.
- After reassembly, run the prescribed leak check before driving.
At a Glance
| Time Required | About 45–90 minutes after you have the correct procedure and adapters |
| Difficulty | Intermediate to advanced; professional service is best for direct-injection, Hybrid, or Prime models |
| Tools Needed | Model-correct repair information, fuel-injection pressure gauge, specified adapters, scan tool when required, eye protection, gloves, absorbent pads, and basic hand tools |
| Cost | Often $40–$150 for a suitable gauge and adapters; more if a bidirectional scan tool or professional diagnosis is needed |
Warning: Gasoline and its vapors ignite easily. Work outside or in a properly ventilated service area with a cool engine. Keep cigarettes, flames, heaters, incandescent work lights, sparks, and other ignition sources away. Stop immediately if you find a leak, damaged connector, or fuel odor you cannot control.
Why Testing Fuel Pressure Is Important for Your RAV4
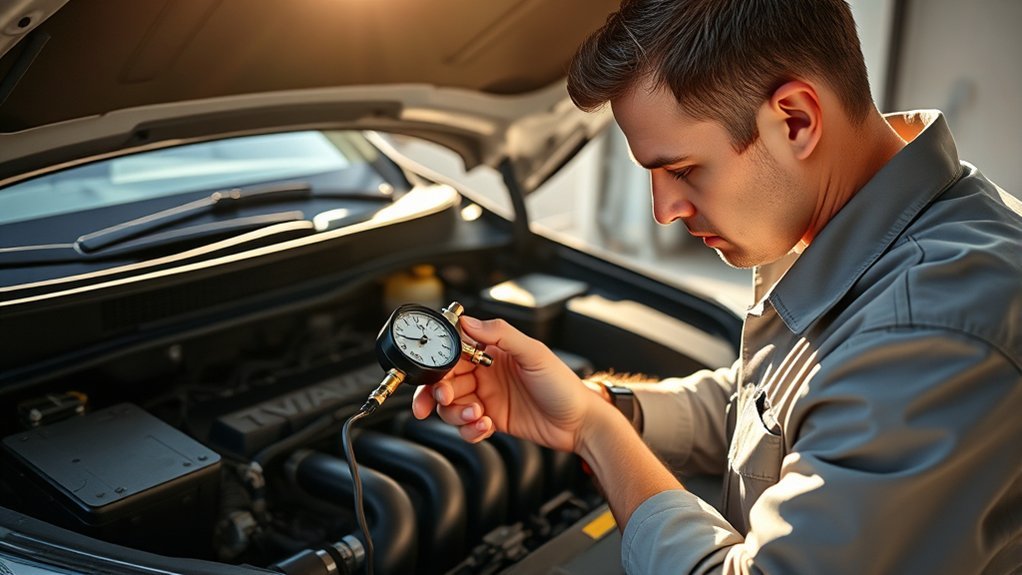
Fuel pressure is one part of a complete engine diagnosis. A correct test can help separate a fuel-delivery problem from an ignition, air-metering, compression, wiring, immobilizer, or engine-control problem.
Low or unstable fuel pressure may contribute to extended cranking, a no-start condition, stalling, hesitation, weak acceleration, lean running, or loss of power. High pressure can also cause poor running and rich operation. However, symptoms alone do not prove that the pump is bad.
A pressure reading is useful only when the gauge is connected at the correct point, the pump is commanded correctly, and the result is compared with the exact specification for that RAV4.
Identify Your RAV4 Before Testing
Before opening the fuel system, record the model year, engine, drivetrain, and whether the vehicle is gasoline, Hybrid, or Prime. Use the VIN when searching Toyota service information because production changes can affect the procedure and parts.
The safest source for the exact test is the Toyota Technical Information System. Look for the repair-manual section named Fuel System: On-Vehicle Inspection, plus the linked pressure-discharge, fuel-tube removal, battery-disconnection, and leak-inspection procedures.
Note: A gasoline 2019–2025 RAV4 with the A25A-FKS engine uses a low-pressure circuit and a direct-injection high-pressure circuit. The high side is checked through scan-tool data under specified conditions, not by attaching a general-purpose mechanical gauge to the rail.
RAV4 Fuel Pressure Specifications Vary by Year
Do not use one number for every RAV4. The following figures are examples from specific Toyota repair procedures, not replacements for the manual that matches your VIN.
| Example application | Example specification | What it means |
|---|---|---|
| Several older port-injected RAV4 engines, including the 2012 2.5L example | 44–50 psi at idle | This is the source of the common 44–50 psi figure, but the connection still uses an inline adapter rather than a universal rail valve. |
| 2019–2025 gasoline RAV4, A25A-FKS | Low side: 28–121 psi under the repair-manual test; high side: scan-tool test under specified conditions | The pump is electronically controlled, so a wide acceptable low-side range may apply during the defined test. |
| 2019–2025 RAV4 Hybrid, A25A-FXS | Model-specific low-side range plus a separate scan-tool high-side test | The engine may need Inspection Mode so it continues running during the prescribed check. |
Older manuals may also specify a minimum residual pressure several minutes after shutdown. Newer procedures use different residual limits. Record the test condition and elapsed time with every reading.
Tools You’ll Need for Fuel Pressure Testing
Use equipment rated for electronic fuel-injection pressure and gasoline exposure. A basic carburetor-pressure gauge or a random universal fitting is not suitable.
| Tool | Purpose |
|---|---|
| Model-specific Toyota repair procedure | Provides the correct pressure-discharge method, connection point, adapter, operating condition, and specification. |
| Fuel-injection pressure gauge kit | Measures the low-pressure side. The hose, gauge, seals, and fittings must be rated above the expected pressure. |
| Toyota-style fuel-tube adapters or specified SST equivalents | Connect the gauge inline without damaging the quick connector or fuel tube. |
| Bidirectional scan tool | Commands the circuit-opening relay or fuel pump when the Toyota procedure requires an Active Test. It can also display low- and high-pressure sensor data on supported models. |
| Safety glasses, fuel-resistant gloves, absorbent pads, and shop towels | Protects against residual spray and controls small spills. |
| Flammable-liquid-rated extinguisher | A Class B or common ABC extinguisher should be accessible. It does not make an unsafe workspace acceptable. |
How to Find the Fuel-Pressure Test Connection on Your RAV4
Do not search only for a cap that looks like a tire valve. Many RAV4 repair procedures tell you to disconnect a fuel inlet hose or quick-connect fuel tube and install a pressure gauge with a T-fitting or Toyota special service tool.
- First-generation examples: the gauge may connect at the fuel-filter outlet with a union fitting and new sealing gaskets.
- Later port-injected examples: the gauge commonly installs inline where the main fuel tube connects in the engine compartment.
- 2019 and newer gasoline or Hybrid examples: the low-side gauge uses a specified T-joint and fuel-tube connector; the high-pressure side is evaluated with Techstream or GTS data.
Trace only the line identified in the repair manual. Fuel vapor lines, air-conditioning lines, and direct-injection pipes are not gauge connection points.
Pro Tip: Photograph the connector, clamp position, and hose routing before disassembly. This makes it easier to confirm that the lock, retainer, and protective clamp are restored correctly.
Step-by-Step Guide to Checking RAV4 Fuel Pressure
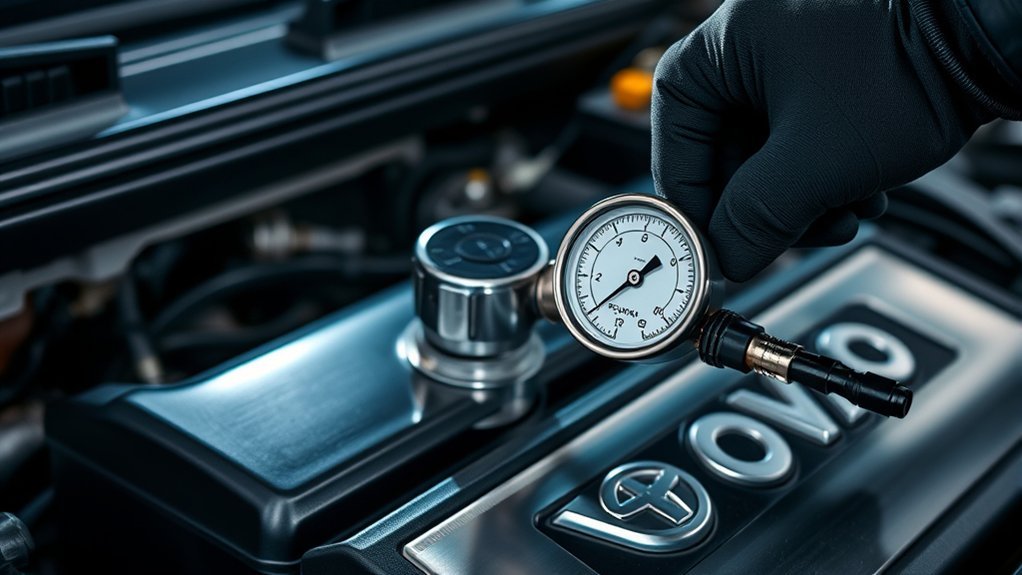
The sequence below explains the general workflow. Follow the model-specific Toyota repair manual whenever it differs.
1. Record Codes and Check Battery Voltage
Scan the engine-control system before disconnecting the battery. Save diagnostic trouble codes and freeze-frame data. A weak battery can slow the pump and starter, so correct a low battery-voltage problem before judging fuel pressure.
2. Prepare a Safe Work Area
Park on level ground, select Park, apply the parking brake, and allow the engine to cool. Work in open air or a properly designed service bay. Keep absorbent pads under the connection and have the correct extinguisher nearby.
3. Relieve Fuel-System Pressure
Use the exact method in the repair manual. Toyota procedures may call for removing a relay or fuse, commanding the engine to consume the remaining fuel, disconnecting a pump connector, cranking the engine, or following a scan-tool routine. Pressure can remain after the engine stalls.
Warning: Never loosen a high-pressure direct-injection pipe to “bleed” it. Cover the approved low-side connection with a thick shop towel and open it slowly only after completing the specified discharge procedure.
4. Disconnect the Battery if Specified
Some procedures require the negative battery cable to be disconnected before opening the fuel line. On Hybrid models, this means the 12-volt auxiliary battery procedure, not touching orange high-voltage components. Observe Toyota’s waiting and initialization instructions.
5. Install the Correct Inline Adapter and Gauge
Clean dirt away from the connection. Release the lock exactly as shown in the manual, then install the specified adapter, hose, T-fitting, gauge, clamps, and seals. Do not force a mismatched connector. Route the hose away from belts, fans, exhaust parts, and sharp edges.
6. Activate the Low-Pressure Pump
Reconnect the battery when the procedure directs. Many RAV4 tests use a Toyota scan tool Active Test such as Activate the Circuit Relay or Control the Fuel Pump Speed. Do not assume that turning the ignition to ON will run the pump long enough for a valid reading.
7. Check for Leaks Before Starting
With the low-pressure pump commanded on, inspect every disturbed connection. If you see wetness, a drip, mist, or spray, turn the pump off immediately. Relieve pressure again and correct the connection before continuing.
8. Record Pressure Under the Specified Conditions
Read the gauge only under the conditions named in the manual. Depending on the model, these may include pump Active Test, cranking, warm idle, a specified engine speed, or Inspection Mode on a Hybrid. Note the pressure, battery voltage, coolant temperature, engine speed, and whether the reading is steady.
9. Perform the Residual-Pressure Test if Required
Stop the engine or pump and watch the gauge for the specified time, often five minutes in older procedures. A rapid drop can point to an external leak, injector leakage, a pump check-valve problem, or a pressure-control fault, but the exact diagnostic path varies by system.
10. Compare the Result With the Correct Specification
Compare the reading with the service manual for that engine and test condition. Do not average several unrelated internet specifications. On direct-injection models, compare the low-side gauge to supported scan data and evaluate the high side only through the prescribed scan-tool procedure.
Key Observations When Starting the Engine
Fuel pressure is only one clue. Record what the vehicle does before, during, and after cranking so the result can be interpreted in context.
| Observation | What it may indicate | Next check |
|---|---|---|
| Engine cranks normally but does not start | Fuel pressure, injector command, ignition, immobilizer, air, or compression problem | Check codes, security indicator behavior, spark, injector pulse, and model-correct fuel pressure. |
| No pump sound during a commanded Active Test | Pump, relay, control module, fuse, power, ground, or wiring problem | Verify the command with scan data and test the electrical circuit before replacing the pump. |
| Security indicator remains on or behaves abnormally during a no-start | Possible key or immobilizer authorization issue | Try an approved spare key and follow Toyota immobilizer diagnosis. |
| Check-engine light flashes while the engine is running | A severe misfire may be occurring | Reduce load, stop driving when safe, and diagnose the misfire. A flashing light is not an immobilizer test. |
| Starts cold but stalls or restarts poorly when hot | Heat-related sensor, ignition, injector, pressure-retention, wiring, or mechanical fault | Compare hot and cold data, codes, pressure, and residual-pressure results instead of assuming a pump failure. |
What the Fuel-Pump Sound Can and Cannot Tell You
A hum during a commanded Active Test confirms only that something in the pump area is operating. It does not prove that pressure or flow is adequate. No sound also does not automatically prove that the pump has failed because the command, relay, wiring, power supply, ground, and control module must be checked.
Interpreting Your Fuel Pressure Readings
- No pressure: confirm that the gauge valve is open, the adapter is connected correctly, there is fuel in the tank, and the pump is actually being commanded. Then test the pump electrical circuit.
- Lower than specification: possible causes include low voltage, a weak low-side pump, a restricted pickup or filter, a leak, a poor electrical connection, a faulty pressure-control valve, or an incorrect pump command.
- Higher than specification: possible causes depend on the design and may include a pressure-control valve or regulator fault, a restricted return path on an older return-type system, incorrect sensor feedback, or control problems.
- Pressure drops too quickly after shutdown: inspect for external leakage first. Other causes may include injector leakage, a pump check-valve fault, or a pressure-control component that does not seal.
- Pressure is within specification but symptoms remain: continue diagnosis of spark, injector pulse, air metering, vacuum leaks, exhaust restriction, compression, timing, sensors, wiring, and engine-control data.
- Gauge needle fluctuates: verify gauge quality and hose routing, then check for aeration, intermittent pump control, electrical voltage drop, pressure-control faults, or changing engine demand.
How to Troubleshoot Common Fuel-Pressure Problems
Use test results to narrow the fault instead of replacing parts by guesswork.
- Check service campaigns and recalls by VIN. Toyota expanded a fuel-pump recall that includes certain 2019–2020 RAV4 vehicles. Check the official Toyota recall lookup before paying for a pump.
- Check codes and live data. On supported models, compare commanded pressure, actual low-side pressure, fuel-pump duty, high-side pressure, engine speed, and injection mode.
- Perform voltage-drop testing. A pump can run quietly yet receive inadequate voltage under load. Test power and ground while the pump is commanded.
- Inspect the full fuel path. Look for a pinched line, damaged connector, contaminated tank, restricted pickup, module problem, or incorrect prior repair.
- Separate low-side and high-side faults. On direct-injection RAV4s, acceptable low-side pressure does not prove that the engine-driven high-pressure pump, sensor, wiring, or direct-injection system is working correctly.
- Confirm the repair. Clear codes only after recording them, repeat the same pressure test under the same conditions, inspect for leaks, and road-test only when the fuel system is dry and secure.
Note: On many RAV4s, the fuel filter and pressure-control parts are inside or attached to the in-tank pump module. Do not assume there is a routine external filter or a vacuum-operated regulator under the hood.
Best Practices for Safely Ending Your Fuel-Pressure Test

| Step | Action | Safety check |
|---|---|---|
| 1 | Turn off the engine, scan tool, and fuel-pump Active Test. | Confirm that moving engine parts have stopped. |
| 2 | Relieve pressure again by the specified method. | Cover the approved connection with a shop towel because residual pressure may remain. |
| 3 | Disconnect the battery when the procedure requires it, then remove the gauge and adapter. | Capture fuel without allowing it to contact hot parts, skin, paint, rubber, or the ground. |
| 4 | Reconnect the original fuel tube using the specified new gasket, retainer, clip, or clamp where required. | Pull back gently on a quick connector to confirm that it is locked. |
| 5 | Reconnect the battery, initialize affected systems, and command the pump. | Inspect visually and by odor. Never use a flame to check for leakage. |
| 6 | Start the engine only after the static leak check passes. | Recheck the connection at idle, switch off, and inspect once more before driving. |
Place fuel-soaked towels in a suitable closed metal waste container and follow local hazardous-waste rules. Do not store a gauge with gasoline trapped in the hose.
When to Stop and Call a Professional
Professional diagnosis is the safer choice when you cannot obtain the exact repair procedure, the connector requires a special tool you do not have, the fuel line is corroded or damaged, the vehicle uses direct injection, a Hybrid will not remain in the required Inspection Mode, fuel sprays after pressure relief, or you find an active leak.
Also stop if the engine stalls in traffic, the check-engine light flashes, the vehicle loses power under load, or gasoline odor enters the cabin. Towing is safer than driving with a suspected fuel leak.
Frequently Asked Questions
How do I check fuel pressure manually on a Toyota RAV4?
Use a fuel-injection-rated mechanical gauge only on the approved low-pressure connection. Relieve pressure, install the model-correct inline adapter, activate the pump as Toyota specifies, check for leaks, and compare the reading with the exact manual. Newer direct-injection high pressure is read with scan-tool data.
What are the signs of low fuel pressure?
Possible signs include long cranking, no-start, stalling, hesitation, lean-running codes, and weak acceleration. These symptoms also have non-fuel causes, so confirm them with pressure, scan data, and electrical tests.
Can I test a Toyota fuel-pressure regulator without a gauge?
You can inspect for leaks, codes, wiring faults, and abnormal scan data, but you cannot confirm regulated pressure accurately by watching fuel flow or loosening a line. Use the prescribed gauge and scan-tool tests.
Does every RAV4 have a fuel-pressure test port?
No. Many RAV4 procedures use an inline adapter at a fuel-tube or fuel-filter connection rather than a capped Schrader valve on the rail.
Is 44–50 psi normal for every Toyota RAV4?
No. That range appears in several older RAV4 repair procedures, but newer electronically controlled and direct-injection systems use different low-side ranges and separate high-side tests. Match the specification to the VIN, engine, and test condition.
Can I tell whether the pump is good by listening for it?
No. Sound may confirm that the pump motor operates, but it does not prove adequate pressure or flow. A silent pump also requires command, power, ground, relay, fuse, wiring, and control checks before replacement.
Conclusion
To check fuel pressure on a Toyota RAV4 correctly, start with the exact repair procedure for the vehicle’s year, engine, and powertrain. Use the specified low-side connection and adapter, command the pump as directed, test under the listed conditions, and compare the result with the matching specification. Treat direct-injection high pressure as a scan-tool and professional-service task, then finish every test with careful reassembly and a complete leak inspection.
Sources
- Toyota Technical Information System — model- and year-specific Toyota repair manuals, wiring diagrams, diagnostic procedures, and service information.
- 2012 RAV4 2.5L fuel-pressure procedure — public copy of the Toyota procedure showing the inline gauge setup and 44–50 psi example range.
- 2019–2025 RAV4 A25A-FKS fuel-system inspection — Toyota repair-manual content covering low- and high-pressure testing.
- 2019–2025 RAV4 Hybrid A25A-FXS fuel-system inspection — Toyota repair-manual content covering Inspection Mode and fuel-pressure testing.
- OSHA flammable-liquids standard — ignition-source controls when servicing fuel systems.
- Toyota fuel-pump recall announcement — recall expansion that includes certain 2019–2020 RAV4 vehicles.