If your tire inflator won’t pump, first check whether the problem is the tire or the tool. Try the inflator on another tire or a spare. Tighten the chuck, inspect the hose and valve stem for cracks or debris, and listen for hissing. Verify the power source. Look at the 12V outlet, battery voltage, or cold-weather weakness. Replace a damaged valve core or use a manual pump to get air right away. Keep reading to learn simple diagnostics, fixes, and when to replace or seek service.
Quick Answer
- Test the pump on a spare tire to confirm if the inflator or the tire is the problem.
- Check your 12V power connection and verify your vehicle’s accessory fuse isn’t blown.
- Inspect the tire’s valve stem and core for obvious damage, dirt, or leaks.
- Examine the inflator hose for kinks and ensure the chuck is securely tightened.
Triage: Tire vs. Tire Inflator
If your inflator won’t put air into a tire, start by deciding whether the problem is the tire or the inflator. Test the pump on another tire or a known-good spare. Check the hose and valve connector for leaks or damage. Inspect the tire’s valve stem and sidewall for punctures or obvious defects. First, isolate the fault by attaching the inflator to a second wheel. If it works, the original tire likely has a compromised tire valve, damaged valve core, or sidewall breach.
If it fails on both, focus on the inflator. Verify the power source, listen for compressor operation, and examine the air hose and connector for splits or clogged fittings. Check the valve core for corrosion or blockage that prevents seating. Consider that cold conditions can lower pressure or stiffen the valve core. By separating tire issues from device faults, you reclaim control and choose the correct repair path without wasting time or energy.
Quick Fixes to Get Air Into a Tire Now
Now that you’ve isolated whether the problem is the tire or the inflator, focus on quick measures that will get air into the tire right away. First, secure the nozzle tightly to the valve. Any leak at the valve stem stops air flow. Inspect the hose and valve connector. Remove visible debris or kinks that block air. If the inflator won’t run, switch to a manual pump or bike pump to restore pressure now. Warm the valve briefly with your hand if it feels cold so air can pass freely.
- Check and tighten the nozzle on the valve stem. Listen for escaping air.
- Scan the hose and connector. Straighten kinks and clear obstructions.
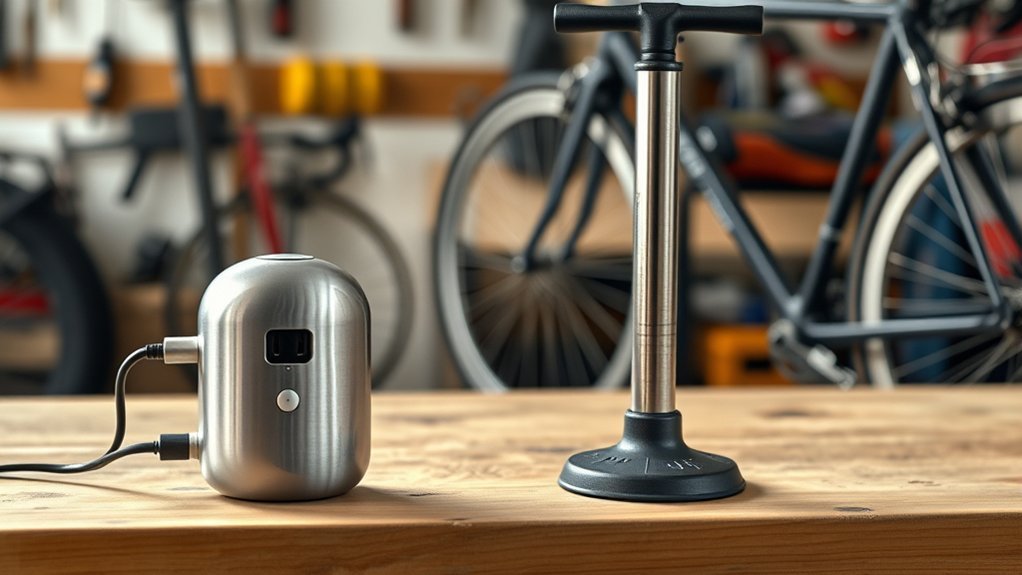
- Use a manual pump if the electric unit won’t operate or you need immediate air.
Act decisively. These steps free you from dependence on a failing device and get you rolling fast.
Power & Cold-Weather Checks (Battery, 12V Outlet)
Because a tire inflator needs steady electrical power to work, check the 12V outlet and your battery before blaming the pump. First, confirm the portable tire inflator is firmly plugged into a live power source. A loose plug or a corroded socket will cut the current. If the unit won’t power on, measure the vehicle battery voltage or check its charge level. Low or dead battery output is a common failure. Remember that cold weather reduces battery voltage output. Keep the battery warm when you can, or let the vehicle run briefly to stabilize voltage.
Inspect the inflator’s power cord for frays or damage that could interrupt flow. If the inflator powers on but won’t build pressure, switch to another 12V outlet to rule out a faulty socket. These checks free you from guesswork. Verify the connection, confirm battery health, protect the cord, and swap outlets before replacing the inflator.
Don’t Forget the Vehicle Fuse
Many 12V tire inflators draw a significant amount of power. This high draw can sometimes blow the cigarette lighter or 12V accessory fuse in your car. If your inflator is completely dead and the outlet has no power, check your vehicle owner’s manual. Locate the fuse box and inspect the specific fuse for that 12V outlet. Replacing a cheap blown fuse often solves the problem instantly.
Inspect & Replace Valve Stem and Valve Core
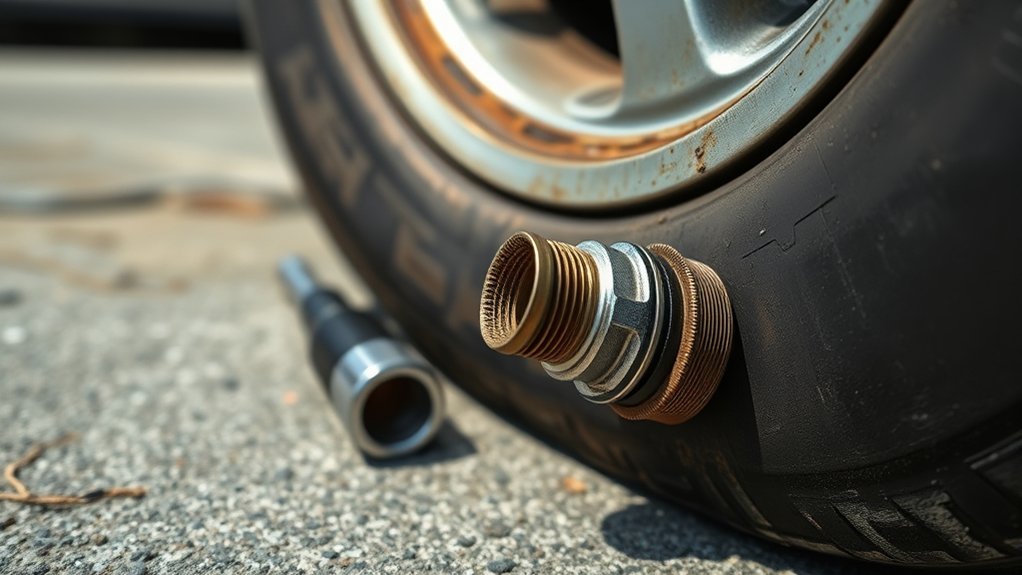
When you can’t get air into the tire, check the valve stem and core for damage or blockage. These small parts often cause inflation failure. Inspect the valve stem for cracks, debris, or bends that prevent a tight seal. Fit the inflator nozzle securely to the valve stem. Misalignment can stop airflow entirely. Listen for hissing. Air leaking usually means the valve core is loose or faulty.
Use a valve core tool to remove and inspect the valve core. If the core looks corroded, bent, or worn, replace it immediately. A fresh valve core restores sealing and stops air leaking. Test the stem with soapy water to spot leaks, then tighten or swap components as needed.
- Check the stem for visible damage or debris.
- Tighten or remove the valve core with the proper tool.
- Perform a soapy-water leak test after installation.
Act decisively. Replace faulty parts to reclaim control of your tire’s pressure.
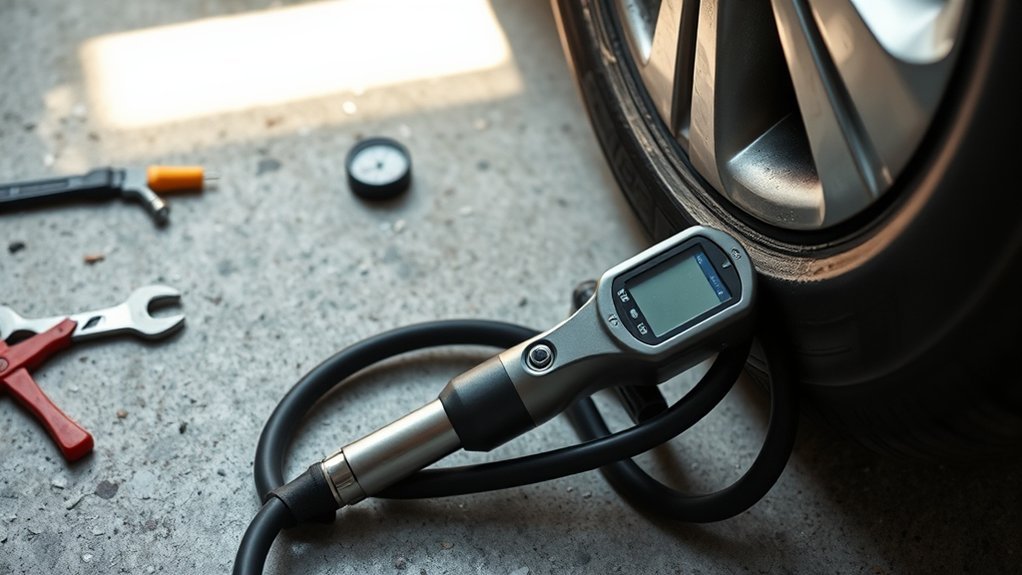
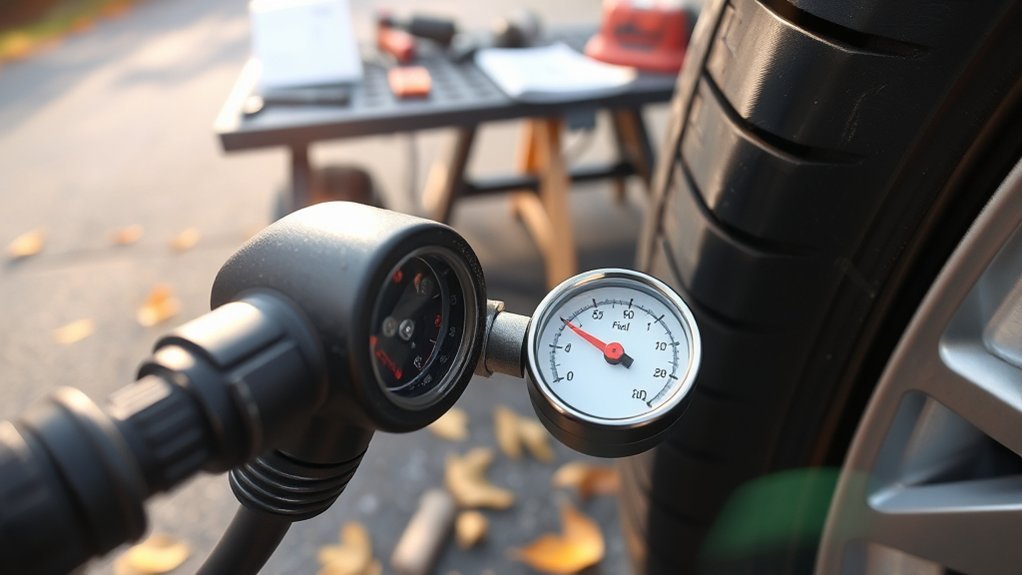
Diagnosing Your Tire Inflator: Hose, Chuck, Gauge, Motor
After you’ve confirmed the valve stem and core are sound, move your attention to the inflator itself. Start by inspecting the hose for kinks, cuts, or blockages that can choke airflow. Run your fingers along its length, squeeze to detect soft spots, and listen for hissing that signals leaks. Next, fit the chuck firmly to a tested valve stem. A loose chuck lets air escape and defeats inflation. Wiggle it while the unit runs to check for seal loss.
Verify the gauge by comparing its reading to a known good gauge. Don’t trust inflation decisions to a faulty dial. If the gauge disagrees, mark it as unreliable. Operate the motor and listen closely. Grinding, whining, or irregular vibration points to internal wear or obstruction. Finally, test the inflator on another tire to isolate whether the problem is the tool or a single tire. These focused checks free you to act decisively without guessing.
Repair, Replace, or Visit a Shop (Warranty & Cost Guide)
If your inflator quits or performs poorly, first check whether it’s still under warranty and grab your receipt. Many models offer a two-year limited warranty that can cover repairs or replacements. Next, weigh repairing versus replacing. Small fixes for the hose, chuck, or gauge can be cheap. Repeated failures or motor issues justify buying a sturdier unit. If out of warranty, get a shop estimate before you commit. Getting a professional diagnosis can reveal hidden faults and save money.
- Inspect warranty terms and proof of purchase before contacting the manufacturer.
- Compare shop repair estimates to the price of a higher-quality replacement.
- Prioritize units with proven longevity if you want freedom from frequent fixes.
You’re aiming for reliability and independence. Use receipts and warranty info to streamline claims. When repair costs approach the replacement price, choose replacement. Upgrade your unit to reclaim time and reduce future expenses.
Simple Maintenance to Prevent Future Failures
Because routine checks take only minutes, you should inspect and clean your inflator regularly to prevent most common failures. Examine the hose and nozzle for cuts, kinks, or debris. Clear or replace a clogged air filter. Store the unit in a cool, dry place. For cordless models, follow proper battery charging habits per the manufacturer’s instructions. Staying on top of routine tire maintenance keeps you safe on the road.
You want reliable tire inflators that free you from dependency. Start by running your fingers along the hose and nozzle for tears or blockages. Replace damaged parts immediately. Open the filter housing and clean the air pathway. Dust and grit reduce flow and can prevent proper inflation. Keep the unit off damp floors and away from heat to avoid corrosion and seal failure. For cordless units, charge to recommended levels and avoid constant trickle charging or total discharge. Follow the manual’s service schedule and use only approved parts. Do these simple steps and you’ll minimize breakdowns, stay autonomous, and extend your inflator’s useful life.
Frequently Asked Questions
Why Is My Tire Inflator Not Inflating?
Your inflator won’t pressurize because the valve, nozzle, hose, motor, or power source is failing. You will need to troubleshoot the unit, fix common issues, and follow basic maintenance tips to regain reliable self-sufficiency.
How to Reset a Portable Tire Inflator?
To reset a portable tire inflator, unplug it and wait 5 to 10 minutes. Alternatively, press the reset button if your model has one. Reconnect the hose securely, follow the reset procedure in your manual, and address any common power issues.
Why Is My Air Compressor Tank Not Filling Up?
Your tank is not filling because of leaks, a faulty pressure switch, a clogged filter, or motor failure. An open drain valve or a miscalibrated gauge can also cause this. Perform basic air compressor maintenance, check the pressure gauge calibration, and do a compressor oil check to regain control.
Why Is Air Coming Out of My Tire When I Try to Fill It?
Air is escaping because of a valve or seal failure, a puncture, nozzle misalignment, or cold weather contraction. You will need to check for leakage causes, monitor your tire pressure, and perform basic maintenance to secure valves or tighten cores.
Conclusion
You’ve run through the basics. Confirm it’s the tire and not the inflator. Check power levels and cold-weather limits. Inspect the valve stem, core, hose, chuck, gauge, and motor. If a quick fix won’t help, replace the faulty part or the unit itself. Keep in mind that warranties often cover defects. You can also visit a shop for help. Yes, repairs can seem fiddly, but most failures are simple and cheap to fix. Do basic maintenance and you’ll avoid most future headaches.