You can check your tire inflator gauge by comparing it to a trusted manual gauge. Inflate a tire to a target PSI with the inflator, then check the same valve with the manual gauge right away. Keep the tire and both gauges at the same temperature. Write down any steady difference you see, then repeat on a few tires. Also inspect the hose, chuck, and seals for leaks. If the reading jumps around or keeps changing over time, recalibrate or replace the gauge.
Key takeaways
- Compare your inflator gauge to a trusted reference on the same tire, at the same temperature.
- Check pressure on “cold” tires (parked for several hours, out of direct sun).
- Log a steady offset; replace tools that won’t give repeatable readings.
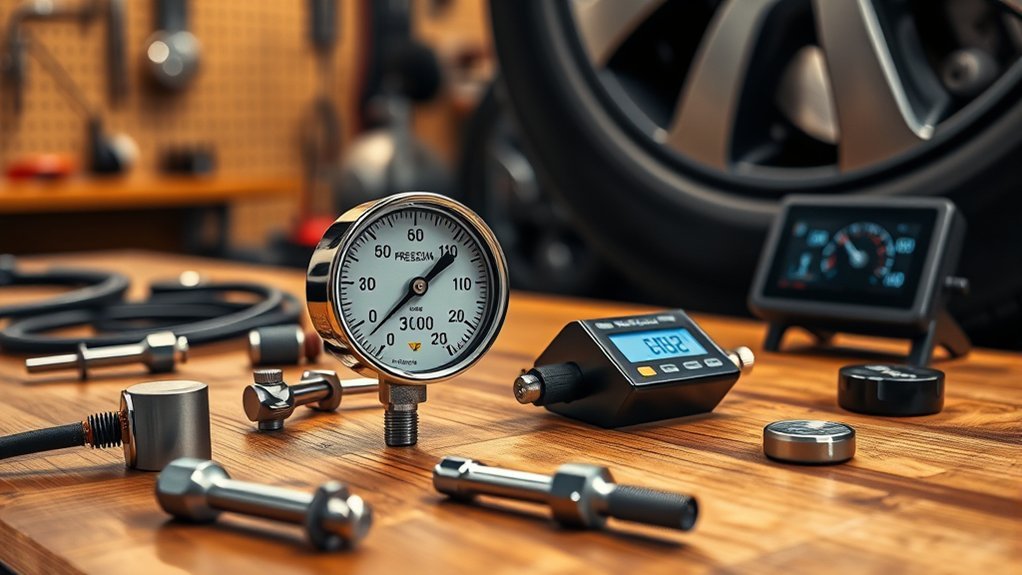
Quick At-Home Accuracy Test for Tire Inflator Gauges

Use a good manual tire pressure gauge as your reference (ideally one that’s been checked or comes with a calibration certificate). Then:
- Let the tire cool: park for a few hours, and keep the tire out of direct sun.
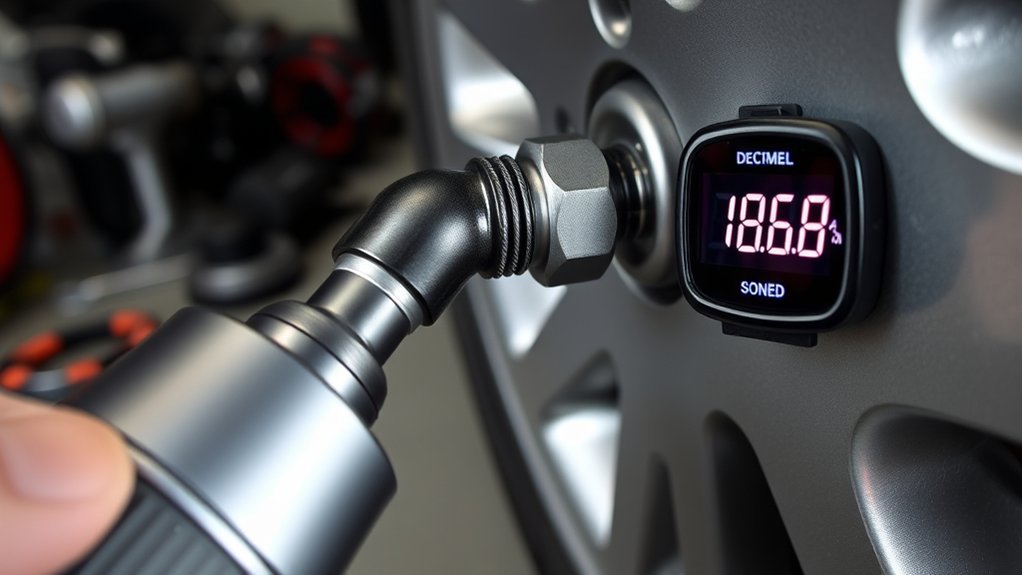
- Inflate to a target PSI using your inflator’s built-in gauge.
- Right away, check the same valve stem with the reference gauge. Press straight on and don’t wiggle the chuck.
- Record both numbers. Repeat 2–3 times on the same tire to see if results stay close.
- Repeat on another tire to confirm it’s not just technique.
If your inflator always reads higher or lower by about the same amount, you’ve found an offset. If the gap changes a lot from one check to the next, look for leaks, a damaged chuck, weak batteries, or a failing sensor.
How Inflator Gauges Work (And Common Failure Modes)
Digital inflator gauges use an electronic pressure sensor to turn pressure into a number on a screen. Analog gauges use a mechanical part to move a needle. Both can be accurate, but both can drift or get damaged.
Common problems include:
- Drift (steady offset): the gauge looks stable but is always a bit high or low.
- Temperature swings: tire pressure changes with temperature. As a simple rule of thumb, pressure can change by about 1–2 PSI for every 10°F (≈6°C).
- Erratic readings: air leaks at the valve, a clogged chuck, low batteries, or a sticking needle.
To get repeatable numbers, measure on cold tires, use the same technique each time, and compare to a trusted reference when something looks odd.
When and How Often to Check Your Inflator Gauge
Check your tire pressure at least once a month and before long trips. Re-check your inflator gauge against a trusted reference a few times a year, and any time it’s dropped or starts giving odd readings.
Also do a quick visual check: the chuck should seal well, hoses shouldn’t be cracked, and fittings should be tight. For analog units, the needle should return to zero with no pressure.
Bench Calibration Checklist for Tire Inflator Gauges
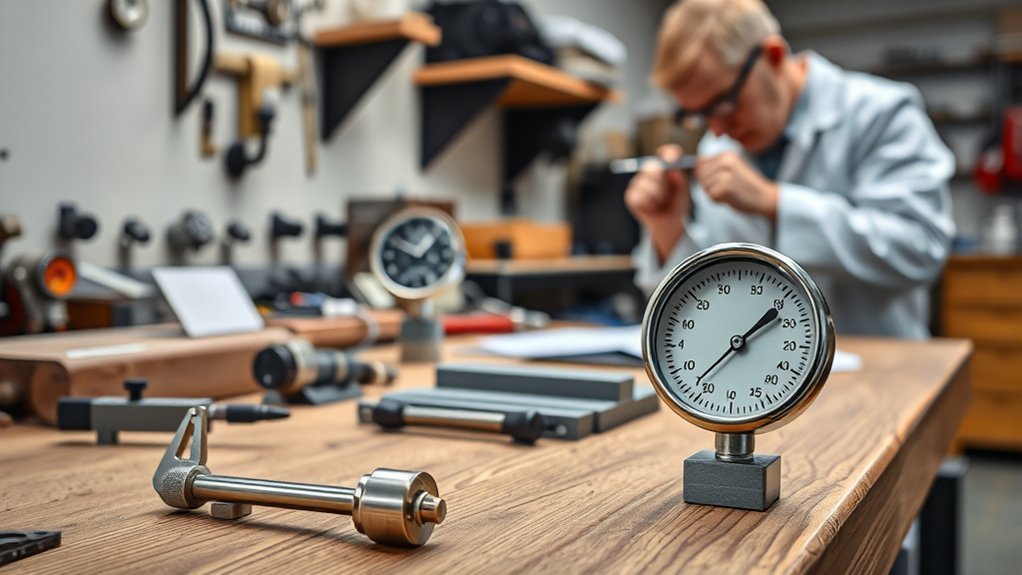
If you have access to a calibrated pressure source (a shop tester or a calibration bench), you can do a deeper check:
- Start at zero: with no pressure, the gauge should read zero (or very close).
- Apply pressure in steps (for example 0%, 25%, 50%, 75%, 100% of the gauge’s range). Let it settle at each step.
- Write down the gauge reading and the reference reading at each step.
- Lower the pressure and repeat the same points to see if the gauge changes depending on rising vs. falling pressure.
- On analog dials, look straight at the face so you don’t misread the needle.
Keep the notes. If the gauge won’t stay close to the reference, it’s time for service or replacement.
Troubleshooting, Fixes, and When to Replace Your Gauge
Start with the simple stuff:
- Leaks: check the hose, chuck, O-rings, and fittings.
- Reading drops right after you disconnect: the chuck may not be sealing, or an internal valve may be leaking.
- Needle sticks or jumps: the gauge may be worn out or damaged from a drop.
- Digital screen flickers or numbers jump: change the batteries first; if that doesn’t help, the sensor may be failing.
If you can’t get steady, repeatable readings after basic fixes, replace the gauge (or the inflator). If you find a repeatable 4 PSI offset, it’s usually safer to fix the tool than to rely on “mental math” every time you inflate.
Frequently Asked Questions
How to Test a Tire Pressure Gauge for Accuracy?
Compare it to a trusted reference on the same tire, on a cold tire, and repeat the test a few times. If the difference is small and stays about the same, the gauge is likely fine for everyday use.
How to Calibrate Tire Inflator Gauge?
Many consumer inflators don’t let you adjust calibration. The practical approach is to test against a reference and note any offset, or have the unit serviced if accuracy matters.
What Is the Most Accurate Tire Pressure Gauge?
Accuracy depends on the model and how it’s cared for. Pick a gauge you can read easily, that gives the same reading when you repeat the test, and that you can keep protected from drops, dirt, and water.
How to Tell if a Pressure Gauge Is Accurate?
If it matches a trusted reference within a tolerance you can live with—and it keeps doing so over time—it’s accurate enough. If it wanders, won’t return to zero, or gives different results on the same tire, treat it as unreliable.
Conclusion
Check your inflator gauge from time to time so your tires wear evenly and your car handles the way it should. A quick at-home comparison against a known good gauge is often enough. For tire safety basics—like checking pressure monthly and measuring when tires are cold—see the NHTSA tire maintenance guidance.


[…] Accurate pressure is a safety necessity, and you deserve tools that reduce guesswork. When your tire inflator gauge fails to deliver consistent accuracy, do not delay a replacement. Improper inflation risks your handling, fuel economy, and […]