You can seat a tubeless tire bead quickly with a strong burst of air (a compressor, tubeless inflator canister, or a high-volume floor pump). You’ll also want a valve core tool, sealant, and plugs. For maximum airflow, remove the valve core, clean the rim bed, and brush a little soapy water on both beads. Work the tire evenly into the rim’s center (drop) channel, then inflate fast until both beads “pop” into place. Reinstall and tighten the valve core, set your pressure, and spin and tilt the wheel to distribute sealant. Check for leaks, then re-check pressure before you ride.
Quick Steps to Seat a Tubeless Tire Bead
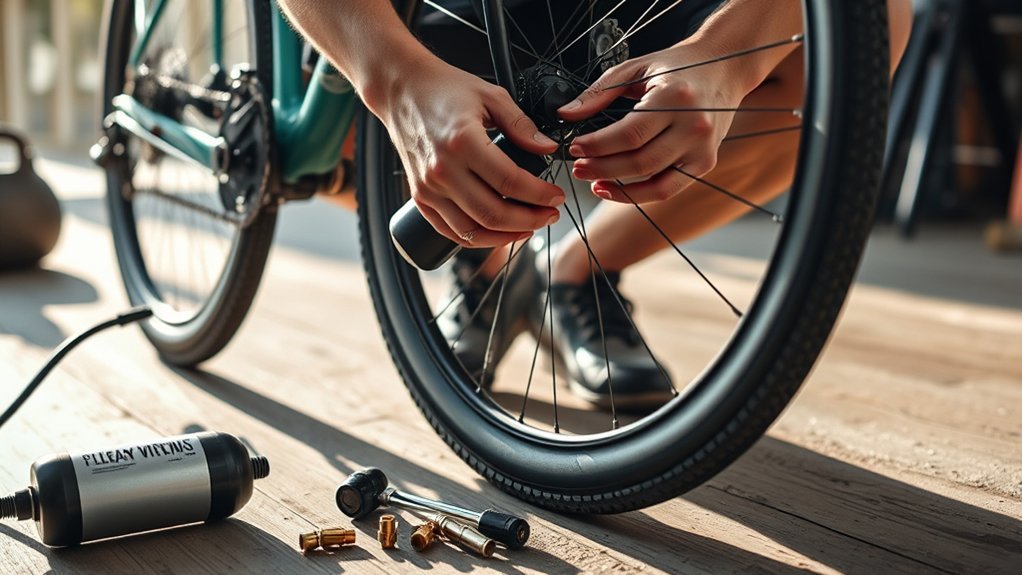
Start by aligning the tire on the rim so both beads sit evenly in the rim’s center (drop) channel. This reduces leaks and makes seating more predictable. Remove the valve core for maximum airflow, apply a little soapy water so the bead can slide, then use a strong burst of air to snap the bead into place. Inflate in short, controlled bursts and never exceed the maximum pressure printed on the tire (or any maximum marked by your rim/wheel maker). Once the bead seats, spin the wheel to spread the sealant inside the tire so it coats the bead and rim interface. Check that the molded bead line looks even all the way around on both sides.
Key takeaways
- Most seating problems are airflow problems: remove the valve core, center the beads, and inflate fast.
- Soapy water helps the bead slide into place and makes leaks easy to spot as bubbles.
- Use sealant amounts based on tire size, and refresh sealant periodically so small punctures can self-seal.
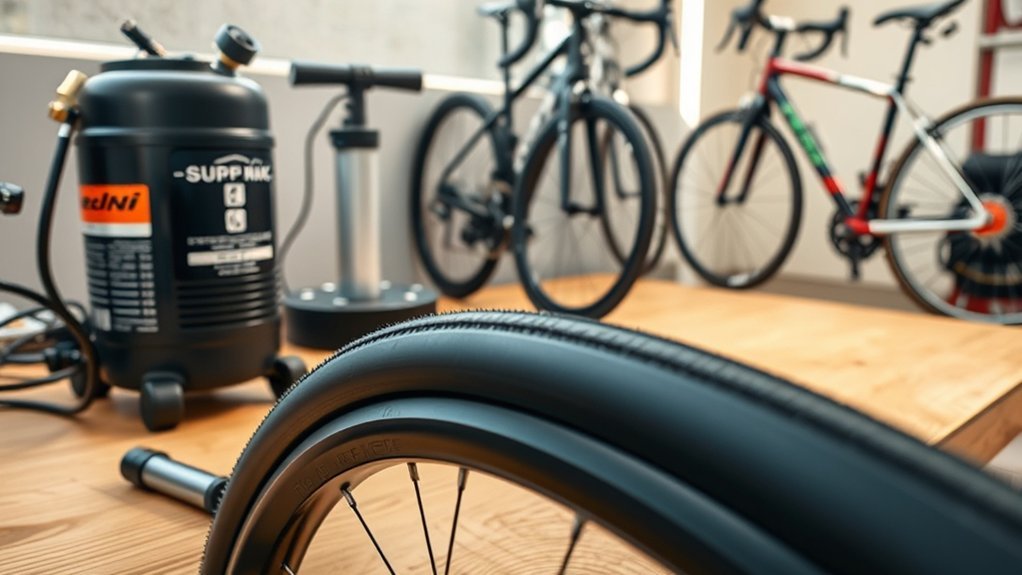
Tubeless Tools You Need (Pump, Valve Core, Sealant, Plugs)
You’ll want a reliable inflator that delivers enough airflow to seat beads (compressor, booster canister, or high-volume floor pump). Keep a valve core remover handy so you can maximize airflow and add sealant cleanly. Carry quality sealant and plugs (plus a tire lever) to stop slow leaks and repair larger punctures on the road or trail.
[Products Worth Considering]
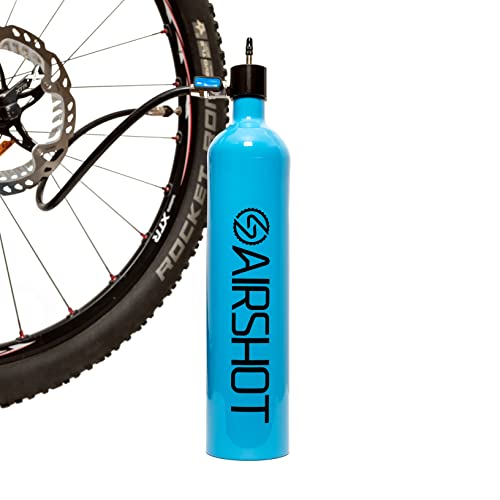
COMPATIBLE with all tire sizes: 26", 27.5", 27.5+", 29", "29+", MTB, road, cyclocross and fat bikes, the Airshot holds enough air to seat your tires on the rims every time you need to change your tubeless tire or replace the tubeless tire sealant.

【QUICK & EASY TIRE INFLATION】-Inflate your tubeless tires in seconds! Simply press the Tire Booster is connected to a conventional floor pump using the SV valve on the inflator cartridge. Then yo need to fill the cylinder and to operate the quick release valve. The air immediately distributes itself evenly and the tire seats itself firmly on the rim, usually with the typical loud crack.

INSTANT TUBELESS TIRE SEATING: Effortlessly seat even the most stubborn MTB, Gravel, and Road Bike tubeless tires without a bulky air compressor. Simply charge the durable aluminum tank to 160 PSI (120 PSI minimum charge required), connect, and release the massive air blast via the quick quarter-turn valve for immediate bead seating and inflation.
Pump Selection Essentials
A high-volume pump is the single most important tool for inflating tubeless tires, because bead seating often comes down to how quickly you can move air. Choose a pump that’s durable and accurate. Consistent pressure readings help you dial in ride feel without creeping toward unsafe pressures.
Valve Core Management
Use a valve core remover to pull the core for rapid inflation or for injecting tubeless sealant without the mess. Remove the core when you need maximum airflow to seat the bead, then reinstall it and snug it up to stop leaks. Carry a spare core, a damaged core is a common reason tires don’t hold air.
Sealant and Plugs
Sealant handles small punctures and tiny bead leaks, while plugs are for larger holes that liquid sealant can’t close on its own. Follow your sealant maker’s chart for volume. As one example, Stan’s sealant volume chart lists about 55–60 ml (≈1.8–2.0 oz) for 700c tires around 32–40 mm, and about 105 ml (≈3.5 oz) for a 29″ × 2.3″ MTB tire. Sealant dries out over time, so check it regularly and top it up as needed. Stan’s recommends topping off standard sealant about every 2–7 months depending on conditions, and hot or dry weather can mean more frequent checks.
- Sealant quantity (based on tire size)
- Valve core remover (plus spare cores)
- Tire plugs
- Repair kit
Prepare the Wheel and Valve for Tubeless Inflation
Before you start inflating, make sure the valve is properly seated and the rim bed is clean. Remove the valve core if you need maximum airflow. Use a little soapy water on tight beads to help them slide into place and seat fully.
Check Valve and Core
- Use a valve core remover to pull the core, this opens full airflow for a decisive bead seat.
- Inspect the valve stem and rubber base for nicks or distortion that could cause leaks.
- After the bead’s seated, reinstall the valve core tightly, then inflate to your target pressure and confirm no leaks.
Clean Rim Bed
A clean rim bed matters. Wipe the surface with isopropyl alcohol to remove oils, dust, and residue that can prevent tubeless tape and tire beads from sealing. Tape should be smooth, fully cover all spoke holes, and be firmly pressed down at the edges. If the tire won’t seat before you approach the pressure limit on your tire or rim, stop, deflate, re-check tape and bead position, then try again.
Seat the Bead: Pour and Injection Methods
Seating the bead is the step that turns a mounted tire into an airtight tubeless setup. You’ll usually use either the pour method (add sealant before fully mounting the second bead) or the injection method (seat the tire first, then inject sealant through the valve).
- Pour method: Add measured sealant before the final section of bead is mounted, then inflate until the bead seats—staying within tire and rim pressure limits.
- Injection method: Seat the bead first, then remove the valve core and inject sealant through the valve for a cleaner install.
After either method:
- Rotate and tilt the wheel to spread sealant evenly.
- Check for leaks with soapy water on the bead and around the valve.
- Reinstall the valve core if removed.
- Confirm the molded bead line looks even on both sides.
Tubeless Pressure Guide (Road, Gravel, Mountain PSI)
Pressure depends on tire width, rider/system weight, casing, rim type (hooked vs. hookless), and terrain. A pressure calculator or your wheel maker’s guidance is the safest starting point, then fine-tune in small steps. In general, road setups run higher pressures than gravel, and MTB runs the lowest for traction and comfort, without going so low that you burp air in corners.
Hookless (tubeless straight-side) safety: Many hookless road wheel systems cap maximum inflation at 5 bar / 72.5 psi based on ETRTO hookless pressure guidance. Always follow your rim and tire compatibility guidance and the lowest stated maximum.
Check the Seal and Distribute Sealant Evenly
Once you’ve got the tire inflated, spin the wheel and tilt it so the sealant can coat the inside evenly. This helps seal small leaks and makes trouble spots easier to find. Rotate and rock the wheel so sealant runs through the tread and settles at the bead and rim interface. Look for bubbles or wet trails, that shows you where to act.
Spin and tilt the inflated wheel so sealant coats the inside, revealing leaks with bubbles or wet trails for quick action
- Spin and tilt to distribute the sealant across the interior.
- Inspect the bead, rim edge, and valve closely for escaping air.
- Use soapy water to reveal leaking spots by watching for bubbles.
- Top up sealant if it’s dried or low, then re-spin and re-check.
After you confirm a firm bead and a sealed rim, inflate the tire to your target PSI.
Troubleshooting: Won’t Seat, Slow Leaks, Burping
If the tire won’t seat, work through it step by step: re-center the beads in the drop channel, remove the valve core for airflow, and try a compressor or booster canister for a strong burst. If seating still fails, stop and inspect the rim tape (wrinkles, pinholes, gaps), valve base, and tire/rim compatibility. Soapy water around the bead helps you spot where air is escaping.
For slow leaks, check the bead area and valve for seepage. Tighten the valve core, snug the valve nut by hand, and add sealant if levels are low.
Burping means the bead briefly unseats and lets air escape. Prevent it by using enough pressure for your terrain, ensuring the bead line is even all the way around, and keeping sealant fresh so it can seal micro-gaps.
[Products Worth Considering]

The world’s first tubeless sealant and the first choice of riders today
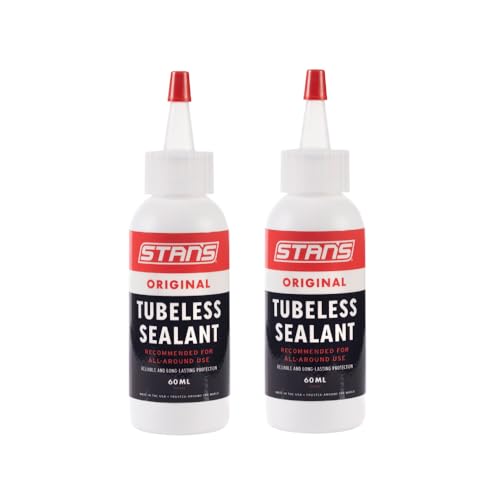
FAST FIX: Quickly seals punctures up to 6.5mm (1/4")
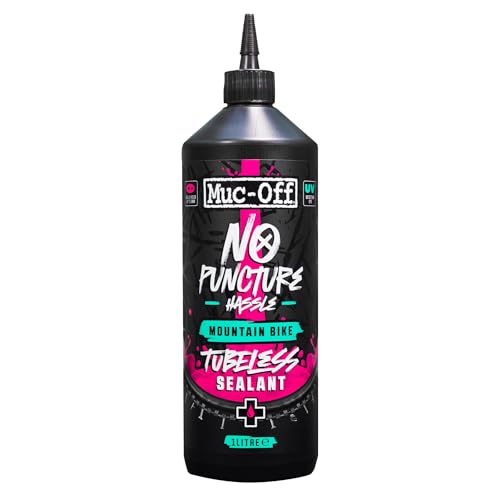
GOING TUBELESS?: No Puncture Hassle Tubeless Sealant is compatible with tubeless ready and full UST wheels/tyres. It’s perfect for Downhill, Enduro and Road cycling.
Trail Fixes and Tubeless Repair Kit Checklist
When a bead won’t hold or a plug only slows a leak, a compact tubeless repair kit can get you rolling again. Carry plugs and an insertion tool for typical punctures, plus a spare inner tube for blowouts or irreparable sidewall damage.
- Compact repair kit pouch with organized slots
- Tire plugs, plug insertion tool, reamer tool
- Patch/boot material and rubber cement (optional but useful)
- Spare inner tube, valve core tool, and CO₂ or pump
[Products Worth Considering]

Professional Quality: The AUTOWN tire repair kits are made of refined high-quality steel and upgraded to comply with exacting standards of audit. This ensures that the kit is of professional quality and can repair even the toughest tires on the market.

EASY TO REPAIR:Our bike tire repair kit can be quickly installed to repair holes. Simply flatten the puncture, insert a bacon strip, pump in air or CO2, and you're back on the road in minutes
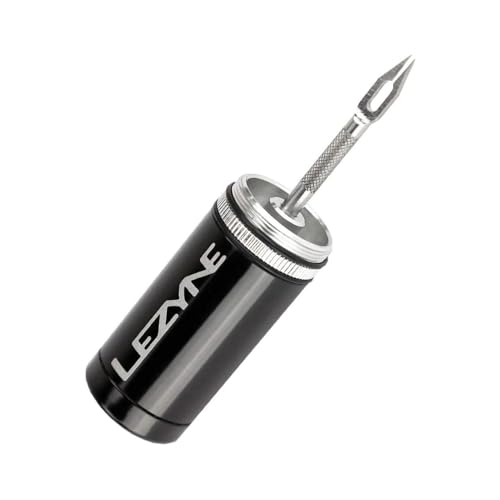
LEZYNE pro aluminum tubeless repair kit accessory
Frequently Asked Questions
How do you air up a tubeless tire?
Remove the valve core for maximum airflow, inflate quickly until the bead seats, reinstall the core, then set your final pressure and spin and tilt the wheel to distribute sealant.
Why won’t my tubeless tire take air?
Air is usually escaping around the bead, valve base, or rim tape faster than it’s going in. Re-center the beads in the rim’s drop channel, use soapy water, remove the valve core for airflow, and try a higher-flow air source. If air is leaking into the rim cavity (often heard at the valve hole), re-tape the rim.
Why won’t my tubeless tire bead?
Common causes include low airflow, a dry bead, incompatible tire/rim dimensions, or rim tape issues. Try soapy water, more airflow, and confirm the bead line sits evenly once seated.
Why does my tubeless tire keep deflating?
Improper installation, dried-out sealant, a small puncture, rim tape problems, or valve leaks can let air escape. Use soapy water to find bubbles, tighten or replace the valve core, top up sealant, and re-tape the rim if needed.
Conclusion
You’ve got the basics: maximize airflow (valve core out), prep the rim and bead, seat the bead with a controlled burst, then add the correct sealant volume and check for leaks. Keep sealant fresh and carry a small plug kit and spare tube so you can handle most punctures without ending your ride.