
How to Air Down a Tire With an Inflator Safely
What’s in This Article
- Quick Answer: Air Down a Tire With an Inflator
- Before You Begin: Pick a Safe Target PSI
- Tools and Supplies You Need for Controlled Deflation
- Prepare the Inflator and Measure Starting PSI
- Step-by-Step: Deflate a Tire With an Inflator Safely
- Monitor Pressure to Reach Your Target PSI
- Common Problems and How to Troubleshoot Them
- Reinflate and Verify Tire Condition After Airing Down
- Frequently Asked Questions
Airing down can help your tires grip soft ground, but a careless pressure drop can damage tires or affect control. You need a clear target, a reliable gauge, and a way to reinflate before you return to pavement. This guide shows you how to lower tire pressure with an inflator, check each tire, and bring the tires back to road-safe pressure afterward.
Quick Answer: Air Down a Tire With an Inflator
To air down with an inflator, park on level ground, remove the valve cap, attach the inflator chuck tightly, and use the deflate setting or valve release to let air out in short bursts. Check the pressure every 5 to 10 seconds with a gauge until each tire reaches your target PSI. Many off-road drivers use about 12 to 25 PSI for sand, mud, snow, or rocks, but your safe target depends on tire size, vehicle weight, load, wheel type, and terrain. Reinflate every tire to the vehicle manufacturer’s cold tire pressure before normal road driving.
Key Takeaways
- Use the door placard or owner’s manual as your road-pressure guide, not the maximum PSI printed on the tire.
- Lower pressure in small steps, then check the gauge before you release more air.
- Use lower PSI only for slow off-road driving, not regular pavement driving.
- Stop if you see cuts, bulges, cracked sidewalls, or a leaking valve stem.
- Reinflate to the vehicle’s recommended cold pressure before you drive at road speed.
Estimated time: Plan 10 to 20 minutes to air down four tires, plus more time to reinflate them after the trail.
Before You Begin: Pick a Safe Target PSI
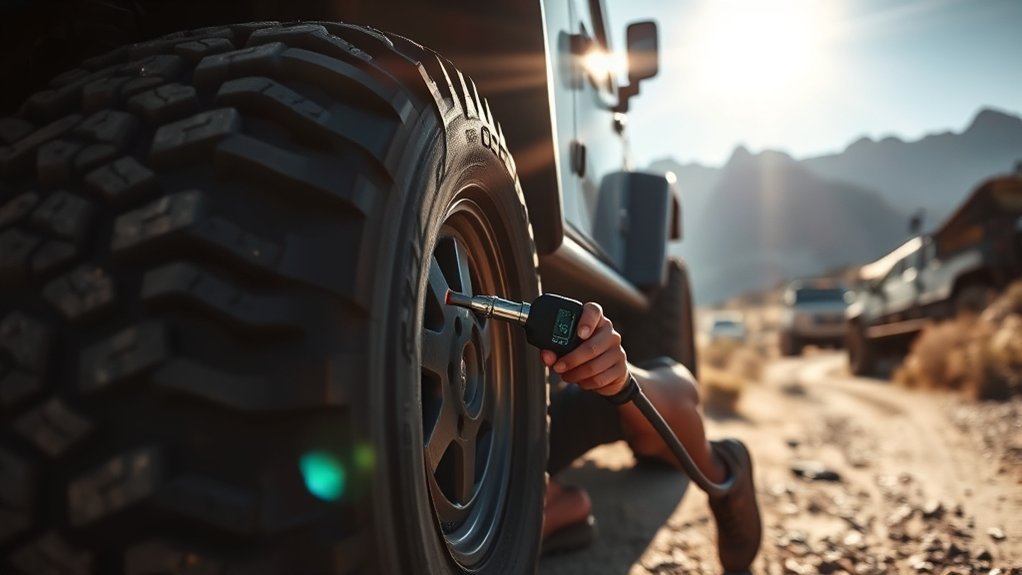
You should air down only when terrain calls for more tire footprint, such as sand, snow, mud, loose gravel, or slow rocky trails. Lower pressure lets the tire spread out and grip the surface better, but it also raises the risk of sidewall damage, heat buildup, and bead loss if you go too low.
Set your target PSI before you start. A common off-road starting range runs from 12 to 25 PSI, but heavy vehicles, low-profile tires, large wheels, and loaded cargo often need higher pressure. Use the higher end of the range when you feel unsure.
According to the National Highway Traffic Safety Administration (NHTSA), you should use the vehicle manufacturer’s cold tire pressure from the driver-side door label or owner’s manual for normal road driving. That number gives you the pressure to restore after your off-road section.
Warning: Don’t drive at highway speed on aired-down tires because heat, poor handling, and tire damage can build quickly.
Before you deflate, inspect each tire for cuts, bulges, punctures, cracked rubber, exposed cords, or uneven wear. Park on flat, stable ground away from traffic, keep your tools within reach, and work on one tire at a time.
Tools and Supplies You Need for Controlled Deflation
Gather the right tools before you remove any air. You need a tire pressure gauge, an inflator with a deflate feature or release valve, and a way to reinflate the tires later. A valve core tool helps when you need faster air release, but it also demands closer attention.
| Tool | Purpose | When to Use |
|---|---|---|
| Tire pressure gauge | Monitor PSI | Continuously while you bleed air |
| Valve core tool | Fast controlled release | When you need quicker deflation |
| Portable air compressor | Reinflate to spec | After you finish bleeding air |
You can also keep gloves, a flashlight, spare valve caps, and a small notebook in your kit. These small items help you work cleanly and track each tire’s starting and ending PSI.
[Products Worth Considering]

Advanced accuracy: Professionally calibrated tire pressure gauges for cars. Accurately measures from 0-100 PSI with a resolution of +/-1 PSI.

EASY TO USE & READ: It comes with a 1/4" quick-connect fitting for faster measurement. This mechanical tire pressure gauge offers effortless operation, integrating tire pressure measurement, inflation, and deflation in one compact tool. The indicator bar ensures clear readings while allowing you to effortlessly inflate and deflate your tires. Please Note:To inflate tires, an air pump must be connected to the gauge.

【Accurate Digital Tire Gauge】The digital pressure gauge always returns a stable reading within 1% of the exact pressure of your tire by incredible 0.1 display resolution. No more guessing!
Prepare the Inflator and Measure Starting PSI
First, check the inflator’s hose, chuck, gauge, and power connection. Confirm that the chuck fits the tire valve firmly and that the gauge gives a clear reading. Record the starting PSI for each tire before you release air.
[Products Worth Considering]

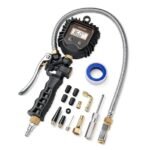
WHY CHOOSE ASTROAI: Based in Garden Grove, California. AstroAI services 15+ countries worldwide and 3,000,000+ users, it has become the preferred choice of countless users thanks to its high accuracy, durability, and user-friendly operation.

ADVANCED ACCURACY: Professionally calibrated to always return an accurate reading within 1% of the exact pressure of your tire. Accurately measures FOUR DIFFERENT UNITS in a range from 3-250 PSI (0.2-17.2 Bar; 0.21-1724 Kpa; 0.2-17.5 kg/cm^2). Stocking Stuffers for Men

ALL-IN-ONE Feature: The LED backlit screen features measurements in PSI, KPA, Bar, and Kg/cm²; Includes an inflation gun, chuck, gauge, Thread seal tape roll, and bleed valve, all in one unit; Compatible with ¼" NPT air compressor's output
Inspect Inflator Connections
Check every hose fitting before you attach the inflator. Wipe dirt from the valve stem, tighten loose fittings by hand, and avoid cracked hoses or damaged chucks.
Press the chuck straight onto the valve stem. A steady hiss means the connection leaks, so remove the chuck and seat it again before you continue.
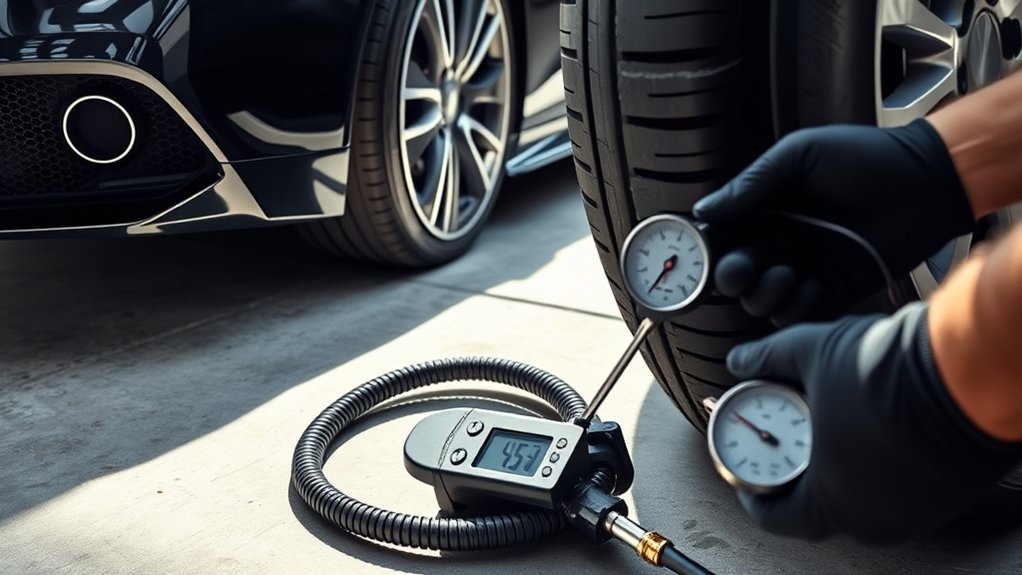
Check Current Tire PSI
Remove the valve cap and press your tire pressure gauge firmly onto the valve stem. Hold it steady until the gauge reading stops changing.
Write down the current PSI for each tire. Cold tire readings give the best baseline because driving warms the tire and can raise the pressure reading.
Secure Proper Valve Fit
Most cars, trucks, sport utility vehicles, and many bikes use Schrader valves. Match the inflator chuck to the valve, then lock or press it firmly enough to stop air leaks.
| Stay Calm | Fit Securely | Act Precisely |
|---|---|---|
| Record PSI | Seat connector | Tighten gently |
| Use gauge | Watch readout | Release slowly |
| Confirm valve | No hissing | Recheck PSI |
| Finish | Note final PSI | Close cap |
Learn your inflator’s controls before you start. Some inflators include a bleed button, while others require you to press the valve pin or use a separate deflator.
Step-by-Step: Deflate a Tire With an Inflator Safely
Follow the same process on each tire so the vehicle stays balanced. Don’t rush the air release, because one low tire can affect handling and trail control.
- Park on level, stable ground away from traffic and sharp trail debris.
- Confirm your target PSI for the terrain, vehicle weight, tire size, and load.
- Remove the valve cap and place it where dirt can’t enter it.
- Attach the inflator chuck squarely to the valve stem and stop any leak.
- Release air in short bursts with the deflate button, bleed valve, or valve pin.
- Check the gauge every 5 to 10 seconds as the pressure drops.
- Stop when the tire reaches the target PSI, then wait a few seconds.
- Recheck the pressure and add a small amount of air if you went too low.
- Replace the valve cap and repeat the same process on the other tires.
If you use a valve core tool, remove the core slowly and keep it in your hand or a clean tray. Reinstall the core before the tire gets near your target, then fine-tune with short releases.
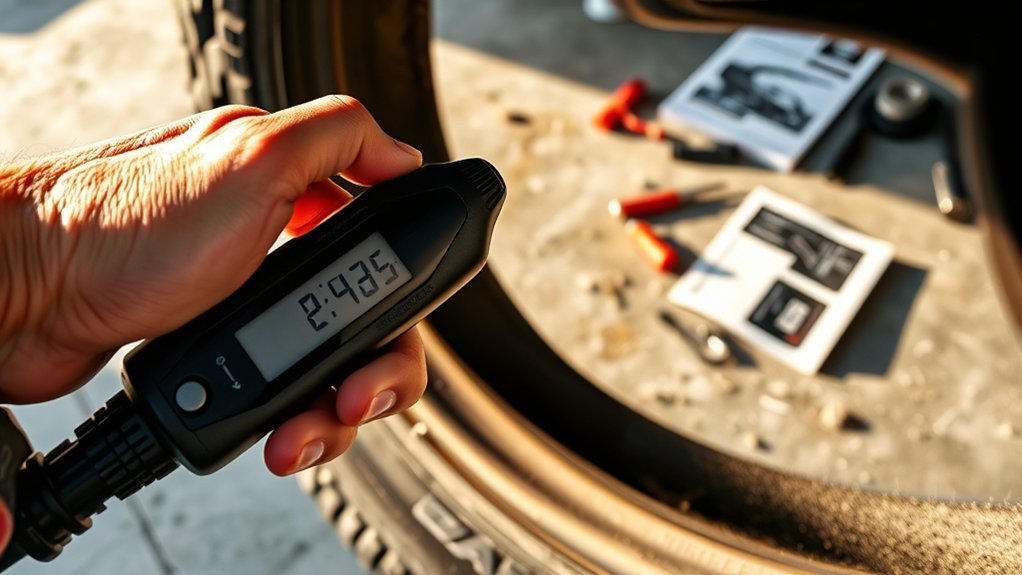
Monitor Pressure to Reach Your Target PSI
Lower pressure in stages. Release air for 1 to 2 seconds, pause, read the gauge, then compare the reading with your target PSI.
| Action | Frequency |
|---|---|
| Check with gauge | Every 5 to 10 seconds |
| Short burst | 1 to 2 seconds |
| Compare to sticker | At start |
| Compare to off-road range | As needed |
| Final check | After settling |
Keep the tires close to the same pressure unless your vehicle or load setup calls for different front and rear settings. A balanced setup helps the vehicle track better on uneven terrain.
Pro tip: Record your best PSI for sand, mud, and rocks so you can start faster next time.
Common Problems and How to Troubleshoot Them
Start with the simple checks. Confirm that the inflator has power, the chuck seals tightly, and the valve stem does not leak.
If air leaks around the chuck, remove it, clean the valve stem, and attach it again at a straighter angle. Replace a cracked valve cap, bent valve stem, or damaged core before you continue.
If the tire won’t deflate fast enough, use a valve core tool only when you can watch the gauge closely. Thread the core back in before pressure drops too far, then finish with smaller air releases.
If the tire drops below your target PSI, add air with the inflator until it returns to your chosen pressure. Don’t drive on a tire that looks flat, unseated, cracked, or damaged.
[Products Worth Considering]

What You Get – 3 x valve core remover, 1 x 4-way valve tool,10 x valve stem caps ,20 x valve cores.

【All-in-One Tire Repair & Valve Tool Kit】 This complete set combines valve stem removal tool and tire repair functions, including single/double head remover, 4-way valve tool, Phillips screwdriver and 20 tire repair nails. One kit solves valve maintenance and emergency tire plugging easily.
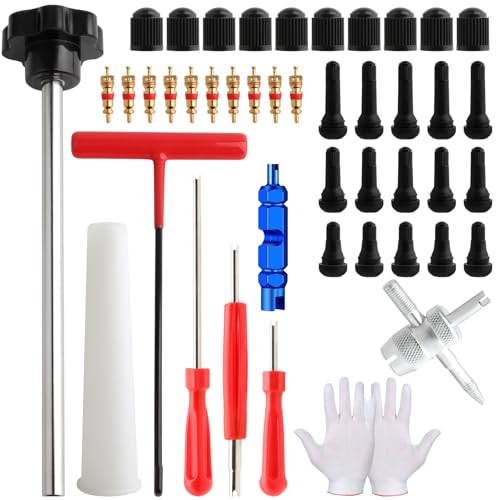
【Tool Material】Tire valve stem puller is made of metal, which is sturdy and durable for a long service time. Valve: zinc alloy inside + rubber outside.Dual single head valve core remover : plastic handle + robust steel shaft with corrosion-resistant plating.
Reinflate and Verify Tire Condition After Airing Down
After the off-road section, reinflate each tire to the vehicle manufacturer’s cold tire pressure. Use the door placard or owner’s manual, not the maximum pressure molded into the tire sidewall.
NHTSA recommends monthly tire pressure checks and tread checks as part of basic tire care. You should also check pressure after airing down because warm tires can read higher than cold tires.
Check and Set PSI
Attach your compressor hose to the valve stem and add air in short intervals. Stop often and check the pressure with a separate gauge if your inflator gauge seems inaccurate.
Set each tire to the recommended cold PSI when possible. If the tires feel warm after driving, recheck them later when they cool for at least three hours.
Inspect Tire Condition
Inspect the full tread and both sidewalls before you return to normal road speed. Look for cuts, punctures, blisters, missing chunks, exposed cords, or uneven wear.
NHTSA says tire treadwear indicators sit at 2/32 inch, and the tire needs replacement when tread reaches those indicators. Replace or repair damaged tires before you drive on public roads.
| Task | Tool | Pass Criteria |
|---|---|---|
| Visual check | Eyes, hands | No cuts, punctures, blisters |
| Tread check | Depth gauge | Above treadwear indicators |
| Pressure check | Tire pressure gauge | Manufacturer’s recommended PSI |
Reinflation Procedure Steps
Start the compressor, add air slowly, and pause often to check the gauge. Repeat until each tire matches the vehicle’s recommended pressure.
Close each valve cap snugly after the final check. If one tire loses pressure again, check the valve core, tread, sidewall, and bead before you drive farther.
Frequently Asked Questions
How do you deflate a tire with an air pump?
Use an inflator or air pump only if it has a deflate button, bleed valve, or pressure-release feature. Attach it to the valve stem, release air in short bursts, and check the gauge often.
Can a tire inflator deflate a tire?
Yes, some tire inflators can deflate a tire, but not every model includes that feature. Check your inflator controls before you start, and use a separate tire deflator if your inflator only adds air.
How can you deflate a tire quickly?
A valve core remover releases air quickly, but it can drop pressure too far if you lose focus. Use it only with a gauge in hand, then reinstall the core before the tire reaches your target PSI.
What is the 3% tire rule?
The 3% tire rule usually refers to replacement tire diameter, not tire pressure. Many tire fitment guides use it as a rough limit when comparing a new tire’s overall diameter with the original tire size.
Do you need to reinflate after airing down?
Yes, reinflate before you return to paved roads or higher speeds. Aired-down tires can overheat, wear unevenly, and handle poorly during normal driving.
Safety Disclaimer: This article gives general tire safety information only. Always follow your vehicle owner’s manual, tire manufacturer guidance, and a qualified tire professional’s advice when tire damage, unusual wear, or pressure loss appears.
Conclusion
Safe airing down starts with a clear target PSI, slow pressure changes, and steady gauge checks. Use lower pressure only where the terrain needs it, then reinflate before normal road driving. Inspect each tire before and after the trip so small damage does not turn into a bigger problem. With practice, you can air down with more control and protect your tires on every trail.
References
- Tire Safety Ratings and Awareness — National Highway Traffic Safety Administration, 2026
- NHTSA Interpretation ID: 11497AWKM — National Highway Traffic Safety Administration, 1996
- The Ultimate Guide to Airing Down Tires for Off-Roading — JACO, 2023
- Underinflated Tires in the United States — U.S. Government Accountability Office, 2007


Leave a Reply