
How To Install Cabin Air Filter Toyota RAV4
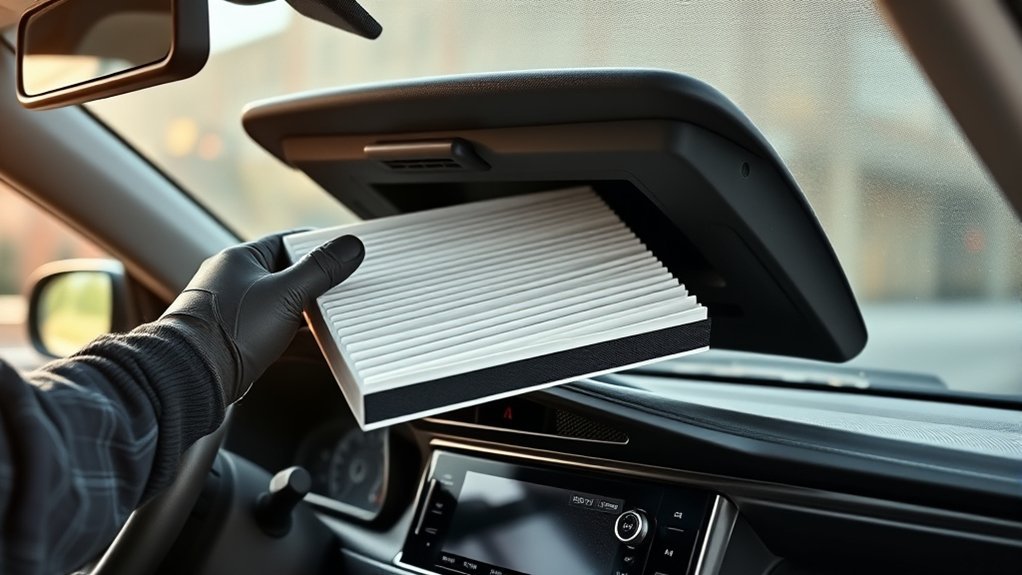
To install a cabin air filter in your Toyota RAV4, gather a flathead screwdriver, flashlight, gloves, and a new filter. Open the glove box, release the damper, and push the sides to drop it down. Remove the filter cover and take out the old filter. Make sure the new filter’s airflow direction matches the tray’s markings. Reattach the filter cover and glove box components for a snug fit. Continue on to learn more essential maintenance tips for your filter.
Gather Your Tools for Cabin Air Filter Replacement
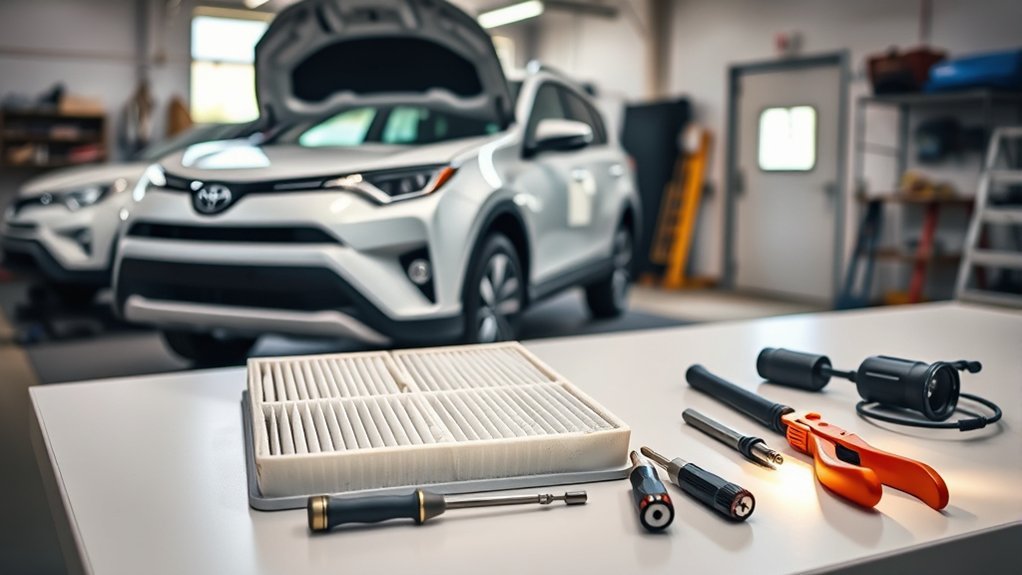
Before you start the cabin air filter replacement in your 2020 Toyota RAV4, gather the essential tools to guarantee a smooth process. You’ll need a flathead screwdriver for prying open the glove box, and a flashlight can help enhance visibility. Don’t forget to get a replacement cabin air filter that meets OEM specifications for ideal performance. A clean workspace is crucial; it keeps the old filter and debris contained during the job. Consider wearing gloves to keep your hands clean and prevent dirt from transferring onto your new filter. Finally, having a vacuum or brush handy can assist in removing any debris from the glove box area before you install the new filter.
Step-by-Step Guide to Removing Your Old Cabin Air Filter
With your tools ready, you can move on to removing the old cabin air filter from your 2020 Toyota RAV4. Start by opening the glove box and sliding off the damper for access. Push in on both sides to release the claws, allowing it to drop down. Next, press the pins on the right side of the filter cover to remove it. Carefully pull out the old air filter for inspection.
| Filter Inspection Tips | Common Filter Problems |
|---|---|
| Check for debris | Clogged filter affecting airflow |
| Look for dust buildup | Unpleasant odors in cabin |
| Replace every 12,000 miles | Signs of wear or damage |
Ensure you compare the old filter with the new one for proper orientation.
How to Ensure Correct Airflow Direction When Installing Your Filter?
How can you guarantee that your new cabin air filter is installed correctly for peak airflow? Start by noting the filter orientation importance—look for the up arrow on the filter tray. This arrow indicates the top position for proper airflow direction. Always check for the same marking on OEM parts; they align with the airflow direction. For aftermarket filters, confirm that any arrows match the required airflow pattern, which flows from top to bottom. Additionally, examine the old filter’s debris side to verify correct orientation when inserting the new one. Avoid common installation mistakes by double-checking that the filter cover is securely replaced, maintaining airflow efficiency for maximum cabin comfort.
Installing Your New Cabin Air Filter and Reassembling the Glove Box
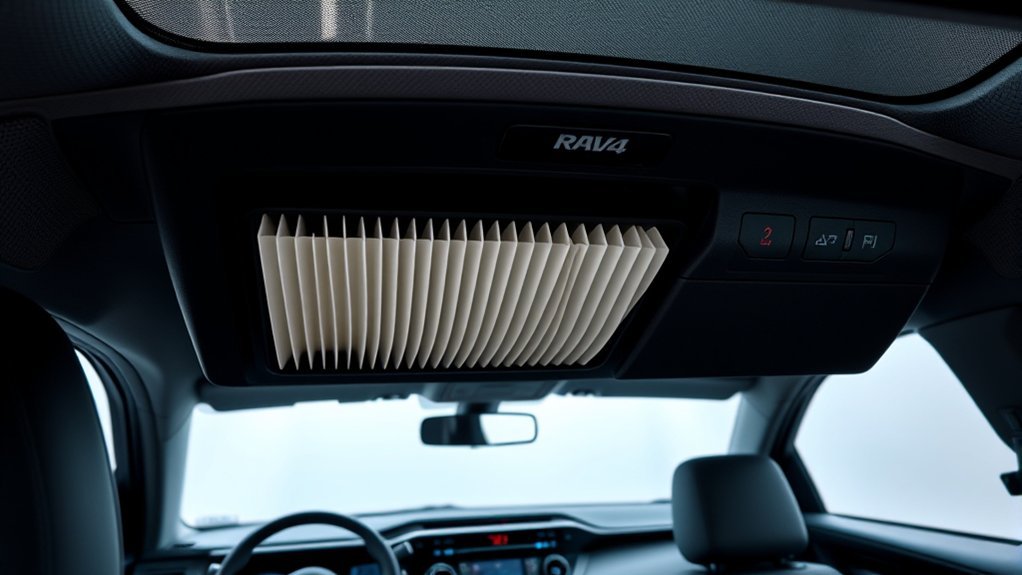
After confirming the correct airflow direction for your new cabin air filter, it’s time to install it. Begin by inserting the filter into the tray, aligning it with the up arrow. Secure the filter cover by pressing it back in place, making sure the pins engage properly. Next, reattach the glove box components by pushing both sides to lock the claws snugly. Slide the damper back into position to avoid misalignment and rattling. Finally, close the glove box and check its smooth operation, confirming all components are reassembled correctly.
Ensure proper installation of your cabin air filter by aligning it correctly and securing all components for optimal performance.
- Confirm filter performance for peak air quality.
- Avoid common mistakes by double-checking installation.
- Follow the recommended replacement frequency.
- Keep the cabin environment fresh and healthy.
- Enjoy the liberation of cleaner air while driving.
Maintenance Tips for Your Cabin Air Filter
To maintain ideal air quality in your Toyota RAV4, regularly inspecting your cabin air filter is vital. Perform filter maintenance every 12,000 to 15,000 miles or at least annually, especially if you drive in dusty conditions. Ignoring this can lead to reduced airflow and strain on your HVAC system, increasing energy consumption and risking overheating. Watch for signs of filter replacement, like decreased airflow or unpleasant odors inside your vehicle. Always check the airflow direction indicated on the filter tray during installation. Consider using OEM filters for peak performance. Keeping track of your filter replacement date is essential; the benefits of cleanliness include enhanced comfort and reduced allergens, ensuring a healthier driving environment for you and your passengers.
Frequently Asked Questions
Which Way Is Airflow on Cabin Filter Toyota?
The airflow direction on your Toyota’s cabin filter moves from top to bottom. When replacing the filter, make certain it aligns with the indicated markings for peak performance. Regular maintenance tips will enhance air quality in your vehicle.
Can I Install a Cabin Air Filter Myself?
You can absolutely install a cabin air filter yourself! With some DIY installation tips, you’ll enjoy cleaner air and save cash. Just avoid common mistakes like incorrect airflow direction, and you’ll be golden.
What Is the Lawsuit Against the Toyota RAV4?
The lawsuit against the Toyota RAV4 is a class action claiming breaches of consumer rights due to defective fuel pumps. This issue jeopardizes vehicle safety, with plaintiffs seeking compensation for damages and repairs related to engine failures.
How Often Should I Change the Cabin Air Filter on My Toyota RAV4?
You should change your cabin air filter every 15,000 to 30,000 miles, depending on driving conditions. Keep an eye on its lifespan, and follow maintenance tips for ideal replacement frequency to guarantee air quality.
Conclusion
By installing your cabin air filter, you enhance your vehicle’s air quality and guarantee a comfortable ride. You protect your health, you improve your driving experience, and you maintain your RAV4’s efficiency. Regularly checking and replacing the filter keeps allergens and pollutants at bay, promotes a cleaner cabin environment, and extends the life of your HVAC system. Stay proactive, stay informed, and keep your cabin fresh—it’s all about driving with confidence and comfort.