
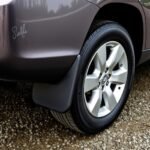
Low tire pressure can make your car harder to control, waste fuel, and wear tires faster. The right tire inflation is not a guess. It is the air pressure your vehicle maker lists for your tires, load, and normal driving. This guide shows you where to find the correct PSI, how to check it, how to add or release air, and what to do when a tire keeps losing pressure.
What’s in This Article
- Quick Answer: How Much PSI Should My Tires Have?
- What Tire Inflation (PSI) Means
- Where to Find Your Vehicle’s Recommended Tire Pressure
- How Temperature and Altitude Affect Tire Pressure
- When and How Often to Check Tire Pressure
- What You’ll Need Before Checking Tire Pressure
- How to Check Tire Pressure (Step by Step, Cold Tires)
- How to Add or Release Air Safely (Including Spare Tips)
- Why Your Tire Keeps Losing Air: How to Find Leaks
- Adjust PSI for Load and Driving Conditions
- Quick Troubleshooting: Low or High Tire Pressure Fixes
- Frequently Asked Questions
Quick Answer: How Much PSI Should My Tires Have?
Quick Answer
Use the tire pressure listed on your driver’s door jamb sticker or in your owner’s manual. Most passenger cars fall near 30 to 35 PSI, but your vehicle’s placard gives the correct number. Check pressure when tires are cold, then add or release air until each tire matches the recommended PSI.
Key Takeaways
- Use the vehicle placard or owner’s manual, not the tire sidewall, to set daily tire pressure.
- Check tire pressure when tires are cold for the most accurate reading.
- Inspect tire pressure at least once a month and before long trips.
- Expect tire pressure to drop as outside temperature falls.
- Look for punctures, valve leaks, or bead leaks if one tire keeps losing air.
You can find the recommended tire pressure on the sticker inside the driver’s side door jamb or in the owner’s manual. For most cars, the number often falls around 30 to 35 pounds per square inch (PSI), but you should always follow your vehicle-specific figure.
Check when tires are cold because driving heats the tire and raises the reading. Outside temperature also affects pressure, and a common rule is about 1 PSI for every 10°F change.
Underinflated tires can hurt fuel efficiency, shorten tread life, and raise the risk of tire damage. To keep proper tire inflation, adjust air with a station pump or portable compressor, recheck with a reliable gauge, and secure the valve cap.
What Tire Inflation (PSI) Means
Tire inflation means the air pressure inside each tire. PSI, or pounds per square inch, measures that pressure and shows how much force the air applies inside the tire.
You use PSI to compare your tire’s current pressure with the manufacturer’s recommended value. Correct pressure helps support vehicle weight, control the contact patch, and protect tire shape during normal driving.
Definition Of PSI
PSI stands for pounds per square inch. It tells you how much air pressure sits inside the tire.
You should treat PSI as the target number that keeps tire pressure within the range your vehicle maker expects. Check the sticker in the driver’s door jamb or the owner’s manual for the recommended PSI.
The tire sidewall lists a maximum pressure for load limits, not your everyday driving target. Use a calibrated gauge when tires are cold to keep correct tire pressure more consistent.
How PSI Works
Air pressure carries the vehicle’s weight and shapes the tire’s contact with the road. That contact affects steering, braking, ride comfort, fuel use, and tread wear.
Too little pressure lets the tire flex too much and build extra heat. Too much pressure can reduce the contact patch and make the ride harsher.
Use the recommended PSI from the door jamb or manual, not the sidewall maximum. Check pressure during seasonal temperature changes because pressure rises and falls with air temperature.
Where to Find Your Vehicle’s Recommended Tire Pressure
Check the yellow or white sticker on the driver’s side door jamb for the manufacturer’s recommended PSI values. Many vehicles list separate pressures for front tires, rear tires, spare tires, or loaded driving.
If the sticker is missing or hard to read, use the owner’s manual or the manufacturer’s online manual. Do not use the tire sidewall’s maximum inflation rating as your daily pressure target.
Driver Door Jamb Sticker
The driver door jamb sticker gives your vehicle’s official tire-pressure specification. Open the driver’s door and look at the door frame or the edge of the door.
The label usually lists PSI values, tire size, and load information. Read the front and rear tire numbers carefully because some vehicles use different pressures by axle.
Check this sticker before long trips, tire changes, or major seasonal temperature shifts. It gives you the safest starting point for normal driving.
Owner’s Manual Location
Your owner’s manual gives more detail than the door sticker. It may explain tire sizes, load ratings, spare tire pressure, towing notes, and special pressure guidance.
- Check the manual’s tire specification section.
- Compare the manual values with the door jamb sticker.
- Use a calibrated gauge to measure cold tire pressure.
- Adjust each tire to the listed PSI.
You can usually find the manual in the glove box, center console, manufacturer app, or official owner portal.
How Temperature and Altitude Affect Tire Pressure
Temperature changes tire pressure because air expands when it warms and contracts when it cools. A common rule is about 1 PSI for every 10°F change in outside temperature.
Check pressure when tires are cold, ideally before you drive or at least three hours after driving. A hot tire may show a higher number and hide low cold pressure.
Altitude can also affect gauge readings, but most drivers do not need complex calculations for normal travel. For daily use, focus on cold pressure, the vehicle placard, and regular checks after large weather or elevation changes.
Note: Do not bleed air from a hot tire just because the reading looks slightly high after driving.
When and How Often to Check Tire Pressure
You should inspect tire pressure at least once a month and before long trips. Always check when tires are cold for the most accurate reading.
Seasonal weather changes can move tire pressure up or down. Check more often during cold snaps, heat waves, or when you carry extra weight.
- Check monthly to catch slow pressure loss.
- Check before road trips or heavy-load driving.
- Check after major temperature changes.
- Use vehicle-specific PSI, not tire sidewall pressure.
This habit protects handling, braking, fuel economy, and tire life.
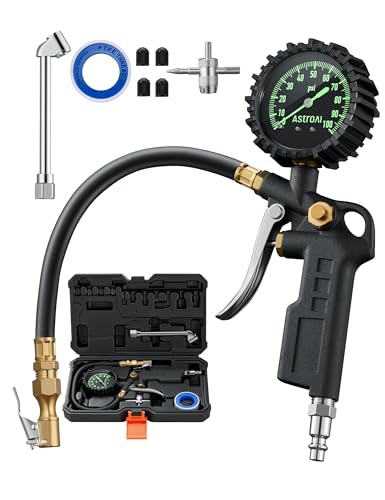
What You’ll Need Before Checking Tire Pressure
You do not need many tools to check tire pressure. Keep the basics in your car so you can act quickly at home, at a fuel station, or before a trip.
- A reliable tire pressure gauge
- An air compressor or fuel-station air pump
- Your vehicle’s door jamb sticker or owner’s manual
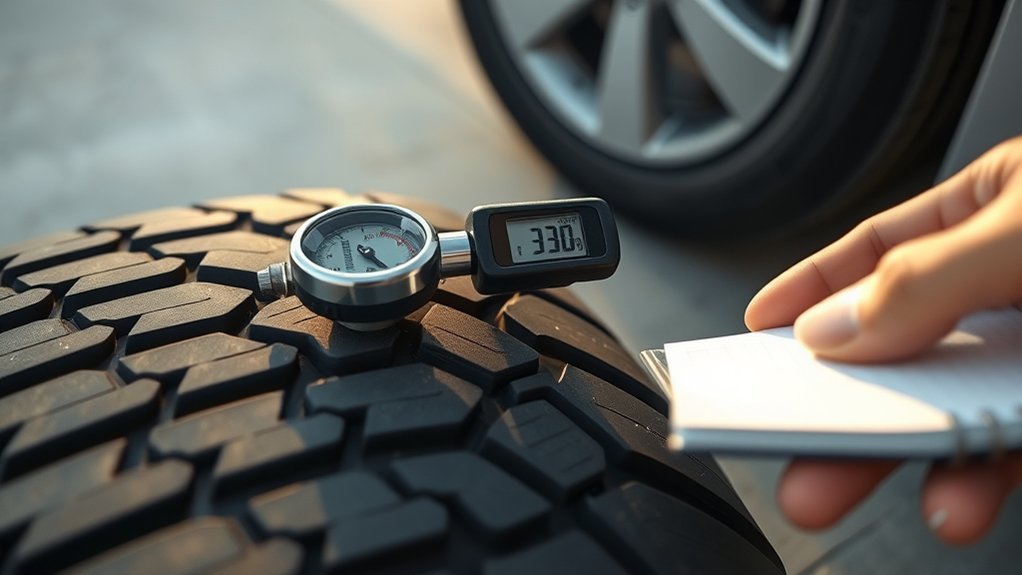
- A small notebook or phone note for recording pressure readings
- Valve caps that fit tightly on each valve stem
Estimated total time: about 10 to 15 minutes for all four tires and the spare, if accessible.
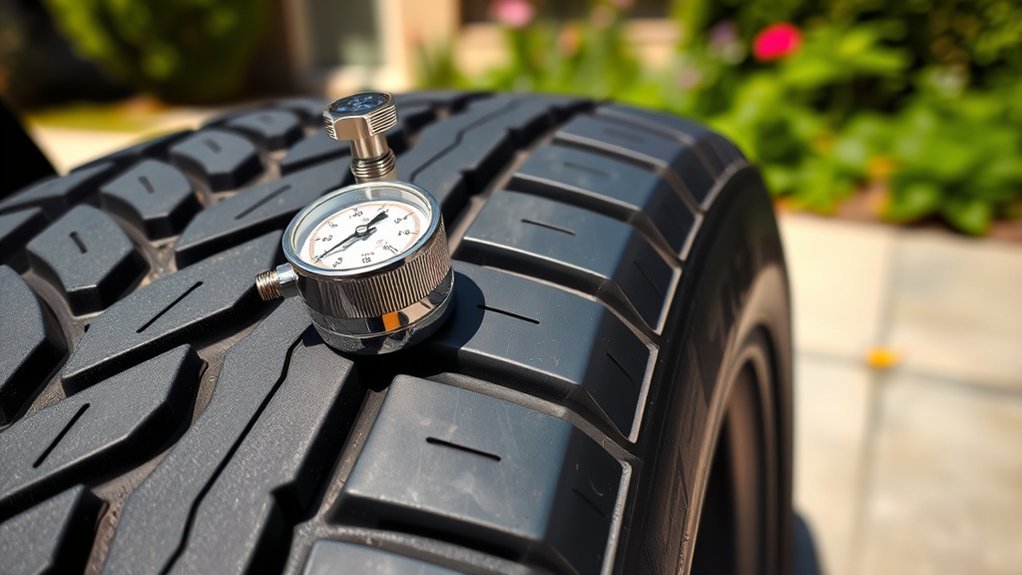
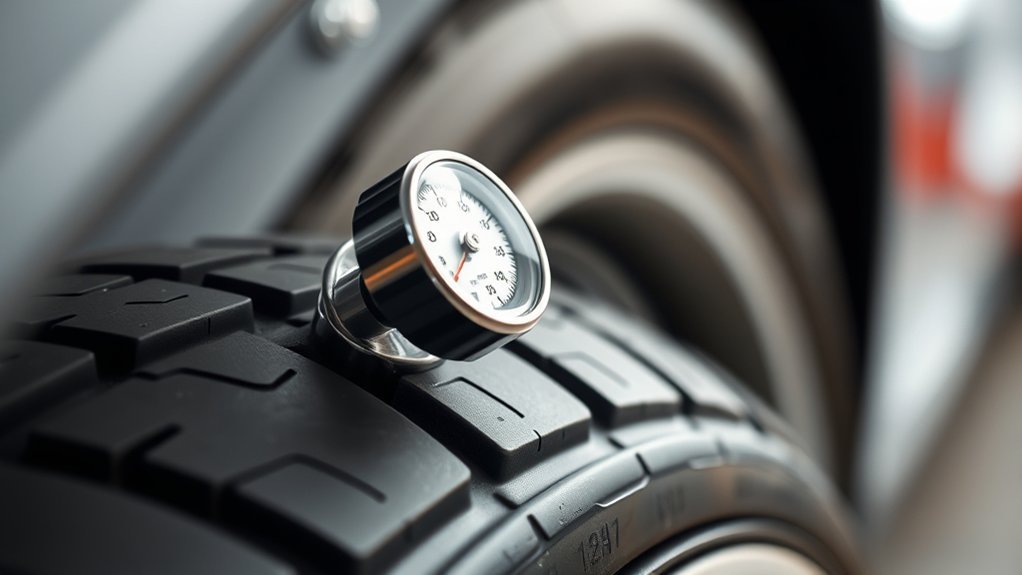
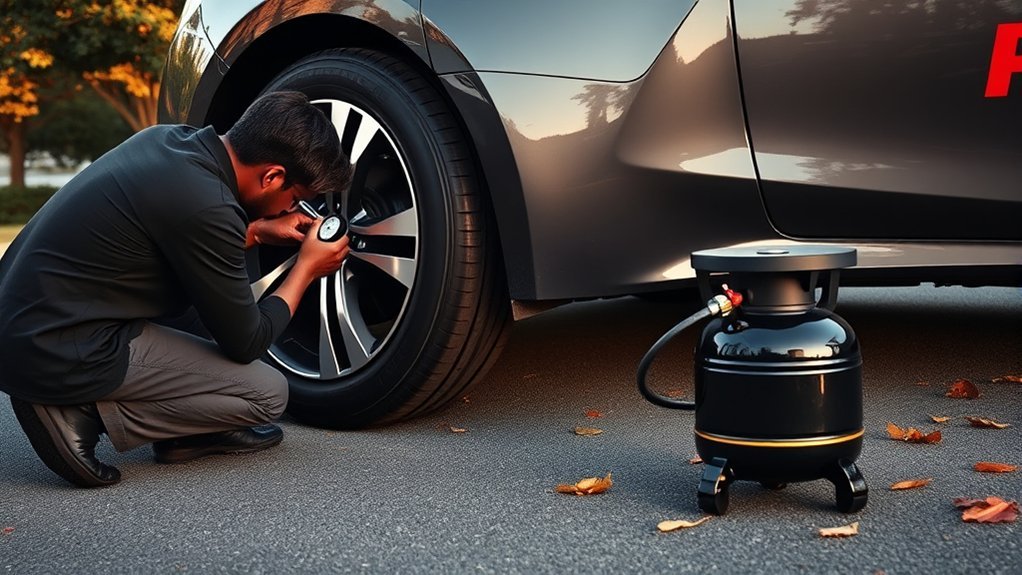
How to Check Tire Pressure (Step by Step, Cold Tires)
Park your vehicle for at least three hours before checking pressure. Cold tires give you a more accurate reading than tires that just rolled on the road.
- Find the recommended PSI on the driver’s door jamb sticker or in the owner’s manual.
- Remove the valve cap from the first tire and place it somewhere safe.
- Press the gauge straight onto the valve stem until the hissing stops.
- Read the PSI on the gauge and write it down.
- Repeat the same process for every tire, including the spare if you can reach it.
- Compare each reading with the recommended PSI.
- Add or release air as needed, then check again.
- Reinstall each valve cap tightly after you finish.
Visual inspection alone cannot tell you the exact pressure. A tire can look normal and still sit several PSI below the recommended level.
[Products Worth Considering]

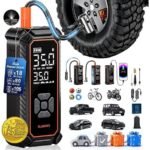
Advanced accuracy: Professionally calibrated tire pressure gauges for cars. Accurately measures from 0-100 PSI with a resolution of +/-1 PSI.
Advanced accuracy: Professionally calibrated tire pressure gauges for cars. Accurately measures from 0-100 PSI with a resolution of +/-1 PSI.
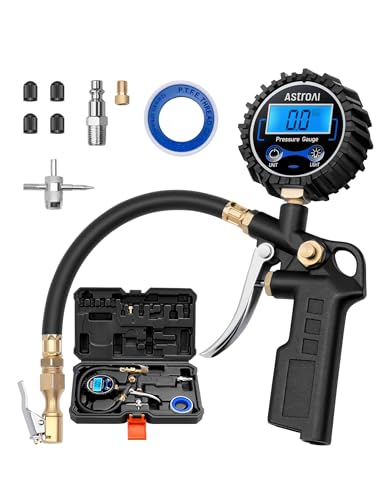
COMPATIBLE WITH both ¼” and ½” NPT air compressors outputs. COMPATIBLE WITH Standard Schrader Valves.
How to Add or Release Air Safely (Including Spare Tips)
When adding air, place the pump nozzle squarely on the valve stem. Press firmly so air goes into the tire instead of leaking around the nozzle.
- Attach the air nozzle straight to the valve stem.
- Add air in short bursts and check PSI often.
- Stop when the tire reaches the recommended pressure.
- Release extra air by pressing the valve core briefly.
- Recheck the PSI after every small release.
- Replace the valve cap when the pressure is correct.
Check the spare tire during the same routine. Some spare tires need much higher pressure than regular tires, so follow the value listed for your spare.
Warning: Never inflate a tire above the limit shown on the tire sidewall.
[Products Worth Considering]

High-intensity true ultraviolet leak detection penlight and AAA batteries

Professional AC Leak Detection: Designed specifically for detecting automotive air conditioner leak, Vansky AC leak detector flashlight incorporates cutting-edge R&D technologies. Equipped with 68 high-quality LED beads, it can accurately pinpoint leaks, even in garage or indoor space. Compared to other flashlights, Vansky optimized ultraviolet light operates at a level 40% brighter, setting it apart in brightness.

Professional AC Leak Detection: COSOOS leak detector design for detecting automotive air conditioner leak, flashlight with Professional grade 21 high intensity LED, it can accurately pinpoint leaks in seconds, enabling precise repairs and prevent potential accidents.
Why Your Tire Keeps Losing Air: How to Find Leaks
Start with a visual tire inspection. Look for nails, screws, cuts, sidewall bulges, rim damage, and objects stuck in the tread.
Check the valve stem and cap for cracks, looseness, or corrosion. If you still suspect a leak, apply a soapy water solution around the tread, bead, and valve to watch for steady bubbles.
Visual Tire Inspection
A careful visual inspection can help you find obvious air leaks. Work slowly around the whole tire, not just the tread area you can see first.
- Scan the tread for punctures, cuts, or embedded objects.
- Check the bead area where the tire meets the rim.
- Inspect sidewalls for tears, cracks, or bubbles.
- Look for uneven wear that may suggest alignment or inflation problems.
Do not drive on a tire with sidewall bubbles or serious sidewall damage. Have a tire professional inspect it before you use it again.
Valve Stem Check
The valve stem can cause slow leaks that look like normal pressure loss. Check it for cracks, tears, corrosion, looseness, or a missing cap.
Press the valve core gently. If you hear a steady hiss, the valve core may be loose or damaged.
A shop can often replace a faulty valve core quickly. A damaged valve stem may require tire service, especially if the stem itself has cracked.
Soapy Water Test
Use a soapy water solution when you suspect a slow leak. Escaping air will form visible bubbles at the leak point.
- Inflate the tire to the recommended pressure.
- Spray soapy water on the valve stem, bead, tread, and suspected puncture points.
- Watch for steady bubbles that keep forming.
- Mark the leak area so a tire shop can repair it.
- Repeat the test after repair to confirm the leak has stopped.
Do not repair every puncture yourself. Sidewall damage, large punctures, and shoulder-area damage usually need professional inspection.
Adjust PSI for Load and Driving Conditions
Loads and driving conditions change how a tire works. Check your owner’s manual before changing PSI for towing, hauling, or long highway trips.
For heavy loads, your manual may recommend a higher pressure within safe limits. Higher pressure can reduce tire flex and heat buildup, but you must stay within manufacturer guidance.
Do not lower pressure below the vehicle’s recommended range for normal road use. Low pressure can cause heat, poor handling, faster wear, and tire failure.
Pro tip: Check pressure again after you unload the vehicle so you can return tires to normal daily PSI.
[Products Worth Considering]
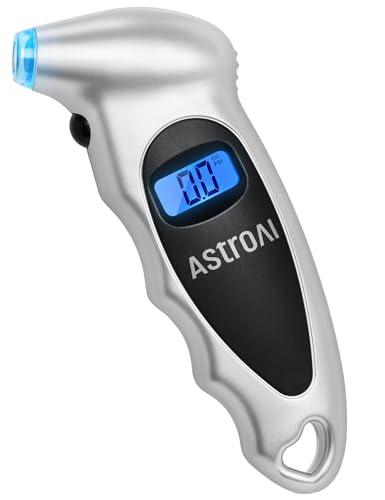
Accurate, Dependable Readings: Factory‑calibrated to ±1 PSI, so you can confidently match your vehicle’s recommended PSI (check the door jamb sticker). Ideal for monthly checks and road trips — consistent results every time, cold or warm.

PROCESS LEVEL ACCURACY: Each ETENWOLF’s digital tire pressure gauge is calibrated manually to ANSI B40.7 Grade 2A(plus-minus 1 PSI).Presta valve adapter not included, if used for bicycles, it must be purchased separately

PROCESS LEVEL ACCURACY: Each ETENWOLF’s digital tire pressure gauge is calibrated manually to ANSI B40.7 Grade 2A(plus-minus 1 PSI).Presta valve adapter not included, if used for bicycles, it must be purchased separately
Quick Troubleshooting: Low or High Tire Pressure Fixes
Use an accurate tire pressure gauge with cold tires before you fix low or high pressure. Then match each tire to the pressure on the driver’s door jamb or owner’s manual.
- Measure: Check cold PSI and record each tire’s reading.
- Inflate: Add air until the tire reaches the recommended pressure.
- Deflate: Press the valve core briefly if pressure is too high, then recheck.
- Inspect: Look for punctures, bead leaks, damaged rims, or faulty valve stems if pressure drops again.
If one tire loses pressure much faster than the others, treat it as a leak. Repair it before it becomes a roadside problem.
Frequently Asked Questions
What Does Tire Inflation Mean?
Tire inflation means adding enough air to reach the correct pressure inside the tire. Correct inflation helps your vehicle steer, brake, carry weight, and protect the tire from excess heat.
What Is Normal Tire Inflation?
Many passenger cars use about 30 to 35 PSI, but normal pressure depends on the vehicle. Use the driver’s door jamb sticker or owner’s manual for the correct number.
Can I Still Drive if Tire Pressure Is Low?
You can drive a short distance if the tire is only slightly low, but you should inflate it soon. Do not keep driving on a very low tire because it can overheat, wear unevenly, and fail.
Is It Okay to Put Air in Nitrogen-Filled Tires?
Yes, you can add regular air to a nitrogen-filled tire when pressure is low. The air will reduce the nitrogen concentration, but correct pressure matters more than keeping pure nitrogen in an emergency.
Why Does My Tire Pressure Light Come On in Cold Weather?
Cold air can lower tire pressure enough to trigger the tire pressure monitoring system. Check cold PSI with a gauge and inflate each tire to the vehicle placard pressure.
Conclusion
Correct tire pressure keeps your vehicle safer, more efficient, and easier to control. Check pressure monthly, before long trips, and during major temperature changes.
Use the vehicle placard PSI and a reliable gauge, not the tire sidewall maximum. If pressure keeps dropping, inspect for punctures, rim damage, bead leaks, or failing valves and repair the issue promptly.
A five-minute pressure check can help you avoid fuel waste, tire damage, and stressful roadside stops.
References
- Tires — National Highway Traffic Safety Administration
- Tire Safety: Everything Rides On It — National Highway Traffic Safety Administration
- Keeping Your Car in Shape — U.S. Department of Energy and U.S. Environmental Protection Agency


Leave a Reply