
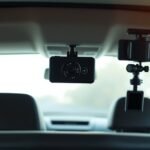
Mount your rear dash cam at the top center of the rear windshield for an ideal view, capturing 60% of the road and 40% of the sky. Pay attention to vehicle type; SUVs may need higher mounting angles, while sedans could require adjustments for slanted windshields. Avoid common mistakes like obstructing your view or poor cable management, as they can lead to unusable footage. Stick around to discover more installation tips and legal considerations!
Why Rear Dash Cam Placement Is Essential for Safety
When you consider the importance of safety on the road, the placement of your rear dash cam becomes a significant factor in guaranteeing you capture essential evidence during incidents. Proper positioning allows you to record clear evidence that can be instrumental in resolving disputes. In fact, 20% of users find that having footage helps speed up their insurance claims by 35%. To achieve this, adhere to the ideal mounting angle, which follows the 60/40 rule—60% road view and 40% sky—to guarantee significant details like license plates are visible. Incorrect positioning can result in unusable footage, leading to wrongful liability or missing critical information. Always test the camera angle after installation by driving at various times, as this will help you assess footage clarity. Additionally, remember that legal compliance is essential; improper mounting could obstruct your view and lead to fines. Prioritize placement for your safety and peace of mind.
Optimal Angles for Rear Dash Cam Installation
Choosing the right angle for your rear dash cam installation is vital to capturing the best footage. Aim for the ideal angles by following the 60/40 rule—about 60% of the road and 40% of the sky. Mount your rear dash cam at the top center of the rear windshield to gain a wide view of oncoming traffic while minimizing obstructions. Guarantee proper horizontal positioning for a clear view, which is essential for capturing details like license plates. For SUVs and trucks, higher mounting allows for a downward view, while sedans may require adjustments due to slanted windshields. Always test your camera angle by reviewing footage to confirm clear visibility of key details from a safe distance. Making these adjustments helps avoid common mistakes and guarantees your installation captures fundamental information, empowering you with the evidence you need on the road.
How Your Vehicle Type Affects Rear Dash Cam Placement
The type of vehicle you drive plays a significant role in determining the best placement for your rear dash cam. For sedans, higher placements on slanted rear windshields work well, while SUVs and trucks benefit from more vertical mounting positions. Taller vehicles might need adjustments to avoid capturing their own bumper, ensuring you’re capturing clear footage of what’s behind you. If you’re driving a van, a centrally positioned rear dash cam high on the rear windshield offers an extensive view of rear traffic. For pickup trucks, consider a tailgate mount for ideal visibility. The rear dash cam’s field of view (FOV) is essential—wider FOVs help reduce blind spots, providing better awareness of adjacent lanes and potential hazards. By considering your vehicle type, you can enhance rear dash cam placement and maximize safety on the road.
Avoid These Common Dash Cam Placement Mistakes
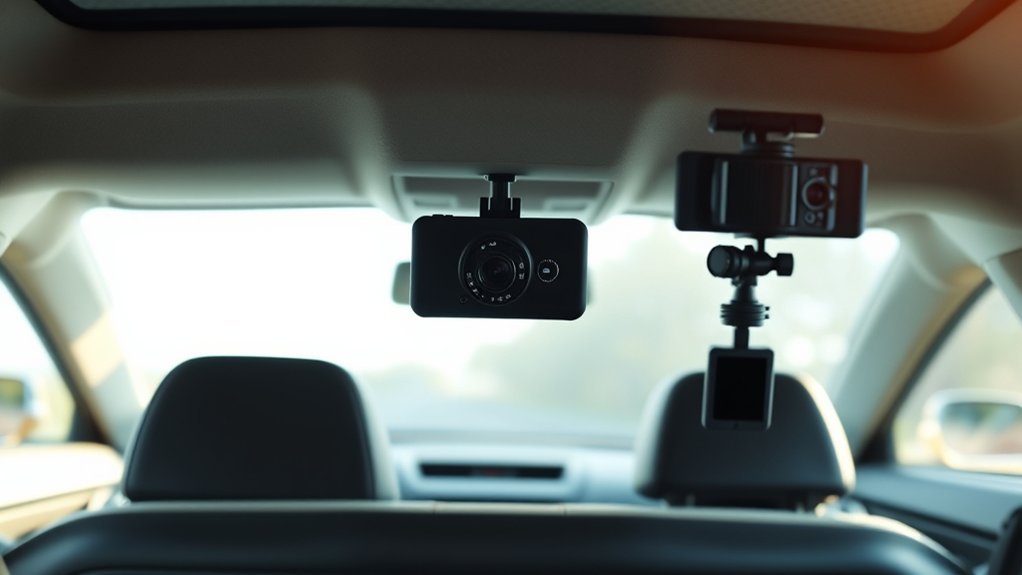
When mounting your rear dash cam, it’s essential to avoid common mistakes that can compromise your footage and safety. Incorrect camera angling or placing it too low can obstruct your view and limit the captured details, while poor cable management can distract you and interfere with airbag deployment. By being mindful of these factors, you can guarantee clear, reliable recordings and a safer driving experience.
Improper Camera Angling
Improper camera angling can lead to significant gaps in your dash cam footage, making it vital to mount your rear dash cam correctly. To guarantee you capture clear video and essential details, keep these tips in mind:
- Position: Ideally mount dash cameras behind the rearview mirror, not too low, to avoid obstructing your view.
- Angle: Avoid tilting the camera too high or low. This creates excessive sky or ground in the frame, leaving you with unusable footage.
- Centering: Always center the camera horizontally to prevent distortion, which can obscure important details like license plates.
Finally, remember to test the camera position after installation. Adjustments may be necessary to achieve the best place for peak visibility and coverage.
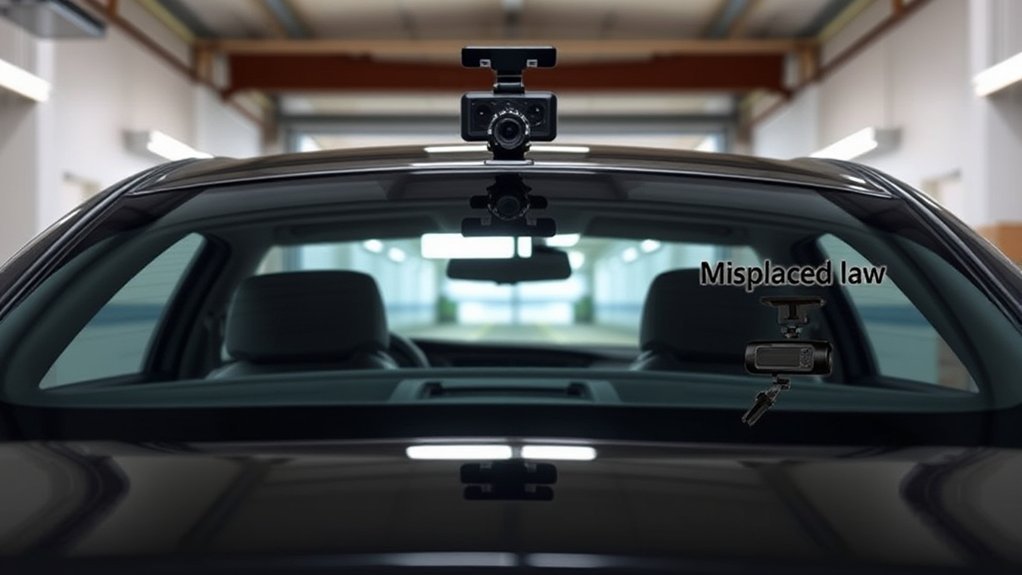
Obstructed Driver’s View
While a rear dash cam can enhance your driving safety, improper placement can obstruct your view and create dangerous blind spots. To avoid obstructing the driver’s view, always choose ideal locations for dash cam placement. Mounting the camera higher on the rear windshield guarantees a clear view of the road, minimizing safety risks. Be cautious of tinted areas that can distort footage due to glare. Secure the camera properly to prevent displacement during driving, which could violate legal regulations. After installation, test the camera’s angle and visibility—failing to do so may lead to limited or skewed footage, undermining your dash cam’s effectiveness in critical situations. Stay vigilant about placement to enjoy the full benefits of your device.
Poor Cable Management
Mounting a rear dash cam might seem straightforward, but poor cable management can lead to significant issues. If you don’t manage cables properly, you risk obstructing a driver’s view, creating hazards for passengers, and even interfering with vehicle controls. Here are three common mistakes to avoid:
- Neglecting to secure cables properly: Loose cables can get caught in moving parts, damaging both the dash cam and your vehicle.
- Routing cables haphazardly: This can obstruct airbag deployment, increasing injury risk in a collision.
- Ignoring aesthetics: Unmanaged cables not only look unprofessional but can also complicate keeping your windshield clear.
For a clean installation, route the power cable along the edges and use clips to maintain a polished appearance.
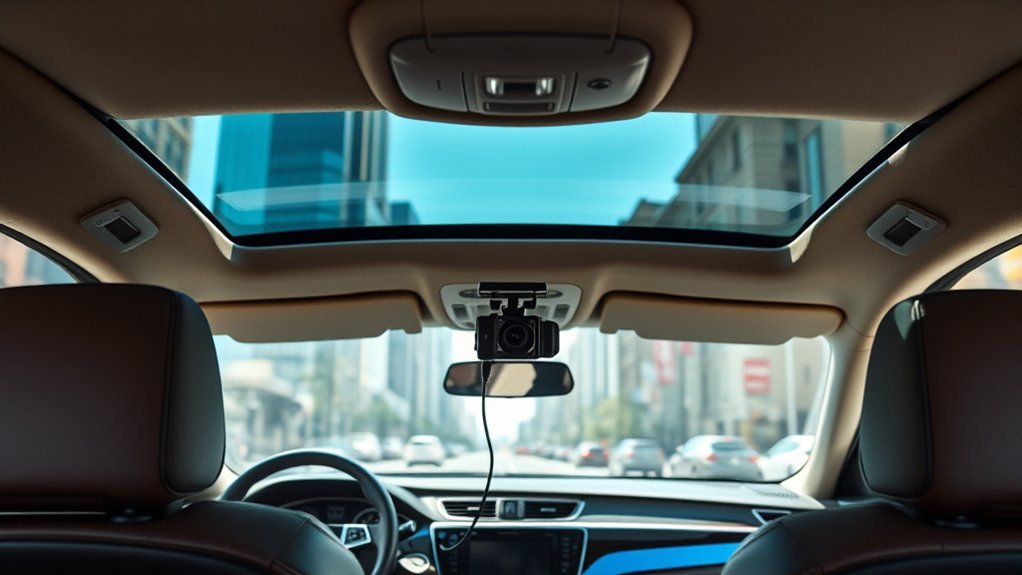
Installing Your Rear Dash Cam for the Best View
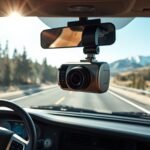
To get the best view from your rear dash cam, start by choosing an ideal mounting location at the top center of your rear windshield. Adjust the angle carefully using the 60/40 rule to balance the road and sky in your frame. Don’t forget to manage your cables properly to keep everything neat and distraction-free while you drive.
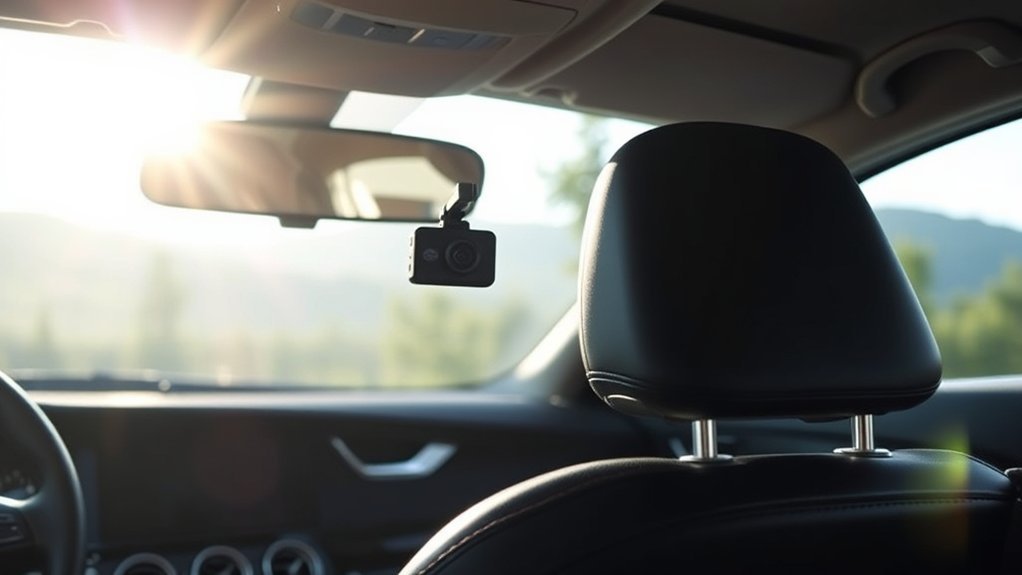
Ideal Mounting Locations
Finding the right spot for your rear dash cam is vital, as it directly influences the quality of the footage you capture. The ideal mounting locations are significant for achieving a clear view of rear traffic. Here are three key points to take into account:
- Mount High: Position your rear dash cam at the top center of the rear windshield to avoid obstruction and capture the road effectively.
- Follow the 60/40 Rule: Confirm your vertical tilt captures 60% of the road and 40% of the sky for an ideal view.
- Avoid Common Mistakes: Don’t mount it too low, as this can block your view and create glare. Always make certain your camera is securely mounted to prevent movement during driving.
Angle Adjustment Techniques
When you adjust the angle of your rear dash cam, you’re ensuring you capture the best possible footage of your surroundings. Use angle adjustment techniques to follow the 60/40 rule—aim for 60% of the road and 40% of the sky for ideal footage quality. Mount the camera centered horizontally to achieve a symmetrical view, minimizing distortion. For SUVs and trucks, position the camera higher on the rear windshield, creating a downward angle that reduces the visibility of your bumper. Before installation, clean the rear windshield thoroughly for a strong adhesive bond. Finally, test the camera’s angle by driving under various conditions, ensuring clear visibility of license plates and other essential details for the best results.
Cable Management Tips
Effective cable management is vital for installing your rear dash cam to guarantee peak performance and safety. Properly routing your power source is important; here are some tips to make certain of a clean installation:
- Route cables along the edges of the rear windshield and roof lining to prevent them from obstructing your view.
- Use cable clips or adhesive mounts to secure wiring, avoiding loose cables that could interfere with airbag deployment or create distractions.
- Inspect regularly to make certain no wear or damage occurs, keeping connections tight and protected from moisture.
Testing Your Rear Dash Cam Angle: Ensuring Clear Footage
To guarantee your rear dash cam captures clear and usable footage, it’s essential to conduct thorough testing after installation. Start with real-world driving tests during both day and night. This helps you assess the clarity and quality of the footage. Review the recordings on a computer or mobile device, checking for clear visibility of important details, like license plates from a safe distance. If the angle isn’t ideal, adjust it according to the recommended 60/40 rule, securing 60% of the view captures the road ahead. Confirm that your camera is securely mounted, without obstructing the driver’s view or rearview mirror visibility. Don’t forget to regularly retest the camera position after any adjustments to the vehicle, maintaining those ideal recording angles for clear footage. This proactive approach guarantees your rear dash cam is always ready to capture the evidence you need.
What You Need to Know About Dash Cam Legalities
Understanding the legalities surrounding dash cams is essential for any driver looking to enhance their vehicle’s safety measures. While dash cams are legal in most jurisdictions, local laws can vary greatly. Here’s what you need to take into account:
- Placement: Verify your dash cam doesn’t obstruct the driver’s view. Many places restrict mounting to areas that don’t extend more than 40mm into the wiped area of the windshield.
- Audio Recording: In some regions, recording audio requires consent from all passengers. Familiarize yourself with local audio recording laws to avoid legal issues.
- Prohibited Areas: Avoid mounting your dash cam in prohibited areas, as this could lead to fines or citations.
Frequently Asked Questions
What Is the Best Angle for a Rear Dash Cam?
For ideal rear camera positioning, mount it at the top center, ensuring the installation height captures essential visibility. Adjust lens angles to avoid common errors, considering vehicle type, environmental factors, and camera features for best performance.
Where Is the Best Place to Put the Rear Dash Cam?
Mount your rear dash cam at the top center of the rear windshield. This guarantees ideal visibility, minimizes vibration effects, and enhances compatibility with various camera types, while addressing legal considerations and wiring methods during installation.
Where Not to Put a Dashcam?
Avoid dash cam placement that obstructs visibility, such as near airbags or tinted areas. Common errors include low mounting positions and wiring challenges. Guarantee proper camera calibration and installation tips to prevent legal restrictions and obstruction concerns.
Is It Worth Having a Rear Facing Dash Cam?
Isn’t peace of mind priceless? A rear dashcam offers benefits like accident evidence, enhanced visibility, and theft deterrent. It boosts driver accountability, speeds up insurance claims, and guarantees improved safety—making it absolutely worth it.
Conclusion
In the world of road safety, your rear dash cam is like a vigilant guardian, always watching from behind. By placing it at the ideal angle and avoiding common pitfalls, you’re ensuring crystal-clear footage that could be pivotal in a pinch. Remember, your vehicle type plays a role in installation, so tailor your approach accordingly. With the right setup, you’re not just capturing moments; you’re safeguarding your journey, ready to face whatever the road throws your way.


Leave a Reply