To set up your dash cam, choose a model that fits your budget and needs. Gather essential tools like a microSD card and a power cable. Mount the dash cam securely behind your rearview mirror, making sure it doesn’t block your view. Connect the power cable to your vehicle and check the recording light to confirm it is on. Finally, adjust the resolution and audio settings.
Quick Answer
- Choose a mounting spot behind your rearview mirror so the camera doesn’t obstruct your view.
- Clean the windshield and attach the mount securely.
- Insert a high-endurance microSD card to handle continuous recording.
- Route the power cable around the windshield trim to your vehicle’s 12V outlet or fuse box.
- Turn on the vehicle, format the SD card, and verify the recording light is active.
Why You Need a Dash Cam: Key Benefits
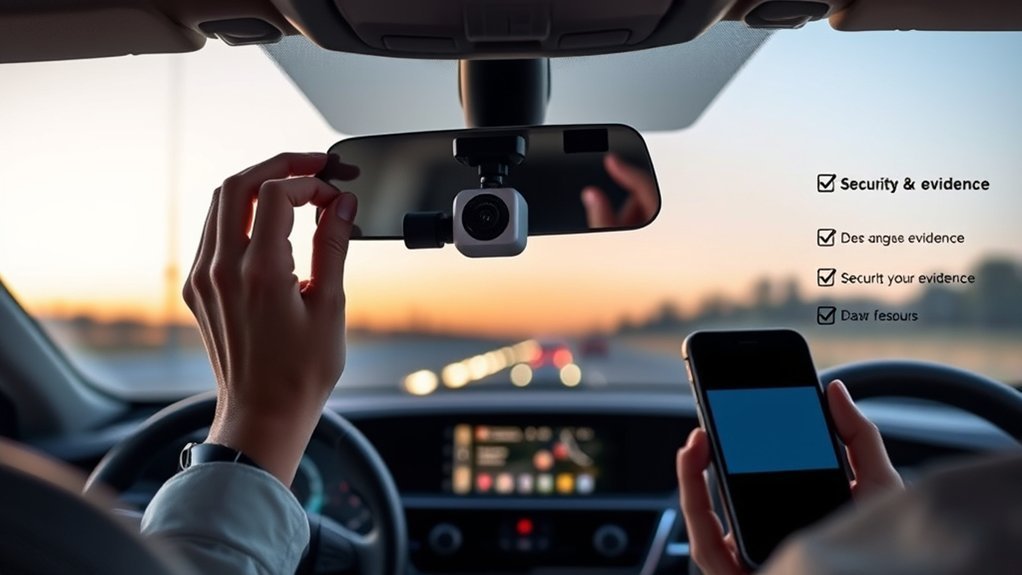
A dash cam captures footage of your travels and provides critical evidence in an accident. If you are in a collision, having clear video proof helps clarify who is at fault and speeds up insurance claims. This can lead to quicker resolutions and potentially protect your premiums.
Dash cams also protect you from fraud, such as staged accidents or false claims. Most models include loop recording and G-sensors, which automatically save important moments during a sudden impact.
Driving with a dash cam promotes responsible driving behavior and lets you document road trips, offering invaluable security on the road.
Choosing the Right Dash Cam for Your Needs
When selecting a dash cam, look at your budget first to find a model that fits. Next, assess the camera features you need, like resolution, loop recording, or night vision. Finally, decide on the installation method that works best for your vehicle.
Consider Your Budget
Prices range from about $50 for basic models to over $500 for high-end devices. Determine your budget by listing the essential features you need, like 1080p resolution or a dual-camera setup. Remember to factor in accessories, such as a high-endurance microSD card, and potential professional installation fees if you choose a hardwired setup. Research the warranty and customer support options before buying.
Assess Camera Features
Choose between a basic front camera or a dual-camera system for thorough coverage. Look for an HD video resolution of 1080p or higher to ensure you capture clear license plates. Consider functionalities like GPS tracking to log your location and speed data. Pay attention to the power supply; some models offer simple plug-and-play setups, while others require hardwiring. Always use a high-endurance MicroSD card, which is built to handle constant read and write cycles without failing.
Determine Installation Method
Think about how you plan to install the camera. Do you need a front camera, rear camera, or a dual system? For installation, you can use a simple cigarette lighter adapter for easy portability, or choose a hardwired option. Hardwiring provides continuous power for parking mode, even when the engine is off. If you hardwire the camera, verify the kit has a low-voltage cutoff to protect your car battery. Finally, familiarize yourself with local dash cam laws regarding windshield placement.
Essential Tools for Dash Cam Installation
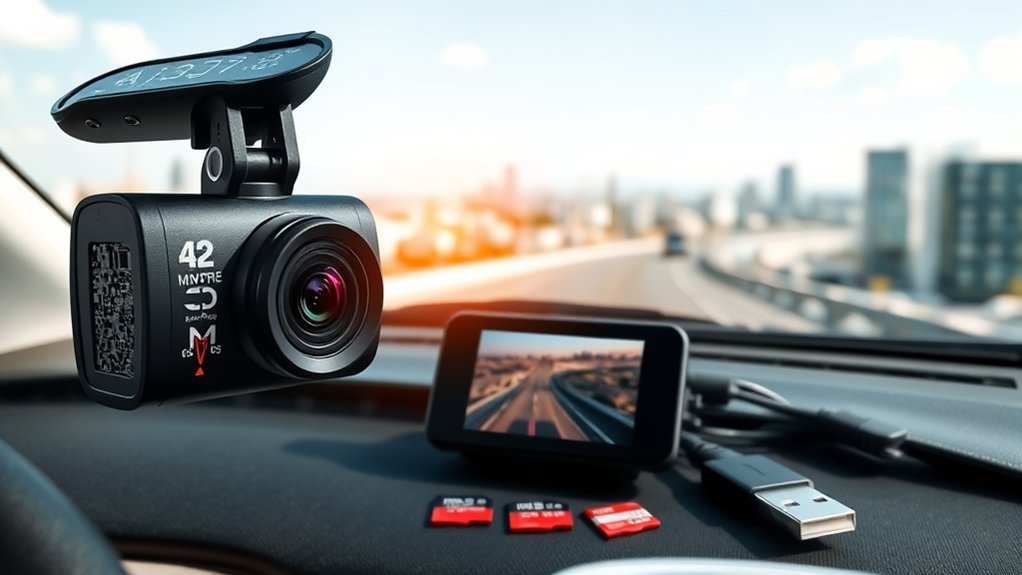
Installing a dash cam requires a few essential tools for a clean setup. Gather the following items before starting:
- The dash cam itself
- A compatible microSD card (preferably high-endurance)
- A power cable or adapter for connecting to your vehicle’s power source
- A plastic trim removal tool to hide the cables neatly
- Zip ties to secure any loose wiring
For a more permanent connection, use a hardwire kit to link directly to your vehicle’s fuse box. This ensures a stable power supply for continuous recording and parking mode.
Step-by-Step Guide to Dash Cam Installation
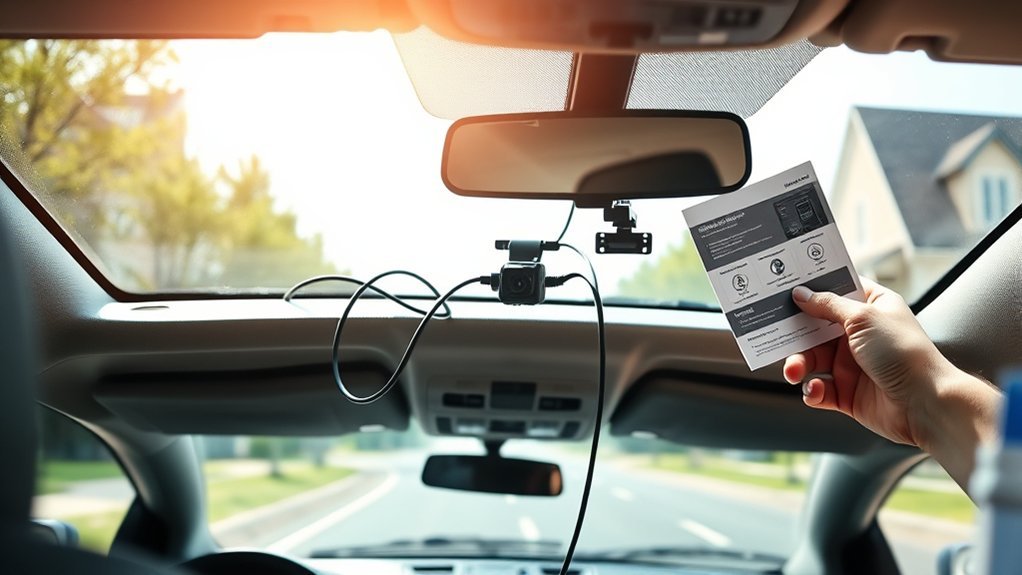
Start by inserting a compatible SD or Micro SD card into the dash cam. Format the card in the camera’s menu if prompted. Install the dash cam on your windshield using the suction cup mount or adhesive pad. Position it behind the rearview mirror where it won’t obstruct your view. Adjust the angle to capture the road ahead.
Connect the power cord to your vehicle’s 12V power outlet. Turn the vehicle’s ignition on. Check that the record light on the dash cam is illuminated, which indicates it is saving video. Finally, follow the on-screen instructions to configure settings like your language, time zone, and recording modes.
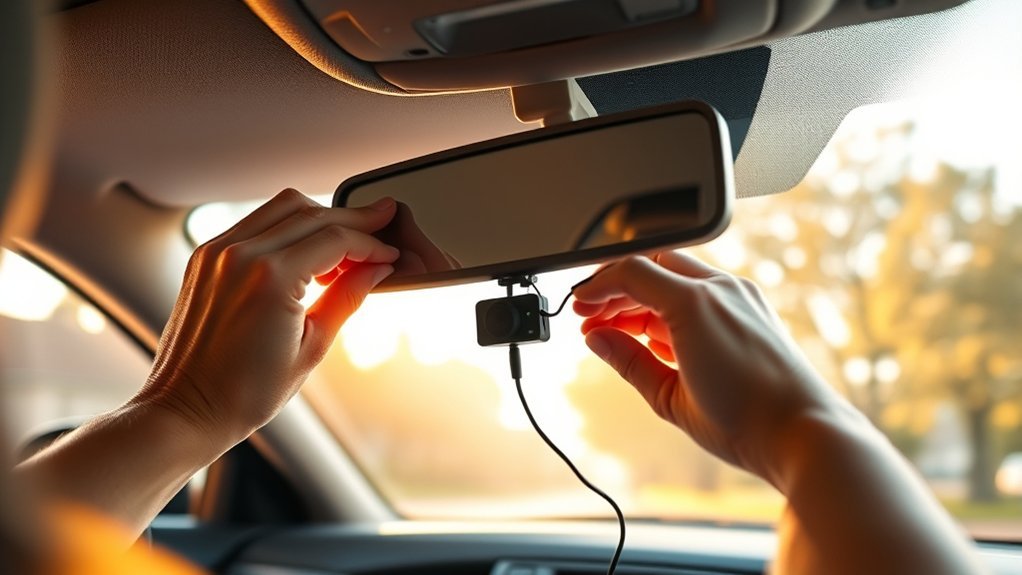
Proper Mounting Techniques for Your Dash Cam
Mount your dash cam behind the rearview mirror. This ensures you do not obstruct your view while capturing a wide angle of the road. Follow these proper mounting techniques:
- Clean the windshield area thoroughly with glass cleaner for better adhesion.
- Press the suction-cup or adhesive mount firmly against the glass.
- Adjust the camera angle so the hood of your car makes up the bottom 20% of the video frame.
- Route the power cord neatly under the headliner and trim.
- Verify the dash cam is secure before hitting the road.
A well-mounted dash cam protects you and contributes to safer driving.
Powering Your Dash Cam: Tips and Options
Powering your dash cam correctly is essential. You can connect it to your vehicle’s cigarette lighter socket for a quick setup, or choose hardwiring for continuous power even when the engine is off.
Cigarette Lighter Connection
Connecting your dash cam through the Cigarette Lighter Adapter (CLA) is easy and convenient. It offers quick installation for first-time users. Here are the pros and cons:
- Plug-and-play simplicity: Just plug it into the 12V socket.
- Transferability: Easily move the dash cam between vehicles.
- Power limitations: It usually only works when the engine is running.
- Battery drain risk: Some vehicles keep the 12V socket powered at all times, which can drain your battery if the camera isn’t unplugged.
- Visible wiring: Unless carefully routed, the power cord hangs down.
Hardwire Installation Benefits
Hardwiring your dash cam offers significant advantages. By connecting a dash cam to your vehicle’s fuse box, you ensure continuous recording even when the engine is off. This enables parking mode to capture incidents while you are away. This method provides a stable connection and frees up your 12V socket. While it takes more time and may require professional installation, hardwiring eliminates dangling wires and creates a clean, integrated look.
How to Make Sure Your Dash Cam Is Recording?
How can you be confident your dash cam is recording? Follow these steps:
- Check the record light: Verify it is illuminated or blinking, indicating active recording. Check your manual for specific color meanings.
- Review dash cam settings: Make sure the recording mode is set to start automatically when the vehicle powers on.
- Inspect the memory card: Ensure it is properly inserted, formatted, and not completely full of locked event files.
- Test your dash cam: Drive a short distance, then pull the SD card and review the footage on a computer to confirm both video and audio are clear.
- Update firmware regularly: Keep your dash cam’s software up to date to prevent bugs.
Adjusting Your Dash Cam Settings for Optimal Performance
Adjust the recording resolution and audio settings for the best results. Higher resolutions offer clearer footage but use more storage. Optimizing these settings ensures you capture essential details.
Set Recording Resolution
Setting the recording resolution helps capture clear and detailed footage like license plates and street signs. Follow these tips:
- Choose 1080p for standard clarity or 4K for the highest definition.
- Confirm your microSD card has enough capacity for higher resolutions.
- Adjust the frame rate to 30 or 60 frames per second for smoother video.
- Turn on loop recording so the camera continuously overwrites the oldest, unlocked footage.
- Enable event recording (G-sensor) to automatically save clips triggered by sudden impacts.
Adjust Audio Settings
Many dash cams allow you to enable or disable audio recording. Check local laws regarding audio recording; some states require two-party consent, meaning you need permission to record passengers’ voices. You can also adjust the microphone sensitivity to minimize wind or road noise, ensuring important sounds are captured clearly. If privacy is a concern, consider muting the audio completely. Regularly reviewing these settings helps ensure your recordings are usable for insurance claims or legal evidence.
Legal Considerations for Dash Cam Use
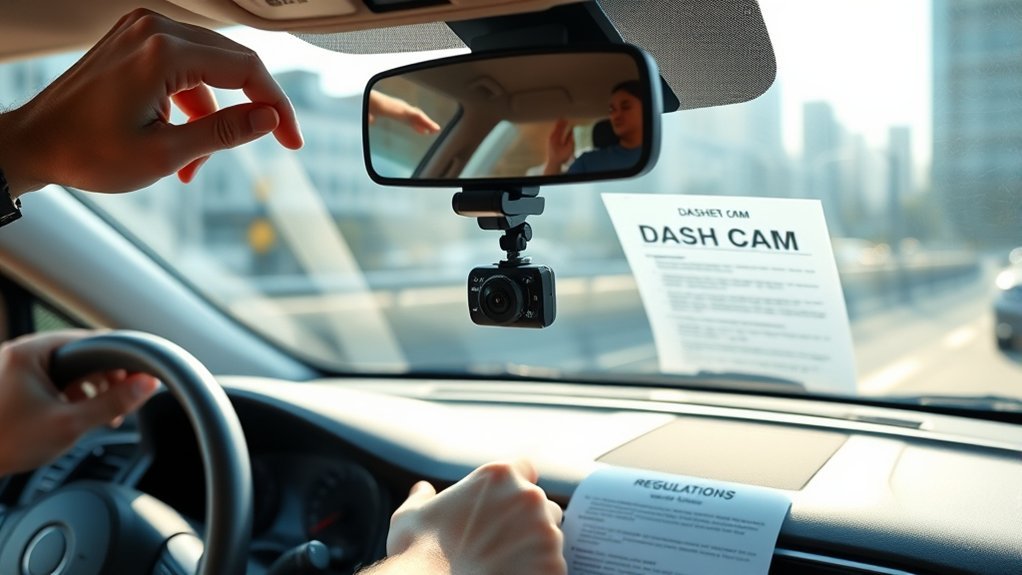
While dash cams enhance driving safety, you should understand the legal considerations. State laws vary, so check local regulations before you start recording.
- Check for restrictions on windshield attachments that obstruct your view.
- Understand audio recording laws; some areas require consent from all parties inside the vehicle.
- Review specific mounting restrictions in states like California, which dictate exactly where the camera can sit (e.g., lower corners or upper center).
- Keep in mind federal regulations for commercial vehicles, which impose strict placement requirements.
- Regularly check local laws to avoid fines.
Viewing and Saving Your Footage
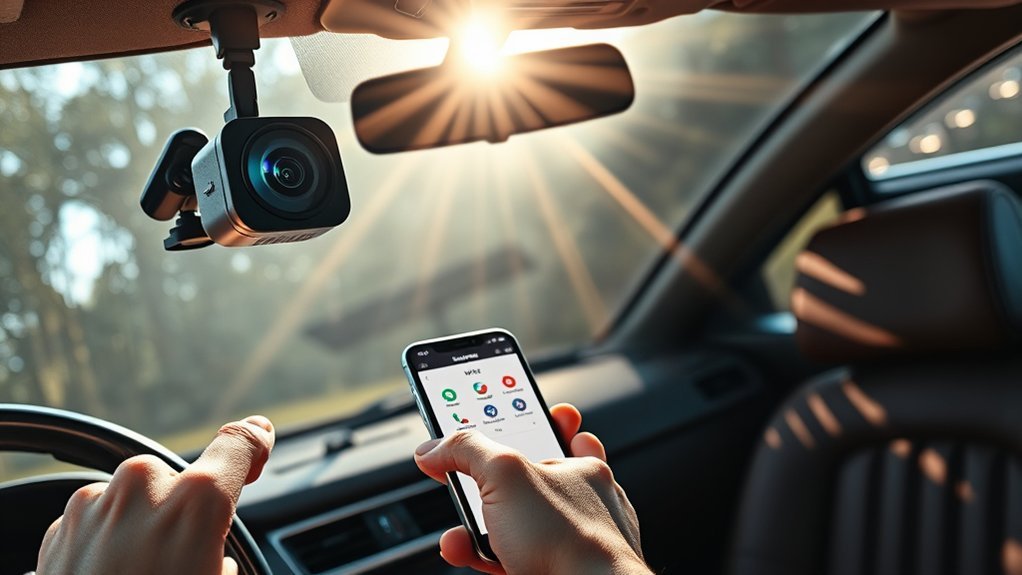
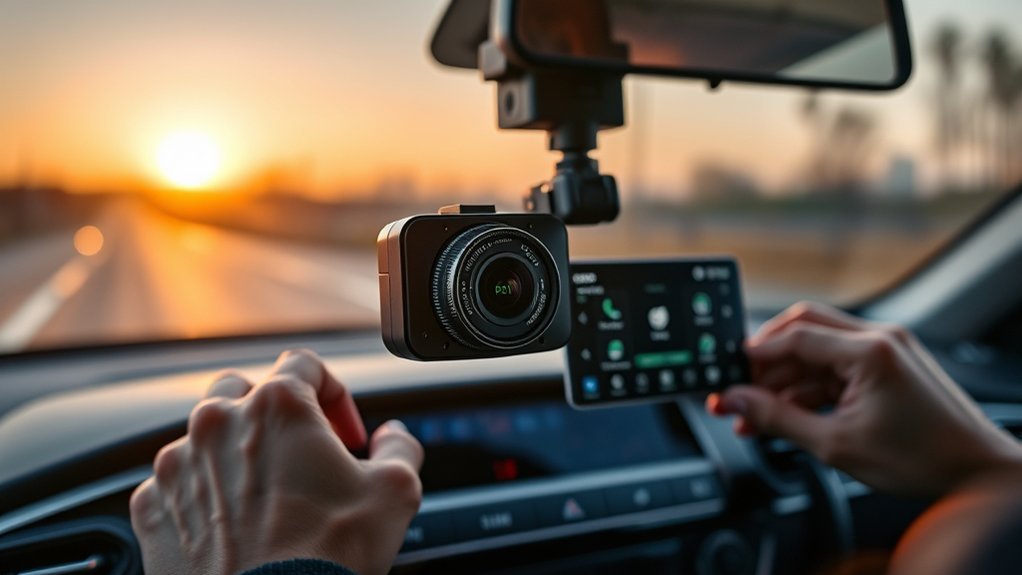
Knowing how to access your video files is just as important as recording them. Most modern dash cams offer a Wi-Fi connection, allowing you to pair the camera with a smartphone app. This is the easiest way to view, download, and share clips right after an incident.
If your camera does not have Wi-Fi, or if you need to download a large amount of footage, you can remove the microSD card and plug it into a computer using an adapter. Always back up important clips immediately so they are not accidentally overwritten by the loop recording feature.
Troubleshooting Common Dash Cam Setup Issues
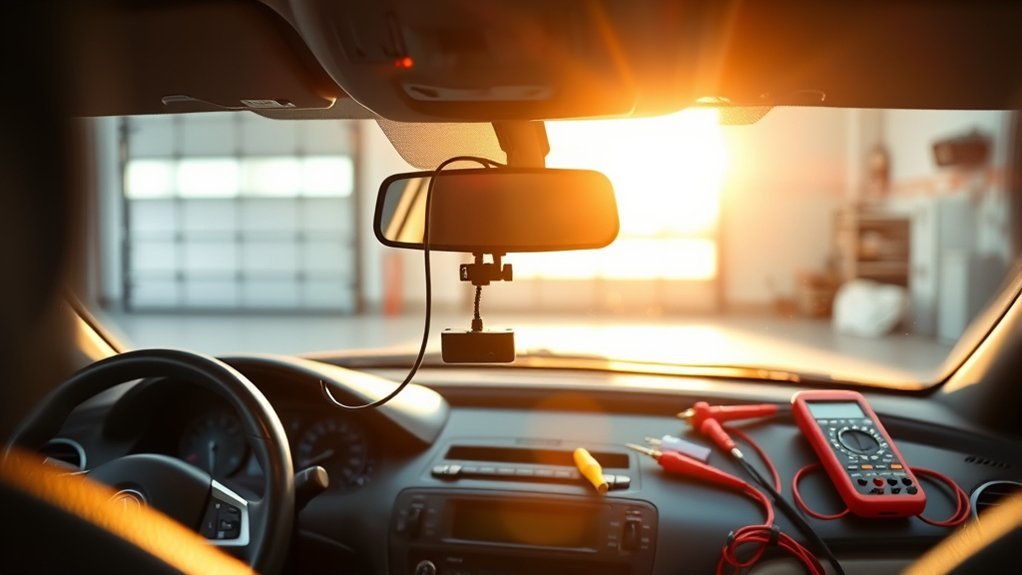
If your dash cam will not power on, check that the power cord is securely connected to the outlet and inspect your vehicle’s fuses. If the SD card is not recognized, make sure it is seated properly and formatted in the camera. Not all cards are compatible, so use a high-endurance model.
If the recording light is off, verify the dash cam is in the correct recording mode and that your vehicle’s ignition is on. For corrupted or missing footage, check the SD card for errors or locked files. If you experience connectivity issues with the smartphone app, verify your firmware is updated and temporarily turn off your phone’s cellular data to help the Wi-Fi connect.
Frequently Asked Questions
How Do I Set up My Dash Cam?
Choose a high-quality model, mount it securely behind the rearview mirror, and route the power cable along the windshield trim. Format the SD card and verify the recording light is on.
Will My Insurance Go Down if I Have a Dashcam?
Your insurance might offer a discount, but this depends on your provider. Most importantly, having a dash cam protects your premiums by proving you were not at fault in an accident.
What to Know Before Installing a Dash Cam?
Consider where you will mount it so it doesn’t block your view, check local laws regarding audio recording and windshield placement, and decide whether you want a plug-in model or a hardwired system.
Do I Have to Tell My Insurance if I Get a Dash Cam?
You are not required to inform your insurance company about your dash cam. However, providing footage after an accident can drastically speed up the claims process.
Conclusion
Setting up a dash cam greatly enhances your driving safety. A properly installed camera quietly records your drives, offering vital evidence if you ever need it. By following this guide, you ensure your dash cam is installed correctly and functioning at its best. Customize your settings, format your SD card regularly, and keep an eye on legal requirements in your area. With your dash cam ready, you can hit the road with confidence.