A soft brake pedal can turn a fun Toyota Supra drive into a serious safety risk. Air in the brake lines, old brake fluid, or a recent hydraulic repair can all reduce brake feel and stopping response. This guide explains when you should bleed your Supra’s brakes, what tools you need, how to do it safely, and when to let a trained technician handle the job.
What’s in This Article
- Before You Begin Brake Bleeding: Safety and Time
- What You’ll Need to Bleed Your Supra’s Brakes
- Understanding the Importance of Brake Bleeding for Your Supra
- When Should You Bleed Your Brake System?
- Signs Your Brakes Need Bleeding
- How to Bleed Your Brakes: A Simple Guide
- Top Mistakes to Avoid When Bleeding Your Brakes
- Essential Tools for Brake Bleeding
- Flushing Brake Fluid: Techniques
- Troubleshooting Brake Issues After Bleeding
- Maintaining Brake Fluid Quality for Optimal Performance
- Frequently Asked Questions
- Conclusion
Quick Answer
You should bleed your Toyota Supra’s brakes after opening the hydraulic system, such as replacing calipers, brake lines, hoses, or the master cylinder. You should also bleed them if the brake pedal feels soft, travel increases, fluid runs low, or old fluid needs flushing. A simple pad change does not always require bleeding unless you open the fluid system or notice poor pedal feel.
Key Takeaways
- Bleed your brakes after hydraulic brake repairs, not after every basic pad change.
- Check the pedal feel, fluid level, and visible leaks before you drive after brake work.
- Keep the reservoir full during bleeding so you don’t pull new air into the system.
- Use the correct brake fluid type listed on the reservoir cap or in your owner’s manual.
- Get professional help if the pedal stays soft or the anti-lock brake system needs cycling.
Before You Begin Brake Bleeding: Safety and Time
Set aside about 45 to 90 minutes for a careful brake bleed at home. The job can take longer if a bleeder screw sticks, the fluid looks very dark, or air enters the anti-lock brake system (ABS) module.
Work on a level surface, wear eye protection, and support the car with jack stands before removing wheels. Brake fluid can damage paint, so wipe spills at once and keep water nearby for cleanup.
Warning: Do not drive the car if the pedal sinks, feels soft, or fails to build firm pressure after bleeding.
What You’ll Need to Bleed Your Supra’s Brakes
Gather your tools before you open any bleeder screw. This helps you finish the job without letting the brake fluid reservoir run dry.
- Correct DOT brake fluid listed for your Supra model
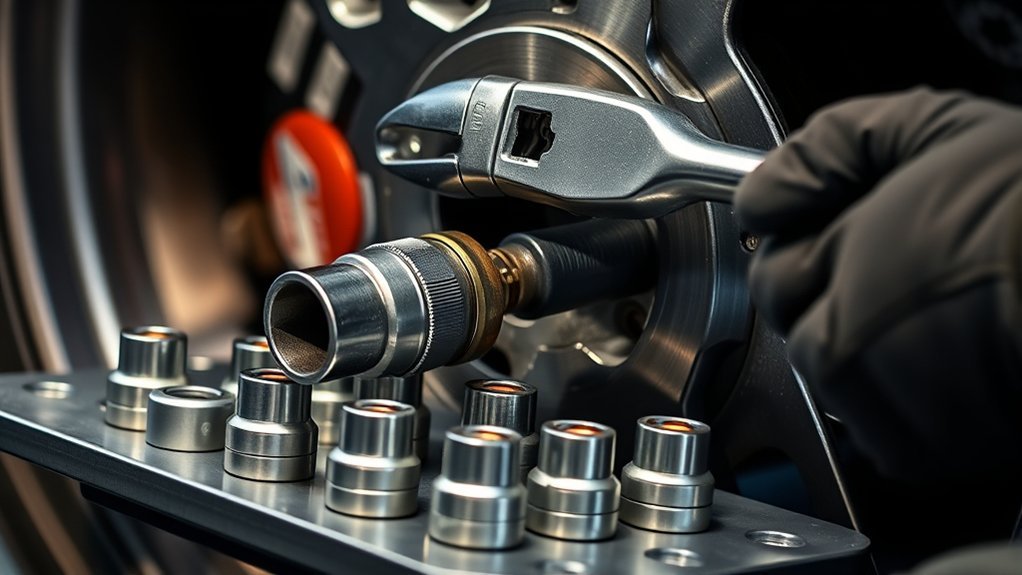
- Box-end wrench that fits the bleeder screws
- Clear vinyl hose and a clean catch bottle
- Brake cleaner, shop towels, and gloves
- Jack, jack stands, and wheel chocks
- Power bleeder or a helper for the two-person method
- Scan tool if your model requires ABS pump activation
Check your owner’s manual or service information before you start. Brake fluid type and bleeding procedures can vary between MK4, A90, and modified Supra models.
Understanding the Importance of Brake Bleeding for Your Supra
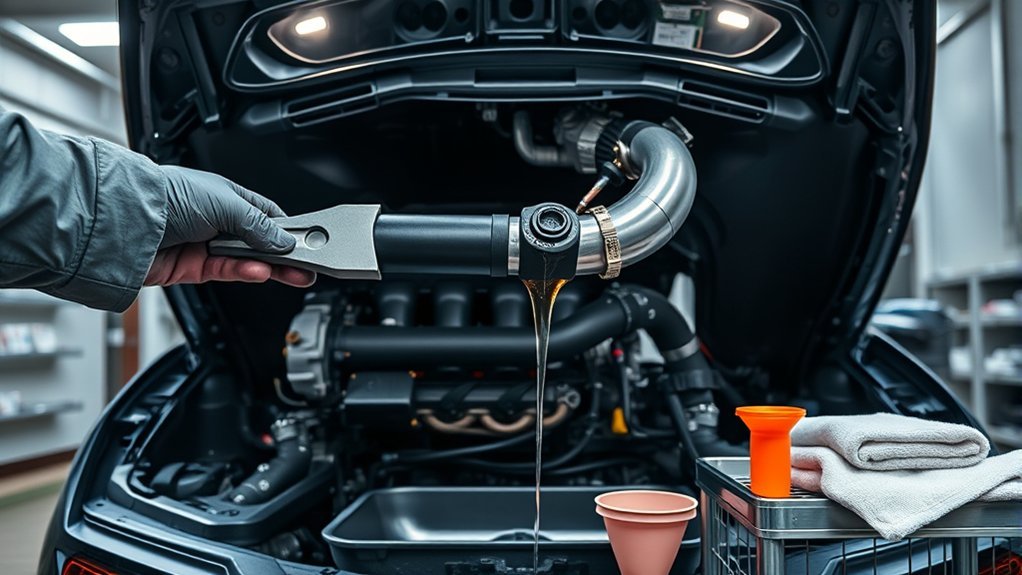
When you open a brake line, replace a caliper, or flush old fluid on your Toyota Supra, bleeding the brakes removes trapped air. Air compresses under pressure, so it can make the pedal feel soft and reduce braking control.
A pad-only replacement usually does not require bleeding if you never open the hydraulic system. Still, you should inspect the fluid level, pedal feel, and brake response after any brake service.
The ABS system can add extra steps on some Supra models. If air enters the ABS hydraulic unit, a scan tool may need to cycle the pump and valves so you can remove trapped air.
When Should You Bleed Your Brake System?
You should bleed your brake system after any repair that opens the hydraulic circuit. Common examples include replacing calipers, brake hoses, hard lines, wheel cylinders, the master cylinder, or ABS hydraulic parts.
You should also bleed the system if the brake pedal feels spongy, travels too far, or does not feel firm after brake work. Old brake fluid can also need a flush because it absorbs moisture over time.
Common Reasons for Bleeding
Bleeding your brake system protects pedal feel and brake response. The most common reasons include:
- Open the hydraulic system: Bleed the brakes after replacing calipers, hoses, hard lines, or the master cylinder.
- Flush old brake fluid: Replace old fluid on the schedule listed in your owner’s manual or service reminder.
- Fix a soft pedal: Remove trapped air if the pedal feels spongy or travels farther than normal.
A routine brake pad replacement does not always require bleeding. If you open the bleeder screw, compress a caliper incorrectly, or let the reservoir run low, you should bleed the system before driving.
Signs of Air Presence
A spongy brake pedal often points to air trapped in the brake lines. If the pedal travels too far before the brakes bite, inspect the system before you drive.
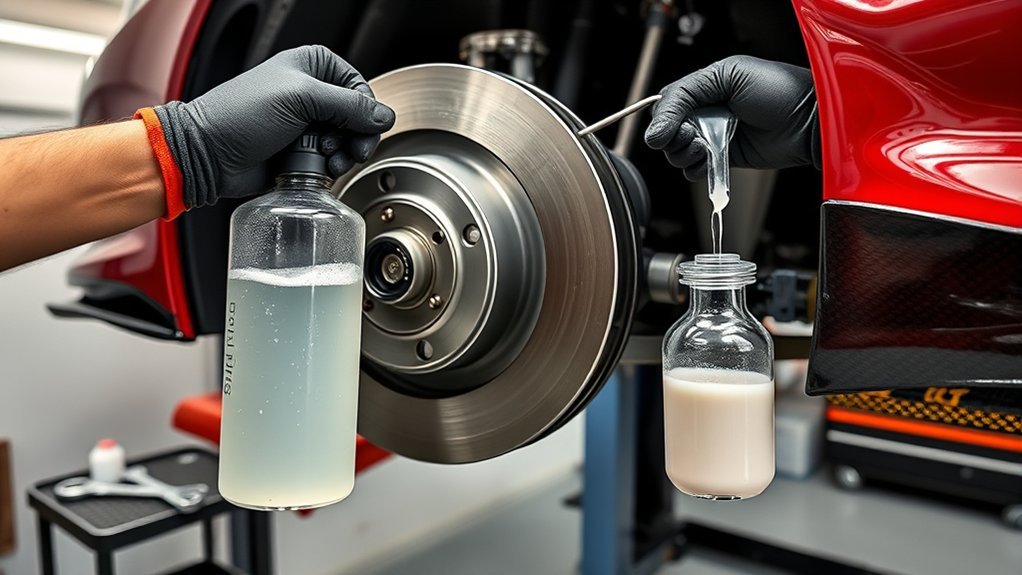
Air can enter during repairs, after a leak, or when the brake fluid reservoir runs too low. While bleeding, bubbles in the clear hose show that air is leaving the system.
| Symptom | What It May Mean | Next Step |
|---|---|---|
| Spongy brake pedal | Air may be in the hydraulic system | Bleed the brake system |
| Excessive pedal travel | Air, low fluid, or improper adjustment may exist | Inspect fluid level and bleed if needed |
| Bubbles in brake fluid | Air is leaving the system | Continue until clean fluid flows |
| Pedal stays soft after bleeding | Air may remain or another fault may exist | Repeat bleeding or seek help |
Signs Your Brakes Need Bleeding
If you notice a soft brake pedal or a clear increase in pedal travel, air may be trapped in your brake system. Poor brake response, visible fluid leakage, or a low reservoir can also mean you need service.
Do not treat these signs as minor issues. Brakes need firm hydraulic pressure to stop the car safely.
Spongy Brake Pedal Feel
A spongy brake pedal can signal air in the brake lines. You may notice this after brake repair, a fluid flush, or a leak in the system.
- Check whether the pedal travels too far before the brakes engage.
- Look for bubbles during the bleeding process.
- Repeat the bleed if the pedal stays soft.
If the pedal does not improve, air may remain in the ABS module or another brake fault may exist. In that case, use model-specific service information or contact a qualified technician.
Reduced Brake Response Time
If your Supra takes longer to slow down, inspect the brake system before you keep driving. Air, old fluid, worn pads, leaks, or damaged parts can all reduce brake response.
Bleeding helps only when air or old fluid causes the problem. If the brakes still respond poorly after bleeding, check the pads, rotors, hoses, calipers, and master cylinder.
Fluid Leakage Signs
Fluid around brake parts is a serious warning sign. A leak can lower pressure and pull air into the system.
- Check the pedal feel: A soft pedal can point to air or fluid loss.
- Inspect for wet areas: Look around calipers, hoses, hard lines, and the master cylinder.
- Watch the fluid level: A falling level may mean you have a leak.
Do not just add fluid and keep driving if the level drops again. Find the leak, repair it, and bleed the brakes before normal use.
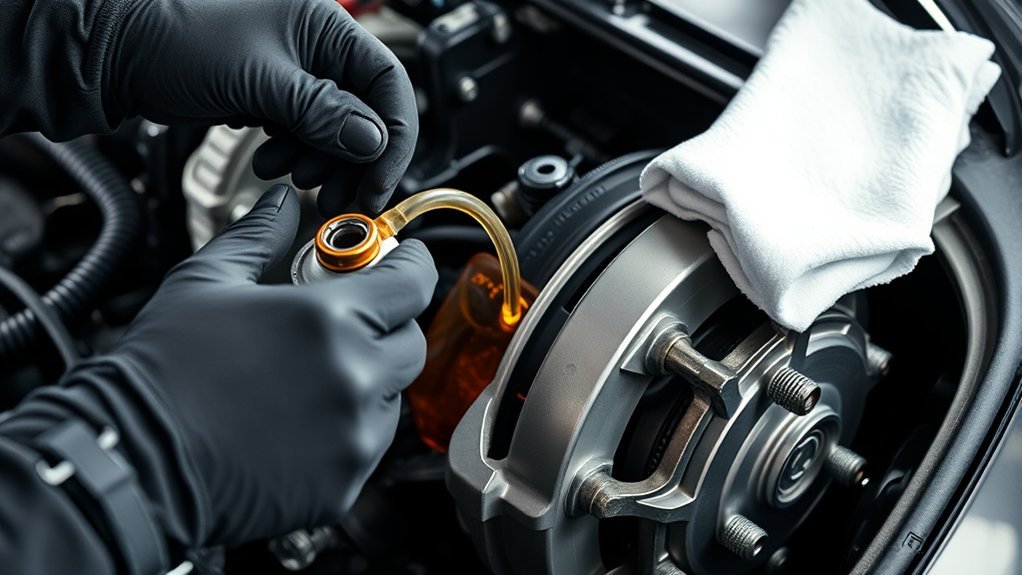
How to Bleed Your Brakes: A Simple Guide
Use the service procedure for your exact Supra model whenever possible. A common starting order on many left-hand-drive vehicles is the wheel farthest from the master cylinder first, then work closer.
For many MK4 Supra brake bleeding jobs, that order is rear passenger, rear driver, front passenger, then front driver. Some later models or ABS procedures may differ, so confirm the correct order before you start.
- Park the car safely: Place the Supra on level ground, set the parking brake, and chock the wheels.
- Raise and support the car: Use proper jack points and support the vehicle with jack stands.
- Fill the reservoir: Add the correct brake fluid and keep the level above the minimum mark.
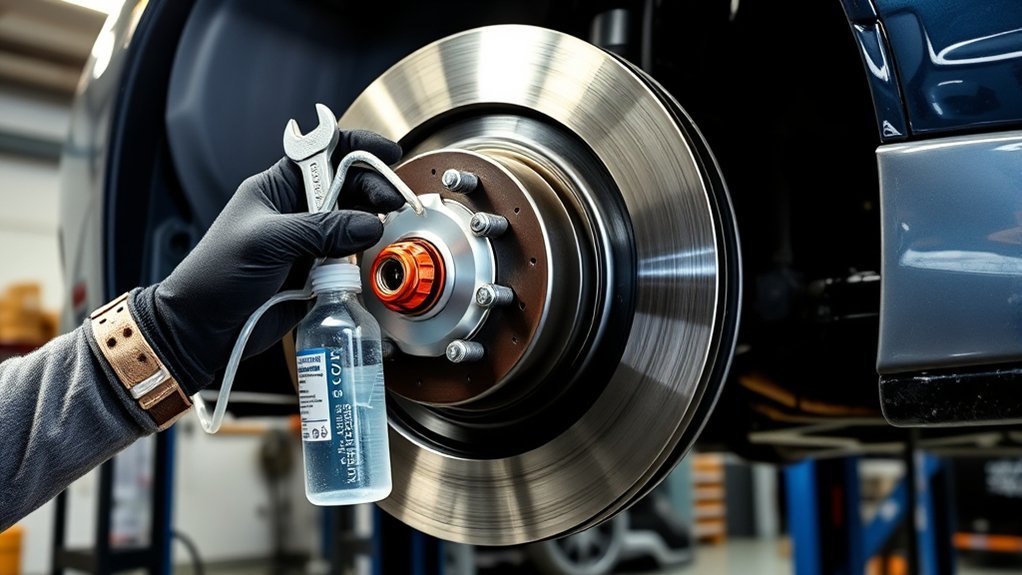
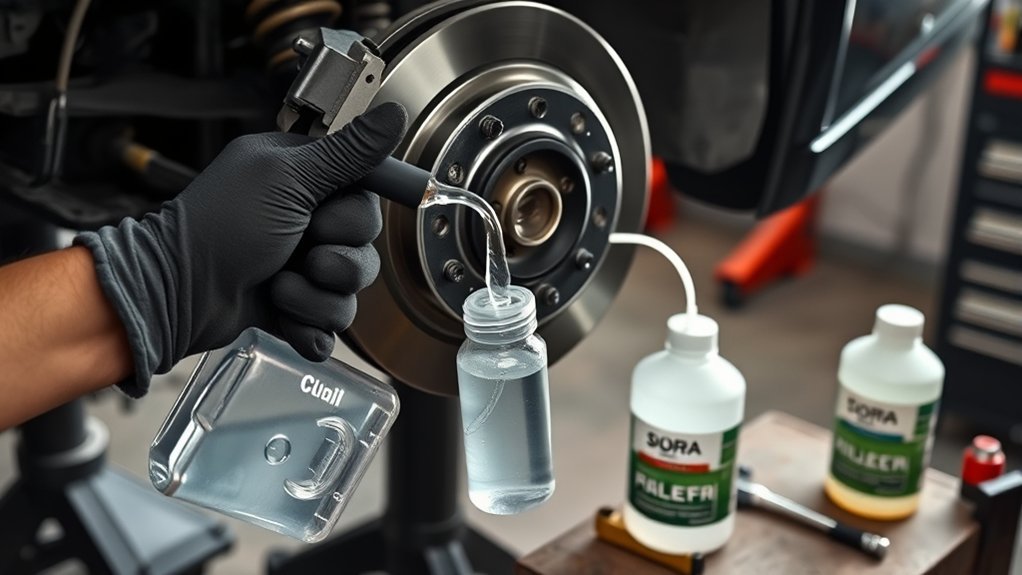
- Attach the hose: Fit a clear hose over the first bleeder screw and place the other end in a catch bottle.
- Build pressure: Use a power bleeder, or ask a helper to press the brake pedal slowly.
- Open the bleeder screw: Let fluid and air flow out, then close the screw before pedal pressure releases.
- Repeat until clear: Continue until clean fluid flows without bubbles.
- Move to the next wheel: Follow the correct sequence for your Supra model.
- Check the pedal: Press the brake pedal and confirm it feels firm before reinstalling the wheels.
- Inspect for leaks: Check every bleeder screw, hose, and fitting before a careful low-speed test.
Pro tip: Keep the reservoir cap area clean so dirt does not enter the brake system during bleeding.
Top Mistakes to Avoid When Bleeding Your Brakes
Bleeding your brakes takes patience. Small mistakes can pull new air into the system or hide a leak.
- Use the wrong order: Start with the correct wheel for your model and brake layout.
- Let the reservoir run dry: Check the level often and refill it before it reaches the minimum mark.
- Release the pedal too soon: Close the bleeder screw before your helper lets the pedal come back up.
- Overtighten bleeder screws: Tighten them firmly, but do not strip or snap them.
- Ignore the ABS system: Use a scan tool when your service procedure requires ABS pump cycling.
Avoid pushing an older master cylinder beyond its normal travel range during manual bleeding. A pressure bleeder can reduce that risk and make the job more consistent.
Essential Tools for Brake Bleeding
A power bleeder can make brake bleeding cleaner and easier because it applies steady pressure to the reservoir. Use the correct adapter cap so the tool seals well and does not leak fluid.
The two-person method can also work well. One person controls the pedal while the other opens and closes the bleeder screw.
You may need a scan tool for ABS cycling if air enters the ABS hydraulic unit. This matters more after major hydraulic repairs than after a normal fluid flush.
Flushing Brake Fluid: Techniques
Flushing brake fluid removes old fluid from the system and replaces it with clean fluid. Brake fluid absorbs moisture over time, and moisture can lower performance and promote corrosion.
Use the fluid service interval in your owner’s manual or dashboard service reminder. Many drivers follow a two-year interval, but your model and driving use matter.
- Use a pressure bleeder: Push fresh fluid through the system at steady pressure.
- Use the two-person method: Press the pedal, open the bleeder, close it, then release the pedal.
- Inspect fluid condition: Replace dark, dirty, or contaminated fluid with the correct fresh fluid.
Do not reuse old brake fluid from the catch bottle. Once fluid leaves the system, treat it as waste and dispose of it properly.
Troubleshooting Brake Issues After Bleeding
If the pedal still feels spongy after bleeding, air may remain in the system. Repeat the bleed and keep the reservoir full through the full process.
If no bubbles appear but the pedal still feels wrong, inspect for leaks, worn hoses, caliper problems, or master cylinder issues. A soft pedal does not always mean air is the only cause.
If you changed brake lines, replaced ABS parts, or ran the reservoir dry, air may sit inside the ABS hydraulic unit. Use the correct scan tool procedure or ask a technician to cycle the ABS pump.
When to Seek Professional Help
Get professional help if the brake pedal sinks, the ABS warning light stays on, or fluid keeps leaking after repair. You should also stop and get help if you cannot confirm the correct bleed order for your model.
A trained technician can pressure-test the system and run the ABS bleed routine when needed. That extra step can prevent unsafe brake performance after major work.
Maintaining Brake Fluid Quality for Optimal Performance
Maintaining brake fluid quality helps your Toyota Supra stop with consistent pedal feel. Brake fluid absorbs moisture, and wet fluid can reduce boiling resistance under heat.
Change the brake fluid based on your service schedule, use the correct fluid type, and keep the reservoir sealed. If your Supra tracks, autocrosses, or sees hard mountain driving, inspect the fluid more often.
- Check the brake fluid level during routine maintenance.
- Look for dark fluid, dirt, or signs of contamination.
- Replace old fluid before it affects pedal feel or braking response.
Frequently Asked Questions
When Should You Bleed Your Brakes?
You should bleed your brakes after opening the hydraulic brake system, after a leak repair, or when the pedal feels soft. You should also flush old brake fluid based on your Supra’s service schedule.
Do You Have to Bleed the ABS Module When Bleeding Brakes?
You do not always need to bleed the ABS module during a normal fluid flush. You may need ABS cycling if air enters the ABS unit after major hydraulic work or if the reservoir runs dry.
What Order Do You Bleed Brakes on MK4?
Many MK4 Supra brake bleeding procedures start with the rear passenger side, then rear driver side, front passenger side, and front driver side. Confirm the order with the service manual for your exact car, especially if it has brake upgrades.
How to Tell if Car Brakes Need Bleeding?
Your brakes may need bleeding if the pedal feels soft, travels too far, or does not build firm pressure. Bubbles in the fluid during bleeding also show that air was trapped in the system.
Can You Bleed Supra Brakes by Yourself?
You can bleed the brakes by yourself with a pressure bleeder or vacuum bleeder. If you use the manual pedal method, a helper makes the process easier and lowers the chance of pulling air back in.
Safety Disclaimer: This article is for informational purposes only and does not replace professional vehicle repair advice. Brake work affects vehicle safety, so consult a qualified technician if you are unsure, lack tools, or cannot confirm a firm pedal after service.
Conclusion
Your Supra’s brakes need firm, clean hydraulic pressure to stop the car safely. Bleed the system after hydraulic repairs, after fluid loss, or when the pedal feels soft or travels too far.
Before you drive, check the fluid level, inspect for leaks, and confirm the pedal feels firm. If the brake feel still seems wrong, stop and get professional help before taking the car on the road.
References
- Brakes — National Highway Traffic Safety Administration
- Toyota Owner’s Manuals and Warranty Resources — Toyota
- BMW Owner’s Manuals — BMW USA