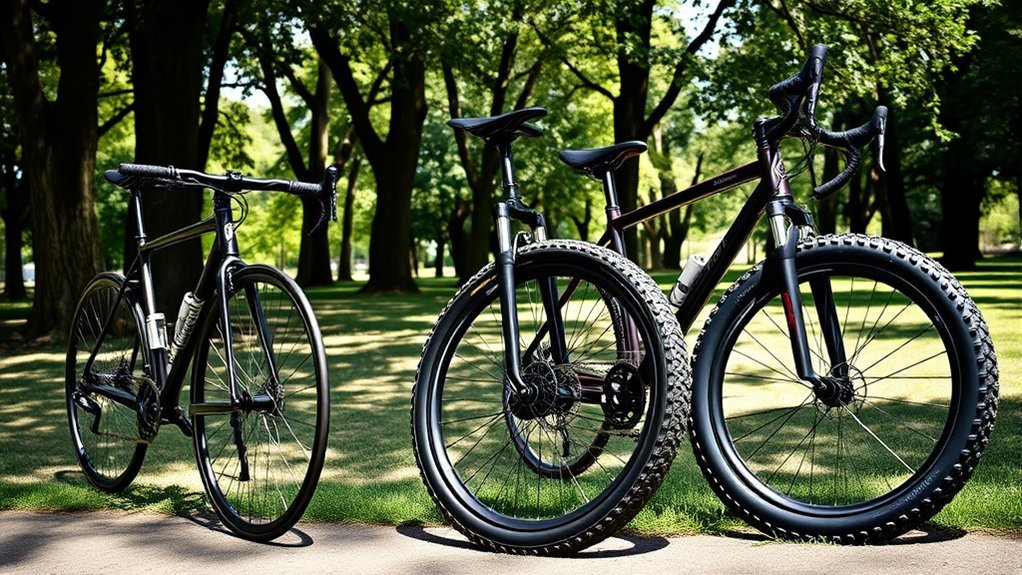
The right bike tire pressure is not one universal number. It depends on the combined weight of you, the bike, and your luggage, plus the tire’s actual width, casing, tube or tubeless setup, rim design, and riding surface. A good pressure supports the tire without making the ride harsh, slippery, or vulnerable to rim strikes.
Quick Answer
As a rough starting point, road tires commonly use about 50–90 PSI, hybrids 35–60 PSI, gravel tires 28–50 PSI, and mountain bike tires 18–30 PSI. These are not universal specifications. Check both the tire and rim limits, use the lower maximum, and adjust for total weight, tire width, surface, and tube or tubeless construction.
Key Takeaways
- Use ranges only as starting points: The exact pressure depends on the complete bike, rider, tire, rim, and riding surface.
- Wider tires normally use less pressure: Their greater air volume supports the same load without requiring the pressure of a narrow tire.
- Calculate front and rear separately: The rear often needs more pressure, but cargo, riding position, and bike geometry can change the load balance.
- Respect the complete system limit: Never exceed the lower maximum printed or specified for the tire and rim.
- Tune in small steps: A harsh, chattering ride suggests excessive pressure, while squirming, rim strikes, or tubeless burping suggest insufficient pressure.
At a Glance
| Time Required | 5–15 minutes for the initial setup, plus a short test ride |
| Difficulty | Easy |
| Tools Needed | Floor pump or hand pump with an accurate gauge; optional separate digital gauge |
| Cost | No additional cost if you already own a pump and gauge |
Bike Tire Pressure Starting Ranges
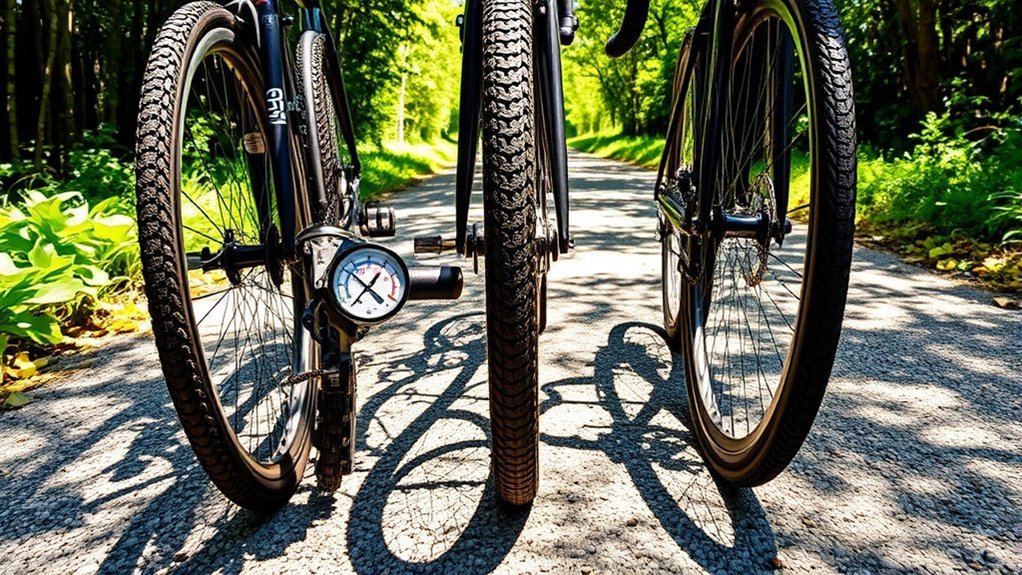
The ranges below are practical starting zones, not guaranteed settings. Start near the middle only when that number falls within the limits for your exact tire and rim. Heavier systems, narrow tires, stiff loads, and smooth surfaces may need more pressure. Wider tires, lighter systems, and rough surfaces normally need less.
| Bike or Tire Type | Common Starting Zone | Important Qualification |
|---|---|---|
| Road, 25–28mm | About 60–90 PSI | Hookless systems may have a maximum of 72.5 PSI or less. Narrow hooked setups may allow more. |
| Road, 30–32mm | About 50–75 PSI | Many riders can use less than older narrow-tire recommendations, especially with tubeless tires. |
| Gravel, 35–45mm | About 28–50 PSI | Use less for loose or rough ground and more for pavement, heavy loads, or narrow casings. |
| Hybrid or commuter, 35–50mm | About 35–60 PSI | Rear luggage may require more rear pressure, but remain within the tire and rim limits. |
| Cruiser, 1.75–2.35 inches | About 25–45 PSI | Large-volume tires usually need less pressure than narrow commuter tires. |
| Mountain bike, 2.2–2.6 inches | About 18–30 PSI | Casing, rim width, inserts, terrain, riding speed, and tubeless setup strongly affect the result. |
Note: To convert units, divide PSI by 14.5 to estimate bar. Multiply bar by 14.5 to estimate PSI. For example, 5 bar is approximately 72.5 PSI.
How to Choose the Right Bike Tire Pressure
A category such as “road bike” or “mountain bike” does not provide enough information by itself. Use these six inputs to find a more reliable baseline:
- Total system weight: Add the rider, bike, bottles, bags, tools, and cargo. More load generally requires more pressure.
- Actual mounted tire width: A tire can measure wider or narrower than the label after installation. Greater air volume normally permits lower pressure.
- Tire casing: A supple racing casing can feel and deform differently from a reinforced commuter, downhill, or cargo casing.
- Tube or tubeless construction: Tubeless tires can often operate at somewhat lower pressure because there is no inner tube to pinch, but they can still burp, squirm, or strike the rim.
- Rim type and internal width: Confirm whether the rim is hooked or hookless and which tire sizes the wheel maker approves.
- Surface and riding style: Smooth pavement, rough asphalt, gravel, mud, roots, drops, cornering speed, and braking loads all change the ideal balance.
The SRAM/Zipp Tire Pressure Guide uses bike, rider, tire, rim, and surface information to generate separate front and rear starting pressures. Treat any calculator result as a baseline for testing rather than an instruction to ignore the tire or rim limits.
1. Calculate Total System Weight
Do not compare riders by body weight alone. Two riders of the same weight may need different pressures when one uses 25mm tires and the other uses 32mm tires, or when one carries loaded panniers. Include the bike and everything attached to it.
2. Confirm Tire and Rim Limits
Read the tire sidewall, packaging, wheel label, and manufacturer compatibility information. Some products show both a minimum and maximum. Never exceed the lower maximum stated for the complete tire-and-rim combination, and do not use a tire on a hookless rim unless the tire maker approves that use.
3. Set Front and Rear Separately
The rear tire often carries more load on an unloaded conventional bicycle, but that is not a universal 60/40 rule. An aggressive riding position, front rack, child seat, cargo bike, or unusual frame geometry can change the balance. Use separate calculator values or measured wheel loads when accuracy matters.
4. Test and Adjust in Small Steps
- Inflate both tires to a safe calculated baseline.
- Ride a familiar loop that includes normal corners, braking, and representative surface conditions.
- For road and gravel tires, adjust about 1–2 PSI at a time. For large mountain bike tires, changes of about 0.5–1 PSI are easier to evaluate.
- Stop lowering pressure if the tire squirms, bottoms on the rim, burps air, or becomes imprecise.
- Stop increasing pressure if the bike chatters, skips across rough ground, loses cornering confidence, or feels unnecessarily harsh.
- Record the front and rear settings that work for each tire and load combination.
Pro Tip: Use the same gauge whenever possible. Two pumps may display slightly different numbers, so consistency is often more useful than chasing a one-PSI difference between unrelated gauges.
Hookless Rim Pressure and Compatibility
Warning: Do not assume every tire is safe on a hookless rim, and do not treat 72.5 PSI as permission to inflate every hookless setup to that number. Use an approved tire and follow the lower maximum specified by the tire or wheel manufacturer.
Many modern road hookless systems use a maximum around 5 bar, or approximately 72.5 PSI. However, the permitted pressure can vary with tire size and product design. SRAM states that its TSS systems require compatible tires and must not exceed the wheel system’s maximum rating. A tube does not make an otherwise incompatible tire suitable for a hookless rim.
Before riding a hookless setup:
- Confirm that the tire is explicitly approved for hookless or Tubeless Straight Side use.
- Confirm that the tire width is approved for the rim.
- Read both maximum-pressure ratings and use the lower one.
- Check whether the manufacturer permits a tube in that tire and rim combination.
- Choose a wider tire or another approved system if the calculated pressure exceeds the permitted maximum.
See SRAM’s current hookless tire compatibility guidance and the exact documentation for your wheel and tire.
Tube Versus Tubeless Tire Pressure
Tires With Inner Tubes
A tube can be pinched between the tire and rim during a hard impact. Narrow tires, heavy loads, potholes, and rocky terrain increase this risk. Use enough pressure to prevent frequent bottoming while remaining below the tire and rim maximums.
Latex, butyl, and TPU tubes may lose pressure at different rates. Regardless of material, check the pressure regularly with a gauge rather than relying on how firm the tire feels.
Tubeless Tires
Tubeless tires can often run at lower pressure because there is no inner tube to pinch. That does not remove the lower limit. Too little pressure can cause:
- Tire squirm during hard cornering
- Air loss or “burping” at the bead
- Rim strikes and wheel damage
- Unstable steering
- Tire casing damage
Tire inserts may reduce rim-strike risk, but they do not cancel the tire and wheel manufacturer’s pressure, compatibility, or load requirements.
Adjust Pressure for Terrain, Weather, and Load
Once you have a reliable baseline, adjust it gradually for the conditions you actually ride.
| Condition | Adjustment | What to Watch |
|---|---|---|
| Smooth pavement | A small increase may sharpen response if the ride remains controlled. | Do not increase pressure until the bike starts bouncing or losing grip. |
| Rough asphalt or gravel | A small reduction can improve compliance and keep the tire connected to the surface. | Avoid rim strikes, squirm, and tubeless burping. |
| Wet or muddy conditions | Consider a modest reduction instead of an automatic 5–10 PSI drop. | Stay within the minimum and maximum limits and reduce cornering and braking speed. |
| Panniers or rear cargo | Recalculate the loaded system and increase rear pressure as required. | Check tire load capacity, not only pressure. |
| Front rack or front cargo | The front may require more pressure than an unloaded recommendation. | Do not assume the rear must always be harder. |
| Cold or hot weather | Check and compare pressure when the tires are cold and near ambient temperature. | Pressure normally falls in colder conditions and rises as the tire warms. |
The best pressure is not the highest pressure the tire can hold. It is the lowest safe pressure that supports the load, protects the wheel, and keeps the bike stable on the intended surface.
Front Versus Rear Tire Pressure
Front and rear tires do not need identical pressure when they carry different loads. The rear is often higher on a conventional unloaded bike, but a fixed 5–10 PSI gap is too large for some setups and too small for others.
- Road bikes: Use separate calculator values based on total weight, tire width, casing, and riding position. The difference may be only a few PSI.
- Mountain bikes: The front is often slightly lower for cornering grip, while the rear needs enough support against rim strikes. Casing and rim width strongly affect both values.
- Hybrids and commuters: Panniers usually increase rear load, while a front basket or rack may require a higher front setting.
- Cargo bikes: Follow the bike and tire maker’s load and pressure instructions. Passenger or cargo placement can change the balance significantly.
For a precise measurement, place one wheel at a time on a suitable scale while the bike is loaded and the rider is in the normal riding position. The front and rear readings reveal how the total system weight is distributed.
Signs Your Tire Pressure Is Too High or Too Low
| Pressure Too High | Pressure Too Low |
|---|---|
| Harsh ride over small cracks and stones | Tire squirm or vague steering |
| Chattering or skipping on rough corners | Frequent rim strikes or bottoming |
| Reduced grip on loose or uneven ground | Pinch flats with inner tubes |
| Excess vibration through the handlebar and saddle | Tubeless burping or bead movement |
| A smaller margin below the tire or rim maximum | Sidewall folding during hard turns |
Safety Limits, Tools, and a Pre-Ride Checklist
Use a dependable gauge. The thumb squeeze test is unreliable because a tire can feel firm while still being unsuitable for its load or rim. Schwalbe recommends checking with a pressure gauge and notes that all bicycle tires gradually lose pressure.
High-pressure road systems, latex tubes, and tubeless setups may require checks before every ride. For ordinary butyl-tube commuter tires, check regularly and whenever the bike has been stored, the weather changes sharply, or handling feels different.
Pre-Ride Pressure Checklist
- Inspect the tire: Look for cuts, exposed casing, cracking, glass, thorns, or other embedded debris.
- Check the bead: Confirm that the tire’s seating line is even around both sides of the rim.
- Measure cold pressure: Use the same accurate gauge when possible.
- Confirm the limits: Stay within the approved tire-and-rim range and below the lower maximum.
- Check the valves: Make sure the valve and removable core are not leaking. The cap keeps dirt away but is not the main air seal.
- Consider today’s load: Recalculate when adding panniers, camping equipment, groceries, a passenger, or other cargo.
- Test the handling: Stop and inspect the bike if the tire suddenly feels soft, unstable, harsh, or different from normal.
Frequently Asked Questions
What PSI should bike tires use?
Road tires commonly start around 50–90 PSI, hybrids around 35–60 PSI, gravel tires around 28–50 PSI, and mountain bike tires around 18–30 PSI. These are broad starting zones only. Use the tire and rim limits, total system weight, actual tire width, casing, surface, and tube or tubeless setup to find the exact pressure.
Is 40 PSI too high for a bike tire?
It can be too high for a large mountain bike tire on a trail, normal for a gravel or hybrid tire, or too low for some narrow tube-type road tires. Tire width, system weight, construction, and surface matter more than the bike category alone.
Is 40 PSI a good pressure for gravel or hybrid tires?
Forty PSI can be a reasonable starting point for many 35–45mm gravel or hybrid tires. A light tubeless setup on rough ground may perform better below 40 PSI, while a heavy loaded commuter may need more. Confirm the permitted range and test in small steps.
What PSI should a 26-inch bike tire use?
The 26-inch wheel diameter does not determine pressure. A narrow 26-inch commuter tire, a wide cruiser tire, and a 26-inch mountain bike tire may need very different settings. Read the full tire size and pressure limits, then account for total load, width, construction, rim, and surface.
Should the rear bike tire always have more pressure?
No. The rear often carries more load on a conventional unloaded bike, so it commonly uses more pressure. A front rack, basket, passenger position, cargo layout, or unusual riding position can change that balance. Calculate or measure the load on each wheel instead of applying a fixed PSI difference.
Can I inflate every hookless bike tire to 72.5 PSI?
No. Many road hookless systems use a maximum near 72.5 PSI, but the permitted pressure can be lower and the tire must be approved for the rim. Read the specifications for both products and use the lower maximum. A tube does not make an incompatible tire safe on a hookless rim.
How often should I check bike tire pressure?
Check before rides when using high-pressure road tires, latex tubes, tubeless systems, or mountain bike pressures where a small change affects handling. For ordinary commuting tires, check regularly and after storage or major temperature changes. Always investigate a faster-than-normal pressure loss.
Conclusion
Finding the correct bike tire pressure is a process, not a category lookup. Begin with a safe range, calculate from the complete loaded system, and confirm the exact tire and rim limits. Set the front and rear separately, test on familiar terrain, and make small changes until the tires feel controlled without harshness, squirm, rim strikes, or air loss.
Wider tires and tubeless systems often allow lower pressure, especially on rough surfaces, but lower is not automatically better. The safest and fastest setting is one that supports the load, keeps the tire securely seated, protects the wheel, and remains within the approved range for the entire system.
Sources
- SRAM/Zipp: Know Your Tire Pressure — calculator inputs, separate front and rear recommendations, and pressure as a tunable starting point.
- SRAM/Zipp: Hookless Tire Compatibility — TSS tire approval, system maximums, and tube compatibility requirements.
- Schwalbe: Bicycle Tire Pressure — load, width, comfort, grip, pressure loss, sidewall ranges, and gauge use.
- Continental: Road and Gravel Tire Knowledge — system weight, riding conditions, personal preference, and hookless compatibility.
- Continental: MTB Tire Knowledge — trail-condition adjustments, accurate gauges, pressure checks, and bead inspection.
- ISO 5775-1:2023 — current international standard covering bicycle tire designations and dimensions.
