
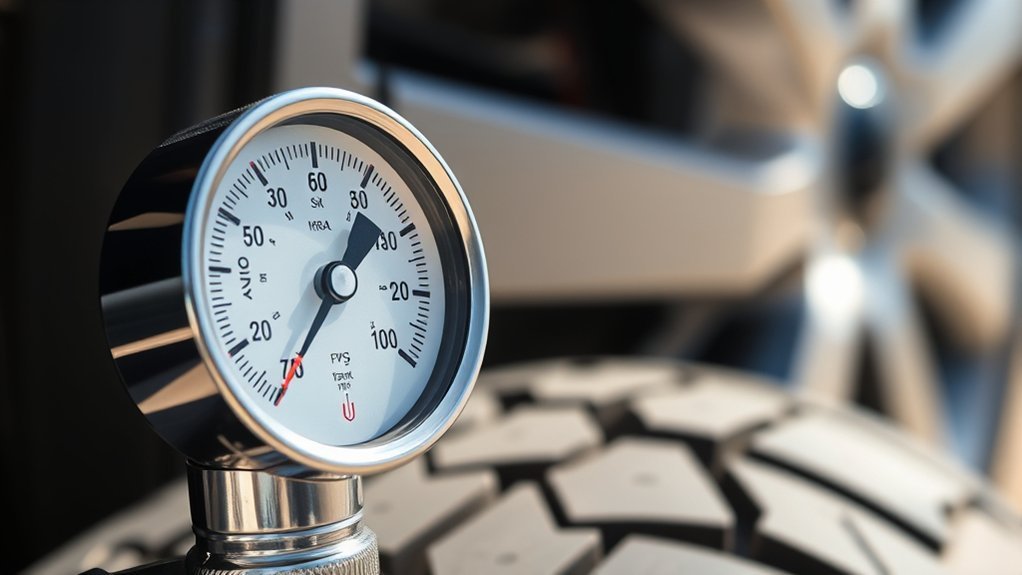
A tire pressure gauge measures the air pressure inside your tire so you can keep PSI at the manufacturer’s recommended cold pressure for safety and efficiency. You’ll press the gauge onto the valve stem and it converts tire pressure into a readable value via a mechanical piston, diaphragm, or bourdon tube, or an electronic sensor on digital models. Check when tires are cold for best accuracy; temperature and altitude affect readings. Continue for practical tips on use and selection.
What PSI Means and Why Tire Pressure Matters
PSI (pounds per square inch) measures the air pressure pushing against a tire’s internal surface, and keeping it within the manufacturer’s recommended cold pressure—check the door-jamb placard or owner’s manual—directly affects performance, safety, and fuel economy. You’ll treat pounds per square inch as the numeric target that governs grip, rolling resistance, and structural load. Maintain correct tire pressure to reduce wear patterns and lower fuel consumption; under-inflation raises rolling resistance and blowout risk, while over-inflation concentrates tread wear and degrades ride comfort. Remember temperature swings: pressure drops about 1–2 psi for every 10°F decline, so you’ll compensate seasonally. A routine pressure check is a deliberate act of control—you won’t surrender safety to chance. Checking and adjusting pressure regularly preserves handling precision and extends tire life, giving you more freedom on the road and fewer unexpected constraints. Be methodical, record values, and act when readings deviate from manufacturer specs; that discipline keeps you mobile and independent.
How to Use a Tire Pressure Gauge (Step-by-Step)
Check tire pressure when the tires are cold to get an accurate baseline reading. Remove the valve cap, press the gauge firmly onto the valve stem to form a seal, and read the psi. If pressure is low, add air and recheck with the gauge, then replace the valve cap securely.
Check Cold Tire Pressure
Before you measure, let the vehicle sit at least three hours so the tires are cold and the pressure has stabilized; then remove the valve cap, press the gauge firmly onto the valve stem to form a seal, and read the display immediately to confirm the pressure matches the manufacturer’s recommended cold psi (often different front vs. rear). You’ll check tire pressure one tire at a time, confirming the pressure inside each tire. If a reading is low, add air, then read the pressure again. Replace valve caps securely.
| Tire | Action | Target psi |
|---|---|---|
| Front L | Measure cold | Per placard |
| Front R | Measure cold | Per placard |
| Rear L | Measure cold | Per placard |
| Rear R | Measure cold | Per placard |
Use Gauge Properly
When you’re ready to measure a tire, remove the valve cap, press the gauge firmly onto the exposed valve stem to form a tight seal, allow air to flow into the gauge for a second or two, read the psi on the display, then quickly remove the gauge to avoid losing more air and replace the valve cap. Next, confirm the reading while tires are cold so ambient heat doesn’t inflate numbers; many passenger cars are in the low-to-mid 30s, but follow the placard. Accurate readings depend on a tight, even seal—wobble or quick pulls leak air and skew results. If the reading’s low, add air incrementally and recheck. If high, release a small amount and verify. Secure the tire’s valve stem cap to protect the valve and preserve correct air pressure.
How Mechanical Tire Pressure Gauges Work (Bourdon, Diaphragm, Piston)
Next you’ll see how three common mechanical designs convert tire air pressure into a dial reading. You’ll learn that a Bourdon tube straightens under pressure to swing a needle, a diaphragm flexes to transfer movement to the indicator, and a piston (pencil) gauge uses a sliding element to measure force per area. Understanding these mechanisms helps you pick and maintain a reliable gauge.
[Products Worth Considering]
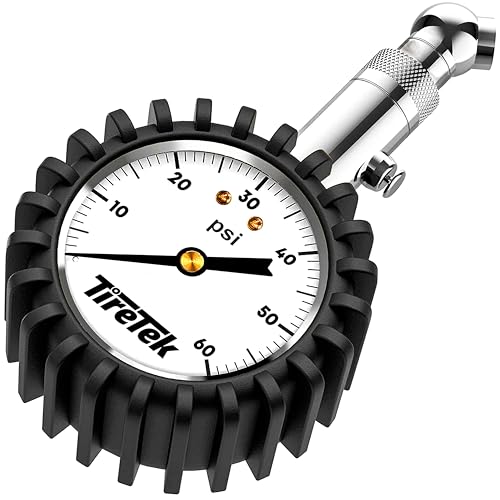
Professional Tire Pressure Gauge for Cars – This heavy duty mechanical tire pressure gauge is calibrated to ANSI B40.1 Grade A (2%) international accuracy standard so you get a precise, accurate pressure reading every time you use it. Makes great car accessories, car stuff, tire deflator, car stuff for men, cool car gadgets, car gifts for men, him, dad

RUGGED DESIGN: The stainless steel components prevent rust and corrosion while the precision-crafted nozzle seamlessly seals onto the valve stems for highly accurate readings (±2% span). We also provide 4 valve stem caps for convenient replacement.

PROCESS LEVEL ACCURACY: This heavy duty tire pressure gauge is calibrated manually to ANSI B40.1 Grade A (plus-minus 1% of span)
Bourdon Tube Operation
A curved, hollow metal tube called a Bourdon tube converts tire air pressure into needle movement: as tire pressure enters the tube, the internal pressure tries to straighten the curve, rotating a geared linkage that moves the dial pointer so you can read the pressure. You rely on this simple, robust measuring device for clear pressure measurement without electronics. As internal pressure rises, the tube’s curve deforms more, producing proportional rotation that a sector gear amplifies to drive the needle. The Bourdon tube’s 19th-century design stays precise across ranges and endures harsh conditions, letting you maintain autonomy over vehicle safety. Note its limits: poor low-light legibility and potential accuracy loss after impacts or drops.
Diaphragm Gauge Function
Alongside the familiar Bourdon tube, diaphragm gauges offer a different mechanical solution for converting tire air pressure into a needle reading. You push air against a flexible membrane; the diaphragm deforms and that motion links to a pointer so you get direct, reliable pressure readings. Diaphragm pressure gauges excel at low-pressure ranges, where bending is proportional to pressure levels, giving finer resolution than a tube. They’re compact, resistant to vibration, and quick to install, so you can reclaim control without fuss.
- Flexible membrane converts pressure to motion.
- Small deflection maps to precise low pressure levels.
- Vibration resistance stabilizes pressure readings.
- Simple installation supports field use and autonomy.
Piston (Pencil) Mechanism
One simple, robust design you’ll often see is the pencil (piston) gauge, which uses a spring-loaded piston that the tire pressure pushes against; the piston’s axial movement directly drives a linear indicator so you can read pressure without holding the gauge in place. You’ll press the gauge to the valve and the tire’s air pushes the piston head back against a compression spring; piston mechanism displacement maps proportionally to pressure, giving a direct reading on a linear scale. Friction holds the indicator when you remove the gauge to the valve, so you don’t need to maintain contact. This design covers common pressure ranges for road and light-truck tires, is easy to use, serviceable, and supports independent operation without electronics.
Digital vs Pencil (Stick) Gauges: Function and Accuracy
While digital gauges use electronic sensors to convert air pressure into electrical signals for clear, high-precision readouts, pencil (stick) gauges rely on simple mechanical movement and give a quick, low-cost indication that can drift with wear. You want reliable, fast readings; choose based on use, cost, and maintenance.
- Digital gauges: high resolution, selectable units, battery-powered, minimal interpretation—best when accuracy and repeatability matter.
- Pencil gauges: no battery, simple piston or tube mechanics, compact and cheap—ideal for rapid spot checks and independence from power.
- Durability and calibration: digital units can lose accuracy if battery or sensor degrades; pencil gauges suffer mechanical wear and stick-slip, requiring periodic comparison to a standard.
- Practical choice: if you seek liberation from uncertainty, use a calibrated digital gauge for baseline checks and a pencil gauge for field convenience.
You’ll balance accuracy, convenience, and autonomy when selecting the right gauge for your needs.
[Products Worth Considering]

Enhanced Visibility in Low Light: Features a green backlit LCD screen and integrated flashlight, allowing for clear reading of tire pressure even in dark or dimly light conditions.

PROCESS LEVEL ACCURACY: Each ETENWOLF’s digital tire pressure gauge is calibrated manually to ANSI B40.7 Grade 2A(plus-minus 1 PSI).Presta valve adapter not included, if used for bicycles, it must be purchased separately
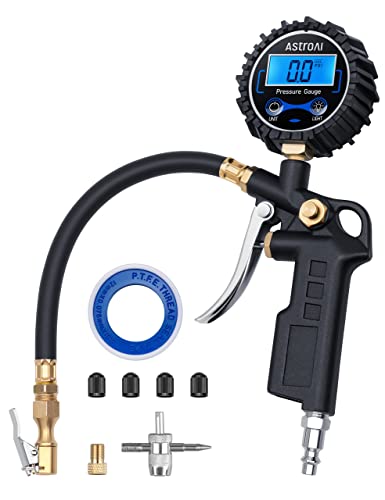
COMPATIBLE WITH both ¼” and ½” NPT air compressors outputs. COMPATIBLE WITH Standard Schrader Valves.
When to Check Tire Pressure: and How Temperature & Altitude Affect Readings
Because temperature and altitude change the air inside your tires, you should check pressure at least once a month and before long trips to keep performance and safety within the manufacturer’s recommended cold psi. You’ll monitor tire pressure proactively: seasonal cold can cause pressure drops of about 1–2 psi per 10°F fall, so check tire readings when temperatures change and whenever a cold snap hits. If a warning light activates in cold weather, stop and check tire immediately.
At altitude, ambient air pressure falls; at 10,000 feet (about 10.2 psi ambient), gauges can show slightly higher values than at sea level, affecting performance and handling. When you ascend or descend considerably, verify pressures against manufacturer specs and account for expected variance. Use consistent conditions for readings (cold tires, same gauge) to maintain reproducible data. Regular checks free you from unexpected failures, preserve fuel efficiency, and keep you in control—practical steps toward independence on the road.
Choosing the Right Tire Pressure Gauge: A 5-Point Buying Checklist
Start with a gauge that matches how you work: pick a Bourdon tube for rugged use, a diaphragm type for low-pressure precision, or a digital model for quick, easy readings. You want control and freedom—choose a tool that lets you maintain correct tire pressure without guesswork. Focus on five practical criteria that free you from uncertainty:
- Accuracy: ±1 psi or better to keep readings consistent.
- Display & visibility: clear digits or dial readable in low light.
- Pressure range: 0–60 psi covers most passenger tires.
- Power & units: battery vs. mechanical; switchable psi/bar/kPa.
- Fit & access: angled head or hose length to reach tight valve stems without leaking air.
Also consider types available and whether the gauge holds calibration over time. Prefer models that seal well when the valve core is depressed so no pressure is released while measuring. Pick durable construction if you work rough, or a compact digital for mobility. Use this checklist to liberate yourself from underinflation, save fuel, and extend tire life.
[Products Worth Considering]

PROCESS LEVEL ACCURACY: Each ETENWOLF’s digital tire pressure gauge is calibrated manually to ANSI B40.7 Grade 2A(plus-minus 1 PSI).Presta valve adapter not included, if used for bicycles, it must be purchased separately
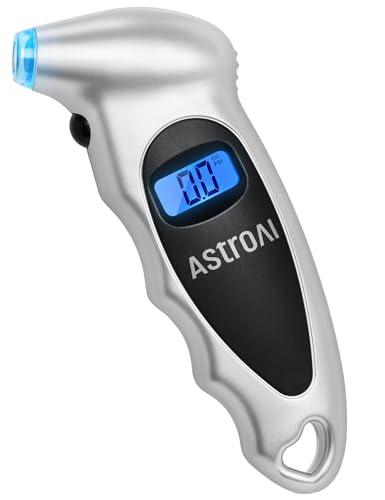
EXPERT-GRADE CALIBRATION: Each AstroAI Tire Pressure Gauge is calibrated with professional-grade tools, ensuring quick and accurate measurement results within plus-minus 1PSI. Stay prepared for any roadside emergency and travel with peace of mind.

Digital Tire Pressure Gauge 2 Pack, Industrial Tire Gauge 3-200 PSI, Calibrated to ANSI B40.7 Grade 2A(plus-minus 0.5%), Air Pressure Gauge with Replaceable AAA Batteries
Frequently Asked Questions
How Does a Tire Pressure Gauge Work (Simply Explained)?
You press the gauge onto the valve; it seals, lets pressure move a sensing element, and displays PSI so you get accurate measurements. Use tire maintenance tips, avoid common mistakes, and free yourself with reliable checks.
Can I Still Drive My Car if the TPMS Light Is On?
Like a scout warning of a storm, you shouldn’t ignore the TPMS light; you can drive short distances, but check tire safety and dashboard warnings immediately, since poor driving conditions or sensor faults can threaten freedom and safety.
Is 40 Psi Too High for Tires?
It depends — 40 psi may be higher than the placard spec for many vehicles, but some specify around 40+ psi. You should check tire pressure against the manufacturer’s ideal range; overinflation creates safety concerns, reduces traction, and accelerates uneven wear, so adjust accordingly.
How Does TPMS Know Where Each Tire Is?
Direct TPMS uses unique sensor IDs, then assigns each ID to a wheel position via a relearn or auto-location process (some systems may not pinpoint a corner). You’ll get precise tire pressure readings and targeted warning signals. You’ll feel empowered knowing each sensor communicates directly, not vaguely, to free you.
Conclusion
Checking tire pressure regularly keeps you safer, saves fuel and extends tire life — and it only takes a minute. Did you know significant underinflation can increase fuel consumption by about 5–10%? Use a quality gauge, measure when tires are cold, and match PSI to the placard or manual. Mechanical gauges (Bourdon, diaphragm, piston) and digital models both work well if calibrated. Pick accuracy, durability, and ease of use — then check monthly.


Leave a Reply