
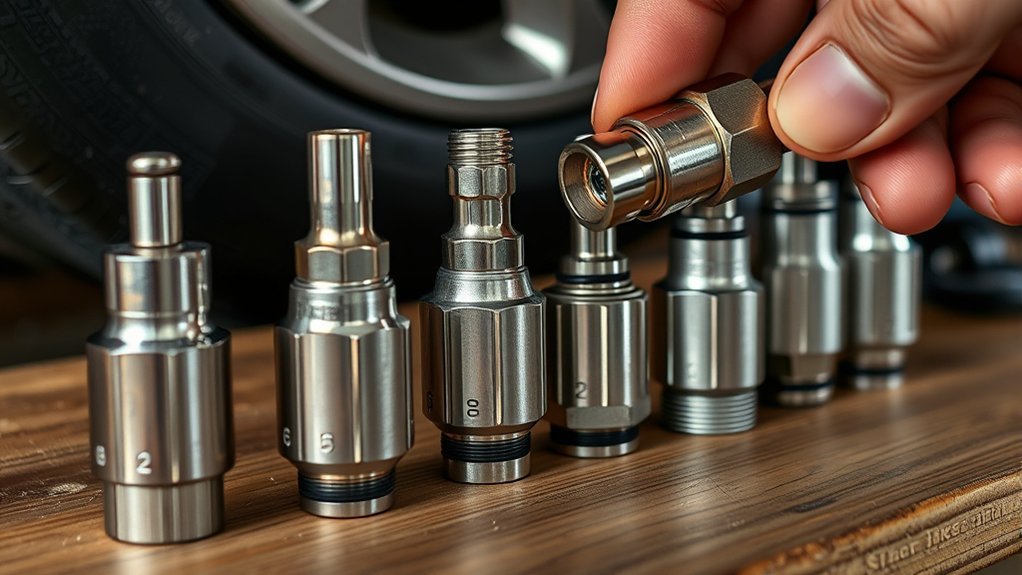
A tire inflator chuck (often called an air chuck) is the small fitting that seals onto a tire’s valve stem so compressed air can flow in for inflation or pressure checks. Most chucks are made for Schrader valves (the common car-style valve), while bike tires may use Presta valves and need a Presta-compatible chuck or adapter.
Key takeaways
- Open/flow-through chucks let air pass anytime; they’re often paired with inflator gauges.
- Closed/sealing chucks don’t pass air until they’re seated on the valve—handy for fast hookups with less hose “blow-by.”
- Check the connection end before you buy: many chucks use 1/4″ NPT threads or a quick-connect plug/coupler.
What a Tire Inflator Chuck Does
Connect the inflator chuck to the valve stem and it creates an airtight seal so air from the hose can flow into the tire. The chuck’s sealing surfaces and hold method (push-on, clip-on, or locking lever) determine how well it resists leaks under pressure and vibration. A solid seal makes inflation faster and pressure readings steadier.
Attach, Inflate, and Remove a Chuck (Step-by-Step)
Remove the valve cap, line the chuck up square to the valve, press it on, then inflate while monitoring pressure. When you reach your target PSI, stop airflow, release any locking lever, and pull the chuck straight off.
Align And Position
1. Align the air chuck with the valve stem so the nozzle seats squarely; a straight approach reduces leaks and avoids bending the stem.
Get your body position right so you can see the valve head-on. Push the chuck forward until it fully engages the valve, then secure any clamp or lever (if your chuck has one). You should feel firm resistance and minimal wiggle when the seal is correct.
Connect, Hold, Release
Place the chuck squarely over the Schrader valve, press down firmly, and hold it steady while you activate the inflator. Maintain pressure against the stem; don’t twist or pry, which can damage the valve. When the set pressure is reached, release the inflator and pull the chuck straight off. Refit the valve cap.
Quick Fixes: Sealing Leaks and No-Flow Issues
If you’re seeing leaks or no flow, inspect the chuck’s rubber seal/O-ring and the valve stem for dirt or damage. Replace cracked or flattened seals, and clear any debris from the chuck’s passage so the valve pin can move freely.
Check And Replace Seals
Most leak problems come from a worn seal or O-ring. Remove the chuck, wipe the sealing surfaces, and inspect for cuts, flattening, or grit. If your chuck is repairable, swap in a new seal/O-ring and re-test under pressure for hissing.
Clear Blocked Passages
If the seal looks fine but air won’t pass, the internal plunger or bore may be stuck with debris. Disassemble only as far as the manufacturer allows, clean with compressed air, and use a rubber-safe lubricant sparingly if parts stick. If the chuck still won’t seal or flow solidly, replace it.
Flow-Through vs. Closed Chucks: Pros and Cons
Open (flow-through) chucks allow air to pass through the fitting even when it’s not on the valve stem, which is why they’re often used with inflator gauges and systems where you control airflow at the tool. Closed (sealing) chucks block airflow until they’re seated on the valve; this can reduce hose blow-by when connecting and disconnecting, but some sealing chucks aren’t intended for inflator gauges.
Choose based on workflow: open/flow-through is convenient for repeated pressure checks; closed/sealing can be a good choice for simple inflate-only hoses where you want less free air when the chuck is off the tire.
Dual-Head & Angled Chucks: When to Use Them
Dual-head (dual-foot) chucks are popular on trucks and dual-wheel setups because the two opposing heads help reach inner and outer valve stems. Angled chucks help when clearance is tight, such as recessed stems or wheels with small hand holes.
To use them, align the head with the valve, press firmly until the seal seats, and lock it if your model has a latch. If you hear a steady hiss, re-seat the chuck or inspect the seal.
Schrader vs. Presta: Which Chuck Should You Use?
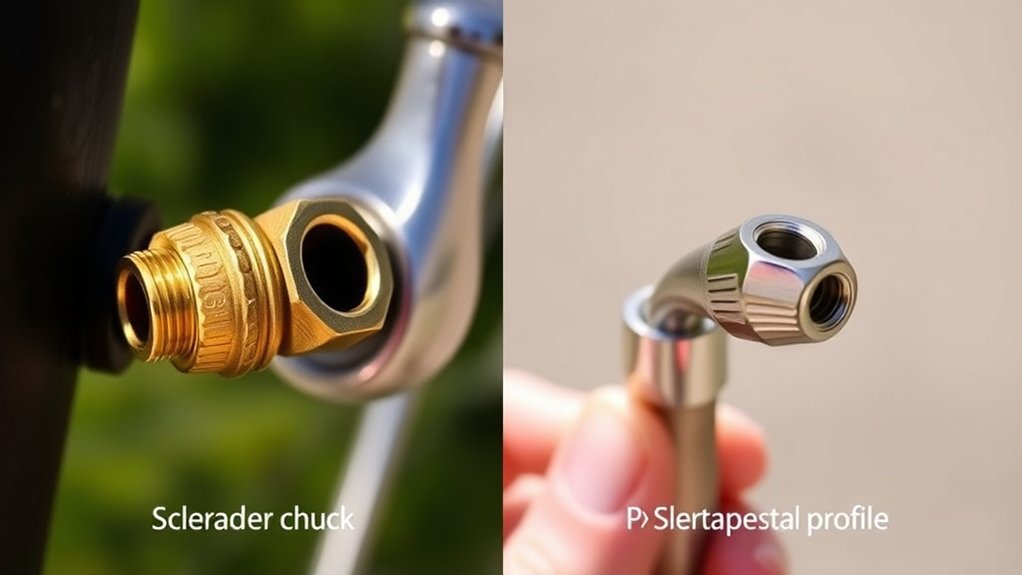
Schrader valves are wider and use a spring-loaded pin; most car chucks and gauges are designed for Schrader. Presta valves are narrower and often need you to loosen the small knurled nut at the tip before inflation, so you’ll need a Presta-compatible chuck head or a Schrader-to-Presta adapter.
| Valve | Recommended chuck |
|---|---|
| Schrader (automotive) | Standard push-on, clip-on, or locking lever chuck |
| Presta (many bicycles) | Dedicated Presta chuck or Schrader-to-Presta adapter |
| Dual wheels / hard-to-reach stems | Dual-head (dual-foot) or angled chuck |
| Pressure checks | Inflator gauge with an open (flow-through) chuck |
[Products Worth Considering]
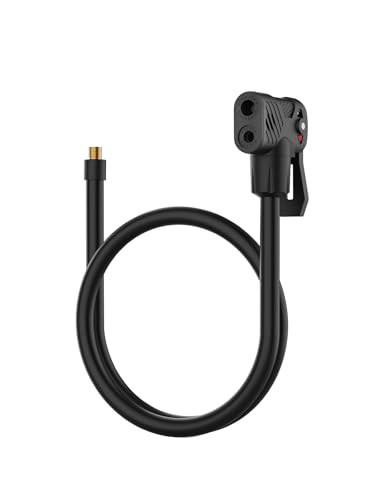
【UNIVERSAL VALVE COMPATIBILITY】Effortlessly switch between Presta and Schrader valves with dual independent nozzles. Perfect for cyclists using hybrid bikes or multiple tire types, this Presta Schrader valve adaptor ensures airtight seals without leaks. Its locking Presta/Schrader air chuck design guarantees stability during inflation, while the 20-inch hose offers flexibility for hard-to-reach valves. Works seamlessly with Presta valve pumps or Schrader-compatible inflators.

ONE PUMP FOR ALL YOUR BIKES – Works with both Presta and Schrader valves; no need for extra adapters; perfect for road bikes, mountain bikes & more

IMPORTANT – this is an "open flow" air chuck for Presta valves. This chuck MUST be used as an attachment to an inline tire inflator tool (or) 12-volt portable air compressors. If your compressor has an air tank, you must first attach this chuck to an inline tire inflator gauge that accepts 1/4 inch NPT attachments.
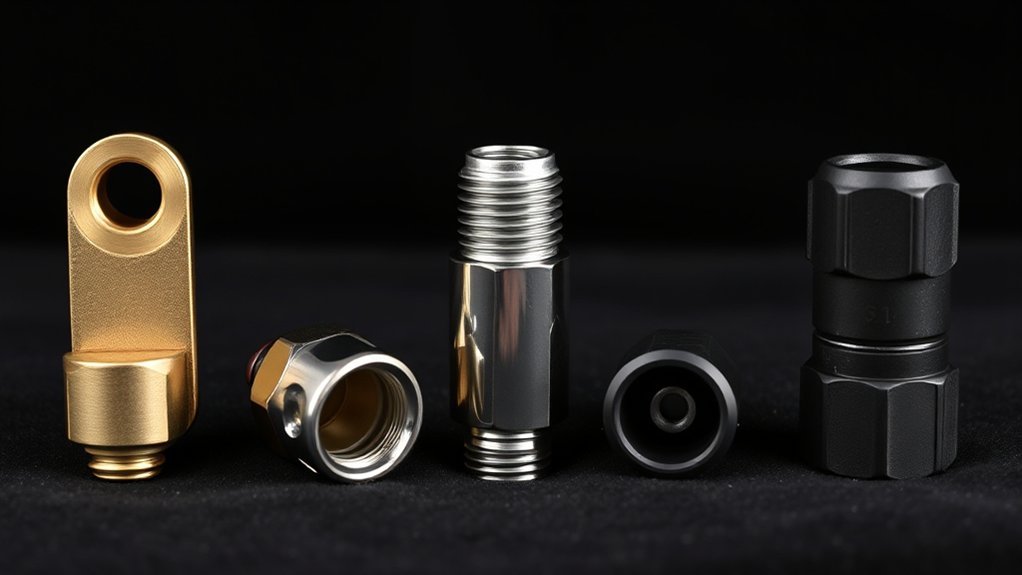
Checking Fit: 1/4 NPT, Quick-Connects, and Threads
Before you buy a replacement chuck, check the connection end. Many shop-style chucks use 1/4″ NPT pipe threads (male or female), and many air hoses use quick-connect couplers. NPT is a tapered thread; use PTFE tape or thread sealant only on the NPT threads (not on quick-connect sealing surfaces).
Quick-connects are common, but they aren’t truly universal—there are several “plug styles”—so match the plug/coupler type used on your hose or choose a universal coupler if you need wider fit. Inspect threads and couplers for burrs and dirt, and test at low pressure before full inflation.
[Products Worth Considering]

Triple Vortex Airflow: Exclusive design offers 3X more bypass airflow compared to standard inflator chucks, significantly decreasing tire inflation time.

FOR THE PROFESSIONAL – Use on commercial jobsites, in automotive shops or at home in the garage

250 PSI RATED BRASS COMPONENTS are designed for heavy-duty use with tire inflators and gauges
How to Choose: Material, Ergonomics, and Use Case
Choose a chuck built from brass or other rust-resistant metal, especially for use that happens often. A locking lever can reduce hand strain, and an angled body can make awkward valves easier. Match chuck type to the job: open/flow-through for gauges and frequent checks; closed/sealing for inflate-only setups where you want less air escaping when the chuck is off the tire.
| Feature | Benefit | Use case |
|---|---|---|
| Brass body | Durable, rust resistant | Frequent shop or garage use |
| Locking lever | Hands-free hold, fewer leaks | Fleet and multi-tire inflation |
| Open (flow-through) | Works well with gauges | Pressure checks and top-offs |
[Products Worth Considering]


Secure Locking Mechanism: Ensures a firm and reliable attachment to tire valves, minimizing accidental disconnection during operation.

PREMIUM QUALITY – The Toolwiz air chuck tire inflator is crafted from 100% solid brass with chrome plating, ensuring exceptional durability and corrosion resistance. This well-engineered tool features a clean, smooth surface, making it an ideal choice among air compressor accessories.
Frequently Asked Questions
How do you use a tire chuck with an air compressor?
Attach the chuck squarely to the valve stem, start airflow at the inflator (or compressor tool), and watch the gauge until you reach the right pressure. Stop airflow and pull the chuck straight off.
Can you put air in a tire without an air chuck?
Not well. Without a chuck (or a pump head that functions like one), it’s hard to hold an airtight seal on a Schrader or Presta valve, so you’ll waste air and get off pressure readings.
What are the different types of tire chucks?
Common types include open (flow-through), closed (sealing), clip-on, locking lever, angled, and dual-head chucks. Some are Schrader-only, while others are Presta-specific or designed to work with adapters.
What is a pneumatic chuck?
In tire inflation, a “pneumatic chuck” often refers to an air chuck used to connect a compressed-air hose or inflator to a tire valve so you can inflate or check pressure.
Conclusion
The right chuck makes tire inflation quicker, cleaner, and more accurate. Match the chuck to your valve type (Schrader vs. Presta), pick the head style you need for access (straight, angled, or dual-head), and check the connection end (often 1/4″ NPT or a quick-connect). Keep a spare seal on hand, and replace the chuck if it won’t hold an airtight seal.


Leave a Reply