
You’ll find a tire inflator is simple: an electric motor drives a piston or rotary pump that compresses air in a cylinder, while intake, discharge and one‑way valves route flow and prevent backflow. A gauge or digital sensor shows pressure and an auto shutoff prevents overinflation. Hoses, chucks and fittings keep the seal, and cooling fans plus duty‑cycle limits protect the motor. Check lubrication, valves and hoses regularly — keep going to learn how to service each part.
How a Tire Inflator Works : Main Parts at a Glance

Think of a tire inflator as a compact air station: an electric motor drives a pump—either reciprocating or rotary—that draws in and compresses ambient air, while an integrated pressure gauge lets you monitor psi so you don’t overinflate. You’ll see how tire inflators channel that power: the electric motor turns the pump mechanism to create a pressure differential that pulls ambient air in and pushes compressed air out. You’ll rely on the pressure gauge during tire inflation to hit the target pressure and avoid over-inflation. A one-way valve keeps the compressed air flowing into the tire and stops backflow, so pressure stays steady after you disconnect. Cooling fans manage heat buildup, letting you use the inflator repeatedly without performance loss. That simple combination—motor, pump mechanism, gauge, valve, cooling fans—gives you control and freedom on the road: fast, accurate tire inflation when you need it, without guesswork or compromise.
Core Mechanical Parts: Motor, Piston, Cylinder, Valves
You’ll see the electric motor as the inflator’s heart, converting electrical energy into the mechanical motion that powers the pump. That motion drives the piston inside a pressure-rated cylinder, where the piston’s up-and-down travel compresses air to the PSI needed for your tires. Intake, discharge, and safety valves then control airflow and vent excess pressure so the compressed air moves only into the tire and not back into the pump.
Electric Motor Function
Although compact, the electric motor is the inflator’s powerhouse, converting electrical energy into mechanical motion that drives the piston inside the cylinder; as the piston moves down it draws in ambient air through the intake valve and as it moves up it compresses that air, sending it out through the discharge valve to reach tire pressures typically between 100–150 PSI. You rely on the electric motor as the main power source that supplies mechanical energy for the compression process. It creates the pressure differential needed for effective tire inflation, coordinating with intake and discharge valves to control airflow and prevent leaks. Safety valves protect you by releasing excess pressure, while compressed air is delivered efficiently to your tires, giving you freedom and control on the road.
Piston Cylinder Dynamics
When the motor drives the piston, it creates the pressure differential that actually compresses air inside the cylinder, and that coordinated action between piston, cylinder, and valves determines how quickly and efficiently your inflator reaches 100–150 PSI. You’ll see the piston move inside the cylinder, drawing air through the intake valve on the downstroke and forcing compressed air out the discharge valve on the upstroke. That cycle of compressing relies on airtight seals and proper timing of valves so pressure builds reliably. You’ll want regular lubrication to cut friction and wear, keeping motion smooth and the system efficient. Maintain seals, check intake and discharge clearances, and service lubrication so your inflator stays resilient and free.
Pressure Control: Gauges, Sensors, and Auto‑Shutoff
Because maintaining the right pressure is key to safety and tire life, tire inflators include gauges, sensors, and auto‑shutoff features that let you monitor and control inflation precisely. You’ll rely on pressure gauges and digital pressure sensors to see current tire pressure and get accurate readings; that real‑time data helps you avoid over‑inflation and tire damage. Programmable pressure settings and preset pressure options free you from guesswork, so you can set target PSI and move on. Automatic shut-off stops inflation at the preset pressure, reducing safety hazards and saving time. Calibrate gauges regularly to maintain trust in readings and prevent improper inflation.
| Feature | Benefit |
|---|---|
| pressure gauges | Visual, immediate current tire pressure |
| digital pressure sensors | Precise, real‑time monitoring |
| automatic shut-off | Prevents over‑inflation, avoids tire damage |
| programmable pressure settings | Consistent, hands‑free inflation |
Use these controls to claim autonomy over vehicle maintenance and reduce risk while you stay efficient.
[Products Worth Considering]
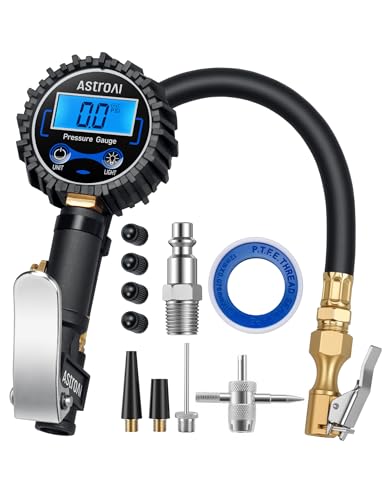
ADVANCED ACCURACY: Professionally calibrated to always return an accurate reading within 1% of the exact pressure of your tire. Accurately measures FOUR DIFFERENT UNITS in a range from 3-250 PSI (0.2-17.2 Bar; 0.21-1724 Kpa; 0.2-17.5 kg/cm^2). Stocking Stuffers for Men
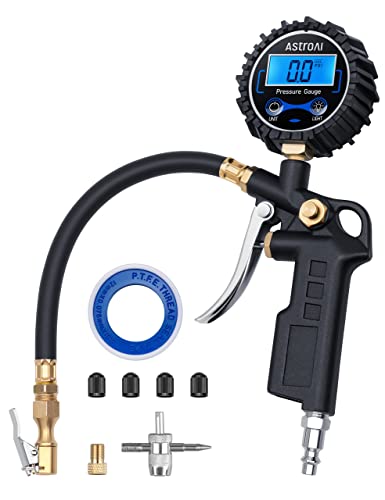
COMPATIBLE WITH both ¼” and ½” NPT air compressors outputs. COMPATIBLE WITH Standard Schrader Valves.

Effective Tire Inflation: Tire inflator offers rapid inflation up to 150 PSI, with a built-in gauge for precise readings. It's an essential accessory for car, bike, motorcycle, ball, and inflatables
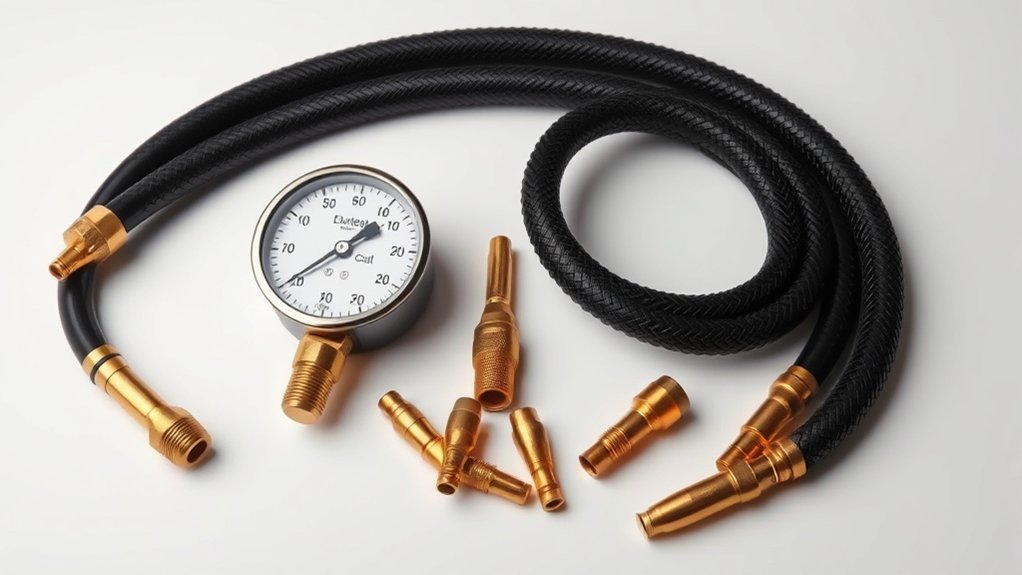
Hoses, Fittings, and Chucks for an Airtight Seal
Check the hose material before you start: durable rubber or reinforced blends give you the pressure resistance and flexibility you need for safe, easy handling. Inspect fittings and chucks for damage and choose the right chuck style—screw-on for the tightest seal or a universal quick-release for convenience with Schrader and Presta valves. Keep seals and connections well-maintained, because even small wear or leaks will slow inflation and create safety risks.
[Products Worth Considering]
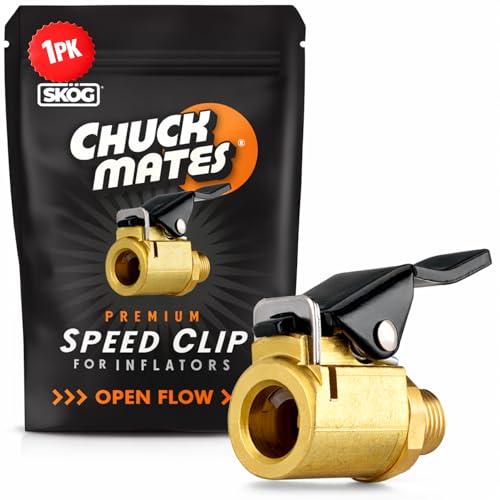
Superior Craftsmanship from Taiwan: Unlike standard offerings made in China, our tire air chuck is designed in the USA and meticulously crafted in Taiwan, adhering to the highest quality standards.
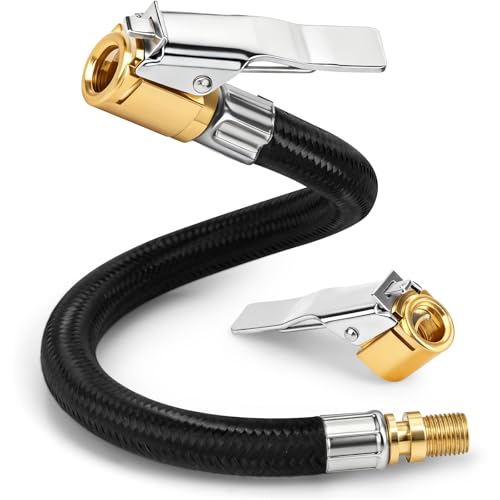
Upgraded Durable Material: Made with high-pressure woven fabric and equipped with solid brass quick-connect chucks for superior durability. The reinforced hose resists cracking and abrasion, ensuring long-lasting stability and reliable performance.

【360° ROTATING TIRE CHUCK】LUMITECO tire inflation hose with swivel tire chuck features more flexibility for a hassle-free inflation process, ensuring you can inflate with ease from any angle. No more struggling to position your portable air compressor, just adjust the air chuck and inflate.
Hose Materials And Flexibility
A sturdy hose will make inflation faster and safer, so pick one made from durable rubber or reinforced PVC that stays flexible yet resists wear. When you choose hose materials, prioritize durability and flexibility—tire inflator hoses should handle high pressures (often 150 PSI or more) without stiffening or cracking. Proper flexibility improves maneuverability so you can reach every tire without strain. Check fittings to verify they securely attach and form an airtight seal that minimizes air leakage during use. Look for screw-on, clip-on, or quick-release options that match your workflow. Hose length matters too: 10–20 feet covers most vehicles while keeping clutter low. Select robust construction and smart fittings so you retain freedom to inflate confidently and quickly.
Valve Chucks And Seals
When you connect the inflator to a tire, the valve chuck and its internal seals do the heavy lifting to keep air from escaping. You rely on valve chucks to clamp the valve stem and form an airtight seal so air leakage stops during the inflation process. Choose screw-on or quick-connect chucks for speed or security. Seals inside the chuck sustain pressure when you disconnect. Durable hoses and fittings resist high pressure and kinks, supporting up to 150 PSI on many tire inflators. Built-in pressure gauges at the chuck let you monitor pressure as you work, giving control and freedom from guesswork. Maintain seals and replace worn chucks to protect your autonomy and safe mobility.
| Type | Benefit |
|---|---|
| Screw-on chucks | Secure attachment |
| Quick-connect chucks | Fast use |
| Internal seals | Prevent air leakage |
| Pressure gauges | Real-time monitoring |
| High-pressure fittings | Durability up to 150 PSI |
Power, Cooling, and Duty‑Cycle Basics for Reliable Use
If you plan to use an inflator beyond quick top-ups, understand how power source, cooling, and duty cycle work together to keep it reliable: corded 12V models draw steady power from your vehicle, cordless units trade continuous runtime for portability with lithium-ion packs, and most inflators are rated for about a 15-minute duty cycle after which they need a cool-down to avoid overheating. You’ll choose power setup based on use: corded units sustain higher PSI and shorter inflation time for multiple tires, while portable tire inflators with rechargeable lithium-ion batteries free you from a vehicle but limit continuous run. Look for built-in cooling fans and clear duty cycle specs so you won’t overwork the tool. Automatic shut-off preserves target PSI and prevents tire damage if you step away. Practice staged inflation—short runs with cool-downs—to protect components and tires, and keep realistic expectations about runtime and recovery to stay free from roadside constraints.
[Products Worth Considering]

At long last – a cordless tire inflator with some serious power! Slime's Cordless Pro Power Tire Inflator delivers untethered power and portability in a way never experienced before! Engineered specifically to handle the demands of larger tires, the Cordless Pro Power Tire Inflator also features Inflate-Right Technology (auto shut-off at set pressure)

Powerful high-volume pump for faster inflation; delivers up to 160 PSI

ADVANCED TRUEGAUGE SCREEN: This battery tire inflator includes updated sensor technology, capable of collecting pressure data from tire inflators at a frequency of 200 times per second. Its valid data rate is higher than 80%, which is 60% better than the market average. Wherever you go, accurate readings help you drive safely.
Common Failures and Simple Parts You Can Service
Because most problems are mechanical or electrical, you can often fix an inflator yourself with a few basic checks and parts. Inspect the electric motor for overheating signs, burnt smell, or loose wiring; replacing brushes or improving cooling vents restores function without replacing the whole unit. Check the pressure gauge for accuracy—calibrate or swap it if readings drift, since reliable pressure control is essential to your autonomy. Examine hoses for cracks, abrasions, or leaks; swapping worn hoses recovers air transfer efficiency fast. Clean and cycle valves, especially the discharge valve, to free clogs and prevent sticking that halts inflation. Verify lubrication systems: top or change lubricant to reduce friction and extend moving-part life. Keep a small kit of servicing parts—spare gauges, hose sections, valve cores, motor brushes, and lubricant—and schedule basic maintenance. These targeted actions address common failures, save money, and keep your tire inflators ready when you need freedom on the road.
Frequently Asked Questions
What Are the Different Types of Tire Inflators?
You’ll find portable inflators, electric inflators, manual pumps, compressor types and battery operated models; compare digital gauges, air hose length, inflation speed, pressure settings and noise levels so you’ll choose freedom and reliable performance.
How to Read Tire Inflator?
Quickly, clearly check your inflator gauge or digital display for the pressure reading; secure the air compressor or portable options to the valve, follow manual instructions, use inflation tips, observe tire pressure, practice tire maintenance and safety precautions.
How to Use a Tire Inflator Pump?
You check tire pressure, attach the air hose, set inflator settings, start pump operation, watch inflation speed, and stop at target PSI; consider compressor types, follow safety tips, perform maintenance advice, troubleshoot issues, and schedule usage frequency.
What Is the Tire Piece Called Where You Pump Air?
It’s called the valve stem — don’t worry, it’s simple: you’ll use an air pump or inflation hose with an air nozzle or inflation adapter to fit Schrader or Presta valve, monitor tire pressure via pressure gauge for tire maintenance.
Conclusion
So you’ve got a tiny pump that acts like a throat clearing before a concert: the motor humming, piston pumping, valves dancing, and a gauge playing conductor. You’ll check hoses like you check shoelaces, swap a chuck like changing socks, and nod at duty cycles as if they were polite curfews. It’s simple, really—until a stuck valve reminds you that even small machines can throw surprisingly theatrical tantrums.


Leave a Reply