
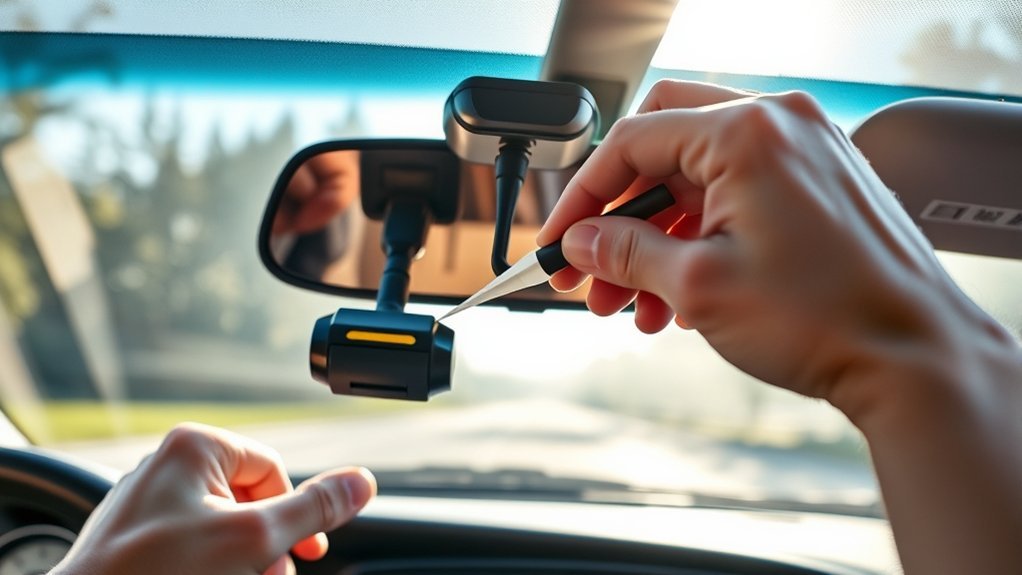
To safely remove your dash cam mount from the windshield, use dental floss or fishing wire to cut through the adhesive. Gently saw back and forth to detach the mount without damaging the glass. Once the mount is off, apply a sticker remover or WD40 to soften any remaining adhesive. Carefully scrape it off with a scraper or razor blade, making sure you don’t scratch the windshield. If you want to guarantee a spotless finish, keep going for more tips.
Step-By-Step Guide to Safely Remove Your Dash Cam
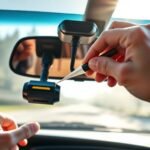
When you’re ready to remove your dash cam mount, it’s essential to follow a methodical approach to avoid damaging your windshield. Start by taking a length of dental floss or fishing wire. Wrap it behind the mount and gently saw back and forth to cut through the adhesive. Be sure to twist the dash cam gently to pop it off without harming the windshield, taking care not to cut too deep into the adhesive.
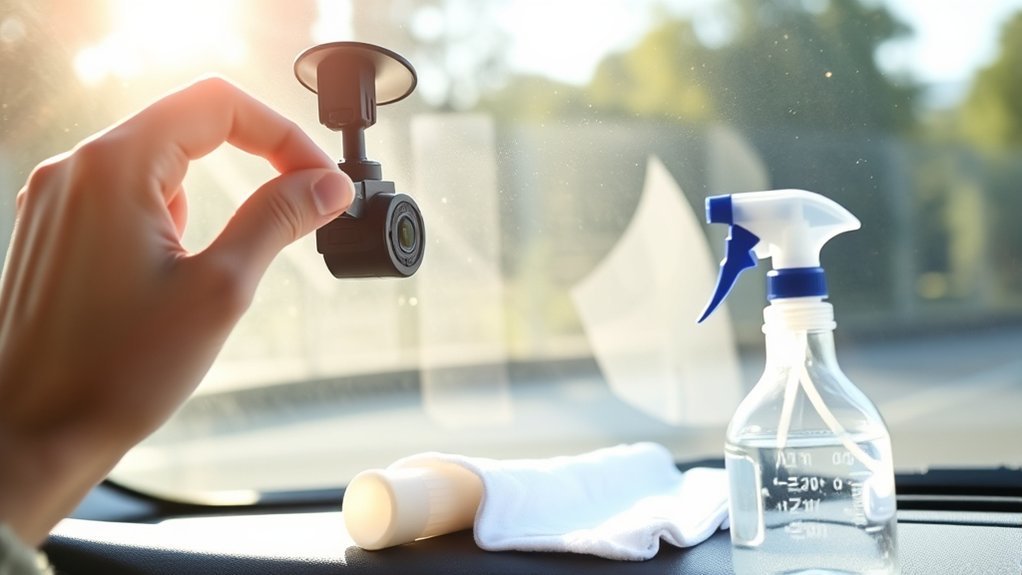
After removing the mount, you might find leftover adhesive on the windshield. Loosen this residue using sticker remover or WD40. Then, utilize a scraper or razor blade to carefully peel off the remaining adhesive, ensuring you don’t scratch the glass surface. Finally, clean the windshield with a dedicated cleaner to eliminate any sticky residue, ensuring clear visibility for your next journey. Following these steps liberates your windshield from obstruction and keeps it in pristine condition.
Tools You Need for Dash Cam Removal
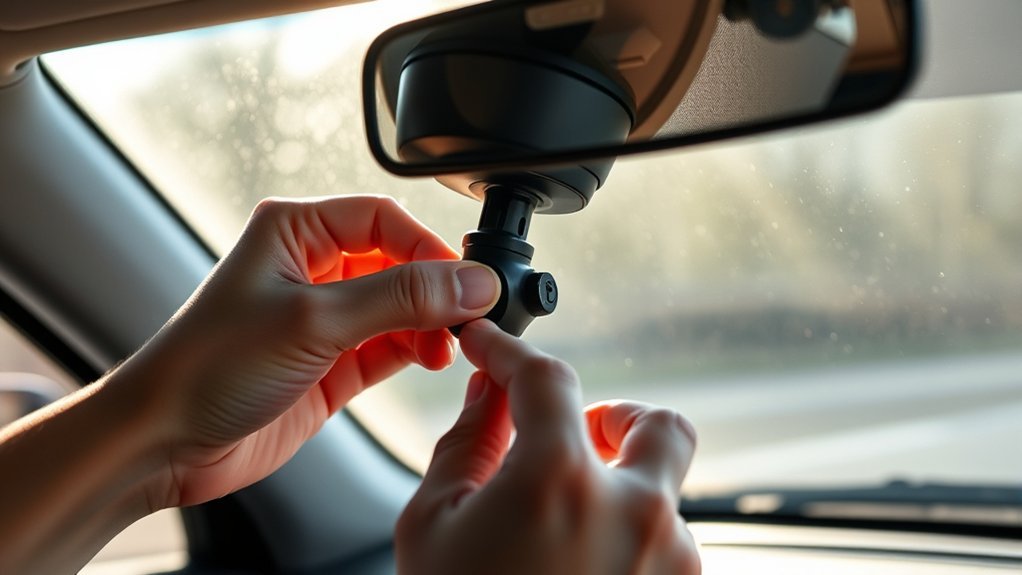
After ensuring your dash cam is safely removed, you’ll need specific tools to effectively detach the mount and clean up any residual adhesive. First, grab some dental floss or fishing wire; these will allow you to cut through the adhesive without damaging the glass. A scraper or razor blade is essential for removing any stubborn adhesive left behind. For even better grip and protection, wear gloves while handling these tools.
Additionally, windshield cleaner is a must for the final cleanup, ensuring your glass is clear and free of residue. If you encounter particularly stubborn adhesive, a sticker remover from an auto body shop or hardware store can make the process simple and easy. With these tools in hand, you’re well on your way to a clean, dash cam-free windshield.
Removing Leftover Adhesive From Your Windshield
Removing leftover adhesive from your windshield is vital for maintaining visibility and guaranteeing a smooth surface for any future installations. Start by applying adhesive removal techniques like using a sticker remover or WD40; these solutions effectively loosen the sticky residue. Once the adhesive is softened, gently scrape it off with a scraper or razor blade, taking care not to scratch the windshield surface.
After you’ve removed the bulk of the adhesive, it’s important to wipe down the area with a windshield cleaner. This step eliminates any remaining sticky residue and prepares your windshield for peak clarity. Always check for any leftover adhesive spots to verify your windshield is completely clear. Following these windshield maintenance tips will not only enhance your driving experience but also make future installations a breeze.
Best Practices for Windshield Cleaning After Removal
Once you’ve tackled any leftover adhesive from your windshield, it’s time to focus on effective cleaning practices. Start by selecting a windshield cleaner that’s safe for automotive glass; this guarantees you won’t damage the surface or leave unsightly streaks. For any remaining adhesive, consider using adhesive solutions like sticker removers or WD40, which can loosen stubborn residues, making them easier to wipe away.
Utilize soft cloths or paper towels when cleaning to prevent scratching the glass. Employ proper cleaning techniques: spray the cleaner generously and wipe in a circular motion to achieve the best clarity. After cleaning, inspect the windshield for any missed adhesive spots—this step is essential for visibility maintenance and driving safety. By following these best practices, you’ll guarantee a crystal-clear view, free from distractions, allowing you to enjoy your driving experience with confidence.
Stay Safe While Removing Your Dash Cam
While handling your dash cam, it’s vital to prioritize safety to prevent any accidents or injuries. Follow these guidelines to guarantee dash cam safety and protect your windshield:
| Safety Tips | Actions |
|---|---|
| Wear Gloves | Use gloves for better grip and to protect your fingers. |
| Use Dental Floss | Cut through adhesive using dental floss or fishing wire. |
| Gentle Twisting | Twist the dash cam gently to detach it, avoiding force. |
| Adhesive Removal | Apply sticker remover or WD40 to loosen remaining adhesive. |
After removing the dash cam, inspect the windshield for leftover adhesive. Cleaning it thoroughly with windshield cleaner enhances visibility and maintains the glass’s integrity. Adhering to these adhesive techniques guarantees both your safety and windshield protection, allowing you to liberate your vehicle from unwanted mounts effectively.
Frequently Asked Questions
How to Get Dash Cam Mount off Windshield?
To get the dash cam mount off your windshield, use dental floss for adhesive removal, apply windshield care techniques to clean residue, and explore mount replacement options if needed for future installations.
How to Remove Suction Cup Mount From Windshield?
To remove a suction cup mount, gently tug the tab to release it. For stubborn mounts, use dental floss. Afterward, clean your windshield thoroughly for ideal dash cam maintenance, ensuring suction cup care and visibility.
How to Remove Adhesive From Windshield Without Damaging It?
To remove adhesive from your windshield safely, use adhesive removal techniques like WD40, letting it sit briefly. Employ a scraper at a low angle, and finish with windshield care tips for ideal cleanliness and visibility.
How to Take off an Adhesive Mount?
To take off an adhesive mount, employ adhesive removal techniques like dental floss for gentle separation. Follow windshield care tips to avoid damage, and explore dash cam alternatives for future installations that suit your needs.
Conclusion
Removing your dash cam mount is like shedding a layer of skin; it leaves your windshield clearer and free of burdens. By following the steps outlined, you not only protect your glass but also guarantee a safe driving environment. As you clean away the remnants, remember that a clear view is symbolic of fresh beginnings. Embrace the freedom of an unobstructed perspective, and enjoy the road ahead with confidence, knowing you’ve taken care of every detail.


Leave a Reply