
You will check tires cold, find the recommended PSI on the door jamb, and use your inflator gauge to match that number. Many gauges show PSI, bar, and kPa. PSI is common in the US. Bar is common in Europe, with one bar equaling about 14.5 PSI. The metric standard is kPa, and one kPa is roughly 0.145 PSI. Read the displayed unit, adjust slowly, and recheck. If numbers seem off, you might need to troubleshoot or recalibrate the gauge. Below are practical tips for conversions, troubleshooting, and basic maintenance.
Quick Answer
- Check tire pressure when tires are cold, meaning parked for at least three hours.
- Find your vehicle’s recommended PSI on the driver’s side door jamb sticker.
- Firmly press the tire inflator gauge onto the valve stem to get an accurate reading.
- Add or release air until the gauge matches the manufacturer’s recommended pressure.
Quick 3-Step Cold-Tire Check
Start by checking your tires when they are cold. This means parked for at least three hours or driven less than one mile. Cold tires give you accurate pressure readings. First, find the recommended cold tire pressure on the driver’s door jamb or in the owner’s manual. That PSI is your target for safe and efficient travel. Second, use a pressure gauge. Remove each valve cap, press the gauge firmly onto the valve stem, and read the number. Record every tire’s PSI so you know which ones need attention. Third, if a tire reads low, connect an air compressor. Inflate the tire toward the manufacturer’s recommended PSI. If you check pressure after driving, the reading will be higher. Do not let air out to correct a hot tire. Recheck and adjust when the tires are cold. Finish by tightening the valve caps and reviewing all four readings to verify consistency. These steps remove guesswork, keep you mobile, and put tire care under your control.
Tire Inflator Gauge: What It Fixes
A tire inflator gauge corrects guesswork. It shows the exact pressure inside each tire so you can match the manufacturer’s recommended PSI, bar, or kPa. This tool fixes uncertainty. You will no longer rely on a fingertip squeeze or visual cues that hide under-inflation. Clear pressure measurements help you prevent accelerated tread wear, restore fuel efficiency, and regain predictable handling.
You also reduce the risk of problems caused by unnoticed low pressure. The unit options on the gauge let you work with the standard your vehicle uses. You stay in control instead of struggling with unfamiliar units. Regular checks with an inflator gauge provide precise and repeatable readings. This reduces the variations you see between different gas station pumps. Consistency keeps your tires at a safe pressure, extends their life, and saves money. Use this tool to make deliberate choices about inflation. It is a simple habit that protects you on the road.
How Temperature Affects Tire Pressure
Weather plays a huge role in tire maintenance. For every 10 degrees Fahrenheit the temperature drops, your tires lose about one PSI of pressure. The reverse is also true. Summer heat expands the air inside your tires and increases the pressure. This makes regular checks vital during seasonal shifts. Never bleed air from a hot tire, because it will likely be under-inflated once it cools down to its normal resting temperature.
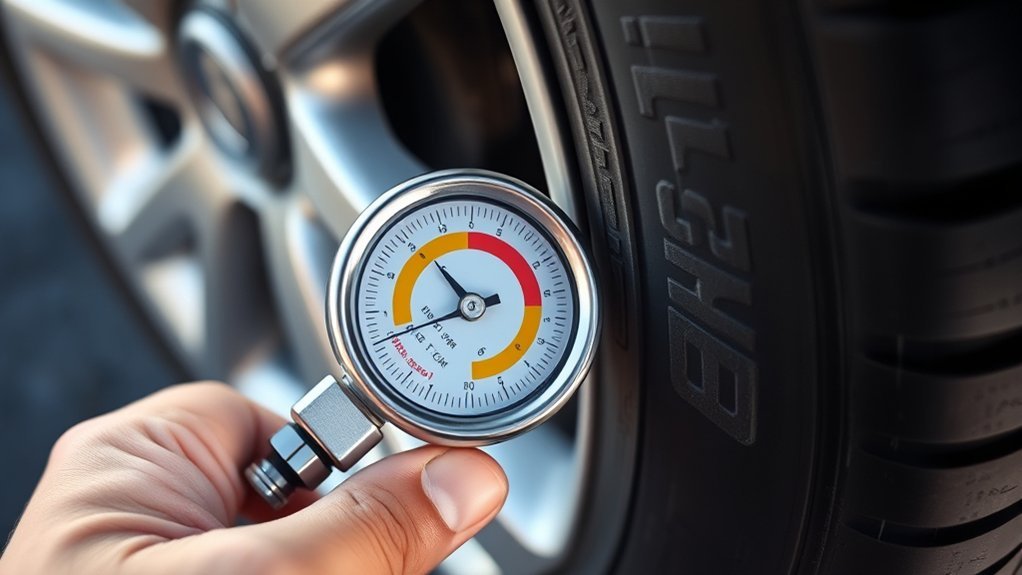
Pick the Right Gauge: Analog, Digital, or Combo?
Which gauge should you buy? You will pick between analog, digital, or a combo based on accuracy, budget, and ease of use. Analog pressure gauges use a needle and a dial. They are affordable and easy to read but can be slightly less precise. Digital gauges give a numeric readout. They are often more accurate and sometimes feature an auto shut-off to save batteries. Combo gauges pair both features. You can trust the exact numbers and still glance at a dial.
Choose a gauge that displays PSI, bar, or kPa in your preferred unit. Do not wrestle with conversions when you want to act fast. Verify compatibility with the recommended pressure found in your owner’s manual or on the driver’s door jamb. Go digital if you want speed and accuracy. Analog works well if you value simplicity and reliability at a lower price. Get a combo if you want choices and a backup. Any of these options will help you maintain proper tire pressure with confidence.
[Products Worth Considering]

PROCESS LEVEL ACCURACY: Each ETENWOLF’s digital tire pressure gauge is calibrated manually to ANSI B40.7 Grade 2A(plus-minus 1 PSI).Presta valve adapter not included, if used for bicycles, it must be purchased separately
COMPATIBLE WITH both ¼” and ½” NPT air compressors outputs. COMPATIBLE WITH Standard Schrader Valves.

EXPERT-GRADE CALIBRATION: Each AstroAI Tire Pressure Gauge is calibrated with professional-grade tools, ensuring quick and accurate measurement results within plus-minus 1PSI. Stay prepared for any roadside emergency and travel with peace of mind.
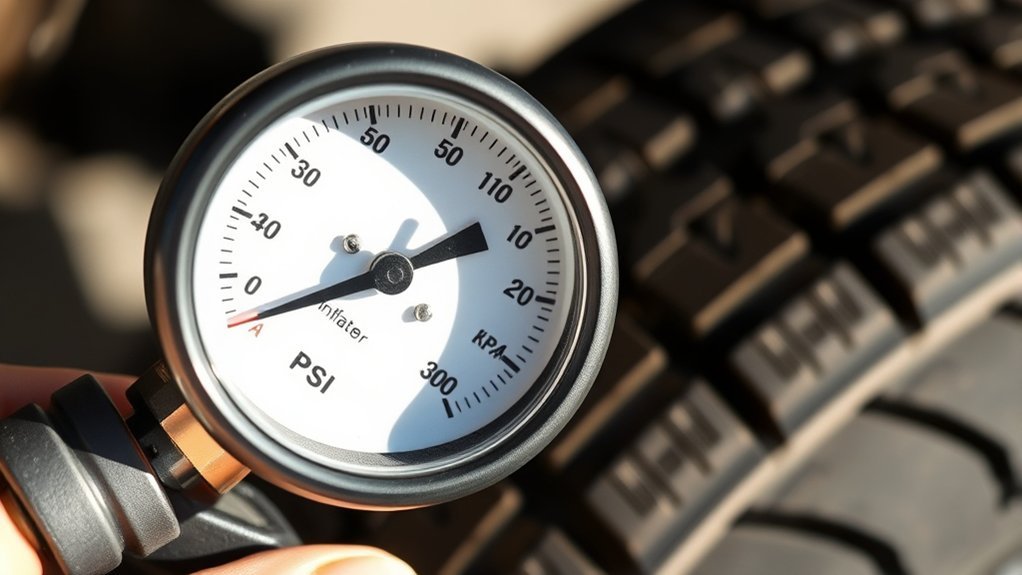
PSI, BAR, and kPa: Units Explained
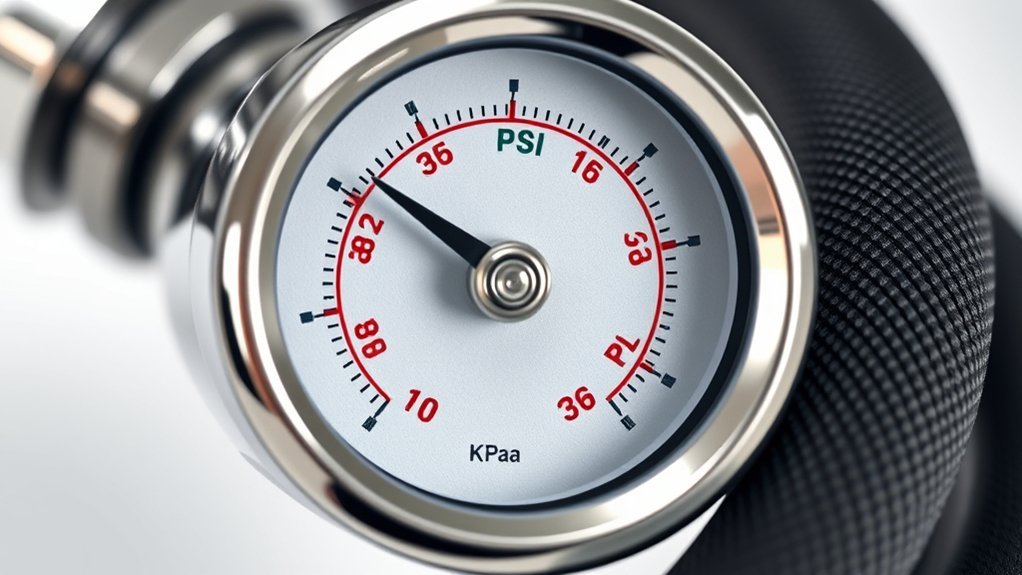
Because tire pressure uses different units worldwide, you should recognize PSI, bar, and kPa. This helps you set your tires correctly. PSI stands for Pounds per Square Inch and is very common in the US. Many passenger cars require around 32 to 35 PSI. Always follow the specific recommended pressure on your door jamb placard. Bar is widely used in Europe. One bar equals roughly 14.5 PSI, so many vehicle specs sit near 2.2 to 2.5 bar. The kPa unit stands for kilopascal. One kPa is about 0.145 PSI, and many stickers list pressures around 220 to 250 kPa.
You will measure tire pressure with the unit shown on your gauge. To convert bar to PSI, multiply the bar number by 14.504. To convert PSI to kPa, multiply the PSI by 6.895. Know your manufacturer’s recommended value and match it exactly. This preserves vehicle handling, tire life, and safety. Learn the conversions, choose a gauge with your preferred unit, and avoid confusion. Mastering these units helps you maintain your car safely.
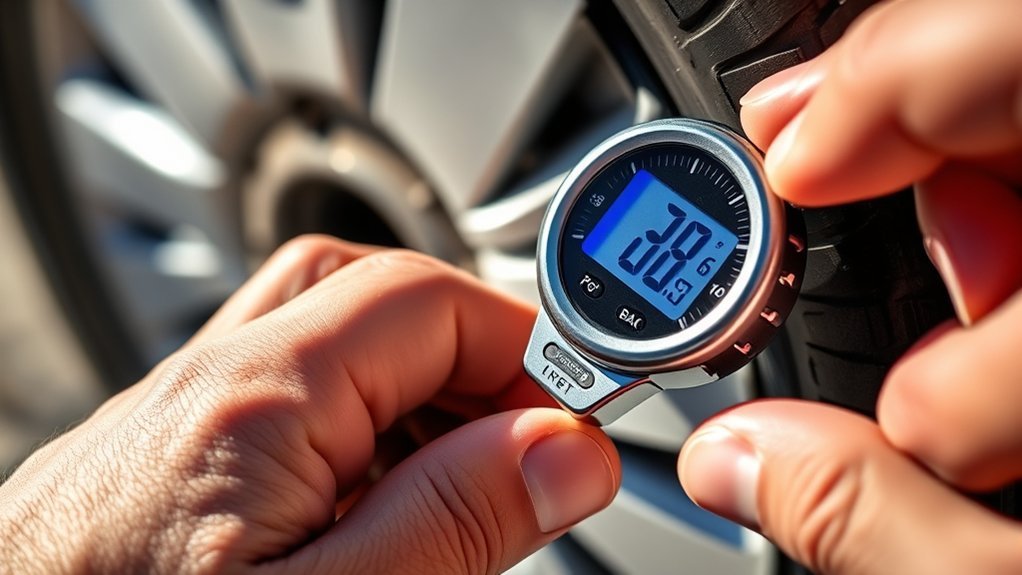
Gauge Display Icons and Numbers Explained
Look at the digital readout symbols first. You need to know what the battery, hold, and unit indicators mean. Make sure the unit selection indicator shows PSI, bar, or kPa. This must match your vehicle’s recommended pressure. Rely on the clear numeric display for the current reading. Use the surrounding icons to confirm the mode and accuracy.
Digital Readout Symbols
When you read a digital tire inflator gauge, check the unit symbol first. This will be psi, bar, or kPa. Knowing the unit tells you exactly what the number means. Most gauges show “psi” or “PSI” for pounds per square inch. They use “bar” for metric pressure and “kPa” for kilopascals. Look for clear labels so you do not misread the values. Backlights improve visibility in dark areas. Battery and low-pressure icons warn you when you need to take action. Some models let you toggle units to match your familiar measurement system.
- Unit symbol: confirms PSI, bar, or kPa.
- Backlight icon: indicates a readable display in the dark.
- Status icons: battery and low-pressure alerts for safety and control.
Unit Selection Indicators
After checking the unit symbol and status icons, use the unit selection controls. Make sure the gauge shows the measurement you expect. Toggle the switch or press the button to cycle through PSI, bar, and kPa. The display should match your familiar pressure unit. Digital displays flip instantly to a clear number. Analog needles point to labeled scales. Remember the conversions. One bar is about 14.5 PSI, and one kPa is about 0.145 PSI. This is useful if you read recommendations in a different system. When measuring tire pressure, set the gauge to the unit listed in your manual or door jamb. Inflate the tire and recheck it. Choosing the right unit helps you trust the readings and maintain safe mobility.
Inflate and Deflate Correctly While Using the Gauge
Start with cold tires for accurate readings. Do this before you connect the inflator to the valve stem. Use a firm and straight connection. Add air while watching the gauge. If the pressure is too high, press the valve briefly with a tool or your finger to release small amounts of air. Recheck the pressure after making adjustments. If the tire was warm, recheck it again once it cools down. This confirms you have reached the manufacturer’s recommended cold pressure.
Start With Cold Tires
Because tire pressure rises with heat, always check and set the pressure on cold tires. This means the car has been parked for at least three hours or driven less than one mile. This practice gives you accurate readings that match the PSI, bar, or kPa listed in your manual or door jamb. You want true numbers so your tires perform properly. Use a reliable gauge and aim for the manufacturer’s cold tire specs. This builds confidence and eliminates guesswork.
- Check: measure each tire’s cold pressure in PSI, bar, or kPa and note any deviations.
- Adjust: add or release air to reach the recommended cold value. Be precise and do not overcompensate.
- Recheck: if tires were warm, do not bleed air to chase the cold number. Remeasure once they cool down and adjust them later.
Use Correct Valve Technique
When you work with the valve stem, keep it clean. Seal the inflator nozzle firmly so air does not leak while you inflate or deflate. Press the nozzle until the hissing sound stops. This confirms a proper seal and lets you trust the gauge reading. To inflate, hold the nozzle steady and watch the pressure levels rise. Stop at the target PSI. To deflate, press the small pin inside the nozzle against the valve stem. Release air slowly and monitor the gauge so you do not overshoot the recommended PSI. Cleanliness prevents leaks and wasted effort. Move with purpose. Secure the connection, adjust gradually, and read the gauge deliberately. That control reduces uncertainty and keeps your tires at safe and consistent pressure levels.
Recheck After Adjustment
After adjusting a tire, always recheck the pressure with your gauge. Verify that it matches the manufacturer’s recommended PSI, bar, or kPa. Repeat this step after any small air release or top-up until the reading stays steady. Use a reliable gauge and check when the tires are cold to avoid heat-driven errors. You are aiming for proper inflation that reduces doubt and road risks.
- Inflate slowly, then recheck the pressure. If it is above the recommended PSI, press the valve stem to deflate in short bursts. Recheck the pressure after each burst.
- Keep a reliable gauge nearby during inflation to ensure each reading is accurate. Some inflators can be inconsistent.
- Repeat this process for all tires, including the spare. This keeps your tire pressure consistently correct.
Fast Conversions and Mental Tricks
Need a quick way to switch between units? You can avoid confusion with a few simple mental tricks. Remember that 1 bar is roughly 15 PSI. To convert from bar to PSI, multiply by 15 for a fast estimate. For example, 2 bar becomes about 30 PSI. To go from PSI to bar, divide the PSI by 14.504 for perfect accuracy. Alternatively, roughly divide by 14.5 in your head. For metric clarity, note that 1 bar equals 100 kPa. Moving between bar and kPa just requires moving a decimal point. To convert kPa to PSI, divide the kPa by 6.895. For example, 220 kPa is roughly 31.8 PSI. Flip that around to go the other way. Multiply your PSI by 6.895 to get kPa. A reading of 30 PSI is about 207 kPa. Use the rough 15 to 1 rule for quick checks. Use the exact divisors when precision matters most. These compact conversions let you act confidently at the pump without relying on charts or mobile apps.
Troubleshoot Inaccurate Readings and Recalibrate
Because accurate pressure starts with a reliable gauge, verify your inflator against a trusted reference before you begin. This helps you spot consistent offsets and avoid bad readings. You will troubleshoot by isolating the variables. Check the valve stem, the gauge connection, and the device itself. Clean dirt or debris from the contact points. Replace weak batteries in digital models and note any repeatable offset.
Verify your inflator against a trusted gauge. Isolate valve and connection issues, clean the contacts, and note any consistent offset.
- Compare: attach a known accurate gauge to the same tire. Record differences at multiple pressures to detect bias.
- Inspect: press the valve core, listen for leaks, and confirm a snug coupling. Leaks distort both tire pressure and gauge output.
- Recalibrate: follow the manufacturer’s recalibration steps if the gauge reads consistently high or low. If it is not user-serviceable, replace it or send it for service.
You want reliable readings. These steps restore trust in your measurements so you can maintain proper tire pressure with absolute confidence.
[Products Worth Considering]

RUGGED DESIGN: The stainless steel components prevent rust and corrosion while the precision-crafted nozzle seamlessly seals onto the valve stems for highly accurate readings (±2% span). We also provide 4 valve stem caps for convenient replacement.

Enhanced Visibility in Low Light: Features a green backlit LCD screen and integrated flashlight, allowing for clear reading of tire pressure even in dark or dimly light conditions.

HIGH ACCURACY: Every ETENWOLF's pencil tire gauge is calibrated to ANSI B40.1 Grade B, it is accurate to 2% of span in the middle 50% of range and 3% of span in the lower and upper 25% of range. Each of ETENWOLF pencil tire pressure gauge is manually calibrated and has its unique calibration number printed on the pencil
Post-Set Safety Checks and Best Practices
With the gauge giving reliable readings, recheck each tire right after you finish inflating. Verify they meet the manufacturer’s PSI, bar, or kPa specs. Validate the pressure on all four tires and the spare. Record each reading so you can track trends and spot slow leaks. If you checked or inflated while the tires were warm, recheck and adjust again when they cool down.
Inspect each valve. Replace or tighten a damaged valve stem. Always screw the valve cap back on to prevent contamination and leaks. Use your TPMS as a secondary guard. Do not rely on it exclusively, but make sure its alerts work to flag sudden drops. Finally, drive a short distance. Recheck the tires later when they are cold to confirm the pressures are holding steady. These steps keep you safer and in control of your vehicle’s performance.
When to Replace Your Gauge and Top Picks to Consider
If your gauge starts showing inconsistent readings, replace it. The same applies if it has a cracked case or a broken display. Accurate pressure is a safety necessity, and you deserve tools that reduce guesswork. When your tire inflator gauge fails to deliver consistent accuracy, do not delay a replacement. Improper inflation risks your handling, fuel economy, and safety.
- Choose a digital model for clear and repeatable measurements. They are also easier to read at night.
- If the casing, nozzle, or display is damaged, replace the gauge. Physical damage often hides internal faults that ruin accuracy.
- Prefer multi-unit gauges with PSI, bar, and kPa if you travel internationally. Versatility helps you adapt to local units easily.
Replace tools proactively rather than reactively. A reliable gauge gives you control over maintenance and total confidence in your pressure readings.
[Products Worth Considering]

PROCESS LEVEL ACCURACY: Each ETENWOLF’s digital tire pressure gauge is calibrated manually to ANSI B40.7 Grade 2A(plus-minus 1 PSI).Presta valve adapter not included, if used for bicycles, it must be purchased separately
EXPERT-GRADE CALIBRATION: Each AstroAI Tire Pressure Gauge is calibrated with professional-grade tools, ensuring quick and accurate measurement results within plus-minus 1PSI. Stay prepared for any roadside emergency and travel with peace of mind.

Digital Tire Pressure Gauge 2 Pack, Industrial Tire Gauge 3-200 PSI, Calibrated to ANSI B40.7 Grade 2A(plus-minus 0.5%), Air Pressure Gauge with Replaceable AAA Batteries
Frequently Asked Questions
How to Read a Gauge on a Tire Inflator?
You press the inflator onto the valve and read the display or needle. Then, compare it to the recommended pressure. Confirm the unit, avoid common mistakes, and keep up with regular tire checks to reduce roadside trouble.
What Does kPa Mean on a Tire Inflator?
The abbreviation kPa on a tire inflator stands for kilopascals. It provides precise metric readings for tire pressure. Use conversions if your vehicle’s recommended pressure is listed in a different unit.
How Many kPa Is 40 PSI?
A reading of 40 PSI equals about 275.8 kPa. You will get accurate conversions by confirming the unit on your gauge, checking gauge accuracy, and using the correct mathematical conversion factor.
What Is 30 to 35 PSI in kPa?
A range of 30 to 35 PSI equals about 207 to 241 kPa. Use the correct unit on your gauge and recheck pressures when tires are cold for the most accurate setting.
Conclusion
You have learned quick cold checks, what gauges fix, and how PSI, bar, and kPa map to each other. Now you can read and trust your tire pressure. In practice, the same few steps you repeat at a pump can catch slow leaks, wrong units, and bad gauges before they cause major problems. Use the right gauge and double-check after inflating. Recalibrate if readings wander, and replace any gauge that feels unreliable. These are small habits that keep you safer on every single drive.


Leave a Reply