
Press the gauge firmly onto the valve stem and hold until the LCD stabilizes. Then note the PSI (or switch units to kPa/bar). Look for backlight, color bands, or arrows indicating OK, caution, or need to inflate/deflate, and check the low‑battery icon. If numbers jump, re‑seat the gauge or compare with a trusted unit. “Err” means out of range. Follow vehicle cold‑pressure specs and keep valve caps on — continue for troubleshooting and calibration tips.
Quick: Read a Digital Gauge in 3 Steps
Start by pressing the gauge firmly on the valve stem so you get a tight seal with no hissing air. Press the digital gauge straight down and hold until the display stabilizes—usually a second or two—to get an accurate reading. Note the PSI shown and compare it to the manufacturer’s recommended value found on the driver’s door jamb or in the manual. If the reading is low, attach an air compressor and add air in short bursts, then re-seat the gauge and verify the pressure. Work systematically: check all tires, record deviations, and correct to match specs. Use the gauge’s unit switch only if you need kPa or bar, but keep PSI for vehicle recommendations. Choose tools that give consistent results and backlighting if you work in dim conditions. This routine helps you maintain proper tire pressure, improving safety and fuel efficiency.
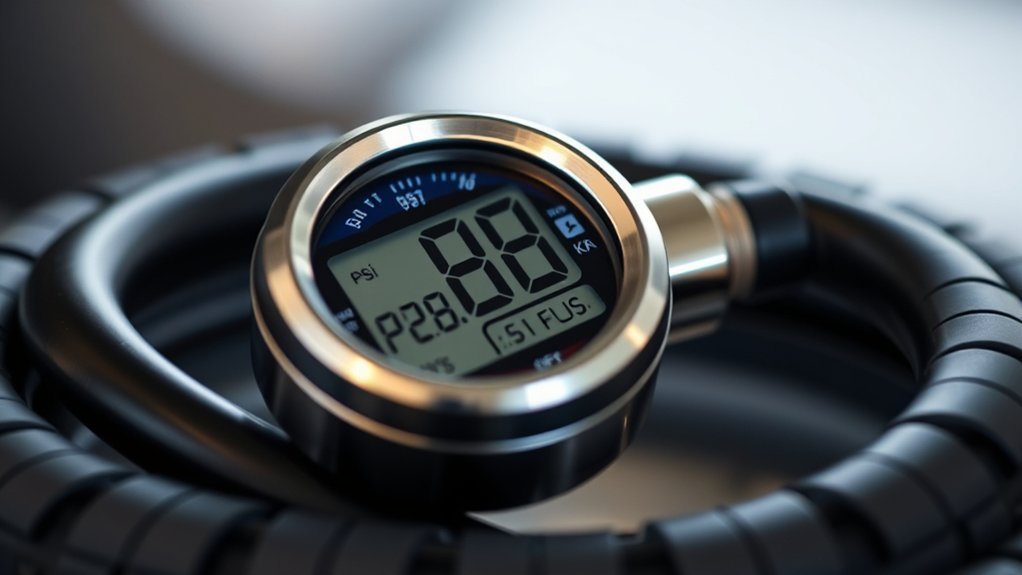
What a Digital Tire Pressure Gauge Display Shows
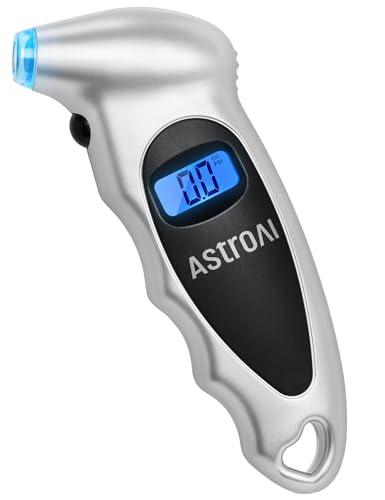
The gauge’s screen gives you a quick, precise readout—usually PSI—on an LCD or LED display, and many models let you switch to bar or kPa with a button so you can match whatever spec you’re using. Your digital tire pressure gauge‘s display shows a numeric pressure reading in the selected measurement units, often with a backlight for low-light visibility. You’ll see values stabilize within seconds; that rapid stabilization gives you an accurate measurement without fuss. Some displays include small icons or text for low battery, automatic shut-off, or unit selection, so you’ll know when to change batteries or confirm units. Use the clear numeric readout and unit label to compare against recommended pressures and act immediately. The layout makes it easy to read the display, note the pressure reading, and adjust tire pressure as needed. Keep the unit selection familiar so you never misinterpret a value.
Digital Gauge Display: PSI, kPa, and Bar
You’ll normally see pressure in PSI by default, the standard in the U.S., so check your vehicle’s recommended 30–35 PSI range first. Switch the unit to kPa when you need metric values—remember 1 PSI ≈ 6.895 kPa for quick conversion—or set the gauge to bar if you’re working with European specs (1 bar ≈ 14.5 PSI). Use the LCD’s unit indicator and battery/convert notifications to confirm readings before adjusting pressure.
Understanding PSI Readouts
A digital gauge will usually default to PSI, but most let you switch to kPa or bar so you can match whichever system your vehicle or country uses. When using a digital gauge set to PSI mode, wait 1–2 seconds for the reading to stabilize—numbers may fluctuate briefly before settling. Compare that PSI reading to your vehicle’s recommended PSI (found on the driver’s door jamb or owner’s manual) and adjust accordingly. Remember that PSI is the standard in the U.S.; other regions prefer kPa or bar, but the process is the same: wait for stability, note the value, and act. Using consistent units and verifying the recommended PSI helps you maintain safe, efficient tires.
Converting kPa Values
Most digital gauges let you switch among PSI, kPa, and bar, so knowing how to convert quickly helps you match your vehicle’s recommendation or local standard. Understanding these conversions lets you read your tire pressure confidently on any digital gauge. Use the simple math below to move between kPa and PSI.
- To get kPa from PSI, multiply PSI × 6.895 — write it down or memorize it for quick checks.
- To get PSI from kPa, divide kPa ÷ 6.895 — it’s the inverse and just as fast.
- If your digital gauge shows kPa but your manual lists PSI, convert before inflating.
- Keep a conversion chart in your glovebox for quick reference.
Using Bar Measurements
After converting between PSI and kPa, you’ll often find bar on the display — a compact metric option that’s widely used in Europe and on many vehicle specs. When your digital tire pressure gauge shows bar, remember 1 bar = 100 kPa ≈ 14.5 PSI, so readings are smaller numbers but just as precise. Set the unit to bar if you prefer metric norms or follow manufacturer placards. For typical passenger vehicles expect roughly 2.0–2.4 bar (≈29–35 PSI, 207–241 kPa). Switch units on the gauge before you measure tire pressure to avoid confusion. Matching the gauge unit to the vehicle spec ensures consistent, repeatable inflation and safer, more efficient driving.
Step‑by‑Step: Taking an Accurate Reading With a Digital Gauge
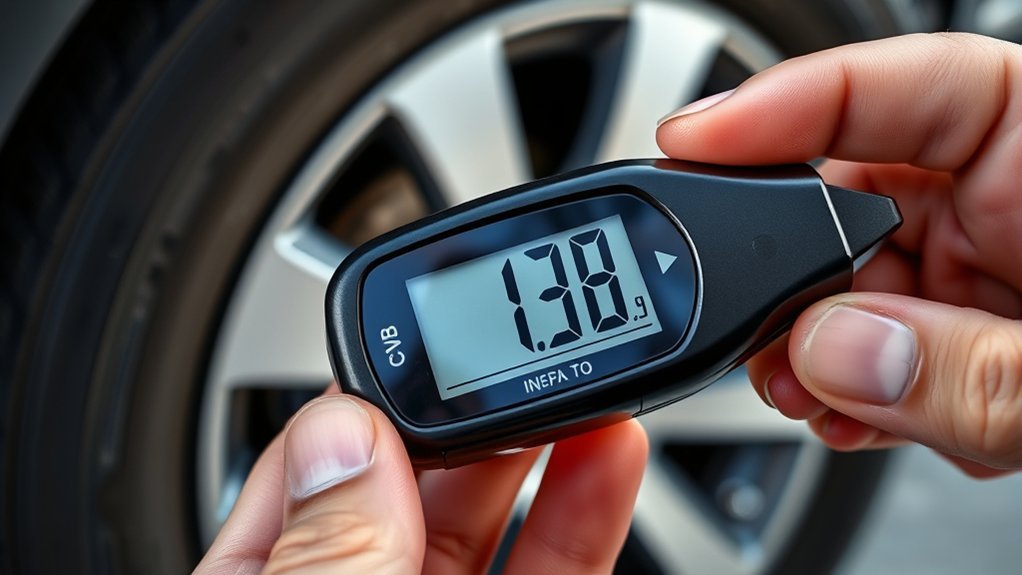
Start with cold tires — check pressures after the vehicle’s been parked at least 3 hours or driven less than 1 mile. Remove the valve cap, press the digital gauge firmly onto the stem until the display stabilizes or the unit beeps, then read the value in PSI (or your preferred unit). Record the pressure, replace the valve cap, and repeat for every tire including the spare.
Prepare The Tires
Although the tires can look fine at a glance, you should check pressure only when they’re cold — parked at least three hours or driven less than one mile — to get an accurate baseline. Prepare each tire to ensure an accurate gauge reading and avoid leaks or contamination. Locate the valve, remove the cap, and keep it safe. Position the digital gauge squarely, press firmly for a tight seal, and wait for the display to stabilize.
- Confirm tires are cold before testing.
- Remove valve caps and store them cleanly.
- Seat the gauge on the valve stem firmly to prevent air loss.
- Hold until the digital readout settles on PSI for an accurate result.
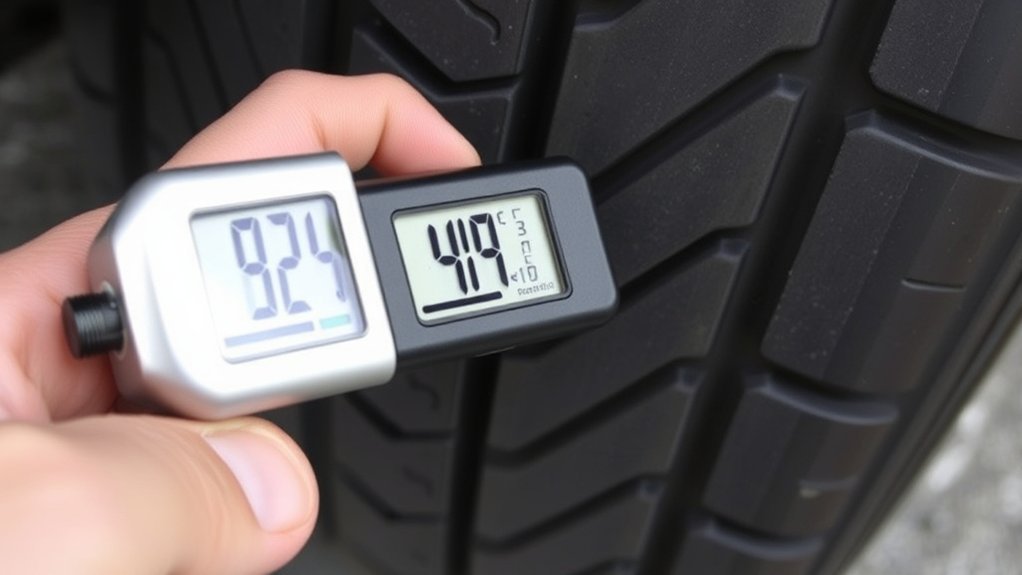
Read And Record
When you’re ready to read and record tire pressures, position the cold-gauge tip squarely on the valve stem, press firmly to seal, and watch the digital display until it stabilizes. Note the PSI shown, then log it immediately before moving to the next tire. Make sure the tires are cold—parked three hours or driven less than one mile—to get an accurate digital tire pressure reading. Remove the valve cap, hold the gauge perpendicular to avoid leakage, and wait for the display to settle. If a reading is below the manufacturer’s recommended PSI, inflate to spec and recheck tire pressure. After recording each value, replace the valve cap and store the gauge where you can easily access it to maintain vehicle readiness.
Interpreting Backlight, Color, and Icon Indicators
The backlight, color bands, and icons help you quickly interpret readings in low light or high-stress situations: the backlight keeps digits visible, color zones (green/yellow/red) show acceptable, caution, and warning ranges, and arrow or plus/minus icons indicate whether pressure should be increased or decreased. Use these visual cues to quickly assess tire pressure when checking; the display’s backlight ensures clear pressure readings at night, while color indicators map measured values to safe, marginal, or dangerous zones. Icons provide guidance—arrows for adjustment, unit labels (PSI/bar/kPa) for your preference, and a battery icon when power’s low.
- Scan the backlight first to ensure digits and unit icons are readable.
- Read the color band to decide if you’re in green, yellow, or red.
- Follow arrow or +/- icons to inflate or deflate immediately.
- Note the low-battery icon; replace cells to preserve accuracy.
Trust the display’s visual language and act.
Stable vs. Fluctuating Readings: When to Trust the Number
If the digits hold steady for a few seconds, trust the number as an accurate pressure reading; stable output means the gauge has a good seal and the tire pressure isn’t changing. When you see a stable reading, act: adjust pressure or move on, knowing the value reflects the tire’s state. Fluctuating readings signal problems — air may be escaping or you may lack a proper connection to the valve stem. If numbers jump or roll, remove and re-seat the gauge, then wait a few seconds for the display to settle.
Digital sensors need a moment to stabilize before showing an accurate reading. Rapid variation after reinserting indicates a leak or damaged valve; address that before relying on the gauge. Build confidence in your equipment and methods so you can trust the gauge’s reading when it’s steady. That disciplined practice helps eliminate uncertainty and keeps your tires safe and efficient.
Common Error Messages and Low‑Battery Indicators
A clear display usually means everything’s fine. However, error codes and battery warnings indicate when the gauge can’t be trusted. You’ll see error messages like “Err” or “E” when pressure falls outside the gauge’s specified range — that flags readings as invalid. A visible low-battery indicator (battery icon or flashing light) means replace cells before you rely on numbers. Consult the gauge’s manual for model-specific codes and battery steps.
- “Err” or “E”: reading out of range; not an accurate reading.
- Battery icon/flashing: low-battery indicator; swap batteries to restore precision.
- “0.0” or won’t power on: likely dead battery or unit failure; see troubleshooting guidance.
- Blank screen after pause: automatic shut-off; re-engage to read.
Take quick action: follow the gauge’s manual for replacements and basic troubleshooting to maintain reliable control over your tires.
[Products Worth Considering]

【Accurate Digital Tire Gauge】Safeguard your every trip. HYVOHEX tire pressure gauge is certified by ANSI B40.7 Grade 2A standard and equipped with a high-sensitivity sensor to provide you with instant, error-free results (±0.1 PSI). The intelligent anti-interference chip ensures stable operation in extreme temperatures (-4°F-130°F). Whether it is daily commuting or long-distance driving, you can always know the tire condition

Upgraded Power Supply: Instead of 3 coin cell batteries, this tire pressure gauge comes with 2 AAA batteries. These AAA batteries provide a longer service life and are easier to remove and replace.

Reliable & Accurate: The ETENWOLF T600 Digital Tire Pressure Gauge is manually calibrated to ANSI B40.7 Grade 2A standards, ensuring an impressive accuracy of ±1% PSI.
Troubleshooting Blank or Odd Readings
When a digital gauge shows a blank screen or erratic numbers, start by checking the basics: confirm the batteries are fresh, make sure the unit’s automatic shut-off hasn’t kicked in, and press the nozzle firmly onto the valve stem to eliminate any air leak that could cause fluctuating readings. If the display stays blank or you get inconsistent values, isolate variables: try a known-good gauge and a different tire to rule out tire issues.
| Symptom | Quick action |
|---|---|
| blank screen | Replace batteries, check contacts |
| poor connection | Reseat nozzle, listen for hissing |
| noticeably lower or higher pressure | Verify with another gauge |
| shuts off quickly | Disable/reset automatic shut-off feature per manual |
Consult the manufacturer’s manual for model-specific error codes and reset procedures. If problems persist after these steps, document behavior and contact support.
[Products Worth Considering]

Enhanced Visibility in Low Light: Features a green backlit LCD screen and integrated flashlight, allowing for clear reading of tire pressure even in dark or dimly light conditions.

PROCESS LEVEL ACCURACY: Each ETENWOLF’s digital tire pressure gauge is calibrated manually to ANSI B40.7 Grade 2A(plus-minus 1 PSI).Presta valve adapter not included, if used for bicycles, it must be purchased separately
COMPATIBLE WITH both ¼” and ½” NPT air compressors outputs. COMPATIBLE WITH Standard Schrader Valves.
When to Recalibrate or Replace Your Digital Gauge
How do you know it’s time to recalibrate or replace your digital gauge? Look for clear signs: readings that drift more than 2 PSI from a trusted reference, frequent error messages, failure to power on, or physical damage after a drop. You want accurate pressure data to stay safe on the road.
- Test against a reliable gauge annually or after impacts; if deviation exceeds 2 PSI, recalibrate.
- If the unit won’t turn on or shows errors, follow the manual and replace the battery before assuming failure.
- Consider replacement if the gauge is over five years old, shows wear, or gives inconsistent readings despite recalibration.
- Keep calibration records and choose a rugged, serviceable gauge so you can maintain performance.
Act decisively: recalibrate to restore precision, replace when reliability or age undermines your control.
[Products Worth Considering]

PROCESS LEVEL ACCURACY: Each ETENWOLF’s digital tire pressure gauge is calibrated manually to ANSI B40.7 Grade 2A(plus-minus 1 PSI).Presta valve adapter not included, if used for bicycles, it must be purchased separately
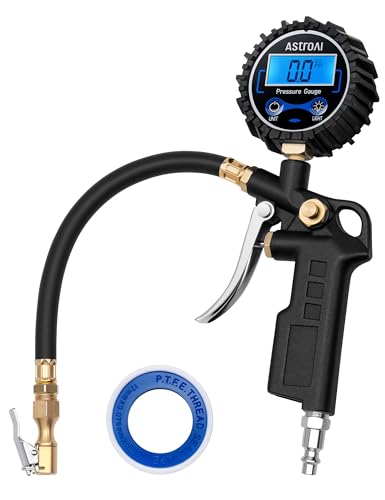
EXPERT-GRADE CALIBRATION: Each AstroAI Tire Pressure Gauge is calibrated with professional-grade tools, ensuring quick and accurate measurement results within plus-minus 1PSI. Stay prepared for any roadside emergency and travel with peace of mind.

Digital Tire Pressure Gauge 2 Pack, Industrial Tire Gauge 3-200 PSI, Calibrated to ANSI B40.7 Grade 2A(plus-minus 0.5%), Air Pressure Gauge with Replaceable AAA Batteries
Frequently Asked Questions
How to Read a Digital Tire Pressure Gauge?
Press the digital gauge onto the valve, wait until the display stabilizes, and read PSI (or chosen unit). Use digital gauge features, follow gauge accuracy tips, perform maintenance practices, and consider choosing gauges that meet your needs.
What Is the 5 PSI Rule?
The 5 PSI rule means you’ll add 5 PSI to recommended cold pressure when tires are hot; it aids tire pressure maintenance, improves pressure reading accuracy, complements digital gauge benefits, prevents common tire issues, and guides inflation frequency tips.
What Does 14.7 PSI Mean?
14.7 PSI means your tire equals sea level atmospheric pressure; you’ll need higher pressure for safe driving. Check gauge accuracy on the digital display, monitor PSI measurement regularly, and prioritize tire maintenance.
Why Does My Tire Pressure Light Keep Coming on When My Tires Are Fine?
Your light may be activating incorrectly — tire pressure sensors often misreport. Potential causes include sensor battery failure, wiring or TPMS fault, recent tire maintenance, or light malfunction. Check sensors, reset system, and keep tire maintenance consistent.
Conclusion
You can reliably read a digital tire pressure gauge in three steps: press, seat, and note the stable value. Digital displays show PSI, kPa, or bar, often with backlight and icons for mode or low battery. Remember: accurate inflation cuts tire wear and can improve fuel economy. Recalibrate or replace a gauge if readings fluctuate, error codes appear, or battery icons show low charge.


Leave a Reply